Thursday 30 September 2010

TOGETHER

CRATE PAPER COLLECTION paper doll

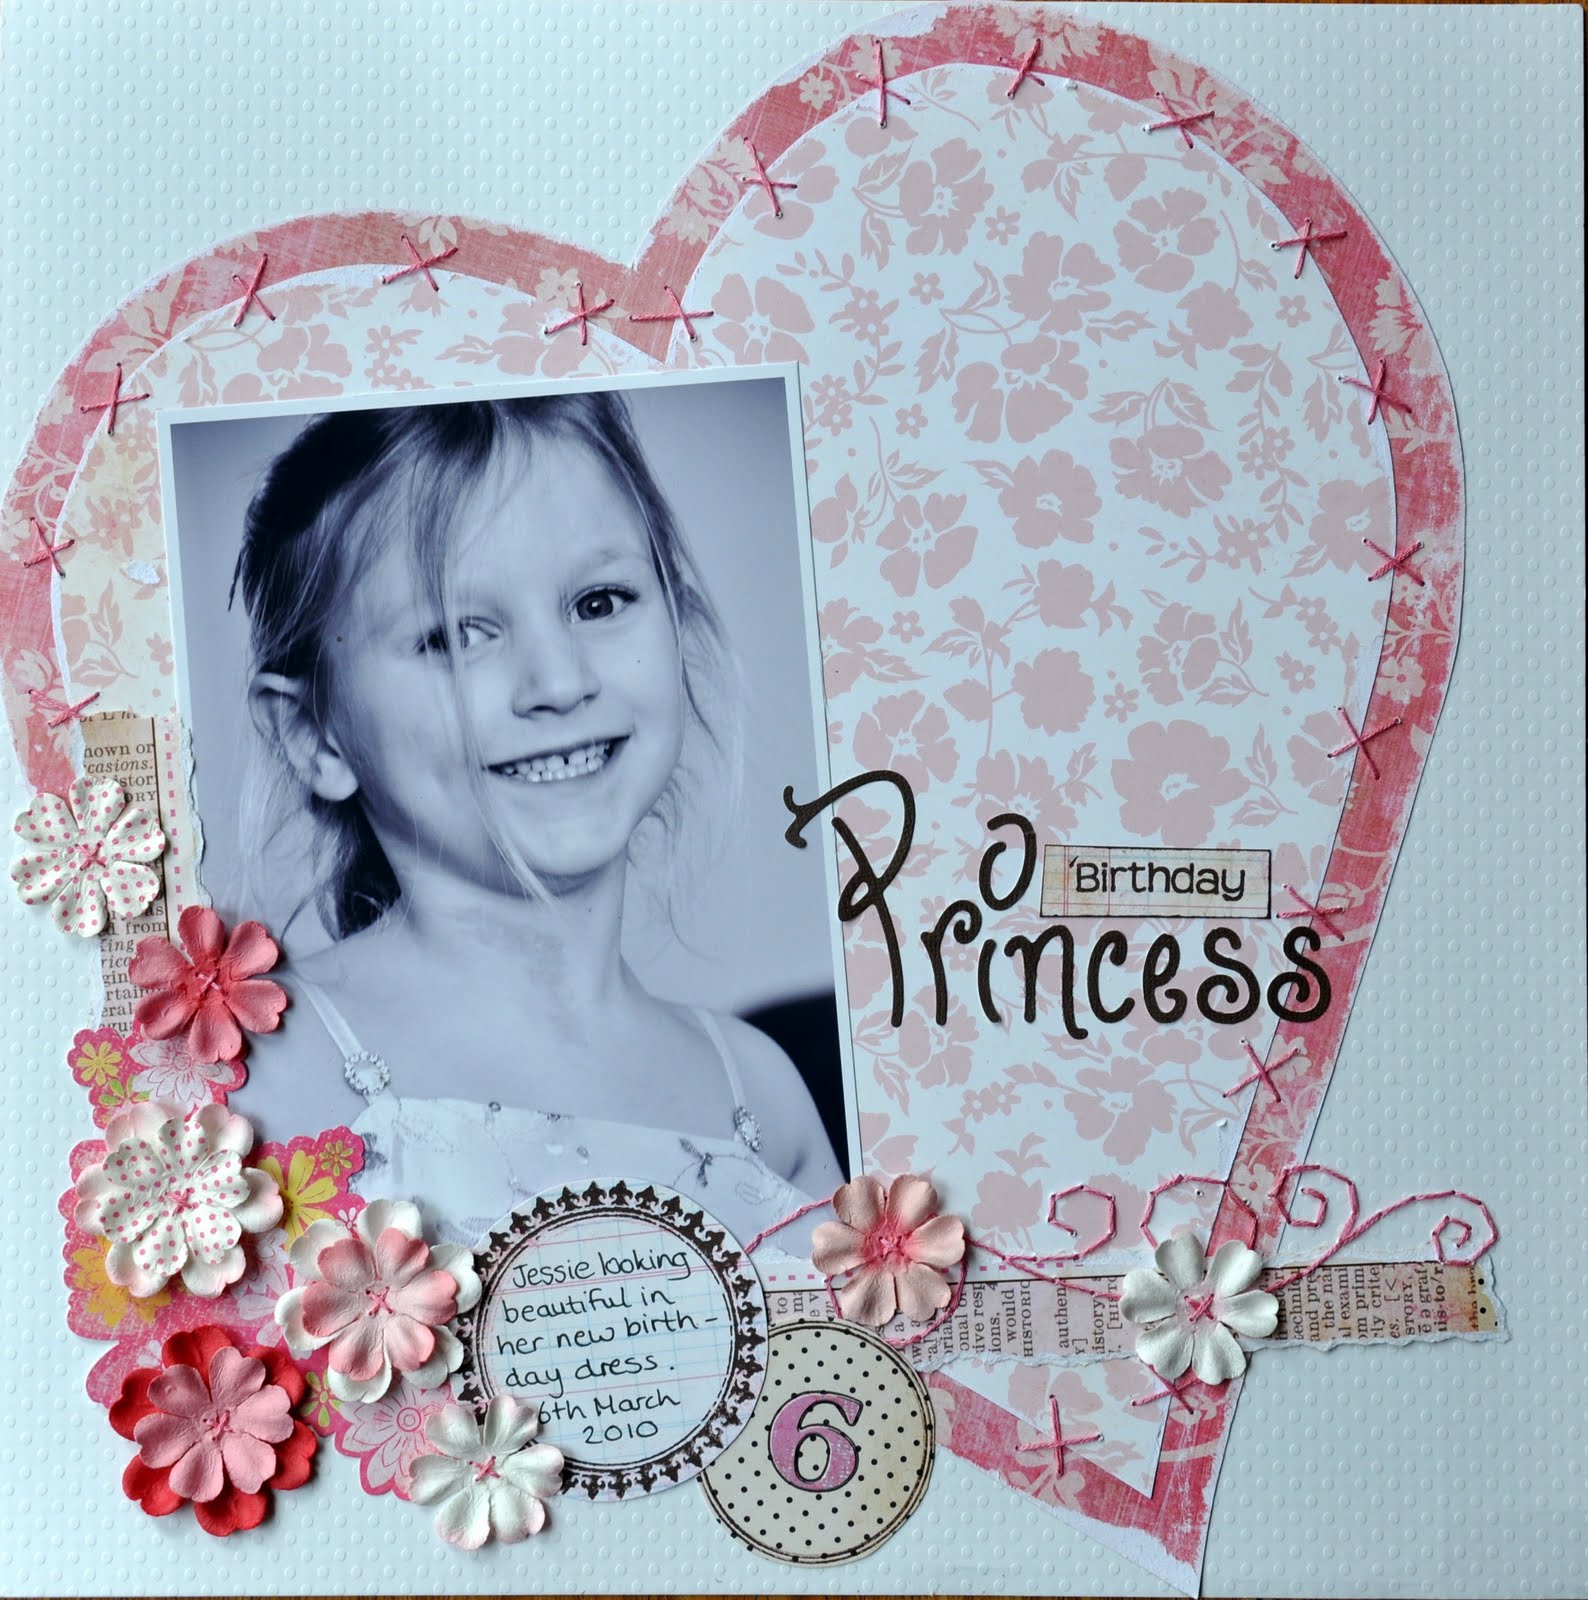
These papers are so full of colour when i first saw them i thought they were so girly girly but much to my surprise they turned out fantastic on this layout of my daughter Megan and her boyfriend Jay Jay.

The colour mix i felt was fantastic combined with the scalloped white heart and black card stock such an eye catcher for sure .... this layout is so simple to achieve i decided to incorporate my own stamp into this layout which brings the journaling out i wanted to use to key in with my title. The stamp is made by paper bags studios.

steps

1 glue the white heart card to black card stock cut the brown patterned paper 6 1/2 inches by 4 1/2 inches glue onto your card stock take the green patterned paper and cut 7 inches by 3 inches glue into place as shown

2 cut two different patterned papers 1 inch thick and roll the one end down to your proffered size

3 place photo onto your layout i stamped a border around my photo

4 using two of the patterned papers i then stamped two images the same and placed them as shown again rolling the sides for more effect i did stamp the images onto the white card stock first so you see a slight amount of the images still showing for more effect

5 i finished the layout by adding my title and a few chosen embellishments

Monday 27 September 2010

Echo Park...

There has been so many new products coming into the shop in the last week...it seriously is like christmas when you walk in to the shop...boxes every where...holding a ton of new stuff all just waiting to go up on the shelves and onto the website...

There are so many, that i had trouble picking one to focus on today....i will take photos and a run up of some of the others in the next few weeks...But after much looking i eventually  picked Echo Park.

There are two new Christmas lines from Echo Park there is this one...here which is more traditional and then there is the line that i am focusing on today which is this one.

As usual with Echo Park it is gorgeous..the colours are outstanding and so is the quality of the paper...nice and thick...but this one is very clever...

Let me explain... as you know Echo Park are double sided and they have a wonderful amount of sheets to choose from...so you are spoilt for choice....but in this line half of the sheets don't look like Christmas paper...so technically you get two lines for the price of one or if you don't want the Christmas ones you still get a new line from them...

Here are the christmas based ones...


And if you turn them over you get these...which can be used for a non holiday project...( in my opinion lol)


Even a few of the element stickers can be used on something other than Christmas...

Looking at them like that i personally would add another brown piece of paper into the mix...either this one...here..


which has a wonderful pattern on...or this one here...


this would add a bit of contrast to all the other colours...

Anyway this would be no good without some projects to show you what i mean huh!!! lol..

Okay here are a few tags that i made using the non christmas side...


 and i made this frame for my friends little girl...the idea behind it is that it hangs on her wall and she can hang her jewellery on all the little hooks all the way around.

Thursday 23 September 2010

A Bingo Card Hanging Decoration

I've had lots of fun making this recent project, but I have really struggled to capture it well on photo as it hangs from the ceiling. The photos may not be the best but it's a lovely project and I recommend you give it a whirl : )


Have you seen the Jenni Bowlin Bingo Cards?
I love playing with these. They come in difefrent sizes, in different colours and with lots of different themes.
I've made cards with them before, mini books and added them to LO's, but I wanted to do something different this time and have them on display in my home.
So I've made this photo hanger that hangs from my ceiling above my desk.

I promise you it's easy.
First of all, select your Bingo Cards. I've chosen the Beach collection. I like the size of these which is about 4x3 inches.
I used 1 piece of 12x12 Kraft Cardstock
A couple of glimmer mists
Ink for the edges
Hole punch and string.


Start by inking the edges of your Bingo Cards.


They then need to be stuck down onto your cardstock. You can of choose any colour cardstock, the kraft just suited what I was making.
Once they've been stuck down, you will need to make a hole at the top of each card.


Using a paper trimmer, cut out each card, leaving a small border of cardstock around each Bingo Card and then turn over so the card is face down and spray with your glimmer mists. Leave to dry.


You can now thread string through each hole attaching the cards together. The very top one, I chose to use clear thread.


I cropped and printed off small photos for the front and backs of my cards.
I've inked the edges of all the photos too and added a touch of glitter.


You can now hang it.
I've just stuck a drawing pin in my ceiling and tied the clear thread to the pin.


I decided to photograph it in front of a mirror, so you can see the front and back.


As it hangs, it spins slowly all the time.


Have fun with this project and do come back and leave a link if you decide to make one : )

Monday 20 September 2010

October Workshops

Both of the October Workshops are ready and done...here they are
First up...

This one is to run on the 6th October...and starts at 7.30pm

Bring your normal cropping tools with you. We provide the tea and chocolate.

The next workshop is on the 20th October and starts at 7.30pm

Please bring with you, your normal cropping tools.
These workshops will go up on the website soon so you can pay and book in advance. If not please email me at wendy@bbbweb.com

Saturday 18 September 2010

saturday sketches

Morning all...today's Saturday's sketches is done by Catherine ...you can see her blog here...

This is the sketch that i sent her...

and here is her take on it...

Thanks for taking part...this page is amazing!

Thursday 16 September 2010

A spot of stamping

One technique I've always employed in my scrapping is rubber stamping - it was one of the main features on my original scrapbook pages, and has never really lost its appeal to me. I think it adds fine detail to a page with very little effort. Papermaze has a huge range of rubber and acrylic stamps, from alphabets to embellishments and I thought I'd use a few on this page about my hubby and his inability to pose sensibly for a photo.

Some of my favourite and most versatile stamps are these border stamps by Autumn Leaves. You can use them on the edge of a page if you like, but I often use them to underline titles and sometimes only use a section of a stamp, as I have done in the top corner of this layout. I've also added some sentiments to this page - you can stamp onto a photo if you want to, but make sure you use Stazon ink, or it'll never dry! I tend to always stamp in black, but there are lots of colours to choose from - you could stamp a whole rainbow if you felt like it! Another ink you can stamp with is Distress ink - this gives a more heritage feel but the image isn't as crisp. It depends what look you are going for with your page.

I didn't add too much in the way of extra embellishent to this page - a 6x12 layout can soon get overloaded if you are not careful. My title is a mixture of My Little Shoebox, Making Memories Tiny Alphas and a fantastic letterman style alphabet by American Crafts.

I added some of these paper flowers, with gemstones in the centres, and layered them behind the title letters to give the illusion of dimension without actually having to raise the title letters up.

The layout has quite a modern feel, but the stamps could easily be used on a variety of different style layouts, and have the bonus that they can be reused again and again, so long as you clean them after each use.
Posted by Picasa

Sunday 12 September 2010

Paper Piecing

As blogger failed to publish this weeks Saturday sketches ( was away all weekend and i didn't realise) and then blogger decided to eat said post i will give you a gorgeous post by Chloe instead...
******************************
The suggestion of paper piecing can often conjure up images in our heads of intricate cutting and sticking, along the lines of a decoupage card, but if you want to try it, it can be as basic as you like and have a really fun impact. I wanted to give these photos a sunny, whimsical layout to match the mood we felt when greeted by this wonderful view and the first sunshine we had seen in months after a very harsh winter. The Echo Park papers were gorgeous, but lacked a really strong pattern or design, so I decided to use them to create an early spring weather scene instead.

I drew the shapes of a sun, a large cloud, some sun rays and a 'gust' of wind on the papers using pencil. I tend to put the papers in position on the background card roughly where I would like an element to go, then sketch a basic pencil line of my shape which can be easily erased afterwards. Don't think you have to do this perfectly - there are no rules! I then cut out my shapes, outlined everything with a black fineliner pen to give it a cartoony feel, and glued it into position.

I created my title using cardstock stickers by Doodlebug, and American Crafts thickers - I also outlined these with black pen to make them stand out and to continue the theme. I arranged the title to follow the line of the gust of wind, giving the effect of it being blown across the page. I absolutely love my Martha Stewart butterfly punches at the moment, so I punched out a few shapes, outlined them and mounted them on sticky pads for dimension.

The reverse of one of the papers had lots of different images and phrases on it. I cut a large butterfly from one, and used another as a journalling block. I used a decorative brad to attach it to the page, so that it can swing out from under the photo for ease of reading. A few gems finished off the layout.
The finished page was very simple to make, but has a fun feel and perfectly captures our moods on the hilltop that day.
Posted by Picasa

Thursday 9 September 2010

1 Sketch and 3 Cards - Back to Basics


A sketch from me this time.
Very basic and just works perfectly with the Basic Grey Papers 'Basics'.
Ideal for Men's cards.


Once the paper has been stuck over the front of my card blank, I've inked the edges to blend it in. Ribbon has been added along the bottom and then a Basic Grey Sticker has been added.
Each of the Basics range has matching sticker sheets, which you can view here.
I've really enjoyed using these in my scrapbooking and my card making.


I've also used Thickers and October Afternoon Alphas.


Have fun : )

Tuesday 7 September 2010

New Cosmo Cricket

The new Cosmo Cricket is up and in stock...you can find it here...there are several new lines to sit and drool over...the one i used for this project is the Togetherness line.

I need a new pin board for my room...as the one that i had was passed it best..but being a scrapbooker i couldnt just let it be normal and boring...so i had to add a little something...after much thinking i added some wooden pegs across the top and of course...i had to alter the pegs!!! lol...

here is the finished product...

as you can see i didn't alter all of it...as most of it will be covered with paper anyway...here are some close ups...


and here it is empty...

thanks for looking!

Sunday 5 September 2010

Saturday Sketches

Hi and today we have another Saturday sketches for you.

Here is today's sketch...

I sent this beautiful sketch to Aimee and her page that she sent back to me was gorgeous!!!


She used the gorgeous Ambrosia line from Basic grey for her page...

with beautiful Prima Flowers...

and she has the most beautiful handwriting...mine is awful!!! hence why i always type my journalling...thanks for taking part Amiee...this is a beautiful page!

Saturday 4 September 2010

Saturday sketches....

Saturday sketches this week is going to be posted tomorrow ...hope that is okay...while you wait check out Chloes post below...her page is gorgeous!

Friday 3 September 2010

Outside the Rockefeller...

I decided to make use of my travel themed papers again to scrap some memories of a recent trip to New York. I had the chance to take a group of sixth-formers on a five day sight-seeing tour - it was the first time I had been to America as well, and we had a fantastic time.


I used the gorgeous stamps die-cut paper as a basis for this layout. However, because it was quite a loud and busy design, I toned it down by adding a square of the ledger paper, which I distressed using scissors and added at an angle, to ground the photographs on the page.

I created my title using American Crafts Thickers and Making Memories Tiny Alphas. I carried the yellow of the title into the rest of the layout by punching some small butterflies with a Martha Stewart punch and arranging them up the page - this helps the bold title tone in with the rest of the layout.


I created a border along the bottom of the page by using scallop scissors and a hole punch to create a scalloped border, and then adding a yellow ribbon which I knotted in places to add dimension to the page.


Finally, I added embellishments - some paper flowers layered with a beautiful leaf pin and some pale green buttons. A few 7 Gypsies stickers completed the layout.
Posted by Picasa