Monday, 31 March 2014

Kaisercraft art of life….

Hi, its Carol with you today……I'm sharing with you a card made with the Kaisercraft Art of Life papers….

I usually use pre-creased cards either 6 x 6 or DL size…for this base I've used a white 6x6 card base…
then I've chosen three pages from the Art of Life 6.5 x 6.5 pad…


I decided to use the flowery paper and the dark brown paper and cut each piece in half….I have then layered these onto my card base.  Now I'm a stamper and have thousands (and yes, possibly more) of rubber stamps in different guises…now what if you want a central image and you don't have any stamps?….the squared paper in the picture has roses on, so…


I cut out the rose and coloured in using water colour pencils, but, you could use distress inks…. I then inked the edges and mounted this onto gold miri card…


My card has a piece of lace added where my papers joined each other, a border from the pad was also added….a left over piece of the brown paper was used as an off centre matting board…happy birthday was stamped onto cream card stock and the frame was stamped over, cut out and adhered….

TFL today…


Sunday, 30 March 2014

How do you use Yours? Part 2

Firstly, Happy Mothers Day to all you Mums!!

It's Lisa with you again today for another ''how do you use your Project Life Cards''?
We are thinking outside the box remember?

Being a busy Mum myself. I have a 14 and 12yr old and I run my own business. I work very long hours. I made a promise to myself at the start of the year that I was going to make an effort to see my friends more. Once my youngest started senior school in September and the school runs stopped, I found that it was easy not to keep up with friends like I used to.
I make sure that once every couple of weeks I take a break during my work schedule to meet with friends and have a coffee.
This week I hosted a girlie dinner party for 5 of my favourite girl friends. They didn't all know each other that well but I knew that they would all get on.
I wanted to treat them all to some lovely food and table treats and make them all feel special.
It was so much fun.
For me personally, I love all the planning.
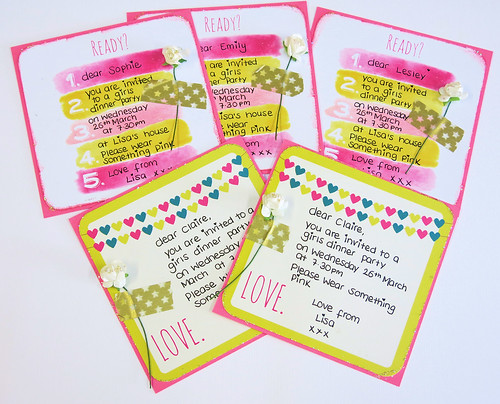
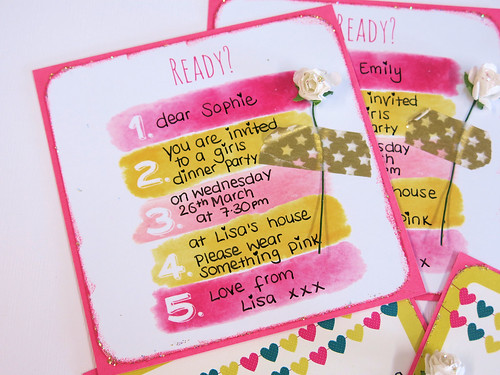
I sent each of them a little invitation.
I made the invites using the Prima Instascrap cards here.

 
I used a corner punch to round off the corners and stuck down on some cardstock before trimming.
 
 
I had some old roses that I attached with some pva glue and a strip of washi tape.


To add that ultimate girlie touch, I ran some Stickles glitter around the edges and on the rose.
I was so pleased with how they came out.
 
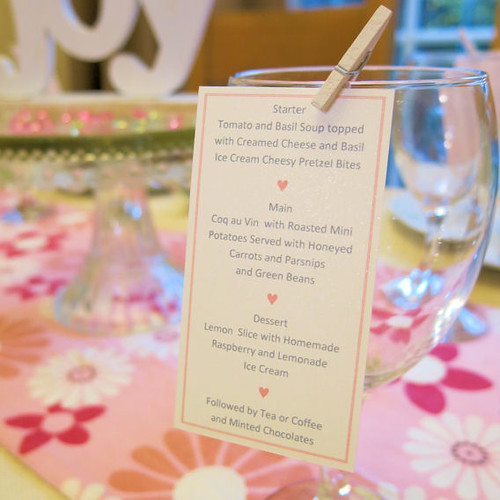
The dinner party went down really well. I was so happy to spend such a lovely evening with these lovely ladies. I dressed the table beautifully.
 
 
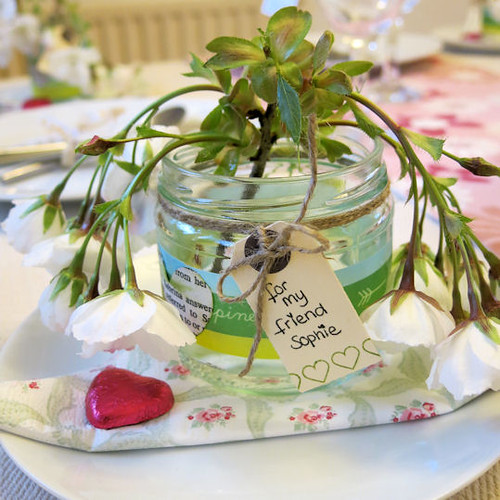
I made sweet little table favour/place settings using old jars, washi tape and tags (and blossom from the garden)
 
 
And lovely food all from scratch to treat my friends.
 
 
I highly recommend an evening like this. We had so much fun.
 
Thanks for stopping by today. I hope all you Mums are being spoilt today.
 
Lisa x


Saturday, 29 March 2014

How do you use yours? Part 1

Hello, it's Lisa with you today.
I would love to know how you use your Project Life style cards.

There are so many of them around right now. They are so pretty and fun to use.
Surely though, not everyone is using them for Project Life, right?
Do you keep seeing them and keep wondering how you can use them?
I have a series of blog posts for you with some ideas on how to use these little cards.

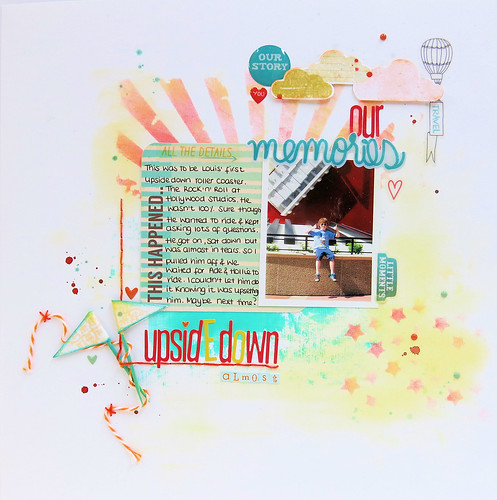
I'm starting today with a layout.
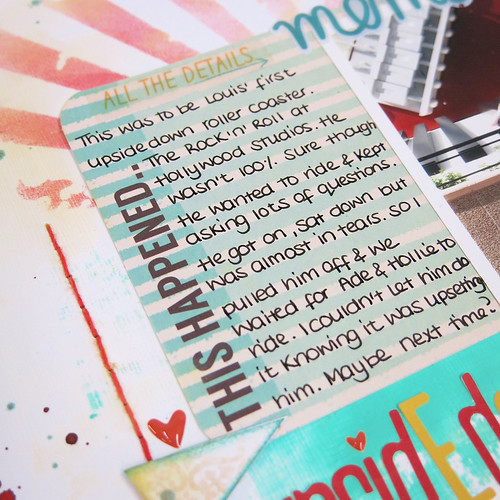
They make the perfect journal cards.


They do come in other sizes and designs too with pretty bits and pieces to match in this 'Instascrap' range here. With Spring on the way, these colours could not be more appealing. I used these Epoxy Stickers too.
 
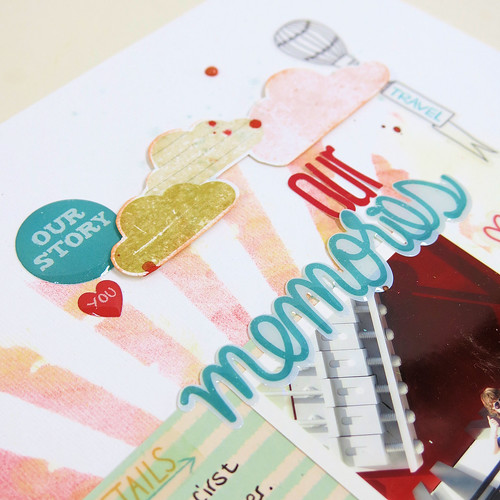
I started off the layout with a Tim Holtz stencil/mask.
I had no idea these even existed. I was browsing in the online shop and stumbled across them. OMG!! I love them so much. There are some really great designs. I grabbed the Sunburst and will be adding more to my collection soon : )
 
 
I laid the stencil side ways on and used a red ink first, but quite lightly. I then added some cream coloured chalk over the top. It's given it a bit of a misted dreamy look.
 
 
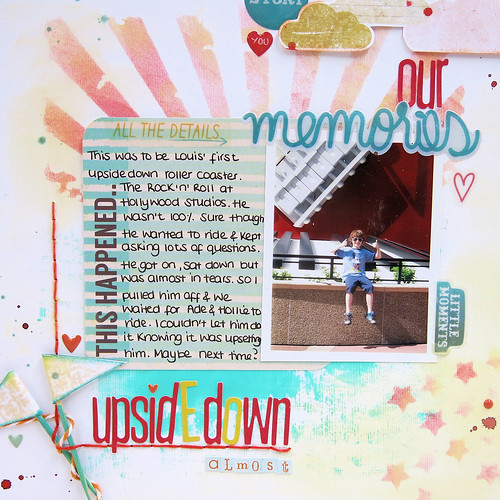
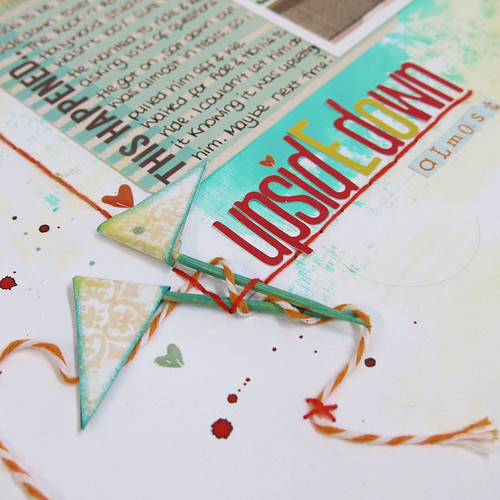
The story was the main point of this layout, so I had already planned to place the journal card along side the photo in the centre. I picked this card from the Prima pack as it gave me plenty of space to tell the story.
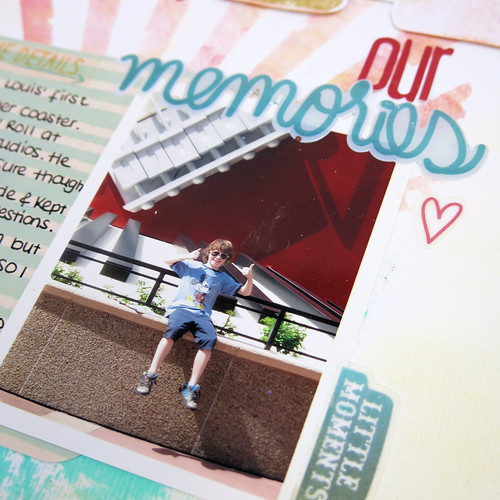
And this by the way was taken before we started queuing for the roller coaster.
 
 
Yea....now he smiles : )
 
I added some of the Epoxy stickers and the rubbons from the little Prima set. Along with the journal card it made making a layout very easy.
 
 
I made these little flags from some scrap paper.
I drew this below, cut out, added sticky tape and attached to a cocktail stick which I then inked.
 
 
Then I finished off the layout with a little sewing and a few more stickers and rubons.
 
 
It's now finished. 
 
 
I hope you like these ideas and can see how easy these Project Life style cards are to use on layouts. Don't let them put you off if you aren't in to Project Life. There are so many other ways that they can be used.
 
I will be back with another idea tomorrow.
Enjoy your Saturday x


Friday, 28 March 2014

Hey Mom! Happy Mothers Day!

So who's guilty of leaving some cards til the last minute then having a rush to get one made that looks like it took hours to do?!?

*WAVES HANDS VIROSIOUSLY!*

Well, if you are in the same boat as me then you will be glad of this quick tutorial. The card below is not only pretty, but it has an added closing strip to make it different from others, and the best bit is, it was made using only ONE sheet of patterned paper! 

So I started with a square card base, i think this one was 6" x 6", and trimmed a 2" strip from the right edge of the front panel.
I used Simple Stories Hey Mom Elements #1 sheet and cut out one of the 6x4" panels to cover the card front with. 
Using the strip we cut off at the beginning, I adhered the chevron/flowers strip from the sheet of paper to the card and cut it out. I folded over 1cm at the end without flowers and stuck it to the edge of the card back, so that it folded over on top of the card front. Where the flowers fall, I marked a line to trim a slit into for the ends of the flowers to slot into when closed. 


I then added a punched border to the edge of the trimmed front panel, and covered the inside with some plain pink card stock and another strip cut from the patterned paper.

To finish it off, I cut out a sentiment block, a large pink heart, another smaller chevron strip and a plague to mount the sentiment onto.

Lastly, I added a few Prima flowers and some dots of liquid pearls.

Of course, this card base can be decorated differently to suit any occasion or genre :-)

Tuesday, 25 March 2014

Fun in the Sun...


I don't know about you but I'm still catching up with some of my sunny photos from last years glorious summer. Speaking of sun, the weather has been beautiful here over the last few days, long may it continue for another long summer! 
So today I'm just popping in to show you my most recent L/O that I have created using a bit of Amy Tan's latest collection Cut and Paste. There are some really useful background sheets in this collection. I chose this one and combined it with some Echo Park a perfect summer which coordinated well together. 


I created the sun by cutting out a circle and a long thin strip from some Echo Park patterned paper. 


See you soon.

Anna

Monday, 17 March 2014

Faux blackboard

Hi its Carol with you today - I'm always on the look out for something new to try and incorporate into my craft. I really like the look of the blackboard style which is very current at the moment so I've tried this faux method….and made this simple card…


I took a piece of black bazzil and cut it to the size I wanted, using a standing block I filed back the ridges a little…(don't over do this as it will just make holes in your paper and also instead of adding a "rubbed off white chalk effect" it will look more distressed) I then rubbed my bazzil down with a baby wipe to remove all dust…using an embossing ink I stamped a very simple flower stamp and then heat embossed with white embossing powder…. Happy birthday was treated in the same way… using a white pencil I gently scribbled over the background rubbing gently with my finger as I went…. white pen doodles around the edges finished off my blackboard piece.  I've added black washi tape, small pearls and some stamping with grey ink to finish it all off…

Thank You for popping in today.

Monday, 10 March 2014

Adding a Little Spring to your LO's

After the weekend that we've just had, it really does feel like Spring is on it's way.
The evenings are getting lighter, the birds are singing in the mornings, the Spring flowers are starting to bloom. I just love this time of year.

I often find that the time of year has a big impact on my scrapbooking.
Like now, I'm finding that I'm reaching for the pretty pastels rather than the darker colours.
I thought I'd share this LO with you today.


I used the American Crafts - Dear Lizzy - Polka Dot Party Collection. It oozes Spring. It's one of those ranges though where you love both sides of the paper and end up having to buy 2 sets of each : )
 
 
There are some great papers in this range that are perfect for cutting up and layering. Like this one here and here and here.
The sticker sheet that matches too is great. It comes with 2 sheets which work great for embellishing and I love the mini alpha stickers that I used here aswell.
 
 
I fancied adding some raindrops to my page. Spring wouldn't be Spring without a little rain after all.
I took an old jam jar with some water and added a few drops of glimmer mist.  Then taking a large paint brush, I dipped it in to the diluted misty water and let it drip over my LO.
 
 
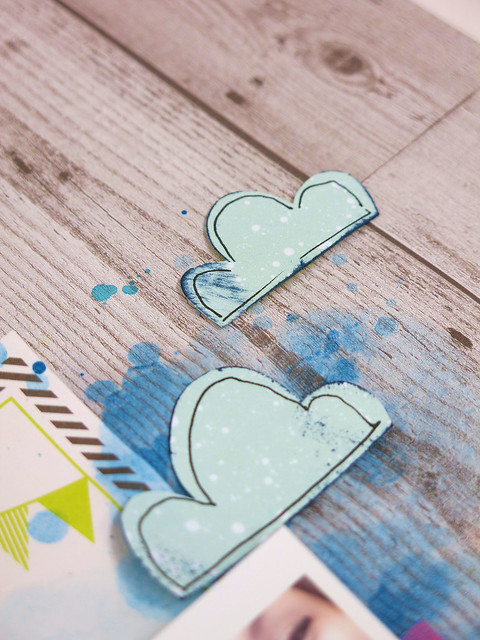
And another favourite Spring addition. Add a few handcut clouds. 
 
The LO is now finished.
 
Enjoy your Spring scrapping!!
 
Lisa xx


Monday, 3 March 2014

Seeing Double wityh New Prima...

Happy March everyone! Any ideas how we've reached this far into the year already?
I love February and March, because it means that all the new products from CHA are arriving in the shop and going online.
Some of my favourites this year so far are the new lines from Prima. We already know that Stationers Desk has been a huge hit with some of you, so I have chosen to have a play with the Princess Line. 
 
For the first time EVER, I have created a double page layout. I thought it would be hard to work with more photos than usual and fill more space, but with the use of some of the new Tim Holtz Stencils and Memory Box Stencils, I was able to subtly create texture in blank spaces.


For the first time ever, I used almost two whole packs of Prima paper flowers on one project!!


And these cute metal signs are from Ingvild Bolme, also new to the shop :-)

 
Let us know which our new products are your favourites!