Monday 28 January 2019

DIY Wall Art - With Video


Hello, Lisa here. I have had so much fun this week. I've been really excited about sharing this with you. It all came about when we went to Ikea. We found a photo shelf which had me thinking about some wall art for our bedroom.
 
 
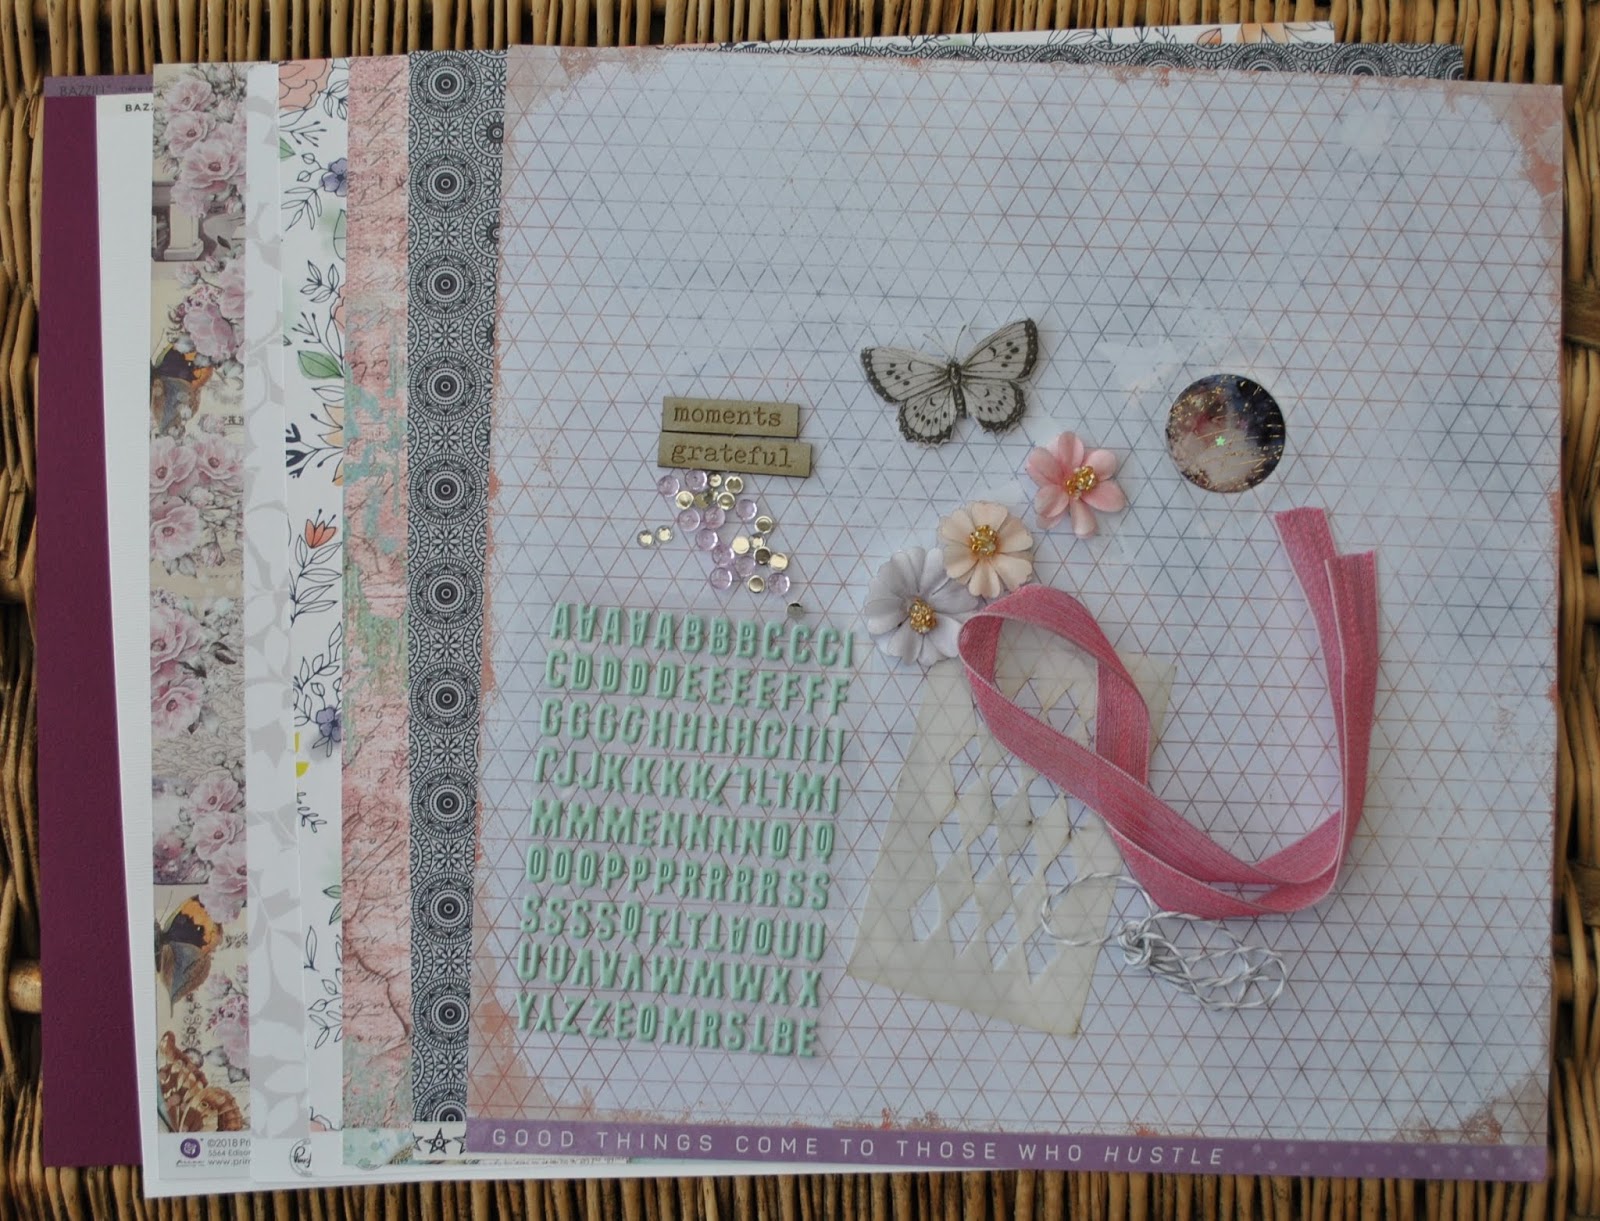
I was sent these Kaisercraft papers here to play with along with a sheet of the 12x12 coordinating stickers.  
 
 
I love the 12x12 frames from Wilko and they come with a mount that you can use or remove. I decided to use it here for a cleaner look. I printed off 2 photos in black & white. I loved the quote on the 12x12 paper 'Start each day with a grateful heart'. So perfect for the bedroom I thought.
 
The bottom strip overlapping the photos is from the 12x12 sticker set and I added a sticker strip across the top.


This here was actually a frame from Poundland with an ugly picture inside with a bathroom quote. I covered it with some of the papers and added a couple more of the sticker strips.  


To add a little more colour I took a piece of watercolour paper and my paints (you will see me creating these in my video). I cut a heart from the leftover paper and stuck in the middle of the frame. The frame was just 85p from Ikea.
 
 
Here is the finished shelf.


I really hope you've enjoyed seeing these fun pieces. I'm so happy with how they look in my room. They've really brightened up a plain wall.
 
I hope you enjoy the video too.
 
Have a great week.
 
Lisa xx

Friday 25 January 2019

25 Years ....... Georgia Blues by Prima


Hi There

It's Anita here today and I am posting my 2nd layout using the absolutely gorgeous Georgia Blues papers from Prima.Have you seen them yet?? They really are divine and are embellished with the most luscious silver foiling details.

I wanted to add another layout to our Silver Wedding Album and thought this range would be just perfect for it. The top photo was taken the year we were married and the bottom one whilst on our Silver Anniversary Road Trip.....this photo was on a steamer at Ullswater.


 I used a sheet of Midnight Blues for my layout, the deep navy blue with the mix of white and blue roses and silver foiled fine script is really striking.


 White acrylic paint was used and sponged through a diamond stencil, it was also drizzled and splattered across the page. On a couple of the large drops of paint I used a cocktail stick and dragged out points making it look star like. I also gently sponged some paint around the photo edges, instead of matting them.


 I added some Prima Emerson flowers with a mix of other flowers and die cut leaves from my stash and a chipboard embellishment from Dusty Attic.


I have quite a few butterfly files on my laptop and thought I would like to add some to my page, so printed them out onto white card, fussy cut and Stickled them , raising their wings on small foam pads.


I also added a small doily behind the top photo , the printed vellum packaging from some Prima flowers and a panel cut from a sheet of  Memory Lane   behind the other photo. Also a sprinkling of sequins, small wooden hearts and a couple of lengths of cream cotton lace.


 I completed the page by making a title using some silver glittered chipboard letters.


There are lots of lovely new products over in the SHOP ..........why not pop over and treat yourself to a colourful start to the New Year.

Warmest Wishes
Anita xx

Wednesday 23 January 2019

Pebbles Cozy & Bright - A Few Cards

Hello, Karen here with a final project using the Christmassy collection 'Cozy & Bright' from Pebbles.

Many themed collections will include patterned papers which can be used for non-themed projects and Cozy & Bright is no exception. Many of the B sides would be perfect to use at any time of the year, not just at Christmas, but I decided to challenge myself to make some non-Christmas cards using the A side of the Christmas Magic sheet of paper.


Although the sheet of paper has images of holly leaves and poinsettia flowers on it, by focusing on the pale blue colour in the paper and teaming this with blue cardstock and embelishments I think it's possible to draw the attention away from the Christmassy images.


I matted squares of the patterned paper into blue 'Ocean Breeze' Bazzill cardstock


My sentiments were printed onto acetate and then put onto squares of the Merry Little Christmas paper which were also matted on the blue cardstock.


The cards were embellished with blue ribbon and some hand made flowers using this tutorial . I've made many of these flowers in the past using flowers punched from scraps of paper. Sometimes I've used brads for the flower centres and sometimes artificial flower stamens. For these cards I used some of each.


I hope you agree that the cards don't look Christmassy and I hope you'll feel inspired to continue to use Christmas supplies throughout the year and not hoard them until next Christmas. 

Take Care,
Karen x x

Monday 21 January 2019

January Papermaze Kit

Happy New Year and welcome to the first Papermaze Kit for 2019. 

Lynn here with my first two layouts and details of the January kit. Both these layouts have photos taken at my nephew's wedding last September. As always the kit has a lovely combination of papers, card and embellishments. A beautiful range of purples, blues and aqua with a touch of sparkle.


First of all here, is a photo of the kit and details of what it contains. The kit is currently available in the shop and remains excellent value for money at just £10.00


Patterned Papers:
Pinkfresh Studio - Indigo Hills 2 Collection - Glen & Gorge
Prima - Moon Child Collection - Love Constellations (foiled)
Kaisercraft - Misty Mountains Collection - Eclipse
Kaisercraft - Stargazer Collection - Orbit
Stamperia - Wonderland - Dragonfly
Bazzill Basics: Avalanche & Mardi Gras


Extra Bazzill Pack: Quartz, Admiral, Whirlpool & Smoky


Embellishments: Exclusive Papermaze stencil, Pinkfresh Alpha, Prima butterfly, 3 Prima flowers, 50cm ribbon, 2 Dusty Attic words, 50cm Baker's twine, Prima Enamel Sticker,10 Dew Drops, 15 gems.

Beautiful Bride is the title of my first layout, although the colours of the papers are perfect for the wedding, I chose a black and white photographs of my nephew's bride.


The backdrop for this layout is the foiled side of Prima's Moon Child - Constellations. It's difficult to show off the quality of the foiled dots in the photo. I added more sparkle using the exclusive stencil from the kit, together with texture paste and some ultrafine glitter. I sprinkled the glitter onto the paste while it was still wet. Once dry, I worked out where I wanted my photo to sit and gutted a piece of paper approx. 4.5" x 4.5" from the centre. I did a little fussy cutting from this piece and set them aside for later.

I picked three different small doilies from my stash and arranged them where I
wanted them to sit under my photo, and covering the gutted hole. Using the Mardi Gras Bazzill, I made a photo mount, and cut some ferns using dies from Funky Florals #1 set (Tim Holtz Sizzix Thinlits). I also cut my title from the same cardstock - I used a Sizzix Sizzlits Alphabet (Boxed Brush) and a Tim Holtz die from the Handwritten Love Thinlits set.

After sticking the photo into place I arrranged flowers around it, I using flowers from the kit plus a few extra smaller flowers from my stash and the flowers I cut from the reverse of the paper earlier. I added the enamel Sticker from the kit, this pretty moon has a real sparkle from the stars and shine from the glossy surface. I also added the ferns cut from Bazzill.

The title was glued in place, and silver Stickles was added to the centre of the cut out flowers. Finally I added the flat-backed gems to one of the doilies in a circle. 


It's Raining Men is my second layout from the same wedding.


I picked from the blue and white papers for this layout. I started by gutting the Admiral Bazzill, so I had a frame of about 1" all round. I trimmed the Orbit paper to 11.5" x 11.5" then gutted it so I had a frame of 1.5". The Orbit paper frame was mounted centrally over the Admiral cardstock frame. I then cut the Smoky Bazzill to 9.5" x 9.5" and mounted this over the other two.

The next few bits of cutting will depend on the size of your photo, but as a guide mine are as follows. Use the Admiral Bazzill to make a photo mount 6" x 4.2", a journalling block mount 3" x 4.2" and then a mount for the bottom panel 9.2" x 4.2". I cut some lined paper for the journalling and trimmed down one side with an ek success punch (spiral bound notebook edge), I cut a band of the stripe side of Eclipse paper, with the stripes running vertically. I hand stitched seven stems with leaves onto this paper using embroidery thread.

Mount the photo, journalling panel and patterned paper onto the Bazzill mounts and arrange onto the layout, leaving a gap of about 1" in the centre for the flowers. I then glued a paper daisy at the top of each stem across the middle of the page.

My title was designed and cut using my Cricut Design Space and the remainder of the Admiral Bazzill. I stuck this onto the layout and covered it in Glossy Accents.

After writing the journalling and arranging the butterfly from the kit, I added a trail of sparkle along the journalling block and wings with Crystal Stickles.

That's it for today, but I have more layouts made with this kit to share soon.
Thanks for looking.
Lynn
x

Sunday 20 January 2019

December Crop Kit

Happy New Year to you all, I hope you had a wonderful Christmas and made lots of memories with your families.
Today I'm going to be sharing with you a layout that I have created using some of my Christmas photos and the challenge kit from the crop day in December.
Every December, instead of the usual crop kit, Vanessa challenges us to create our own layouts using a kit of lovely Christmas papers and embellishments.

Take a look here to see Vanessa's post featuring some challenge pages already completed by the croppers.
Here is what was included:


Here is the layout I have created below.


I began by gutting the Boarder Strips patterned paper, I used the reverse side as a background sheet and applied some white bazzill cardstock on top.
I hand drew a Christmas tree shape from the boarder strips paper and applied this to the cardstock.


I mounted my main photo on the gold card, and hand cut out a star to top the Christmas tree.
I added some stickers and washi tape from my own collection and some nuvo drops too.

Thanks for looking!
Have a great week, see you soon.
Anna
X

Wednesday 16 January 2019

Using Up Christmas Scraps with Non Christmas Photos

 
Hi. Lisa here with my Christmas leftovers.
I am one to enjoy using up leftovers. Whether that's food or scrap materials, I really enjoy it. It's like a little challenge.
 
Although I bought this with Christmassy Projects in mind, it's also really good to use on non Christmas/Winter photos too.
 
I am creating inside my Summer holiday Travelers Notebook.


I started off by covering a double page in watercolour paper. I added a red spotty strip along the bottom and a strip of those cute houses. It was the houses that inspired this page. They made me think of the beautiful houses in Savannah.
I then used water colours in the remainder of the page and let it dry.


I slotted my photos all in one line down the bottom under those houses.
 
 
I then cut thin strips of the paper to create those journaling strips.
 
 
There's the finished page.
 
 
I then went on to use the mountain papers with my Disney Everest ride photos. I share some great tips on how to create a photo strip on my video and how to block out strangers in your photos  :  )
 
 
Here's the finished page.
 
 
And then I thought these wintery papers would go perfect with our family Frozen photo.
 
 
Perfect!!
 
I hope you've enjoyed this today and don't forget to check out my video here.
Thanks,
 
Lisa x


Monday 14 January 2019

Challenge Kit

Its been a while since i have posted any of my creations but life has truly got in the way and i have lost my way a little when it comes to paper crating.
So i asked Vanessa to sent me the crop Christmas challenge pack
Its contained a white 12x12 sheet, some gold glitter card stock, patterned paper,
tissue tape and a red flair embellishment
so i kept it quite block like as it suited my photo and mounted that on some gold glitter card.
Did the same with my patterned paper by inking the edges in black ink.
Die cut an open circle in the glitter card stock and cut out some flowers in some white card 


used some background stamps with black ink to the white card against edges of the blocks


used my own stamps on to white card, coloring in using pro markers, glitter glue and torn tissue tape


a simple page but one that has got me thinking about starting to paper craft again

Friday 11 January 2019

The first crop of 2019!

Tomorrow is our first crop of 2019, and we're looking forward to seeing everyone again - it's been 6 weeks since the last one! Our beautiful kit has been designed by Lynn, and features Kaisercraft Hide & Seek papers (and a very cute kitten!)...


There'll be the usual delicious home-made cakes, plus tea and coffee - and don't forget our January Sale is on so there'll be a 20% discount in the shop!  Drop me an email if you'd like to come along!

Wednesday 9 January 2019

Lantern Retro Makeover with Authentique *Jingle*

Hi There and Happy New Year Everybody!!

It's Anita here today and I have been using some lovely Authentique *Jingle* papers to prettify a red lantern that I have had for a couple of years.

 I don't know if you are like me or not, but I just cannot resist a good bargain when I see one! A couple of years ago, straight after Christmas, I saw some red lanterns, filled with tiny little lights and reduced by 70%! Not one who can leave bargains on the shelf I quickly purchased 2 and bought them home and packed them away for the following Christmas!
 So then out they came for Christmas 2017 and they sat on the sideboard, sparkling away.....but actually looking quite plain. So this Christmas they came out again.....only this time they cried out for a make over!


I saw some of the gorgeous Christmas papers in the shop and noticed 2 lovely new collections from Authentique. They were both really nice but in the end I chose to use the Jingle papers.
I cut some of the multi coloured candy stripes from the sheet of Retro Holiday Candies and used them to frame each side of the actual lantern part.


I also cut the red and white candy cane stripes that framed some of the Santa images on the sheet of Retro Christmas Cut aparts and used these to decorate the top plate and base plate edges of the lantern.


The lovely retro ladies also came from the sheet of cut aparts and I fussy cut one for each side and also the Father Christmas was from the same sheet.


I trimmed a sprig from one of my long garlands I use to decorate our bannisters and wrapped it around the top of the lantern before adding a selection of Christmas flowers, berries, glittered ivy leaves and some miniature glass baubles to just finish it off.


So... keep your eye out for some bargains....you can have all sorts of fun altering them.
Happy Crafting!

Anita xx