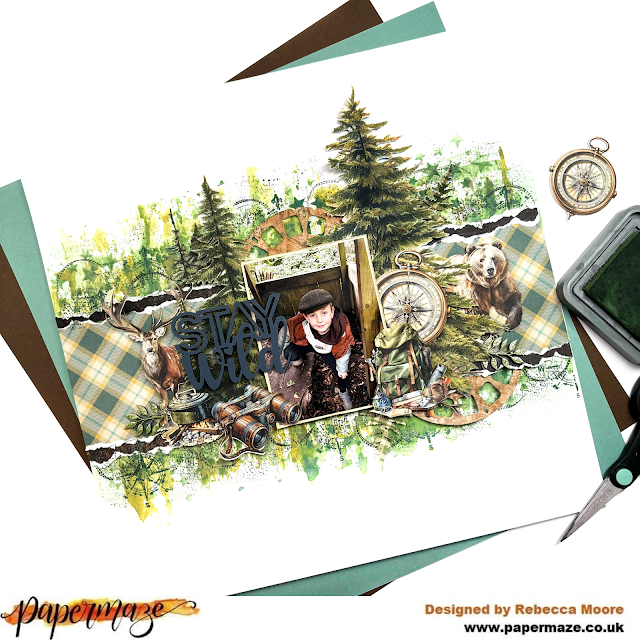
Hi everyone, and happy new year! Rebecca with you today sharing my first layout of 2024! This year I am determined to try new things and I'm kicking this off with a collection from Mintay Papers! It's a new brand to me having never created with it before and I have to say I'm pleasantly surprised. The quality of the papers is really impressive - nice and thick with good quality die cut ephemera to match. I chose to work with 'The Great Outdoors' as I was drawn to the outdoorsy feel and the neutral colours. You can find the collection in the shop here.
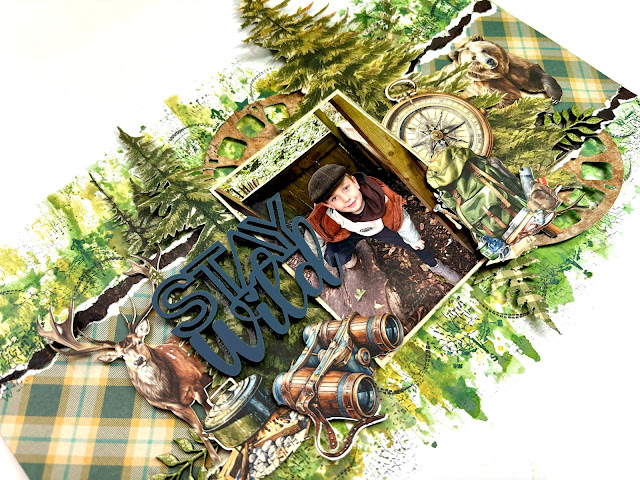
I begun with Paper 05, tearing a strip to sit horizontally across my layout. I then tore 2 thin strips of the reverse of this paper to sit above and below to provide some contrast. The photo I'm scrapping here is of my son in a wildllife hideout in the woods. We were trying to stay quiet so that he could see an elusive red squirrel! I wanted to translate this onto the layout, so selected Paper 01 and fussy-cut the trees from it, which I positioned either side of my photo.
Using the Paper Die Cuts, I built clusters either side of my photo. Sadly, there are no red squirrels in this collection, but I felt that the bear and stag worked well as we saw plenty of wildlife in the woods.
With my Cameo 4, I cut a viewfinder from Paper 04, cut it in half and used it above and below my torn paper strips.
For my title, I added an acrylic perspextive from my stash. At this point, I was going to call the layout finished, but I felt like it needed something more. I decided on some mixed media. It's been a long time since I indulged in some messiness so I made the decision to go 'all out'.
I began with my brayer and Distress Oxides in the shades Rustic Wilderness, Iced Spruce and Forest Moss. After applying the inks to some packaging, I spritzed with water and then ran my brayer over the ink. I then rolled this over a sheet of Premium White Cardstock. On top of this, I added some stencilling using a star stencil. I wasn't too keen on how this looked, so ended up covering most of it up with more ink! To finish off, I added some stamping using various different stamps and my Staz On black ink pad.
Once the inks and stamping was all dry, I was able to move everything back onto the page. Luckily, I'd stuck everything together initially, but not to the page. This meant I could easily move everything off and back on again in one single piece.
To finish off the layout, I added two raw chipboard leaf clusters from Dusty Attic. To elevate them, I covered them in Nuvo Crystal Drops in the shade Bottle Green. I love how this looks - it cracked slightly as it dried which gives it the same effect as crackle paste!
And yes... eventually we did see a red squirrel!
I hope you've enjoyed this layout. I really enjoyed working with something different and trying a new brand. I'll be back later in the month with a second layout.
Take care,
Rebecca x
@preciouspagespapercraft


No comments:
Post a Comment