I started by printing my photo to the exact size to fit in front of the window printed on paper #1. Using a craft knife I then cut into the printed picture so that my photo would slip into and become part of the picture.
Paper #1 (complete with my photo) was then trimmed down slightly and layered onto a sheet of paper #4 and then paper #3 leaving narrow borders around each. I like the effect this gives and it also introduced a little more blue to the layout.
Using one of the pieces from the Paper Elements Pack I then created some 3D stars to embellish the layout with. These are really easy to make with a 5 point paper star and a scoring tool. There is a good tutorial on how to make these here on the Doodlebug blog. They are quite addictive and you'll soon be adding them to your layouts.
I stuck the stars to my layout in clusters using some wet glue and once the glue has dried they held their shape quite well.
For the title I added some wooden words from Mintay's Chippies Christmas Words. I chose to leave the words in their original raw state rather than colour them, as I thought they went well with the colours in the papers.
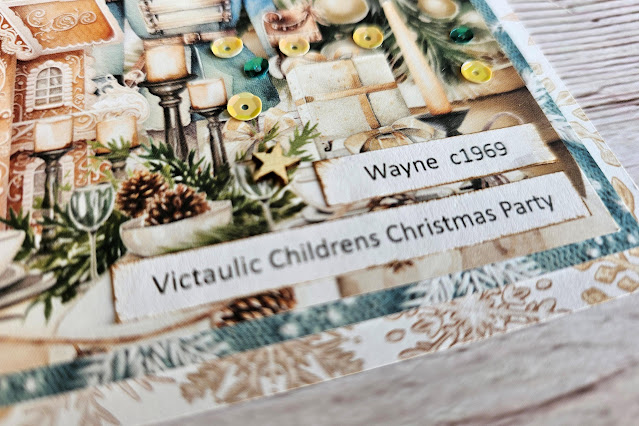
Finally I added some computer printed journaling strips at the bottom of the layout, and some wood veneer stars and sequins from my stash.
Hopefully this layout has inspired you to scrapbook your Christmas's past and I'll be back again soon with another layout using the fabulous Christmas Blessings collection. In the meantime I hope you have a lovely Christmas and a very happy and healthy New Year.
Take Care,
Karen x x


No comments:
Post a Comment