
Hello. Karen here today with my first project using the There is No Planet B collection from P13. This is the first time I've used P13 products and I'm really impressed with the quality of the papers and the images are beautiful. This collection is focused on recycling, saving the planet, and making sound ecological choices but it could be used to scrapbook so many different things. For my layout today I have chosen to scrapbook a photo of a pre-bedtime routine from my childhood.
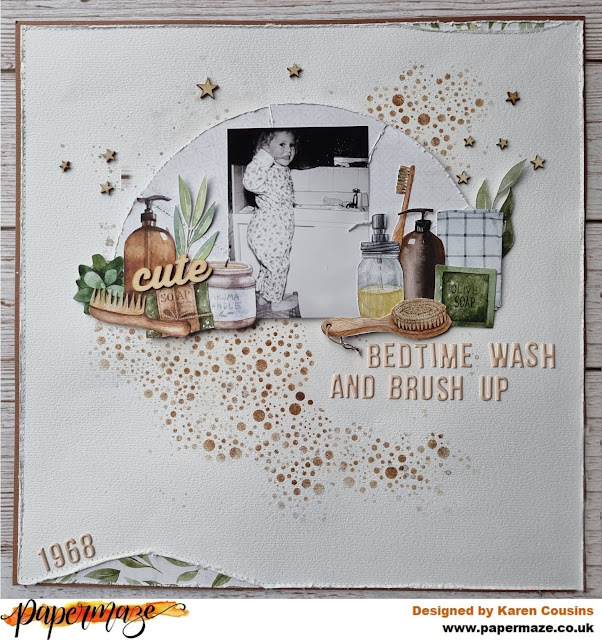
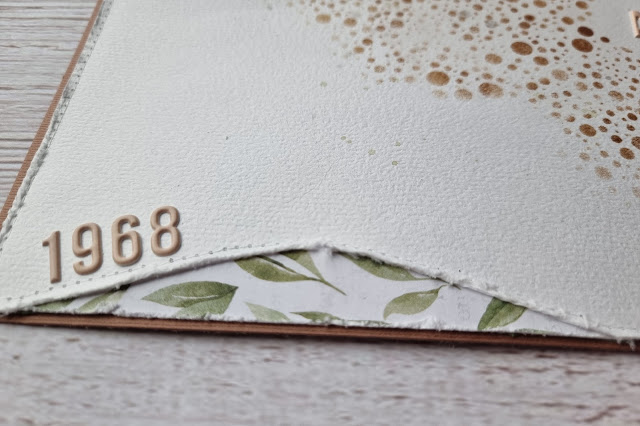
The edges were all distressed and the white cardstock was matted onto a a sheet of brown cardstock with pieces of paper #6 tucked underneath the torn sections so the pattern peeped out. Using white thread I machine stitched round the edges of the white cardstock using a straight stitch.
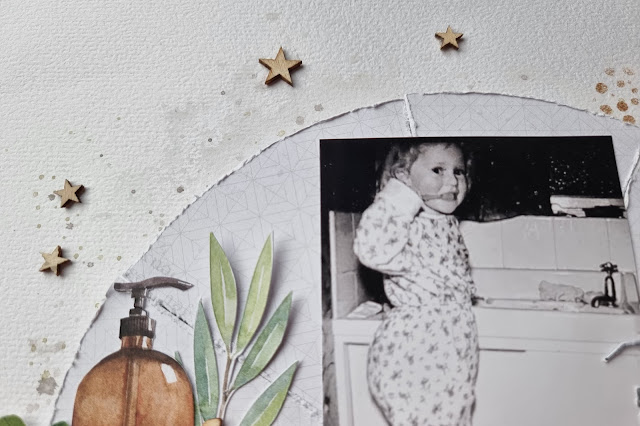
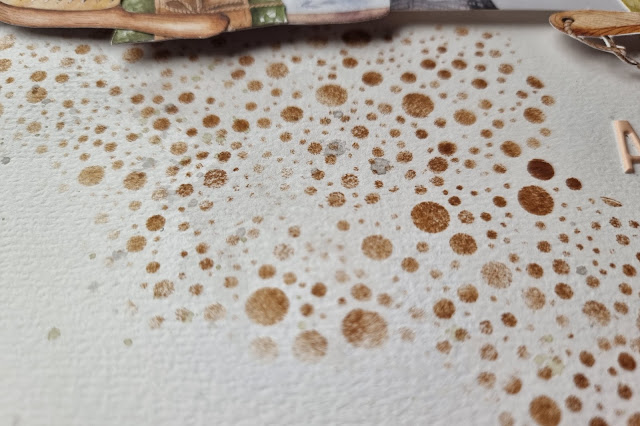
A semi-circle was cut from a piece of paper #4 and this was then sliced into wedges. The edges of the wedges were distressed and then the semi circle was reassembled on the layout with 3D foam underneath. Before attaching the semi-circle to the layout I smooshed some pale grey watercolour paint and splattered some grey and brown paint onto the layout, but this is very subtle in the finished layout.

My 3x4 black and white photo was placed on top of the semi-circle and I then got busy fussy cutting images from paper #7 and paper #3 . The fussy cut pieces were then arranged either side of the photo.
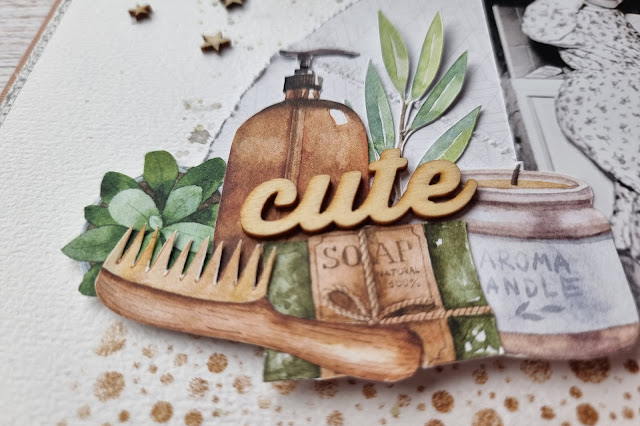
I also added a wood veneer word found in my stash on top of the images. The wood veneer was a perfect compliment to the colours of this collection.

The title was created using some puffy alpha stickers in a peach colour from Pinkfresh Studio and was placed below the photo cluster.
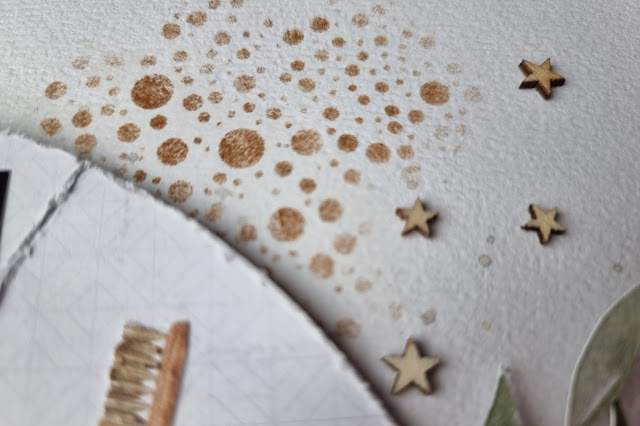
Finally I added the date in the lower left corner of the layout using more of the puffy alpha stickers and also dotted a few wood veneer stars above the photo.
I was really pleased how this layout turned out. The colours are far more muted than I would usually choose, but they were perfect for the photo I used.
Do pop over to the shop. You can see the full collection here.
Take Care,
Karen x x
No comments:
Post a Comment