Showing posts with label Bling. Show all posts

Friday, 15 April 2022

Simply Me .... using Simple Stories Vintage Lemon Twist

Hello again
Anita here with you today with a layout I have created using the vibrant and zesty Vintage Lemon Twist. Such a pretty and eye catching colourway and there are a lot of gorgeous co-ordinating stickers, chipboard elements, die cuts etc to compliment it.


 I tried various photos with this page and settled on this one of me ( with some kind help from a Snapchat filter!) I backed the page with a sheet of Easy Peasy on the lovely aqua coloured reverse side.

The zesty lemon gingham sheet is called Freshly Squeezed and really pops against the aqua blue!

I trimmed the sheet down to 29 cms square to leave a small aqua border all the way round and create a frame. I then cut a 24cms inner square from the centre of the sheet and started to distress all the inner edges of that square, with some small torn areas to add to the texture and effect. The aqua then showed through the gaps and created an inner frame. I often use this technique on my layouts as I really like the effect it gives.


From the sheet of journal elements I cut various parts out from different panels to embellish the page and used some whole panels to make a layered mat for the photo to sit on.


Bee Happy is lovely on both sides and I cut a few different sized circles out and rolled them to create rolly roses. If you google them you will find lots of tutorials to help you make some. I know they make your page VERY lumpy but they are good fun and the layout would look amazing in a deep box frame!


I added some fine mesh ribbon that I tucked in under the roses before sticking them on the page using my hot glue gun...I really love using this for larger embellies because of how fast it is and how strong it sticks.
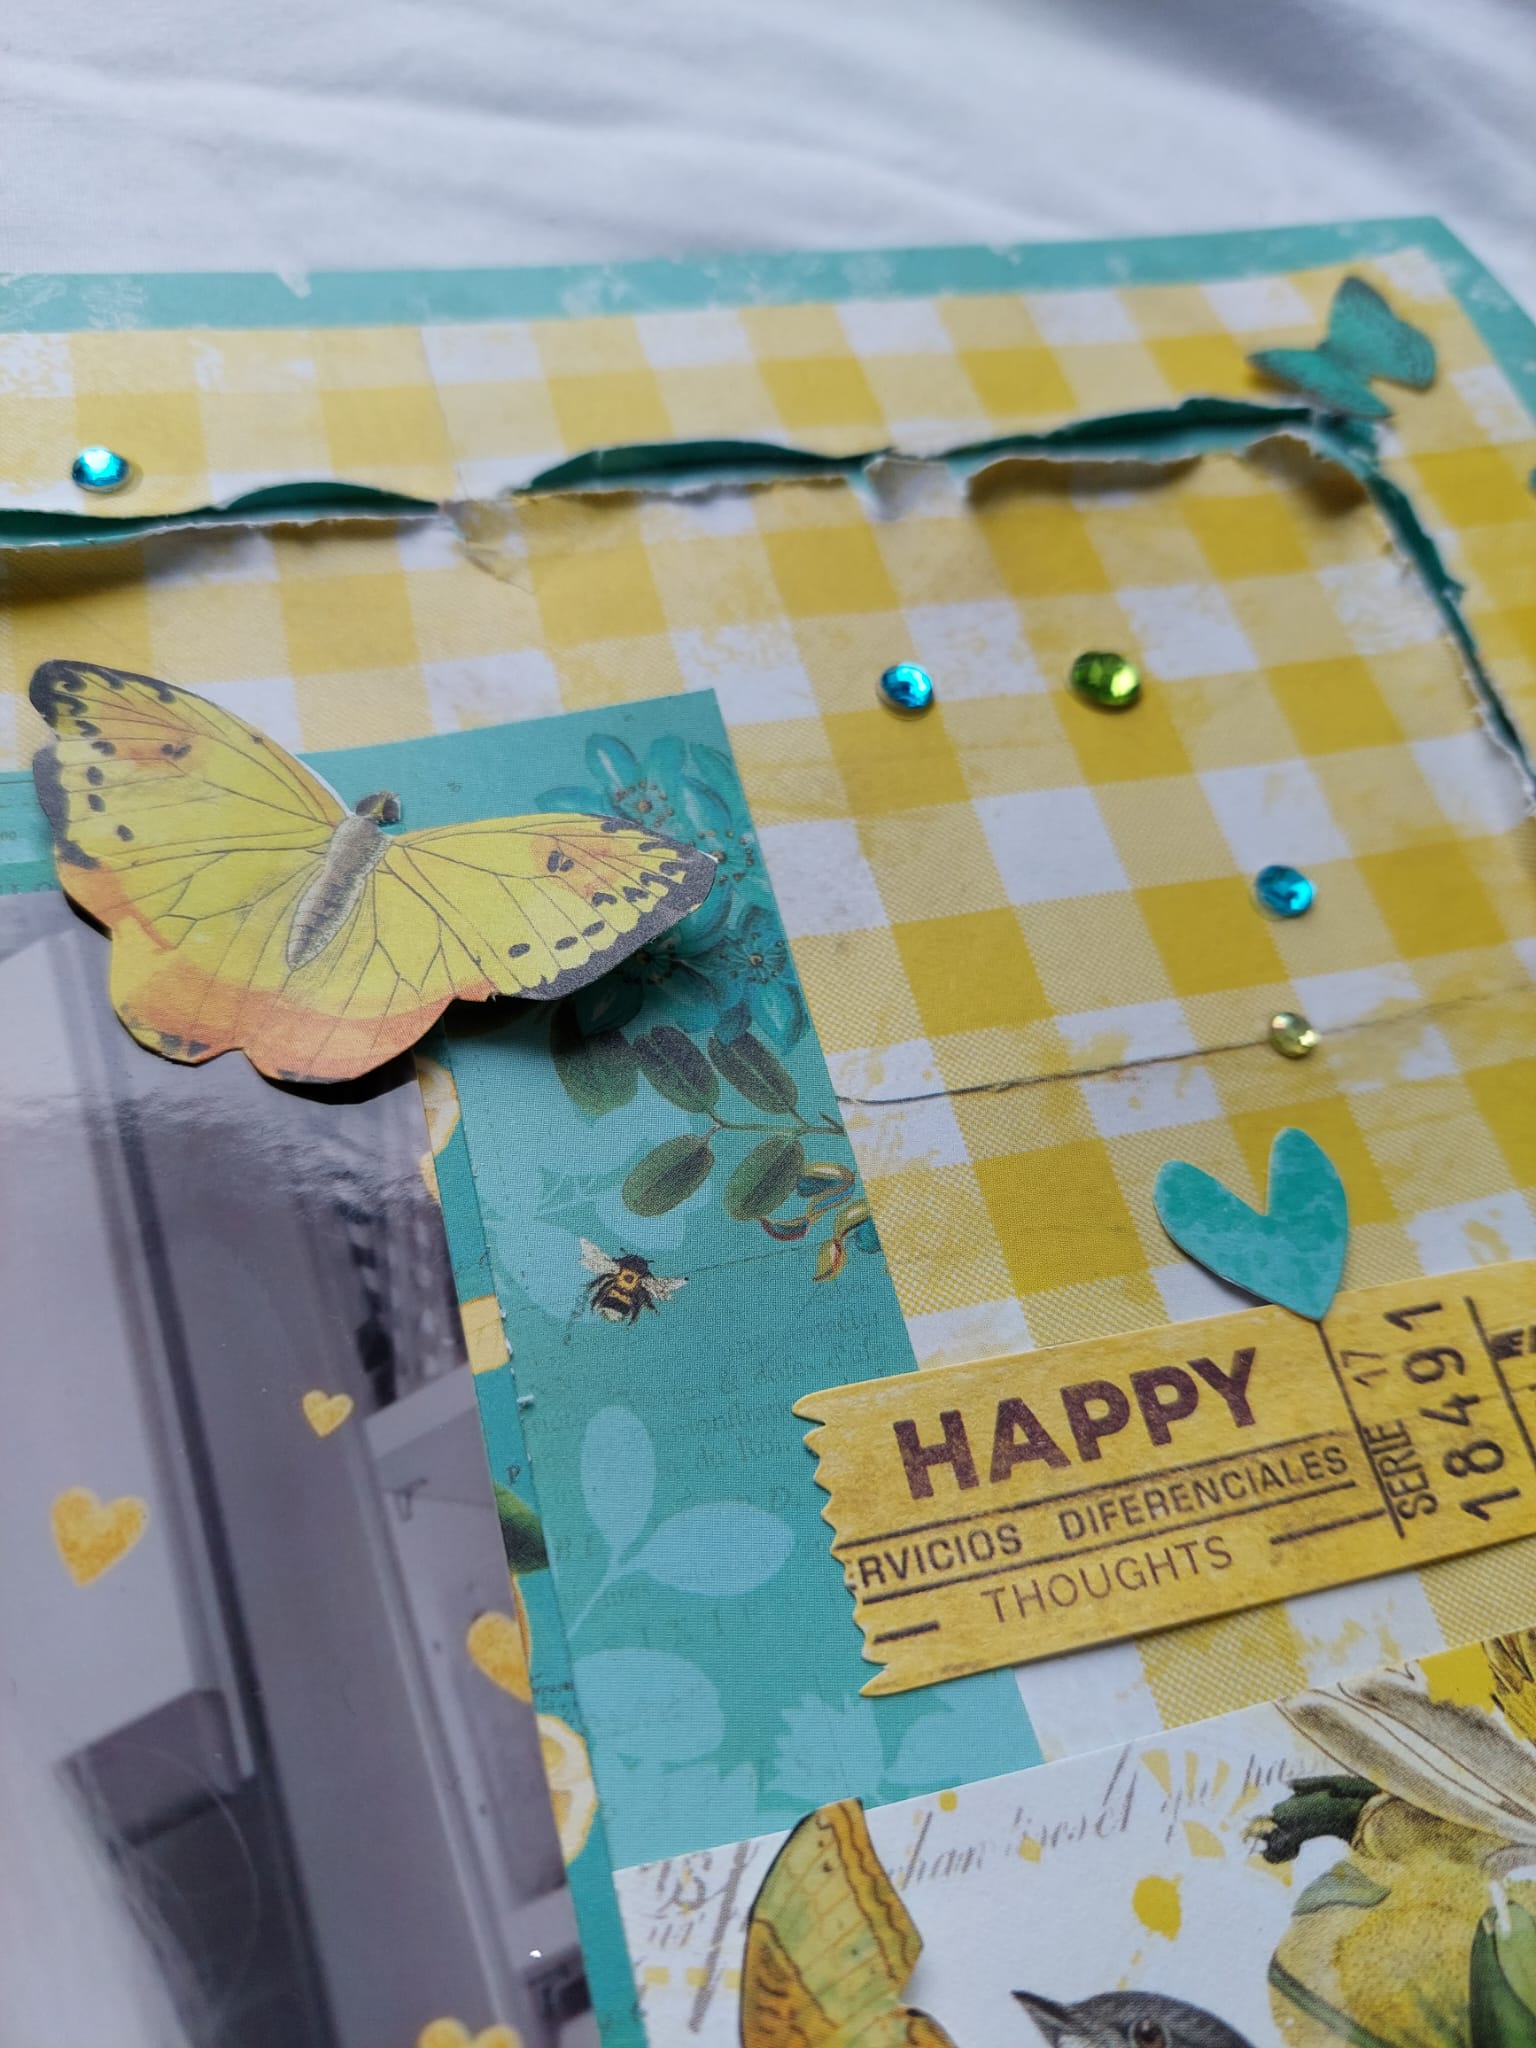
To finish off the page I added a few elements from the Bits and Pieces pack and of course a sprinkling of flat backed gems....jeez I love them ( and have a vast collection in many MANY colours!)


And that's it. I hope you have enjoyed seeing my page, I really enjoyed creating it.

Simple Stories is one of my favourite Manufacturers and there is a vast selection of their collections in the shop HERE...why not sit and have a good look yourself, there are themes there for literally every occasion.

Warmest wishes

Anita xx

Friday, 11 September 2020

Full of Sass ..... Kate and Ash # 4

Hello again,


Anita here with you today to end the week off. This is my 4th layout using Kate and Ash papers from Simple Stories and I thought I would veer away from the bright, funky colours and patterns in the collection this time and go for a monochrome page ( with a tiny little sprinkle of colour).


So I used just one sheet of Vanilla cardstock , one sheet of Girl Power patterned paper, a left over scrap strip from another sheet ( 3 x 4 elements )   and one single cut out panel from a sheet of  4 x 6 elements

......oh yes and half a sheet of black cardstock to mat the photo and also to cut a strip for making one of the rosettes.


I am not very good at keeping plain cardstock plain..... white space scares me if I am honest....so I have to splatter, distress or grubbify as much of it as I can normally.

After cutting the cardstock down to 11" x 11" I  used an old text stamp a couple of times, splattered some black acrylic paint all across the page and stamped all around the edge creating a stitched effect frame using 49andMarket Gabi's Line Stitches set


I matted the photo using black cardstock and cut a panel from 6 x 4 Elements  which I then matted using scraps of  3 x 4 Elements 

and inked the edges. 

Using some black Nuvo Drops and some Oyster Liquid Pearls I made spotted circles randomly about the page using cups and lids etc as templates. I accidently knocked the lid and smudged several dots on the left of the page hence adding a random rosette to cover the huge smudge!! most annoying, but savable thankfully!


I really love rosettes for embellishing a page, I know they are quite lumpy but I don't mind a bump or 2 here and there. I always just used to make them from scratch by hand, but these days there are a few different die strips you can get for making them....soooo much easier!!

So I made 4 die cut rosettes for the layout using strips of each of the papers and some black cardstock and my Tim Holtz rosette strip die. After adding a sprinking of sequins on the page I also added some coloured gems to the centres of the rosettes too.


Whilst I was rummaging through my old stash for stamps and dies, I also came across some REALLY old rub on books of alphabets by a company called Making Memories. To be honest I thought they might of dried out and broken apart, however they actually still applied really well and were great for the finishing touches to the page. Quite satisfying to use stash that was 17 years old!! Maybe they will become fashionable again....after all..... fashion does go round in a circle doesn't it apparently!


I hope you have enjoyed seeing my last layout from this versatile collection...I have enjoyed making it and its been really good fun breaking out very old stash to use with very new products.


If you pop over to the SHOP there are lots of new goodies coming in all the time and great selection of older products too with some real hidden gems scattered here and there in the stock. Its always nice to grab a cuppa and have a good look round to see whats about! Have a great weekend!

Warmest wishes

Anita xxx

Monday, 13 July 2020

Tans will fade ........ Kaisercraft Sunkissed

Hi There

 It's Anita here today with my 2nd layout using some Sunkissed papers from Kaisercraft
   I am not normally a scrapper who works on cardstock for a background ( too intimidated by all that white space! ) But I love how the vibrant colours in this tropical collection are really intense against the starkness of the white. Plus I only had a few little scraps to play with so white space just had to happen!


I started by stamping the rows of stitches on the top left and bottom right corners using 49 and Market Clear Stamps - Gabi's Line Stitch 
I really like this set of stamps, it contains 7 different sets of stitches and is very effective. I do try using the actual sewing machine but I normally end up with it chewing my layout up LOL!

And then set about some fussy cutting!


All of the gorgeous flowers, leaves, butterfly and that lovely toucan were cut from the sheet of Pineapple Sour
I cut the square frame apart to make it work around my photo. The colours in the original photo were lovely, however I had it printed in black and white so that it would contrast nicely against the vibrancy around it.
The 'Escape to Paradise' was cut from the reverse side of the sheet of Martini ( this is actually covered from top to bottom in quotes in all colours, very usable!)


Confession time now....... The sparkly bling was not on my original plan for this layout ( even though I normally use it on EVERYTHING I scrap) I was really trying to keep this page as clean and simple as possible. However....somehow I got a dirty mark on it :( and when I tried to wipe it..yep made it worse!
  So I needed something to cover it..... out came the bling...but then I had to sprinkle a bit here and a bit there. Only then I felt the flowers looked a bit plain...so out came the Stickles!!
At this point I knew I was then in danger of hitting the spray mist and paint and then the next thing would be NO WHITE SPACE! So I had to step back and sit on my hands! That was hard!


I really wanted to use some ink or paint though, so in the end decided maybe a title would be a good idea.


I had made a bit of a mess with my sprays and didn't like how it was going and was cleaning up using wet wipes. Have you noticed how nicely they smudge things? Actually I should probably say blend I guess.....sounds more artistic!!


I took a strip of white smooth cardstock and squirted 5 different Dylusions colours on the end, then took a wet wipe and dragged it across the strip....so pretty!! Well I thought so anyway.
I used the following colours
Squeezed Orange
Funky Fushia
Polished Jade
Lemon Zest
Fresh Lime


After it had fully dried I used an old metal alphabet template I have in my stash, to draw round and cut out. There are so many different colours available in ink sprays now that I think you should be able to match up with literally any papers you are using from any collection.
I will certainly be using this technique again ( especially as I have never been any good at blending inks when using sponges and pads etc)


I hope you have enjoyed my post. Why not pop over to the SHOP and have a look about. Lots of new things arriving all the time, but also there are some real treasures in the older collections too....something for everyone!
 I will be back later in the month to share with you again.

Happy Crafting Everyone!

Anita xx

Friday, 25 October 2019

Living on the Edge........ Ciao Bella


Hi There

It's Anita here with you today and I have a layout to share using the last of my Ciao Bella Sound of Autumn papers.
I have had an absolute blast with this page and I have let loose with everything grungy, inky, sparkly and sticky! And to top it all the photos are not even loved ones of my family or friends....oh no....it's just a lowly little snail who was minding his own business in our back garden!!


I only used 2 sheets of paper for this page, for the backing sheet I used the reverse side of a sheet of  'All at Once Summer Collapsed into Fall'
And for the front page I used the reverse side of a sheet of 'The Sound Of Autumn' 
I cut a random and uneven wavy edge all the way round the outside edge of the sheet and used a Distress Stain in Brushed Corduroy that I dragged all around the edges of the paper.


I also used it to dab large random splats across the page and then let loose with various Tattered Angels Glimmer Mists using Olive Vine, Coffee Shop and Walnut Gold. 
    I sprayed them randomly and also into small puddles, then I tipped the paper to create drizzles down the page.


In my DT kit there was a Creative Expressions Mini Stencil, it was the Shabby Harlequin design and I used this combined with some Tattered Angels Glimmer Glam ink in Expresso Bean that I dabbed through the stencil using some sponge.


I also sprinkled lots of Gold UTEE in patches and heated from underneath to melt it.
After matting the 2 photos on cardstock I used gilding flakes around the edge and also in patches on some blossoms to make them co-ordinate.


I cut the title using the Big Shot and some Sizzlets in mixed fonts and then after sticking them on the layout I decided to use Ranger Stickles in Unicorn over the top of them.....it reminded me of the sparkly snail trails you see after they have climbed a wall!!


I added a metal buckle, some lace and a small wooden pennant.


And finished the whole page with a generous splattering of crystals, Dew Drops and blobs of Distress Stickles and Liquid Pearls in various colours.


I have really enjoyed getting messy with this page....and even though the photos were not of anything special or meaningful I very much appreciated the creative process involved. Sometimes its just nice to let loose a little.

Wishing you a super scrappy happy weekend!
Warmest wishes
Anita xx

Monday, 23 September 2019

'The Sound Of Autumn' a couple of cards...Ciao Bella

Hi There

 It's Anita here with you today and just for a change I have made a couple of cards to share with you. I have used the stunning new collection from Ciao Bella, The Sound of Autumn 

Autumn is my most favourite season of all. I absolutely LOVE the colours and how they change, the gorgeous scent in the air and the golden haze of the sun and how it lights the trees.
I was delighted to see this gorgeous new selection of papers and as I wanted to make a birthday card for a lovely friend who also loves Autumn, I just knew that this was the perfect opportunity.


Both cards were based on ivory coloured 6" x 6" card blanks and each element was matted on gold mirri board ( something I very rarely use, however I felt it worked well with these papers)


I used some Stampendous Frantage Embossing Enamel in Gold and lightly sprinkled some loose onto a couple of areas. I then heated from underneath until the granules melted and turned to liquid gold ( it takes longer than heating normally from above, however normally you would use an embossing ink to hold the powder in place where as this is loose and would instantly blow away)


It gives a nice random effect this way and just leaves little scattered sprinkles. I chose some different panels and elements from different sheets, mounted them on mirri board and layered them up. Some were raised on foam pads to create dimension and I added a gold glittery doily in between the layers.
The card was finished by adding some gems and bow made from raw taffeta.

The 2nd card was made the same way just with different elements, ribbons and trim. And again I used the same technique with the Stampendous Frantage Embossing Enamel except this time I used Silver aswell as the Gold


Between the 2 cards I used these sheets of papers :

The Sound of Autumn - Autumn Cards
The Sound of Autumn - Autumn Tags
The Sound of Autumn - All at Once Summer Collapsed into Fall


Ciao Bella have created an amazing selection of papers and you can see the stock carried in the shop HERE

At the moment the SUMMER SALE is till on, so why not pop over and have a good look and grab a bargain before the sale finishes.

Happy Crafting!
Warmest Wishes
Anita xxx

Monday, 23 April 2018

Prima - Amelia Rose part 2 ......... Wast Water

Hello There,

 It's Anita back again today with another layout using the scrumptious and richly foiled Amelia Rose collection from Prima.This time I am scrapping a photo to create another page for our Silver Wedding Road Trip Album. 4 days of our road trip round the UK in September of 2017 were spent exploring Cumbria, which was utterly beautiful. The place I fell most in love with was Wast Water, truly breathtaking scenery and a day I will never forget. I will make this into a double page at some point, with the second page being much simpler, but with a lot of photos on it and journaling too.


So, I based the layout on a sheet of A Little Bit of Ink  This is such a fabulous, inky, messy, delicious paper with a generous splattering of rose gold/copper foiling across it.

 I used an old script stencil I had in my own stash and scraped some texture paste across it, just across the top of the layout and down part of the left hand side ( but then ended up covering most of it with photos and blossoms!!)


The photo of us was matted on a scrap of Lovely Scribbles 
and I cut out some tickets from the sheet of Ticket Collector I tucked these around the edge of the photo. I also placed a die cut doily under the photo, with just a small amount showing.


In my kit I had a lovely antique looking book plate, so I popped in a crystal heart cabochon and dribbled some glue before pouring over some copper/gold/silver mix micro beads and adding another crystal heart at the end of the lace strip.


Then I set about adding blossoms....lots of them, in all different colours and also adding some punched out leaves clusters ( Martha Stewart Punch) I popped some flat backed faceted dome stickers in the centres of some of the blossoms and some stems of pearls, I even added a chiffon flower that I had salvaged from a pair of my daughters sandals that were destined for the bin!! Waste not want not!!


I finished off by adding a Dusty Attic Crystal swirl ( which I cut into 2 pieces to make it go further)
and made a title using some copper foiled chipboard letters, again from my stash.


This is such a stunning collection of papers....and there are plenty more glorious new Prima collections in the shop.

Thanks for looking.....and Happy Scrapping! xx

Warmest wishes
Anita xxx

Wednesday, 28 February 2018

Fairie Dust......... Graphic 45

Hello again,
It's Anita here today with a layout using the magical Fairie Dust Collection from Graphic 45.
Apologies first of all for the poor quality of the photos, my camera is not being very kind to me at the moment so I am having to rely on my phone instead. The colours are more vibrant and exciting on the papers than they appear here.
Graphic 45 bring out the most wonderful collections of papers and they are all very *busy*, with lots to see and intricate detailing. This fabulous range is full of tiny fairie folk, pretty florals and magical toadstools surrounded by gorgeous pinks, azure blues, lilacs and touches of lime green.

My beautiful niece had a fairy photo session several years ago as a baby and I have waited for the right papers to use with the photo of her....so these were perfect!!


I took the sheet of Fairie Dust and gutted the centre out, this creates a natural frame, which I fussy cut in places leaving the Violets and Whitebells in place around the edges. A sheet of Blue Calypso cardstock was popped behind the frame and I gently sponged some Icicle Stickles across the card.
From the remaining part of the sheet I fussy cut the large fairy and the large toadstools with tiny fairie folk on them.


The photograph was originally a 10 x 8, so I trimmed to roughly an 8 x 8 square and placed in the centre of the layout.  Using some Stardust Stickles I enhanced my niece's wings and also the flying fairy ( no such thing as too much sparkle right??)


A scattering of toadstools were fussy cut from a sheet of Tiny Toadstools 
and I cut a quote strip from a sheet of Magic Wishes which I then chopped into smaller sections. Along with the fairies and toadstools that were also fussy cut earlier, I placed them about the page, raising some on foam pads to add a little dimension


I made a cluster of flowers on the top right of the page using a mix of paper, resin and velvet flowers. There is a lovely choice in the shop here and here


To finish the page off I added a sprinkling of iridescent tiny crystals and lots of sparkly Stickles to highlight areas.
 I really enjoyed working with these papers and have another project I would like to try with them, so I will be back next month with that to share.
You can see the whole Fairie Dust Collection here and to see the rest of the fabulous G45 ranges available in the shop then pop over here

Happy Scrapping
Anita xx

Sunday, 28 January 2018

Prima Zella Teal......pt 2...Enjoy Every Moment.


Hi There

It's Anita today and I have my last post for the month. I have been using up the rest of my Zella Teal papers and stickers from my Design Team Kit for this month. Such yummy papers with lovely colours and the addition of holographic elements that really capture the light and shimmer and change colour beautifully.


I decided to use another photo from our Silver Wedding Anniversary Road trip from last year, this time from our visit to Aysgarth Falls, happy memories of a wonderful day.

The page is based on a sheet of 'Offset Dot' and then a slightly cut down sheet of 'Floral Stories' which I flipped over and used the spotty reverse side. I dribbled some blobs of Cosmic Shimmer Mists in 2 colours and then blew them randomly across the page in different directions.


I popped a length of white cotton lace across the page and made a couple of loopy embellishments out of aqua coloured twine.
Next came a sheet of 'Live Loudly' which has lots of different little elements and sayings on in various shapes and sizes. I cut out a variety of them and created a border up the right hand side of the page popping some of them up on foam pads and leaving some flat to the page.


I also had a small sheet of 'Word Stickers' in my kit, so used a few of them in various places and also added a scattering of pearls and gems ( I LOVE a bit of bling on my pages!)


I think this has to be my new favourite collection from Prima....... such a pretty colourway and lovely designs.

Thanks for looking today and don't forget to pop along to the shop for all your stash requirements, lots of new goodies coming in all the time.....and of course, lots of favourites and best sellers always available in the shop too.

Warmest wishes
Anita xx