Showing posts with label Happily Ever After. Show all posts

Wednesday, 23 June 2021

Simple Stories - Happily Ever After - Stop, and smell the roses

Hi Everyone!

Claire back here with you, and as promised, today I'm sharing my second layout with the Simple Stories Happily Ever After collection. This time, I have used the collection for a non-wedding page.  In addition to that, I have chosen to use pink and florals to scrap a man page, featuring 'Mr Claire' (affectionately nicknamed by me - although his nicknames aren't always that favourable!)


I started with a piece of Smooth White Premium Cardstock to use as my base.  I covered the majority of the page with the stunning Kiss Me (foiled) paper, which is truly gorgeous - my photograph really doesn't do it justice.  Its a beautiful pink shade with a lovely foiled diagonal criss-cross pattern that gives a real luxurious feel.

I sliced off the bottom corner and trimmed the edges before adding a stitched border and folding the edges up for extra texture.


Once I had decided I would build my photo and clusters in the centre of the page, I added some distress oxide, applied with a brush in colour Tattered Rose, to the white cardstock, positioned under where my central cluster would lie. This colour of oxide ink is the perfect match for this collection (no pun intended!)

I printed my photo in black and white, and layered it up with tissue paper, the b side of the 2x2 and 4x4 Elements Paper and the Just Married paper, distressing the edges and layering them just off centre behind the photo.


To form the basis of my title, I cut a card from the Journal Elements paper, and trimmed the top to remove the 'Memories of this day' phrase. This made the card much more generic and the flower design on the card then worked well with my design.

I again layered this on a piece of the green patterned paper from the elements sheet and distressed both edges. I added a few florals from the Combo Sticker sheet and Bits and Pieces ephemera pack along the side.

The title uses glitter alphabet stickers from my stash.

Next, I cut two tags from the Tags paper. This is always my favourite sheet in a Simple Stories collection. I just adore their tag papers and always find a way to include them on my layout.

I added machine stitching to them both along with some gold twine and then arranged them behind my photographs.


To balance the bottom of the cluster, I added a "Hey There, Handsome" square which I fussy cut from the 2x2 and 4x4 Elements paper, added a stitched border and distressed the edges before raising it on foam pads. 
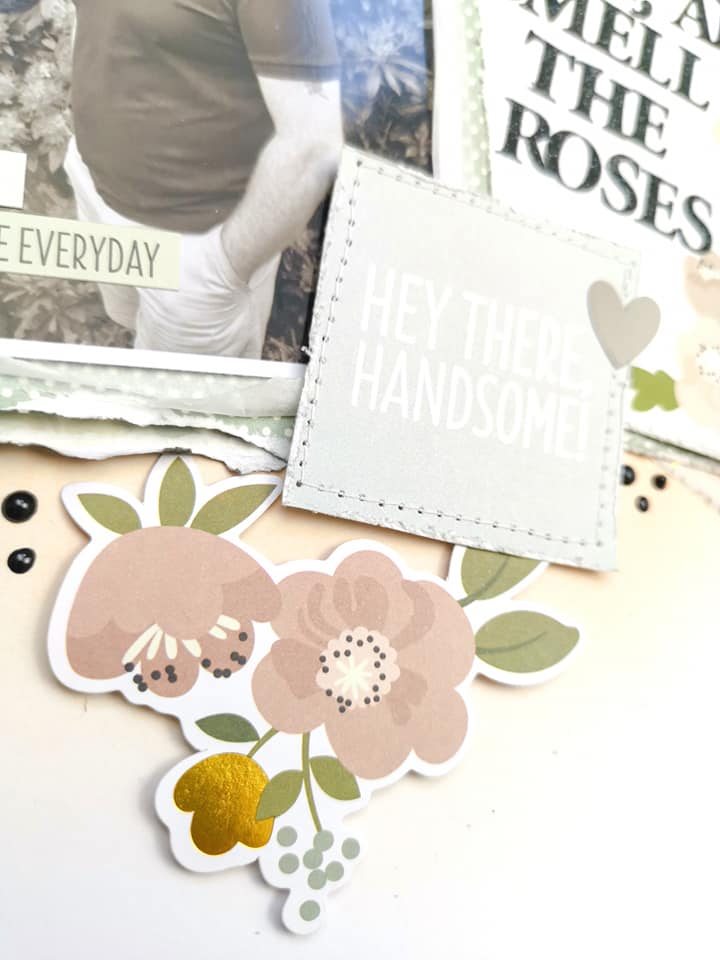

Underneath this, and also to the left of my photo, I added some floral clusters from the Bits and Pieces pack and a some word stickers from the Combo Sticker sheet.


To finish the page, I added some black Nuvo Crystal Drops around my clusters to help ground the layout, and that was it - Page complete!

I hope you've enjoyed seeing this collection and can see how versatile it is. 

There are some truly beautiful, very pretty wedding themed elements which would make documenting that special day so precious. However, similarly, there are an abundance of gorgeous florals that really can be used to document a whole host of layouts.

It has been a real pleasure to use it and share these pages with you.

Until next month, take care.

Claire

xxx

Monday, 7 June 2021

Simple Stories - Happily Ever After - Mr & Mrs

Hi Everyone,


Claire here with you today sharing my first layout with the stunning Happily Ever After collection from Simple Stories.  You can find it in the shop here - it is beautiful! Full of wedding themed papers and ephemera, and lots of pretty florals that can be used for a whole range of different layouts, not just those special wedding stories.


I started with a piece of white cardstock from the Matchmaker Pack and added some pale pink Distress Oxide in Tea Dye through a small hexagon stencil. I then cut a large hexagon from the We Do paper to form the main anchor for my page. I distressed the edges and added a row of machine stitching for extra interest.

Next, I punched some smaller hexagons in a variety of papers - I used the 2x2 and 4x4 Elements Paper for the green hexagons and the Just Married paper for the black.  I thought about adding stitching to these smaller shapes, but thought it may overload them slightly. Instead, I distressed the edges and rolled up the corners to give a little extra dimension and help them to stand off the page. 


I arranged these around the large hexagon in a triangular shape, to help frame my photo, raising them on foam pads.

Next, I backed my photo with Tie the Knot and a layer of white tissue paper. To the top of this, I added a beautiful black and white striped tag from the Tags paper and began to add floral clusters from the Bits & Pieces pack. They include some beautiful gold foiling which makes the page feel that little bit extra special.


Offset against the photo, I placed another tag from the Tags paper, machine stitched around the outside to give it a subtle border and added a gold eyelet from my stash.


For my title, I chose to use a die cut from the Bits & Pieces pack - a banner saying "Mr and Mrs" and two die cut doves.


To finish the page, I scattered some small die cut flowers, sequins and Nuvo Vintage Drops in Dusty Rose and also added a stitched border around the outside of the page.


I really love how this turned out. The beautiful pinks and greens are so soft and subtle, with a bit of added drama from the pops of black and the gold foiling.  

Next time, I will be back with a non-wedding themed page using this collection to show off its versatility - Until then, take care.


Claire xx