
Lynn here today, sharing the second set of DT layouts I have made with the January Papermaze kit. This time I extended my first layout over two pages to make a double, featuring Christmas and a single with a winter theme.
.jpg)
Before looking at how these layouts were made, here is what you will find in the kit:

Patterned Papers:
49 and Market - Vicki Boutin - Curiosities in Willow Grove - Starters Paper 7
49 and Market - Vicki Boutin - Mistletoe & Memories - Staples Paper 5
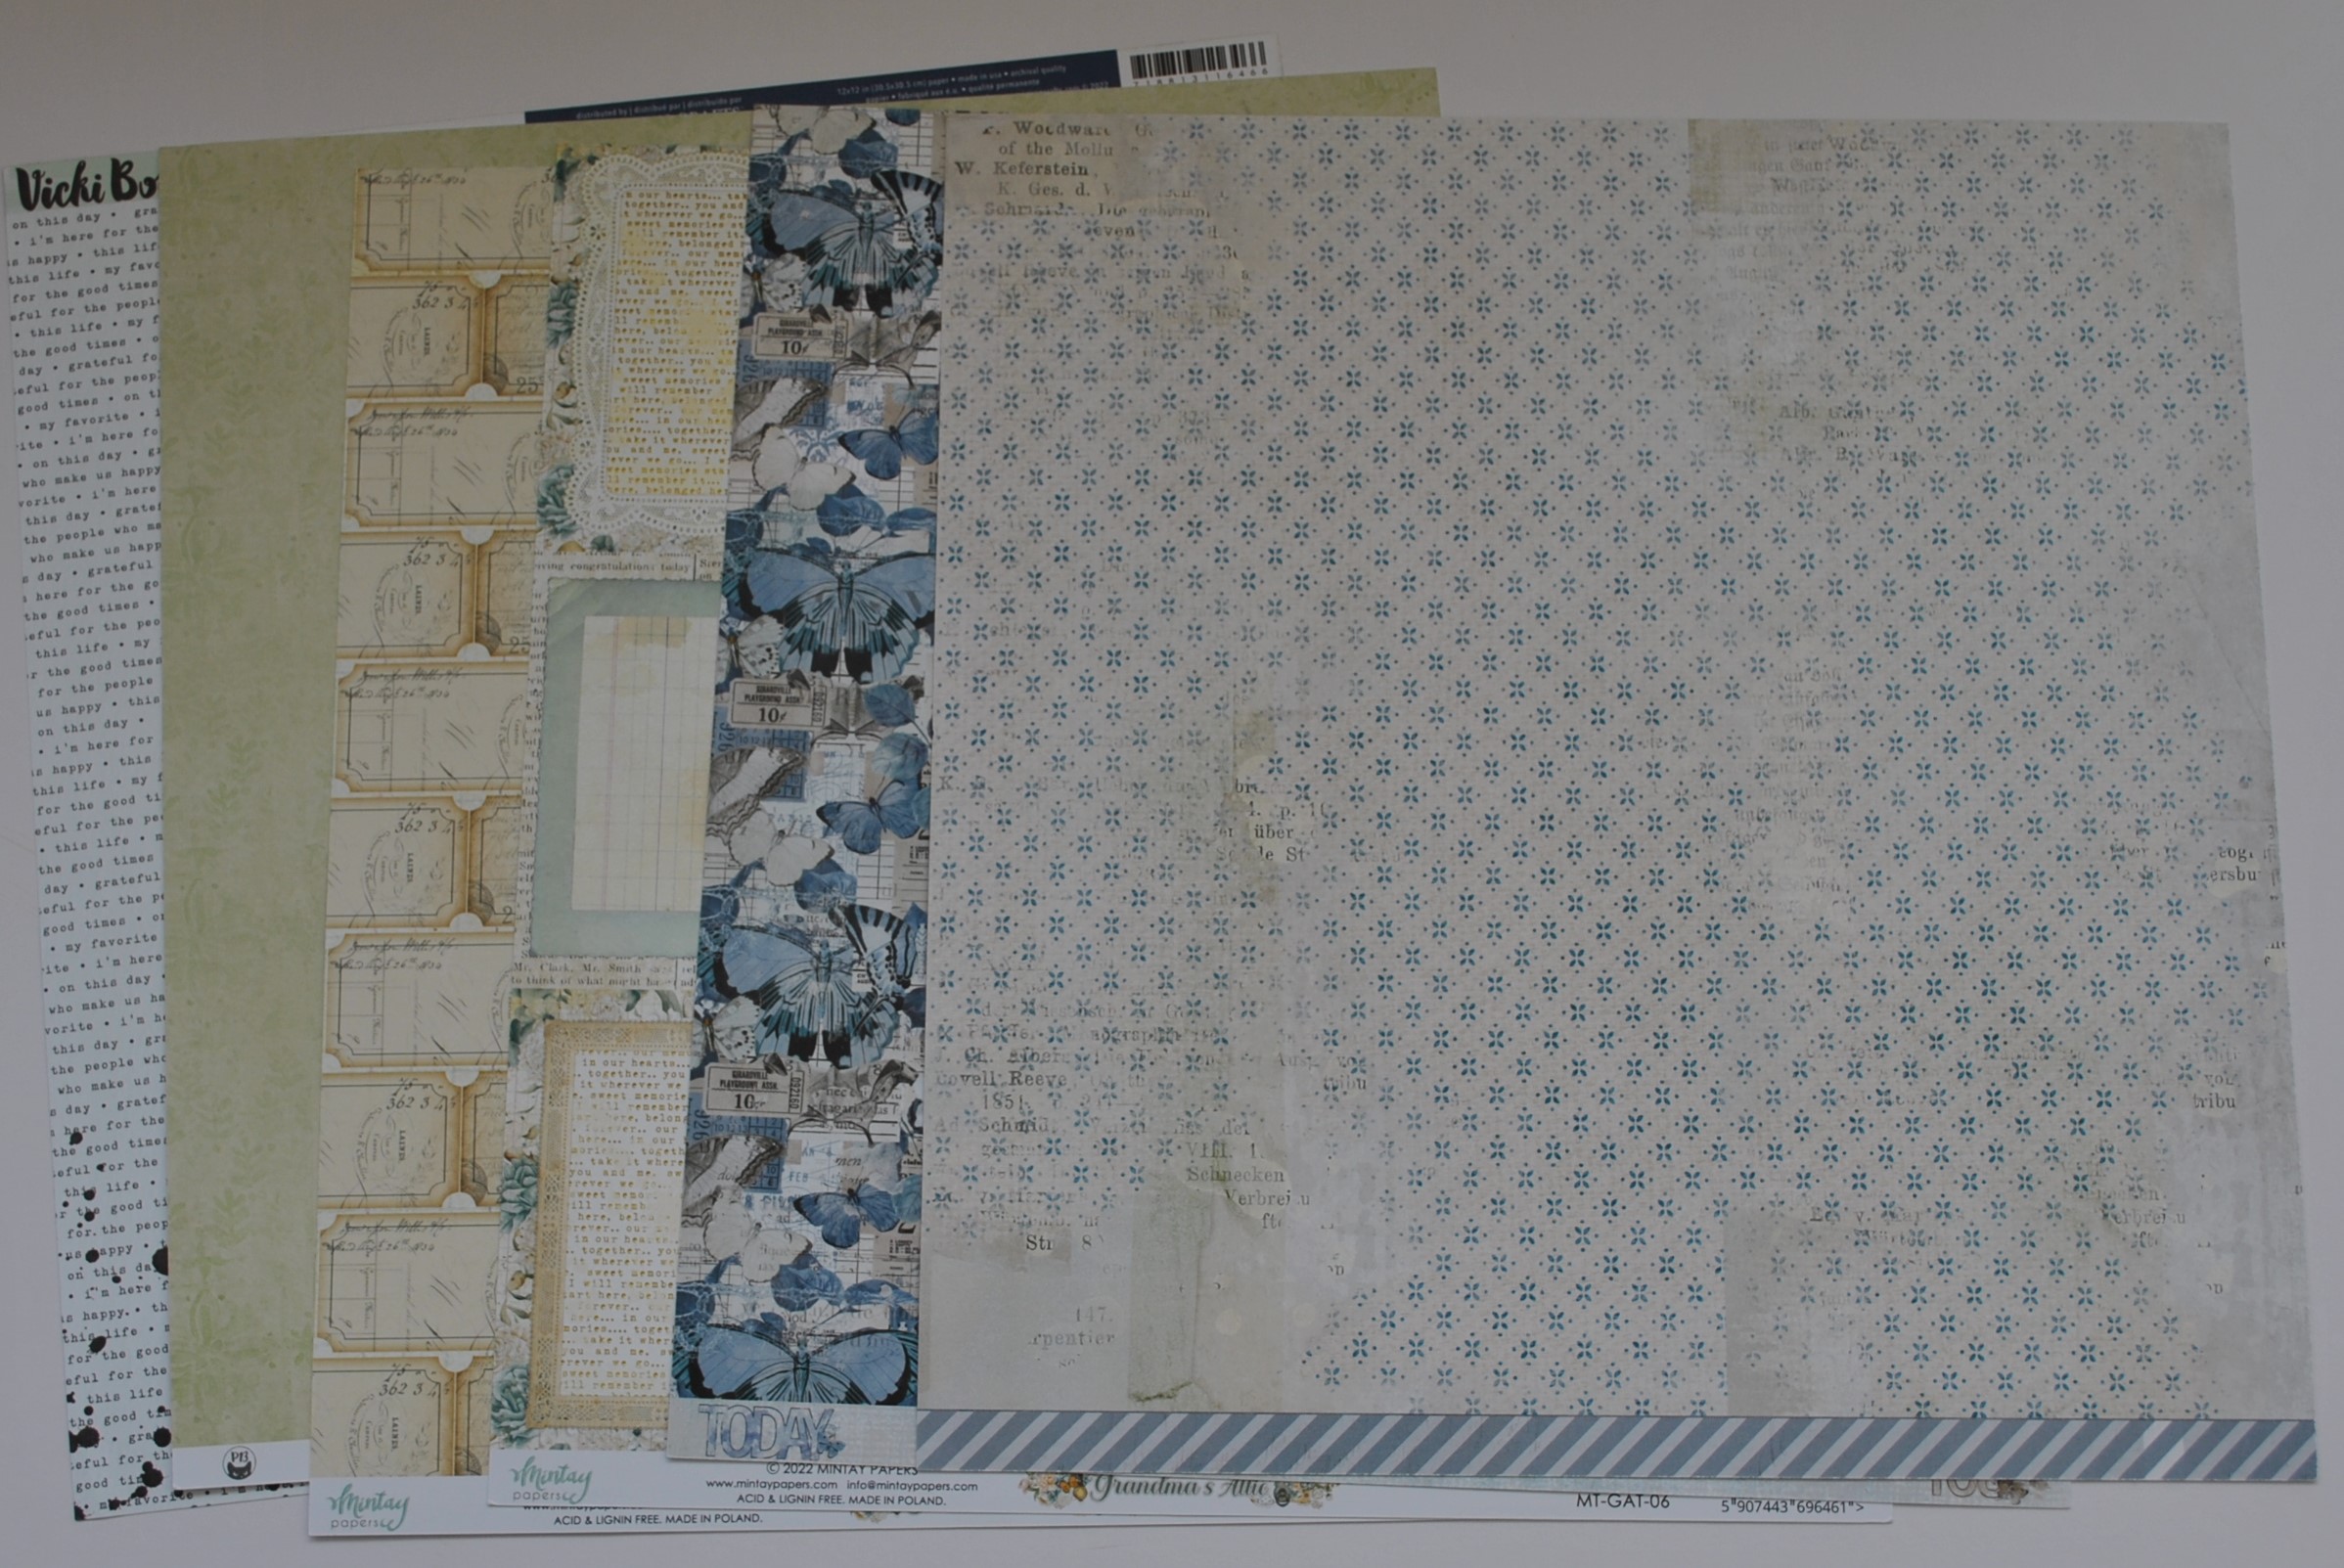
Mintay Papers - Cottage Heart - #04 & #06
Echo Park - Snow Day - Cozy Plaid
Graphic 45 - Deck the Halls - Calm and Bright
The photo below shows both sides of the patterned papers:


Pink Paislee - 5th & Monaco - Puffy Words
Craft Consortium - Enamel Dots
Rosie's Studio - Full of Wonder - Snowflake
Nellies Choice - Snowflake Stamps
Buttons Galore Sparklets - Starry Sky
Prima - The Home Baker - Ephemera
Super Ribbons - Blue Ribbon

Bazzill Basics Cardstock - Touch of Pink, Evening Surf (included in kit), Jade, Aqua, Twill and Coconut Swirl.
Merry & Bright -
Several photos of my grand-daughter at home on Christmas day, with her
mum and dad. I had plenty of papers left over after the first page, so
changed the orientation and with another sheet of white Bazzill, I made a
second layout to include my favourite five photos of the day.
.jpg)
.jpg)
.JPG)
With the Coconut Swirl Bazzill from the kit, and without sticking anything down, I cut and arranged the placing of papers, before proceeding to the stencilling. I tore a strip (about 4" wide, spot side up), from the sheet of Staples Paper 5 and placed this vertically down the centre of the Bazzill. Then I turned the Staples Paper 5 to the textile side and tore another narrower strip to tuck under the first. I also used a scrap of Cozy Plaid left over from my first two layouts. I tucked this in line with the others.
.JPG)
I removed these papers from the Bazzill, and with the Tim Holtz Layering stencil (THS029 Festive), I worked some berries, leaves and cones onto the white background, vertically down the page so it will flow from under the papers. Distress Oxide inks and a blending tool was used for this - I chose Iced Spruce, Weathered Wood and Peeled Paint. I spritzed more of the inks watered down, over the left side of the page.
.JPG)
While the ink was drying, I stitched along the straight side of the Staples Paper 5 with some gold metallic thread. Then all the papers were glued into place , together with the photos.
.JPG)
The title and some phrases for both pages are chipboard words from 49 and Market's Evergreen Season collection.
.JPG)
I made some bauble decorations for the layout using some Scrapiniec light chipboard pieces. I inked them with Distress Embossing Ink then coated them with several coats of Distress Embossing Glaze in Weathered Wood and Peeled Paint.
.JPG)
I glued the baubles to the page, and added narrow gold ribbon hangers down the page to each bauble. I cut bows using the Jade Bazzill, and Tim Holtz, Sizzix, Thinlits Wreath and Snowflake Set. I placed a gold dome sticker in the centre of each bow.
.JPG)
Finally, I scattered the Buttons Galore Sparklets - Starry Sky over the page.
.JPG)

Winter Wonderland - Florence loves to be outside, whatever the weather, here she is all rosy cheeked on a cold day early in January.
.jpg)
I chose the Calm and Bright paper for this layout, and liking both sides, I cut the paper in two! I used the white print at the top of the page (12" x 5"), and the blue print at the bottom (12" x 7"). I glued these to a spare piece of 12" x 12" paper, to hold them back in place as one sheet.
.JPG)
I mounted my photo onto some white card, and glued this in place onto the layout, omitting any glue from the edges, allowing me to tuck embellishments in later.
.JPG)
Here is where I went to town with some stash busting from my winter / Christmas stash. I used some cardstock stickers from Doodlebug Designs Frosty Friends collection for the scalloped border and the trees. I chose white pom-pom braid, and used this with the scalloped border sticker across the centre of the page where the papers were joined.
.JPG)
I created Mr Frost with a Tim Holtz Sizzix Thinlits die set and a selection of scrap cardstock. I selected colours to match Flo's hat and coat and the papers. I attached him with 3D foam pads.
From the kit, I chose the Craft Consortium - Enamel Dots to add decorations to the trees, and the Rosie's Studio - Full of Wonder - Snowflake was placed at the top left of the photo.
.JPG)
I created my title with some silver glitter paper and the Spellbinders, Say Cheese, Classic Mouse Alphabet die set for the word 'Winter'. Then I added ' Wonderland' with some Doodlebug Designs Alphabet Soup alphabet stickers in Lily White.
.JPG)
In my stash I found some old 'peel-off' snowflake stickers, and scattered these over the blue area of the paper.
That's all from the January kit, off to make a start on the February kit now!
Thanks for looking.
Lynn x




.JPG)
.JPG)
.JPG)
.JPG)
.JPG)
.JPG)

.JPG)
.JPG)
.JPG)
.JPG)
.JPG)
.JPG)