Showing posts with label paper rosettes. Show all posts

Monday, 15 June 2026

Mintay Paper - Summer Highlands - Crimson Days

Hi everyone, Karen here. I’m so excited to be creating with the gorgeous Summer Highlands collection from Mintay Papers this month. If you love peaceful holidays in the countryside and outdoor adventures, this one is for you. The colour palette is a beautiful mix of reds, browns, beiges, and creams, packed with images of mountain landscapes, vintage maps, daisies, poppies, wild strawberries, hiking boots, cameras and lots more.


For my first layout I trimmed paper #4 and layered it onto red cardstock to create a narrow border. After adding some black paint splatters to the background, I let it dry completely before adding anything else.


Next, I machine-stitched a straight line around the edge using red thread, then glued down some red gingham ribbon from my stash just inside the stitching for a double-border look.


I matted my square photo with paper from the 6x8 Add-On Paper Pack and placed it in the top right corner.


Using more paper from the Add-On Pack and some red cardstock, I created eight rosettes in varying sizes. A tip when making rosettes - always use hot glue to secure your rosettes! Because it dries quickly and holds strongly, you can easily gather the centre of your paper fans without them springing open.


In the centre of each rosette, I attached some old Card Candi from my stash (buttons, enamel dots, or gems would work perfectly too). I then clustered the rosettes around the photo, mixing up the colours as I went.


I cut some poppies from paper #10 and tucked them under some of the rosettes.


I cut a title on the Silhouette from red and cream cardstock and placed this in the top left corner fo the layout.


For journaling, I printed the "where and when" onto a tag, tied it with twine, and layered it on top of one of the rosettes.


A few scattered enamel dots finished off the layout.

I'm really enjoying this collection and look forward to sharing another project with you soon.

Take Care,
Karen x x

Monday, 27 March 2023

American Crafts Blooming Wild by Paige Evans - Hello There Cutie

Hello. Karen here again with my second project using the fabulous bright and cheerful Blooming Wild collection by Paige Evans for American Crafts. I love this collection! The bright colours really making me happy. For today's layout I have used a favourite photo of my daughter from quite a few years ago and paper #10.

Paper #10 is full of colourful strips of different widths and I started by cutting apart all the strips using my paper trimmer.


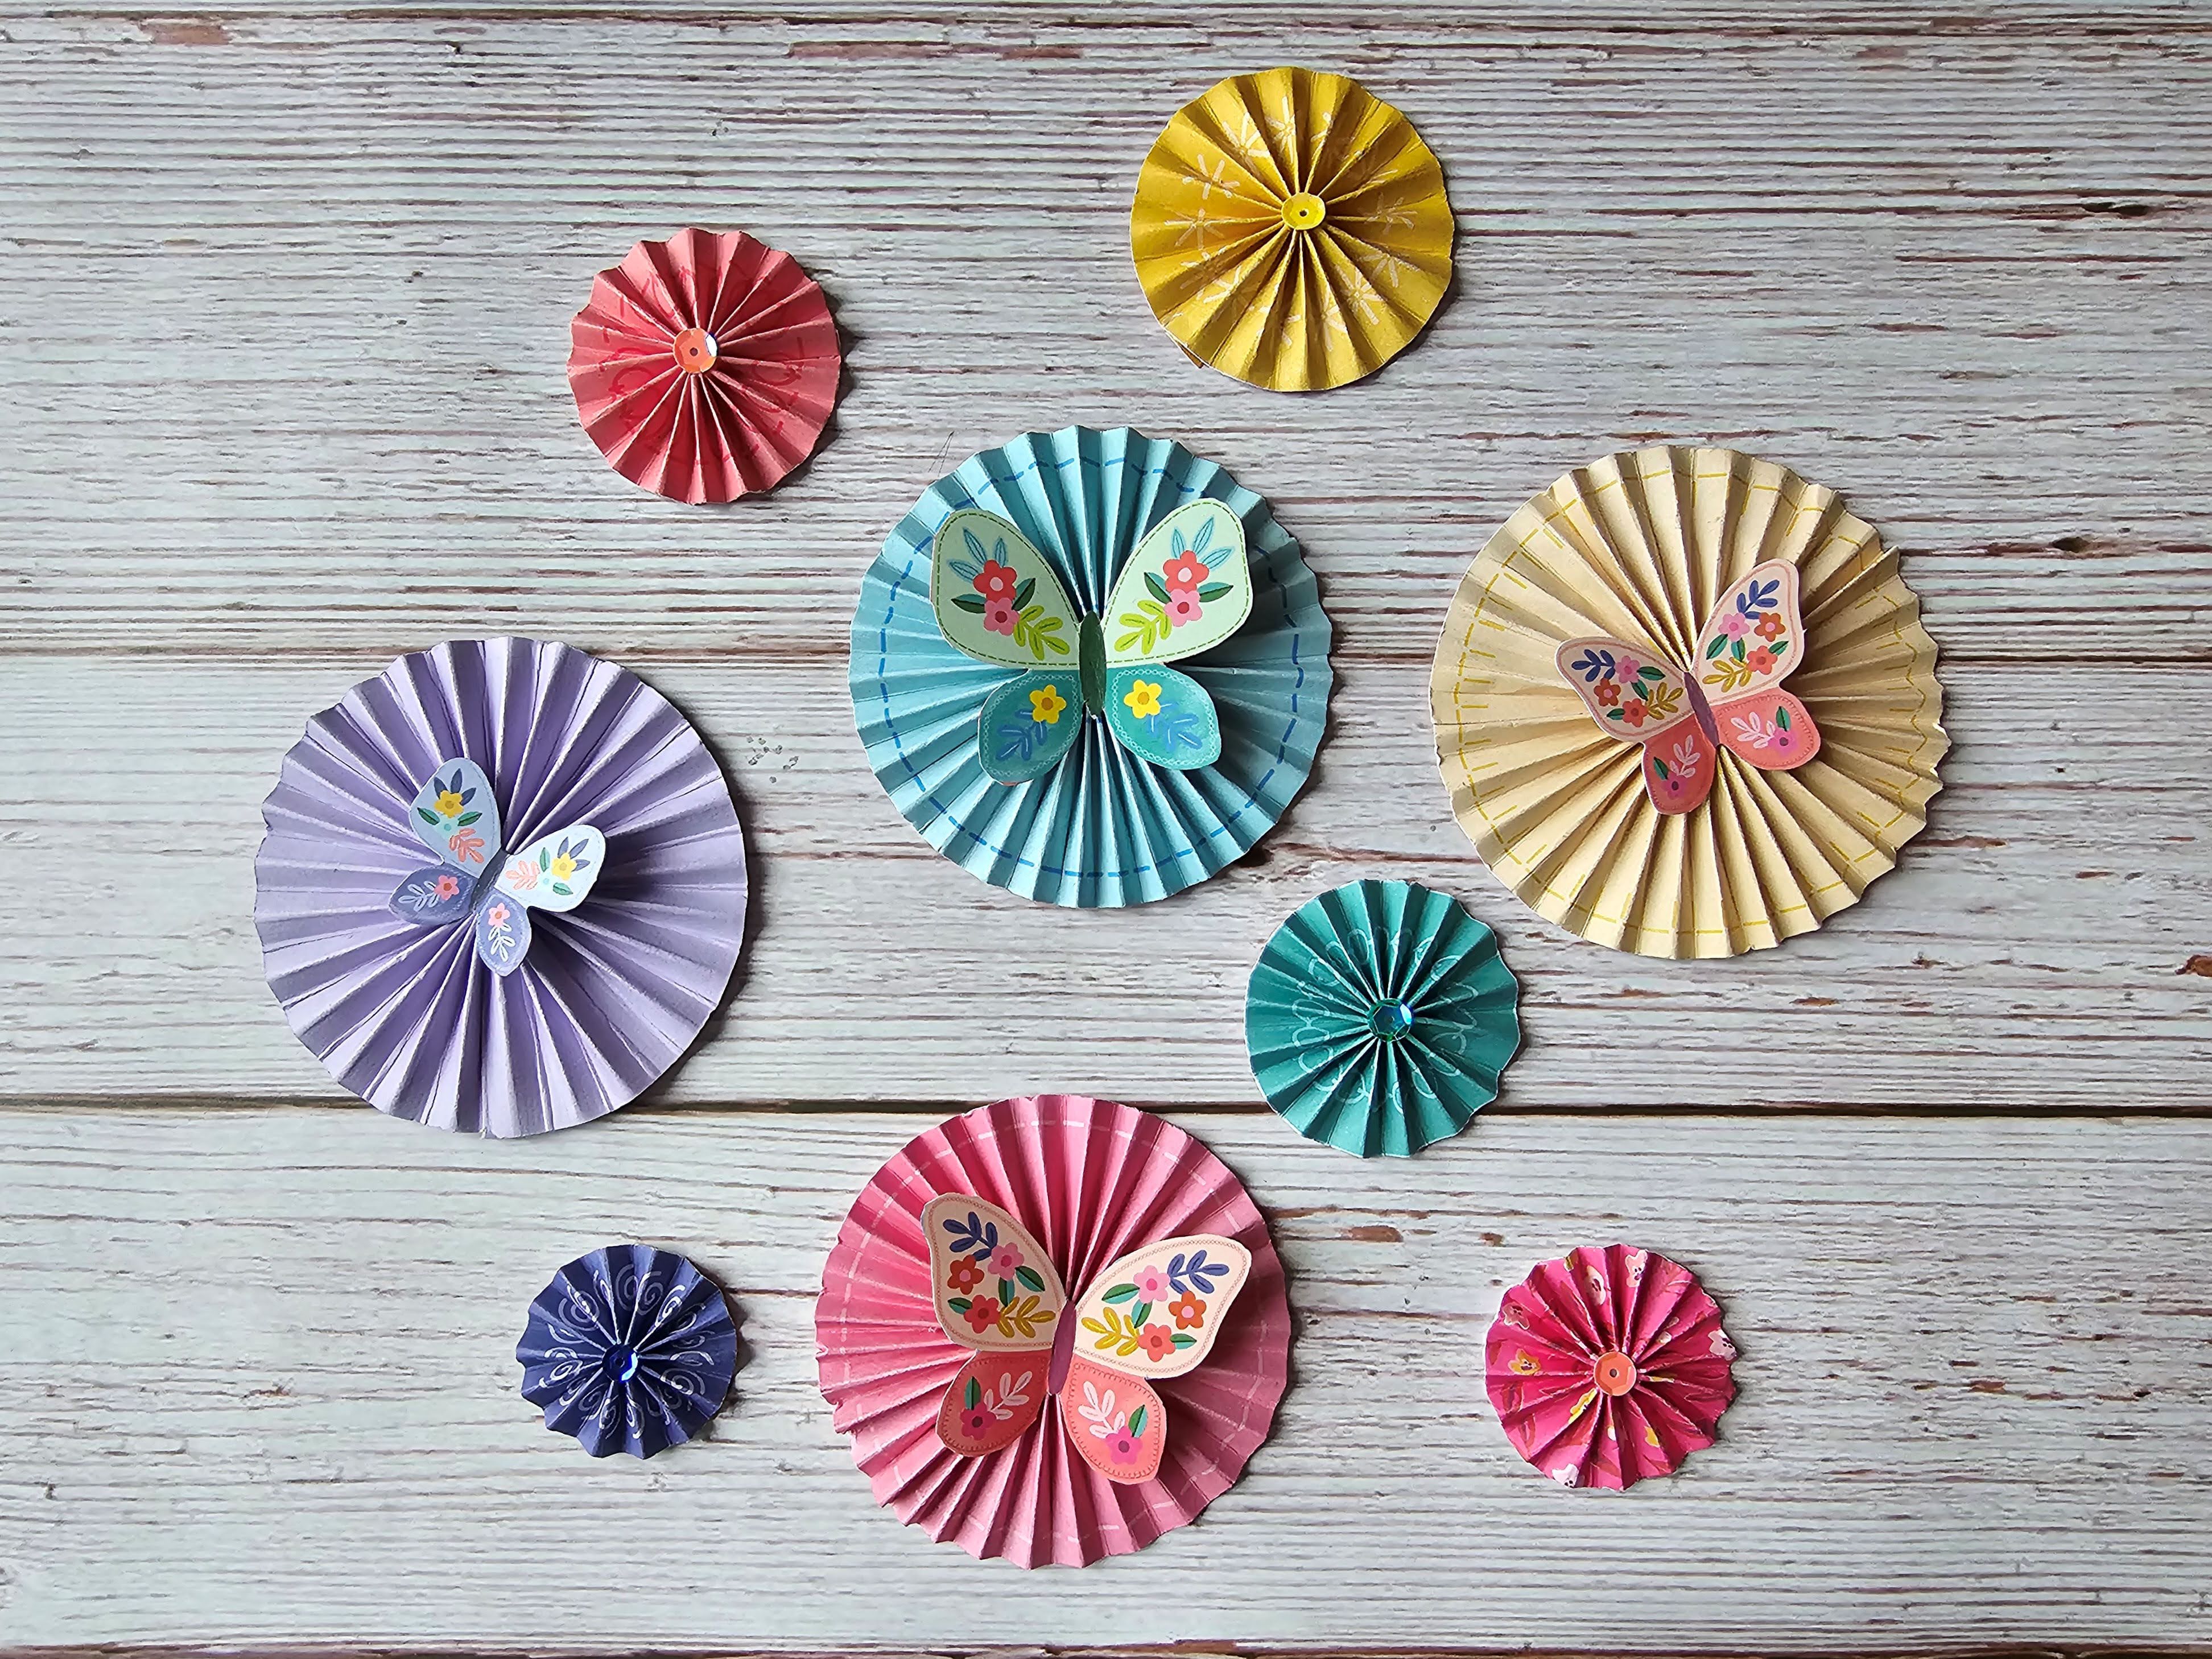
I then made rosettes from some of the the paper strips. Different width strips make different size rosettes and for some of the smaller rosettes I didn't need to use the full 12" length. I also used some pale purple cardstock and a strip cut from paper #21 to make some rosettes, to ensure I had all the colours I wanted.


To embelish the smaller rosettes I glued sequins to the centres and the larger rosettes were embelished with butterflies from either the pack of Ephemera Icons or fussy cut from paper #22


I then glued all the remaining strips (and part strips) of paper horizontally onto a sheet of white 12x12 cardstock leaving a slight space between each strip and lining them up along the left edge of the paper. As I had used some of the strips to make the rosettes, I filled in the missing gaps with additional strips cut from paper #21 or cardstock.

Using some matching embroidery thread I hand stitched on top of some of the printed designs to give the layout some texture.

The whole sheet was then trimmed slightly and matted onto a sheet of Bazzill Violet Lupine (Purple) 12x12 cardstock.


Using white thread I machine stitched all round the edge of the layout.


My 6x4 photo was placed on the right side of the layout where the part cut strips had left a white space. I embellished the photo with floral die cuts from the Ephemera Icons pack and also added a word plaque also from the pack. Many of the die cuts in the ephemera pack have holographic foil accents which are really pretty.


The rosettes that I had made earlier were then added to the layout.


The rosettes were used to embellish colour on colour - blue on blue, pink on pink, etc.


Finally I added the date in the bottom left corner using small white foam number stickers from my stash and a scattering of silver sequins to echo the holographic accent on the word plaque.

I hope you love this collection as much as I do. Vanessa has the full collection in the shop here

I'll be back again soon with another project.

Take Care
Karen x x

Wednesday, 10 August 2022

Photoplay - Bow Wow - Lucky Dog!

Hi everyone,

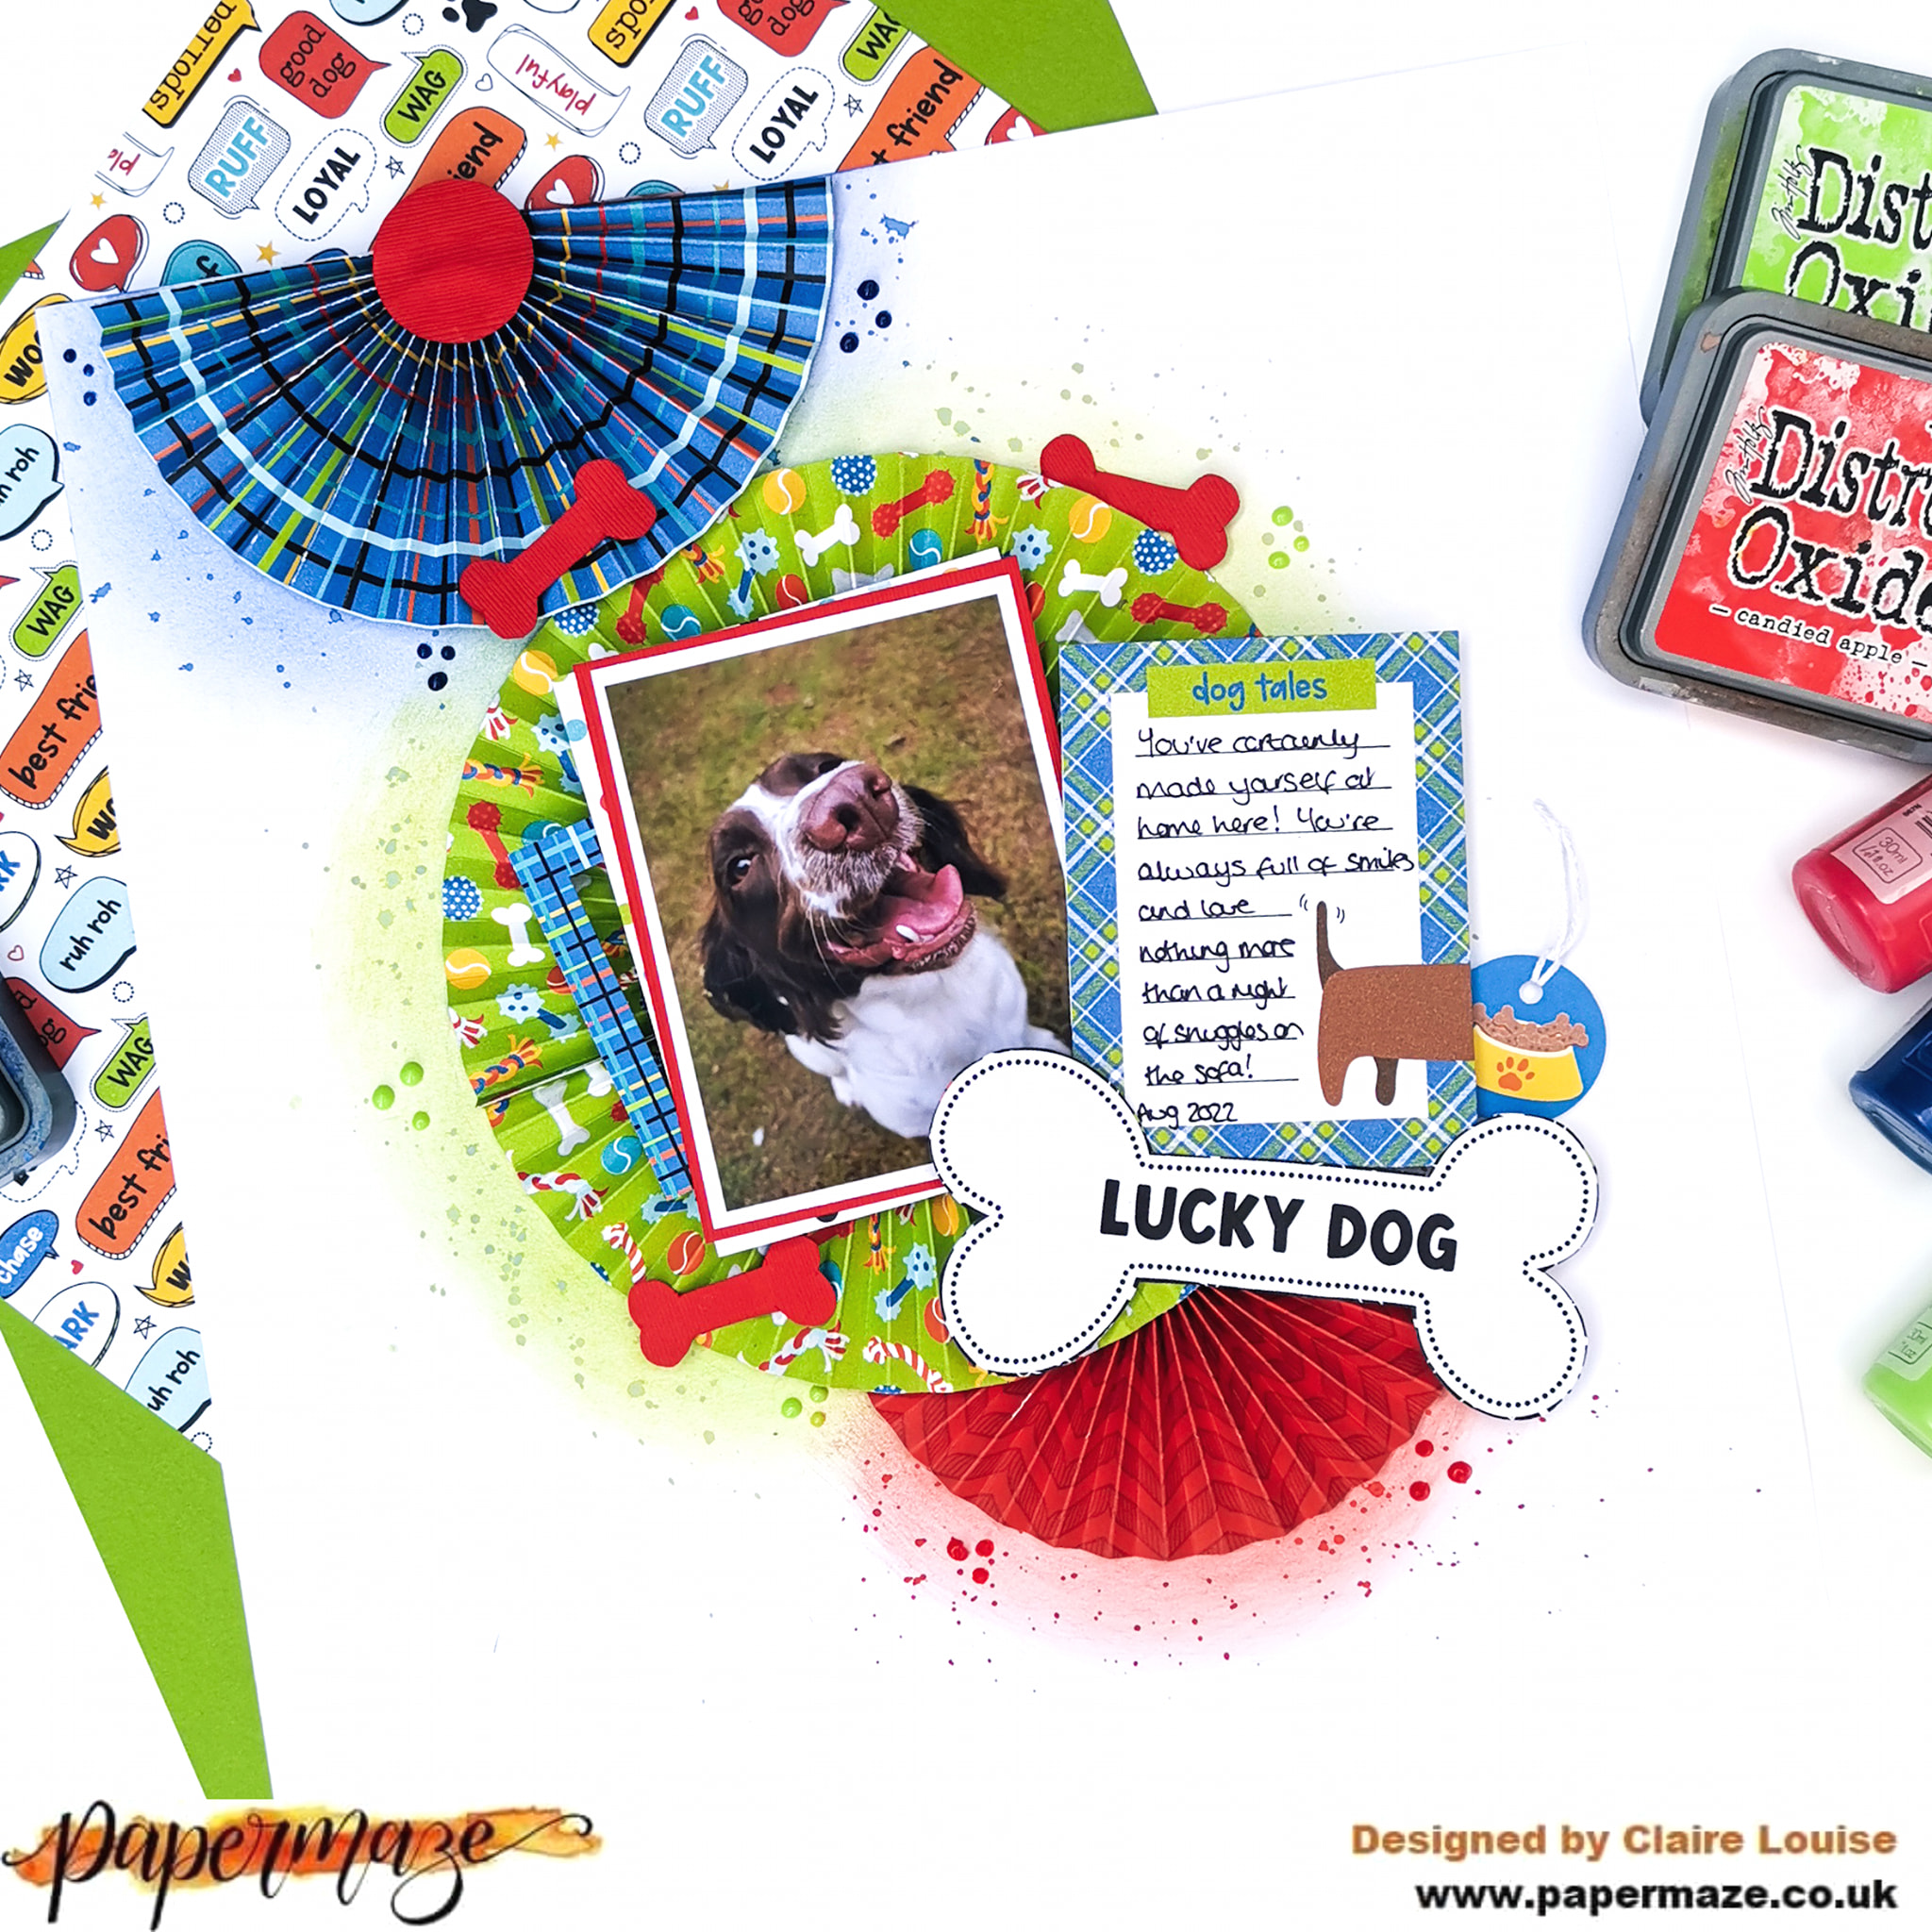
Claire here with you today, and this month I have the pleasure of creating layouts with the Photoplay Bow Wow collection. 

We have recently opened our hearts and our home to a new furbaby. This collection was perfect to document her first few months here.


I started with a piece of plain white Bazzill cardstock from the Matchmaker Pack and wanted to make a real feature of the colours and patterns in the papers - they convey all the fun a mischief a new addition to the family brings.

I created 3 paper rosettes, using the b sides of the I Love My Dog,  Chow Time, and Dog Treat papers, layering them to create a cascading, vertical design.

Once I had my positioning in place, I lightly drew around where the rosettes would sit, and brushed Distress Oxides around each in a circular motion.  The coordinating colours I used were Blueprint Sketch, Twisted Citron and Candied Apple. Once that was done, I wet the ink and added splatters.


I double matted my photo using the red textured Bazzill from the Matchmaker Pack and a piece of the dotty Dog-o-mania paper, layering it on top of a frame from the Ephemera pack. I also pulled out this super cute dog tag to sit alongside the journaling.


I fussy cut one of the cut apart cards from the Lucky Dog paper to add my journaling, and also fussy cut the large 'lucky dog' bone to use as my title - it gave a real sense of playfulness that matched my photo.


Using the b side of the Speak! paper as a template, I traced one of the bones and used it to cut out some bones in the red Bazzill cardstock, which I scattered around the page as embellishments.


As a final touch, I added some Nuvo clusters around the rosettes and that was my page complete.

I'm having a blast with this collection and it's been selling out quite quickly, so don't miss out - you can grab it all here.

See you soon.

Claire xx

@Scrappysoulmate