Showing posts with label pet scrapbooking. Show all posts

Monday, 4 November 2024

Mintay Papers - Autumn Splendor - The Golden Hour

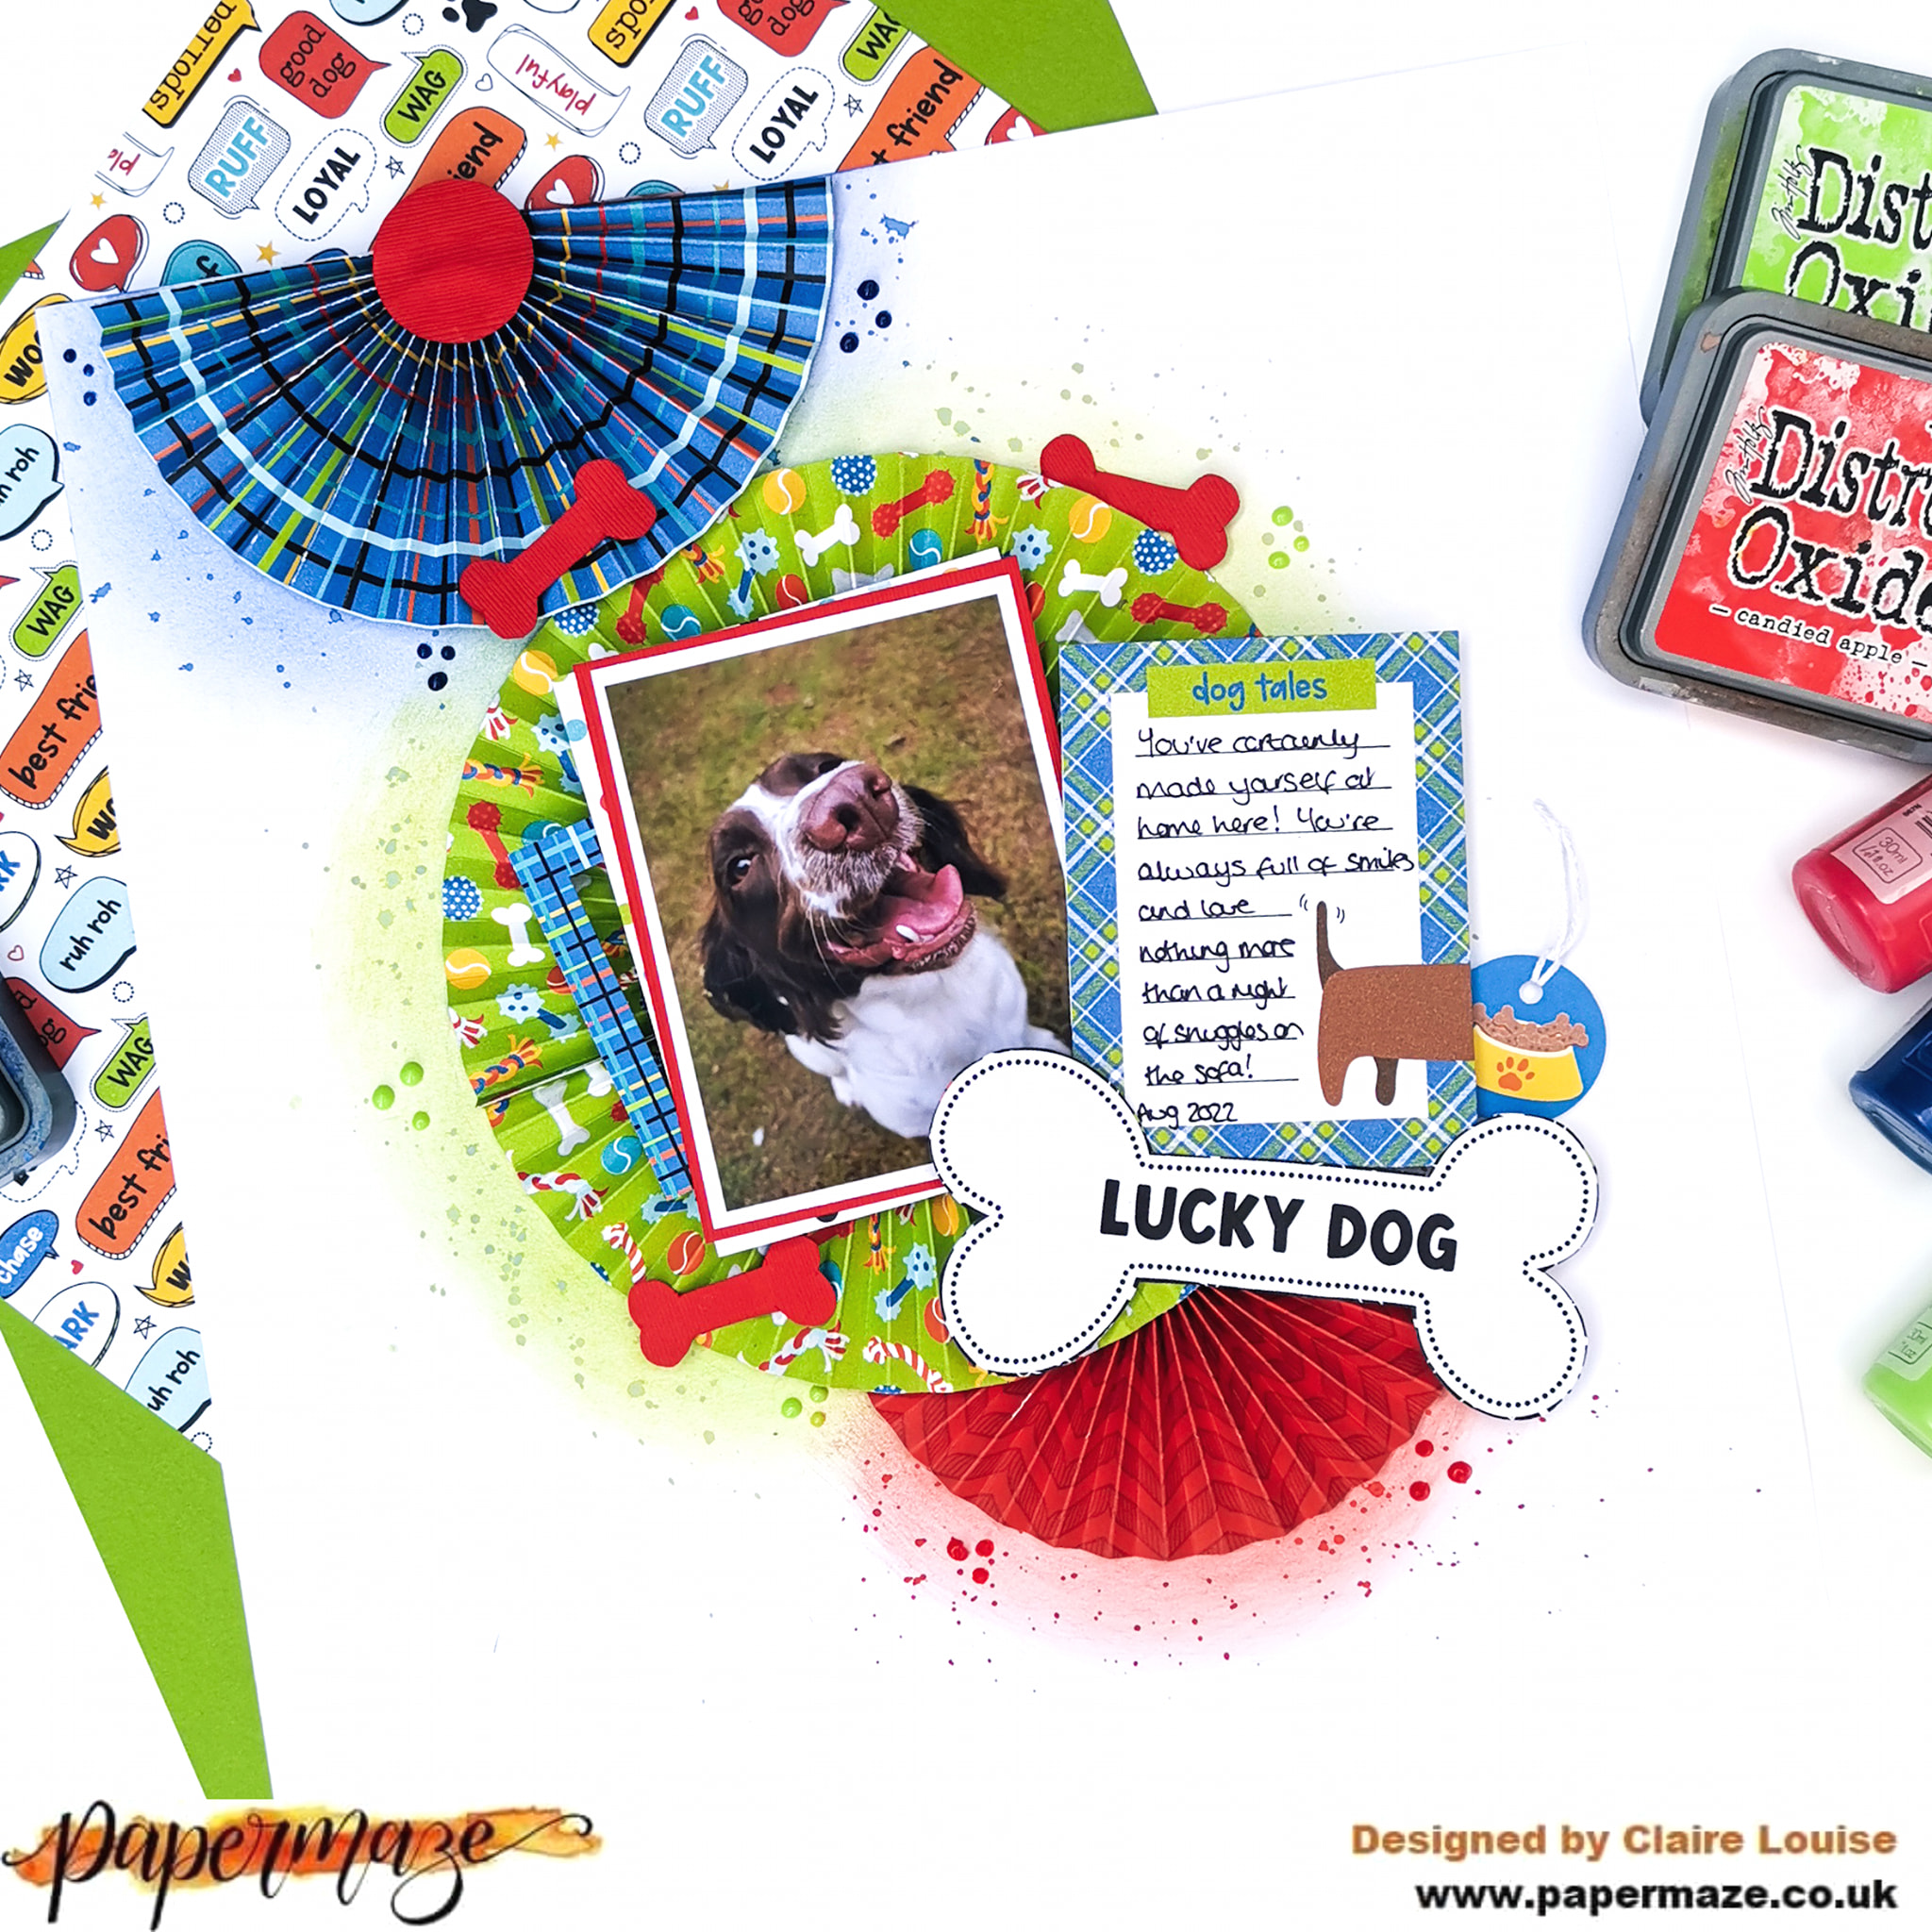
Hello, Karen here with another layout using papers and embelishments from the Autumn Splendor collection from Mintay Papers, and this time I have also teamed the collection with a sheet of paper from Echo Park's Woodgrain collection


This layout was inspired by an older sketch I found on Pinterest which was created for Scrapbook Werkstatt. I can't remember ever using triangles on a layout before but thought it was an interesting sketch and would work well with the supplies I have. 


I started but gutting the centre from a sheet of Echo Park's Warm Wood Grains - Tan Wood Grain paper and then layered an 11.5" piece of smooth white cardstock on top. Using some brown thread I machine stitched round the outside edge of the white cardstock.


Using my mini brayer I rolled some watered down Dried Marigold Distress Oxide Ink onto areas of the layout where I planned to added other elements and when the ink was dry I splatted some Spiced Marmalade ink on top. The Dried Marmalade ink was more yellow in colour than I had expected but I think it still works well with the layout, adding a bit of contrast to the orange and brown in the patterned papers.


From papers #2 & #4 I cut some triangles - 2 large and 4 small. I machine stitched round the edges of each triangle and then stuck them to the layout with 3D foam underneath.


In my stash I found some bronze metalic washi tape and tucked some torn pieces of this under the edges of some of the triangles.


My 4x6 photo was printed with a white border and this was placed on top of the triangles. I love the lighting in this photo - I think it gives the photo a real cosy feel.


From the leftover Echo Park Woodgrain paper, I die cut the title using a cut file on the Silhouette Cameo. The title was placed above the photo.


Paper die cuts and images fussy cut from paper #9 were used to embellish the layout, creating a cluster in the bottom left corner with some washi tape and on the corner of the photo.


Brown word strips were created and printed on the computer and placed below some of the triangles.

Finally I scattered a few bronze coloured sequins here and there and added the date with some tiny letter stickers.

Thank you for popping by today. I'll be back soon with another project and in the meantime, please take care.

Karen x x

Friday, 26 August 2022

Photoplay - Bow Wow - Love you!

Hi everyone,

Happy Friday! Claire back with you today, sharing my second layout using the Bow Wow collection from Photoplay.

This collection is a lot of fun! So many vibrant colours and playful patterns, its perfect for a whole range of topics, but especially for capturing the antics of our furbabies as I have done here.


As always, I started with my favourite premium white cardstock and this cute dog house cutfile from Peartree Cutfiles. I cut the file in Premium Black Cardstock (another staple of my craft room!) and backed the file using the b side of the Dog-O-Mania paper which features a colourful polka dot design, and used the blue plaid pattern from the b side of the I Love My Dog paper to create the blue trim.

For extra dimension, I drew around the bone onto the coordinating red Bazzill cardstock from the Matchmaker Pack, raising it on foam pads for extra height. I also drew a squiggly border around the outside for a bit more depth.


I worked out where the file would sit, and brushed some dry Distress Oxide ink in Tumbled Glass onto my card, creating an anchor for the base of my main element.

Next, I created multiple mats for my photo. I used both sides of the Dog Treat paper, lightly distressing the edges for a ruffled, slightly 'dog chewed' feel. I cut each mat in the same size of my photo (roughly 3" square), offsetting them to create a stacked effect. 


For an extra pop of colour, I went back to the Matchmaker Pack and created a mat on my Cricut using a scalloped frame. Once the elements were all layered together, I added the cute #Rescued tab from the ephemera pack.

I really loved the look of the scalloped edge ,so set about finding scalloped designs in my Cricut library. You could create the same effect using punches or drawing round something circular like a small pot to create a similar look.

I chose three  designs and cut them in different papers from the collection; The red Bazzill cardstock from the Matchmaker Pack, the I Love My Dog paper and the Chow Time paper.


I only stuck the top of each strip down so that I could ruffle the edges for extra texture. Once in place, I added machine stitching to the top row and positioned my photo cluster on top.

To create my title, I used some Thickers from my stash and some small alpha stickers from the Simple Stories Color Vibe Sticker Book


To add a bit more drama, and to echo the black of the cutfile, I added a sticker from the Ephemera Pack which brings both sides of the layout together.

Underneath my photo cluster, I wanted to create some movement, so added these gorgeous 'WOOF' flags, again from the Ephemera Pack, stitching through each letter to create a banner and curling the edges off the page slightly.


I also added a heart from the ephemera pack and a small fussy cut dog from the Dog-O-Mania paper.


As a final touch, I fussy cut this awesome statement from the Lucky Dog paper. It's so appropriate, although in my house it's performed much more regularly throughout the day and is very typical of my furbaby!! It captures her love of life perfectly :)


I love how this turned out. Those bold colours and shapes against the crisp white cardstock really pop and look very striking in real life.


This collection has been so much fun to create with. I hope my designs have inspired you to create and enjoy some scrappy time this summer.

Until next time,

Claire xx

@scrappysoulmate

Wednesday, 10 August 2022

Photoplay - Bow Wow - Lucky Dog!

Hi everyone,

Claire here with you today, and this month I have the pleasure of creating layouts with the Photoplay Bow Wow collection. 

We have recently opened our hearts and our home to a new furbaby. This collection was perfect to document her first few months here.


I started with a piece of plain white Bazzill cardstock from the Matchmaker Pack and wanted to make a real feature of the colours and patterns in the papers - they convey all the fun a mischief a new addition to the family brings.

I created 3 paper rosettes, using the b sides of the I Love My Dog,  Chow Time, and Dog Treat papers, layering them to create a cascading, vertical design.

Once I had my positioning in place, I lightly drew around where the rosettes would sit, and brushed Distress Oxides around each in a circular motion.  The coordinating colours I used were Blueprint Sketch, Twisted Citron and Candied Apple. Once that was done, I wet the ink and added splatters.


I double matted my photo using the red textured Bazzill from the Matchmaker Pack and a piece of the dotty Dog-o-mania paper, layering it on top of a frame from the Ephemera pack. I also pulled out this super cute dog tag to sit alongside the journaling.


I fussy cut one of the cut apart cards from the Lucky Dog paper to add my journaling, and also fussy cut the large 'lucky dog' bone to use as my title - it gave a real sense of playfulness that matched my photo.


Using the b side of the Speak! paper as a template, I traced one of the bones and used it to cut out some bones in the red Bazzill cardstock, which I scattered around the page as embellishments.


As a final touch, I added some Nuvo clusters around the rosettes and that was my page complete.

I'm having a blast with this collection and it's been selling out quite quickly, so don't miss out - you can grab it all here.

See you soon.

Claire xx

@Scrappysoulmate