Showing posts with label paper folding. Show all posts

Wednesday, 10 August 2022

Photoplay - Bow Wow - Lucky Dog!

Hi everyone,

Claire here with you today, and this month I have the pleasure of creating layouts with the Photoplay Bow Wow collection. 

We have recently opened our hearts and our home to a new furbaby. This collection was perfect to document her first few months here.
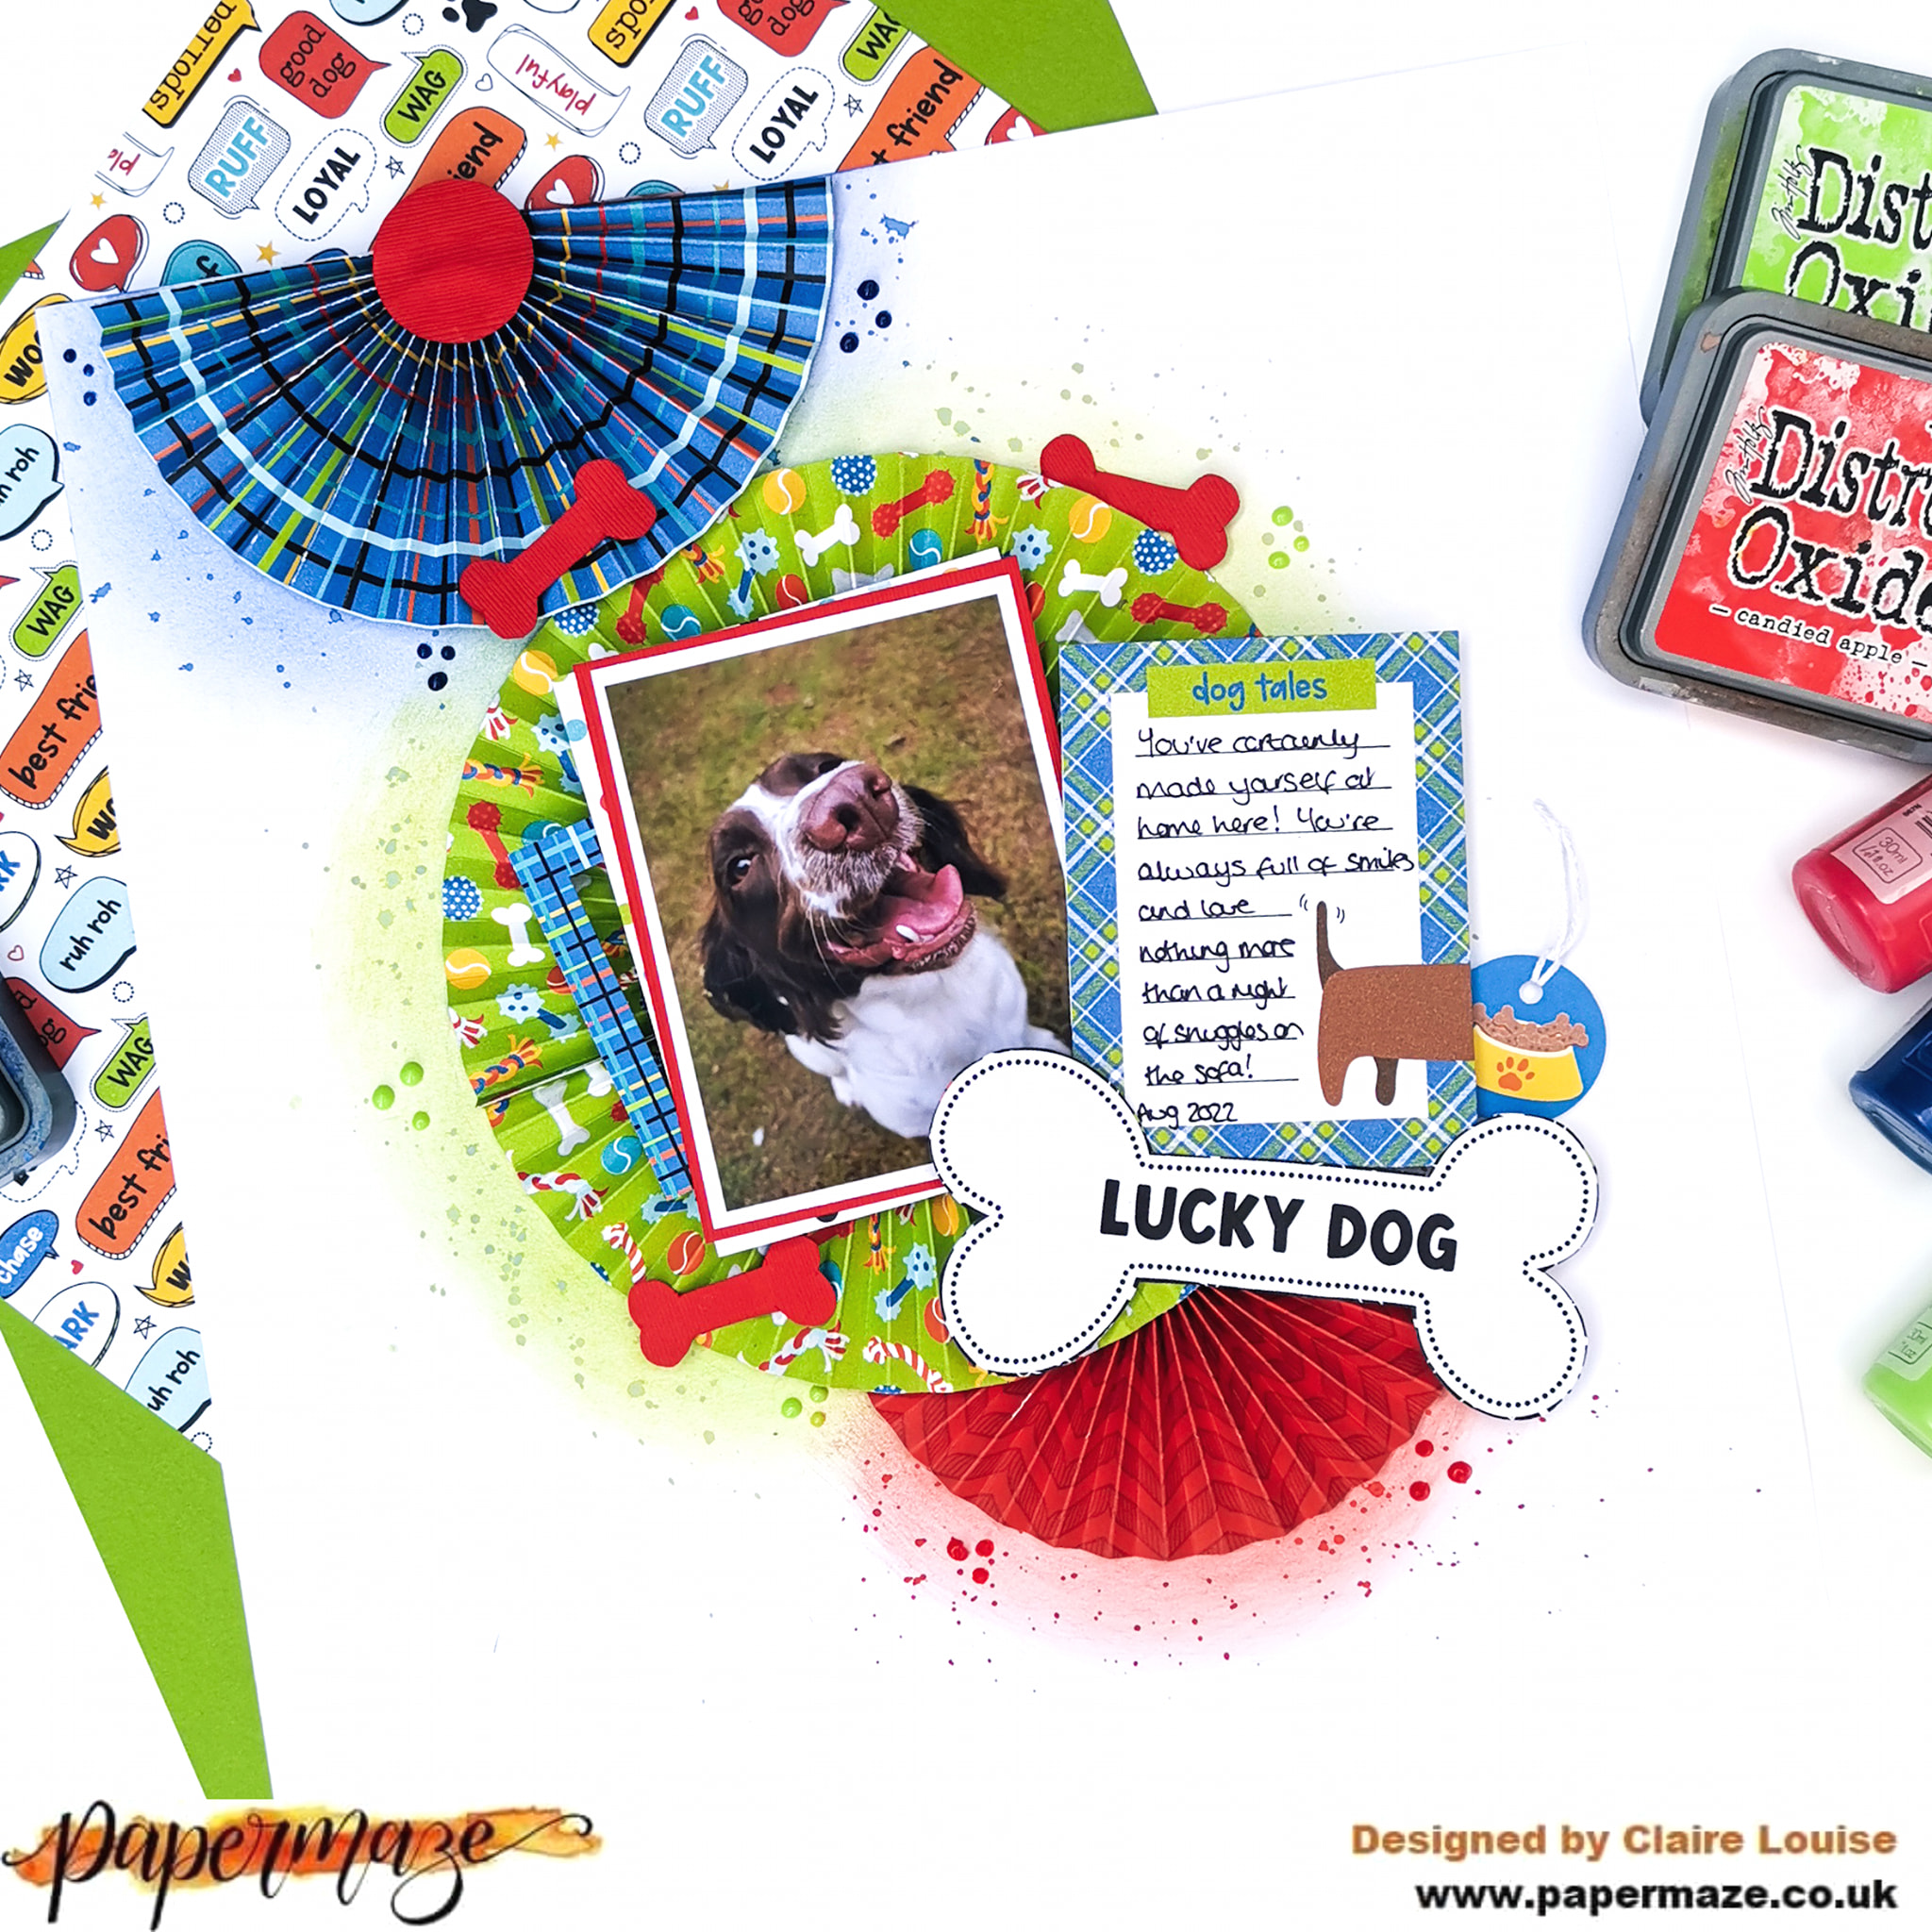

I started with a piece of plain white Bazzill cardstock from the Matchmaker Pack and wanted to make a real feature of the colours and patterns in the papers - they convey all the fun a mischief a new addition to the family brings.

I created 3 paper rosettes, using the b sides of the I Love My Dog,  Chow Time, and Dog Treat papers, layering them to create a cascading, vertical design.

Once I had my positioning in place, I lightly drew around where the rosettes would sit, and brushed Distress Oxides around each in a circular motion.  The coordinating colours I used were Blueprint Sketch, Twisted Citron and Candied Apple. Once that was done, I wet the ink and added splatters.


I double matted my photo using the red textured Bazzill from the Matchmaker Pack and a piece of the dotty Dog-o-mania paper, layering it on top of a frame from the Ephemera pack. I also pulled out this super cute dog tag to sit alongside the journaling.


I fussy cut one of the cut apart cards from the Lucky Dog paper to add my journaling, and also fussy cut the large 'lucky dog' bone to use as my title - it gave a real sense of playfulness that matched my photo.


Using the b side of the Speak! paper as a template, I traced one of the bones and used it to cut out some bones in the red Bazzill cardstock, which I scattered around the page as embellishments.


As a final touch, I added some Nuvo clusters around the rosettes and that was my page complete.

I'm having a blast with this collection and it's been selling out quite quickly, so don't miss out - you can grab it all here.

See you soon.

Claire xx

@Scrappysoulmate

Monday, 27 December 2021

December Joy - Simple Stories - Simple Vintage Rustic Christmas

Hi everybody, Rebecca with you today. I hope you all had a fantastic Christmas and are enjoying some down-time before New Year. I'm popping by to share another festive layout with you which I've created using the Simple Vintage Rustic Christmas collection from Simple Stories. You can find the full collection here.


I started my layout with a sheet of the Season's Best patterned paper - I scored the entire sheet horizontally every 1cm. I then folded the paper along the score lines, alternating the direction of the folds to give a concertina effect. Once this was done, I pinched the top and bottom together to form a bow shape and secured it by wrapping some thread around it. I adhered this to a sheet of green bazzill cardstock (colour shade 'Pear') from the Matchmaker Pack, using my hot glue gun. 


I made myself an origami bow from the Peace on Earth patterned paper and stuck it over the thread where I'd pinched the paper folds together. If you'd like to make an origami bow, it was actually really simple - you can find the tutorial I used here.


I added a layer of the Peach on Earth paper behind my photo and slotted this in above my origami bow, raising the top half up with craft foam. This gave me two natural areas to embellish either side of my photo. I added some Christmas trees, fir tree sprigs and a poinsettia from the Woodland Bits & Pieces pack, and then built upon these clusters adding some more trees, a tag with some ribbon through the top and a wreath from the Bits & Pieces pack.


I added some more die cuts underneath my origami bow to help balance the page, and then built my title over on the right hand side. I used the word 'December' from the 'Foam Stickers' and the word 'Joy' from the Combo Stickers.


I finished my layout off with some paint splatters. I used metallic gold acrylic paint, and watered-down white gesso.


Thanks so much for reading. I hope you've enjoyed this layout and it's given you some inspiration. If you'd like to watch the layout come together, there is a process video up on my YouTube channel here.


That's me officially done for 2021! I'll be back in 2022, and I'm excited to be working with the gorgeous Simple Vintage Weathered Garden collection from Simple Stories. Wishing you all a fabulous, and safe New Years.


See you next year!

Rebecca x

@preciouspagespapercraft


Friday, 9 July 2021

Pinkfresh Studio Happy Blooms - Find your Inner Peace

Hi everyone!

Claire here with you and I'm sharing my first project made with the Pinkfresh Studio Happy Blooms collection.

Pinkfresh is one of my favourite brands and this collection does not disappoint! It's full of spring vibes, lots of florals, butterflies and pretty patterns. You can find the full collection here.

For my first layout, I wanted to document a recent trip to the UKs oldest blueberry farm and their flower fields which I saw an article on in a magazine.  I didn't realise it was only 25 minutes down the road so off we set!


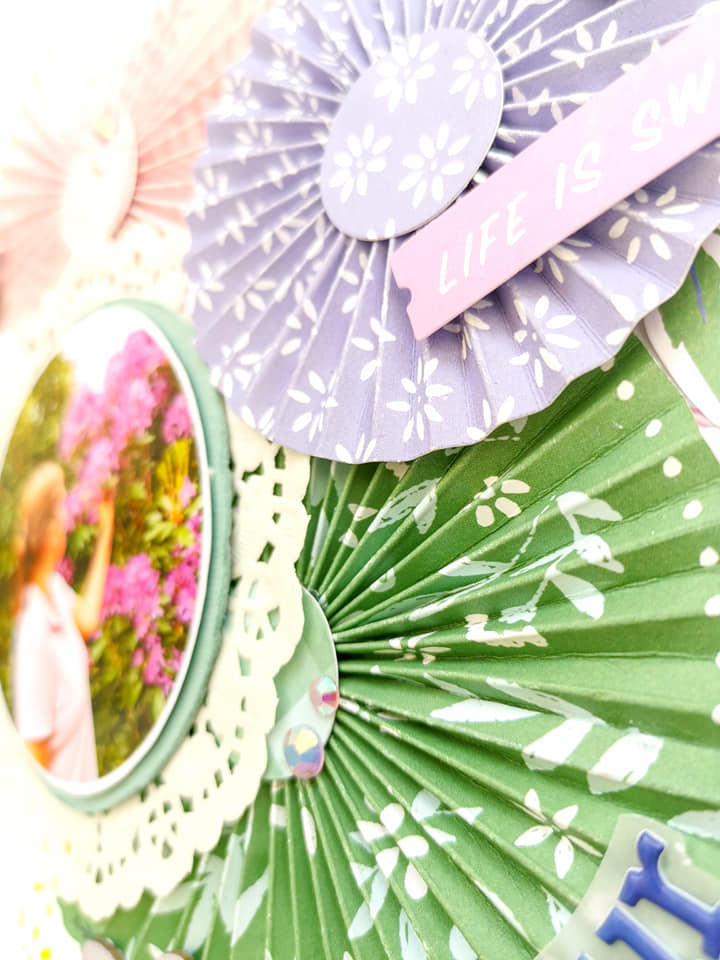
I started with white textured Bazzill cardstock from the Matchmaker Pack. I printed the photo in a circle so wanted to mirror the shape across the page.  I found a template for some paper rosettes on my cricut, which cuts the strips and adds score lines which you then fold manually, and glue together to crease the rosette shape. You don't need a machine however, and can find lots of tutorials on YouTube.

I used the pink Cottage paper, green Handkerchief paper and the beautiful blue Garden paper to create the rosettes, before adding a small circle of paper to the centre with a hot glue gun to secure in place.


I layered these in a vertical pattern down the centre of the page and cut a few flat circles to place as a mat underneath, creating a base to add floral clusters.


I used the A and B side of the Embroidered paper and the Heirloom paper for this.

I had left a space for my circular photo, which I mounted on a piece of teal green cardstock from the Matchmaker Pack. I distressed the edges and lay it onto a doily from my stash.


Next, I selected some florals from the Floral cardstock Ephemera and arranged these around the rosettes and paper circles to create a bit of interest and help frame the design. To this, I added some butterflies, fussy cut from the Homegrown paper.


I created my title using multiple fonts from the coordinating alpha sets - the larger green Puffy Alpha Stickers and the mini puffy alphas. To help the smaller alphas stand out against the green rosette, I mounted these to a small piece of vellum first and then laid in position.


I added a small sub title to the rosette, using a phrase from the Cardstock Ephemera pack and a chipboard butterfly from the Tando Creative Chipboard Butterflies, which I pained with Shimmerz paint.


As a final touch, I used some of the new Pinkfresh Studio Essentials Crystals Mix in Ballet Slipper, scattering them around the page for a bit of sparkle - Keep an eye out for these - they'll be hitting the shop soon, and in my opinion, these are of of those "need" items!! They are awesome!


And that was it for my first page! I really love how this one turned out and am looking forward to sharing more of this gorgeous collection with you soon.

Take care,
Claire