Showing posts with label alpha stickers. Show all posts

Wednesday, 24 December 2025

Oh What Fun! Crafty Christmas Layout

Lynn here today, with a little extra post for Christmas. I purchased a selection of Doodlebug Designs - Oh What Fun! papers and embellishments when I attended the Papermaze Christmas crop last week. I wanted to capture some of Florence's Christmas adventures this season.


The layout shows an afternoon with Florence, making Christmas cards, we cut her a star and a tree from a sweet potato - we didn't have a potato handy! With poster paint, glue, pom-poms and stickers, she had a lovely time with a little help from Mummy and Nana!

I decided to use a double page layout sketch from Pagemaps (June 2024).


I used:
Doodlebug Designs Inc. - Oh What Fun! - Deck The Halls, Merry Magic & Festive Flannel 
Doodlebug Designs Inc. - Oh What Fun! - This & That Cardstock Stickers 
Doodlebug Designs Inc. - Cute & Crafty - Chit Chat
Doodlebug Designs Inc. Alphabet Soup - Bubblegum, Bumblebee & Blue Jean 
Distress Inks - 
Candied Apple, Mowed Lawn & Mustard Seed
Smooth white Bazzill 
Gold enamel dots


With the two sheets of cardstock and the Distress Inks, I splattered watered down ink over the cardstock. I inked all my papers with more of the Candied Apple Distress Ink.


I cut the Deck The Halls paper into two pieces 6" x 12", these were placed 3" down from the top of the cardstock on both sheets of cardstock.


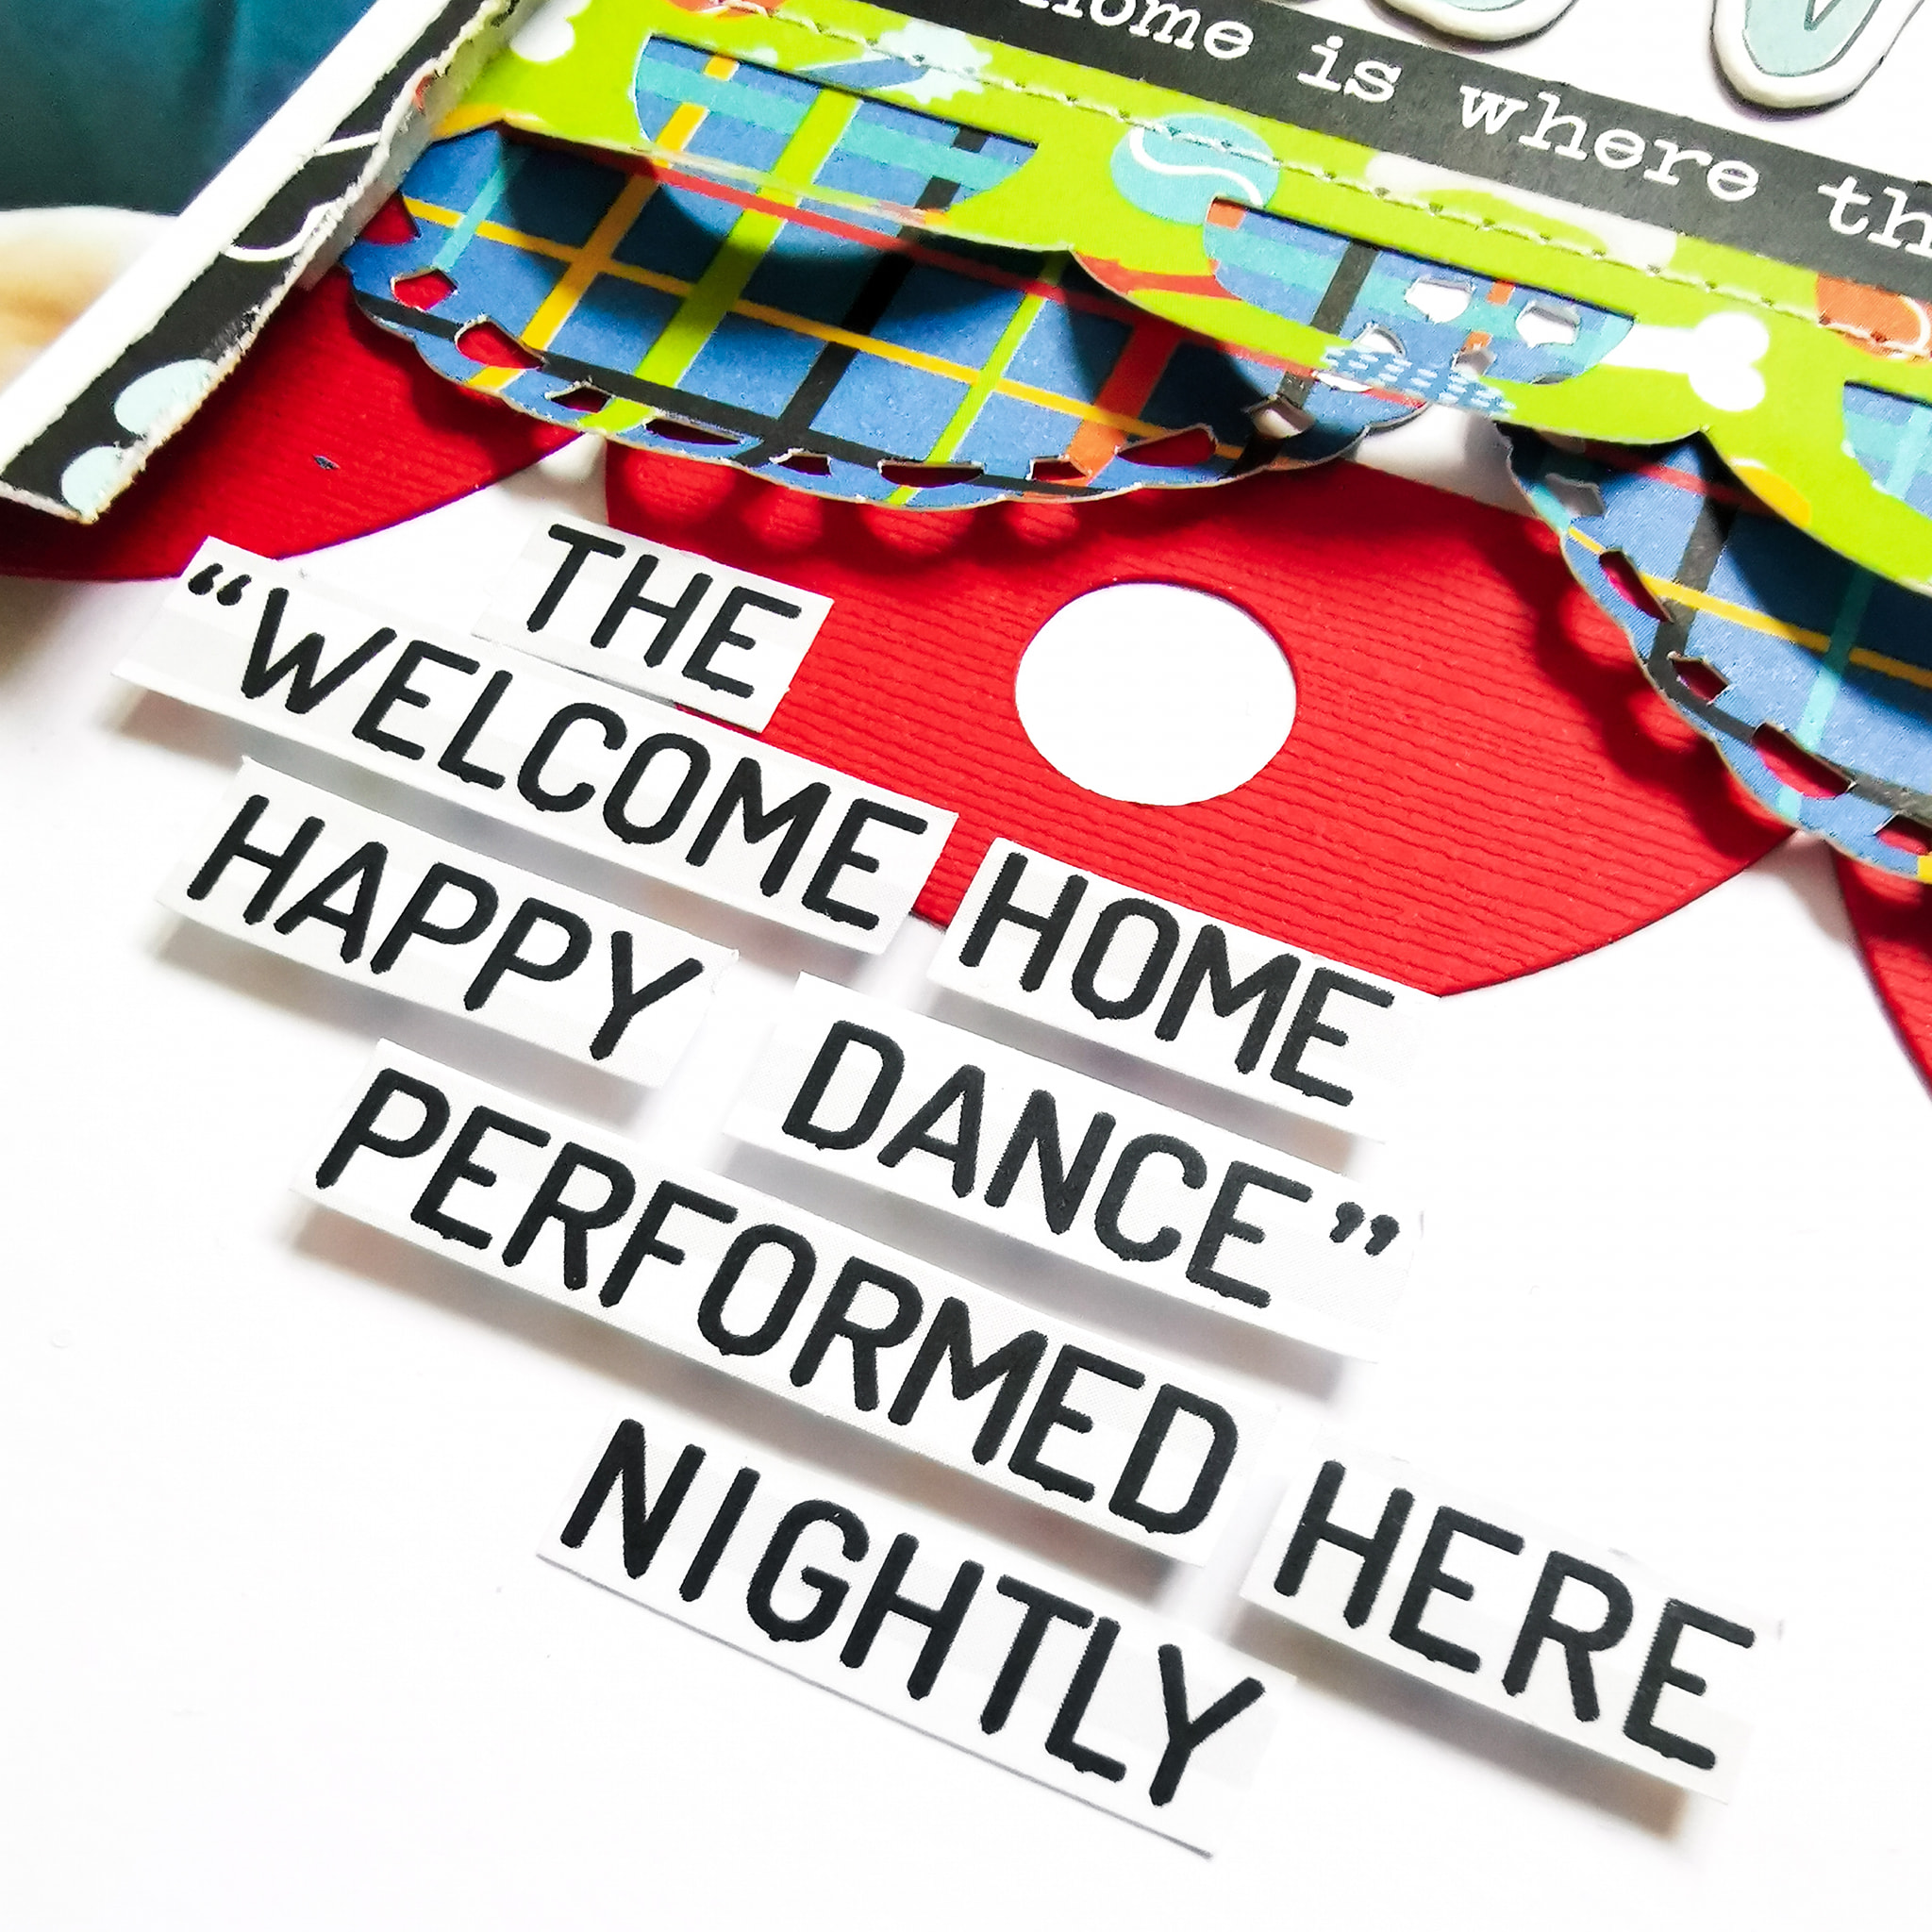
From the top of the
 Festive Flannel paper (avoiding the 24 icons), I cut two strips 10" x 1". These were placed above the previous papers. Then I topped this with one of the scalloped 12" stickers (cut in two), from the This and That sticker sheet. I cut a smaller scalloped sticker and placed it beneath the paper. 


I cut the 'Christmas Memories' piece from the 
Merry Magic paper, and placed it vertically on the left page. 


My photos were mounted onto some white card and arranged in place. I added details to my journalling spot and the date at the bottom with the Alphabet Soup stickers. 


I selected more stickers from the sticker sheet adding hearts, stars, a few phrases and the large 'Merry Christmas' sticker to the layout. 


From a pack of Chit Chat, I selected two words to use as a title and sub title. Then I embellished with gold enamel dots from my stash. 

Thanks for looking
Merry Christmas
Lynn x

Wednesday, 1 October 2025

September Papermaze Kit - Part 2

Hello, Lynn here today - I have two layouts for you from the Papermaze September kit. The kit has six double-sided patterned papers, a selection of embellishments and 2 sheets of Bazzill Basics Cardstock. There is also an extra pack of 4 sheets of Bazzill, selected to match the colours in the kit. 


Before looking at how the layouts were made, here are the details of what you will find in the September kit. 


Patterned Papers:
49 and Market - Nature's Haven collection - Busy Bee & Happy Place
Carta Bella - On The Farm collection - Farm Life Floral 
Mintay Papers - Wildwood Secrets collection - MT-WIS-04 & MT-WIS-05
Mintay Papers - Music Garden collection - MT-MUS-04

The photo below shows both sides of the papers:


Embellishments:
Selection of Laser Cuts - 49 and Market - Nature's Haven, 3 Little Birdie Flowers, Little Birdie butterfly, 2 Doodlebug bitty berries strawberries, P13 Till We Meet Again alpha sheet, 1 acrylic phrase and 1m pink twine.


Bazzill Basics Cardstock - Touch of Pink, Lily Pond (included in kit), Hibiscus, Bark, Avocardo & Powder Blue (in extra pack). 


Minnie Mouse - Flo's uncle brought this Minnie hoodie back from Disney World for her. Here she is modelling her new outfit.


Using a sheet of Smooth White Bazzill, I stencilled some sparkles (Tim Holtz, Layering Stencil THS132) with some Distress Ink - Festive Berries. I flicked some Festive Berries and Black Soot ink over the page. Then to add sparkle, I also splattered Distress Mica Stain - Crooked Broomstick

I cut a 3" x 12" piece from Mintay 
MT-WIS-05, and placed this across the top of the page. 


With Blackberry Swirl Bazzill Basics Cardstock, I cut a strip 1" x 12" , placing this under the red dotty paper. I place a piece of the music note side of Music Garden
 MT-MUS-04, 2" x 6.5" and placed this centrally over the red and above the black strip. From the same paper but with the pink side up, I added a piece 2" x 10" over the others. (Please see the photos for placements.) 


I placed a strip of  Hibiscus Bazzill 2" x 6", vertically onto the page so it will be to the right of the photos. My photos were placed onto another piece of the music paper, this is 5" x 6.5", and it was place onto the centre of the layout.


Using Smooth White, Hibiscus, Blackberry Swirl and Sunshine Yellow Bazzill, and a selection of Spellbinder, Simple Stories, Say Cheese, Classic Mouse Die Sets, I set about making my own embellishments and title: Alphabet cut in twice to make a shadow, Steamboat Willie Duo to make Minnie and Flags & Banners for the pinwheels. Red buttons were added to the centre of the pinwheels. 


I attached some of the embellishments with glue and others with 3D foam pads.


My journalling was written below the title. Finally, I scattered some black gems in small clusters around the page. 


New Home Gift - So Berry Sweet - My daughter loves strawberries and anything decorated with them - so when she moved into her new home, I made her this strawberry hamper with card and gift tag.


I started this layout with the Woodland Secrets paper -
 MT-WIS-04. I tore an irregular piece from each side of the paper in different places. I backfilled these areas with scraps of the gingham side of the Farm Life Floral paper. 


With the remains of the Woodland Secrets MT-WIS-05 paper I cut a piece 10" x 6", and distressed the edges. This was placed in the centre of the layout.


I mounted the photos onto scraps of Music Garden MT-MUS-04 and Hibiscus Bazzill. The photos were then arranged onto the Woodlands Secrets paper. 


I cut the title from Avocardo Bazzill using a Peartree Cutfile 'So Berry Sweet'. I filled this using scraps of papers and cardstock from the kit. The title was mounted onto the layout with 3D foam pads.


The kit contains a selection of 49 and Market - Nature's Haven Wildflowers Laser Cuts, and I added to these with my own pack of the same. These were used to build up clusters, around each of the torn parts of the layout. Some of the elements were raised up with 3D foam pads.


From the kit I added a Little Birdie Flower and the Little Birdie butterfly. I added the date and subtitle with the P13 Till We Meet Again alpha sheet. I cut the pink twine into 5 pieces, rolled them up, and tucked them into various places around the page. 


That's all for the September Kit, I'll be back with the new Kit for October soon. 
Thank you for looking.
Lynn x

Monday, 21 August 2023

Shimelle ~ Main Character Energy #1 ☀️

Hi, it’s Anna back with you today!
For my next few blog posts I will be working with American Crafts collaboration with Shimelle - Main Character Energy. 
You can find the collection in the shop here


I used the ‘Right on Target’ paper and trimmed it down to achieve various sized wedges. I cut each section out and distressed the edges before adhering to white bazzill cardstock

My layout features a photo from Disney last year with me meeting Olaf! We were given the circular cards with his autograph on and this card just happened to fit perfectly into the pre determined circle lines on this paper. So I chose to centre this card in the middle and place my photo to the left side. 


I fussy cut some florals from the Prettiest Pink paper and placed them above and below my photograph which I mounted onto some orange bazzill cardstock from the Matchmaker Pack


I selected various stickers from the Cardstock Stickers, I placed some of the phrase stickers around the circle and used others to embellish around my photo. 


For my title, I used some phrase stickers by Vicki Boutin and the smaller yellow alphas are by Simple Stories - alpha sticker books


Thanks so much for looking! I’ll be back with another layout with this collection in September! 
See you then! 

Anna 

@acraftylifewithanna

Monday, 24 October 2022

Paige Evans ~ Garden Shoppe #2 🌸

Hi, it’s Anna back with you today! I’m sharing my second layout using Garden Shoppe by Paige Evans.
You can find the collection in the shop here

So for my second layout, I focused on using Paper #24
I selected twelve of the squares and arranged them on my cardstock forming a grid.


I printed a selection of small square pictures from when I visited Green Park in London last month to lay flowers in memory of the Queen. 
I adhered these onto the patterned paper squares. 


I then began to add embellishment to the remaining squares. I used floral ephemera, word and phrases sentiments from Paper #23 as well as some Paige Evans stickers from a previous collection.  
I also used some scraps of paper to hand cut some hearts, adding some Nuvo Drops in the centres. 


Thanks so much for looking! 

See you soon for one more layout using this collection! 

Anna 
X

Friday, 26 August 2022

Photoplay - Bow Wow - Love you!

Hi everyone,

Happy Friday! Claire back with you today, sharing my second layout using the Bow Wow collection from Photoplay.

This collection is a lot of fun! So many vibrant colours and playful patterns, its perfect for a whole range of topics, but especially for capturing the antics of our furbabies as I have done here.


As always, I started with my favourite premium white cardstock and this cute dog house cutfile from Peartree Cutfiles. I cut the file in Premium Black Cardstock (another staple of my craft room!) and backed the file using the b side of the Dog-O-Mania paper which features a colourful polka dot design, and used the blue plaid pattern from the b side of the I Love My Dog paper to create the blue trim.

For extra dimension, I drew around the bone onto the coordinating red Bazzill cardstock from the Matchmaker Pack, raising it on foam pads for extra height. I also drew a squiggly border around the outside for a bit more depth.


I worked out where the file would sit, and brushed some dry Distress Oxide ink in Tumbled Glass onto my card, creating an anchor for the base of my main element.

Next, I created multiple mats for my photo. I used both sides of the Dog Treat paper, lightly distressing the edges for a ruffled, slightly 'dog chewed' feel. I cut each mat in the same size of my photo (roughly 3" square), offsetting them to create a stacked effect. 


For an extra pop of colour, I went back to the Matchmaker Pack and created a mat on my Cricut using a scalloped frame. Once the elements were all layered together, I added the cute #Rescued tab from the ephemera pack.

I really loved the look of the scalloped edge ,so set about finding scalloped designs in my Cricut library. You could create the same effect using punches or drawing round something circular like a small pot to create a similar look.

I chose three  designs and cut them in different papers from the collection; The red Bazzill cardstock from the Matchmaker Pack, the I Love My Dog paper and the Chow Time paper.


I only stuck the top of each strip down so that I could ruffle the edges for extra texture. Once in place, I added machine stitching to the top row and positioned my photo cluster on top.

To create my title, I used some Thickers from my stash and some small alpha stickers from the Simple Stories Color Vibe Sticker Book


To add a bit more drama, and to echo the black of the cutfile, I added a sticker from the Ephemera Pack which brings both sides of the layout together.

Underneath my photo cluster, I wanted to create some movement, so added these gorgeous 'WOOF' flags, again from the Ephemera Pack, stitching through each letter to create a banner and curling the edges off the page slightly.


I also added a heart from the ephemera pack and a small fussy cut dog from the Dog-O-Mania paper.


As a final touch, I fussy cut this awesome statement from the Lucky Dog paper. It's so appropriate, although in my house it's performed much more regularly throughout the day and is very typical of my furbaby!! It captures her love of life perfectly :)


I love how this turned out. Those bold colours and shapes against the crisp white cardstock really pop and look very striking in real life.


This collection has been so much fun to create with. I hope my designs have inspired you to create and enjoy some scrappy time this summer.

Until next time,

Claire xx

@scrappysoulmate