
Happy New Year!
Lynn here today, back with the second post sharing Christmas layouts for this year. The December kit
is available in the shop, it has a traditional red, green and white
colour pallet. The papers are beautiful and include Mintay, Simple
Stories and Graphic
45.
.jpg)

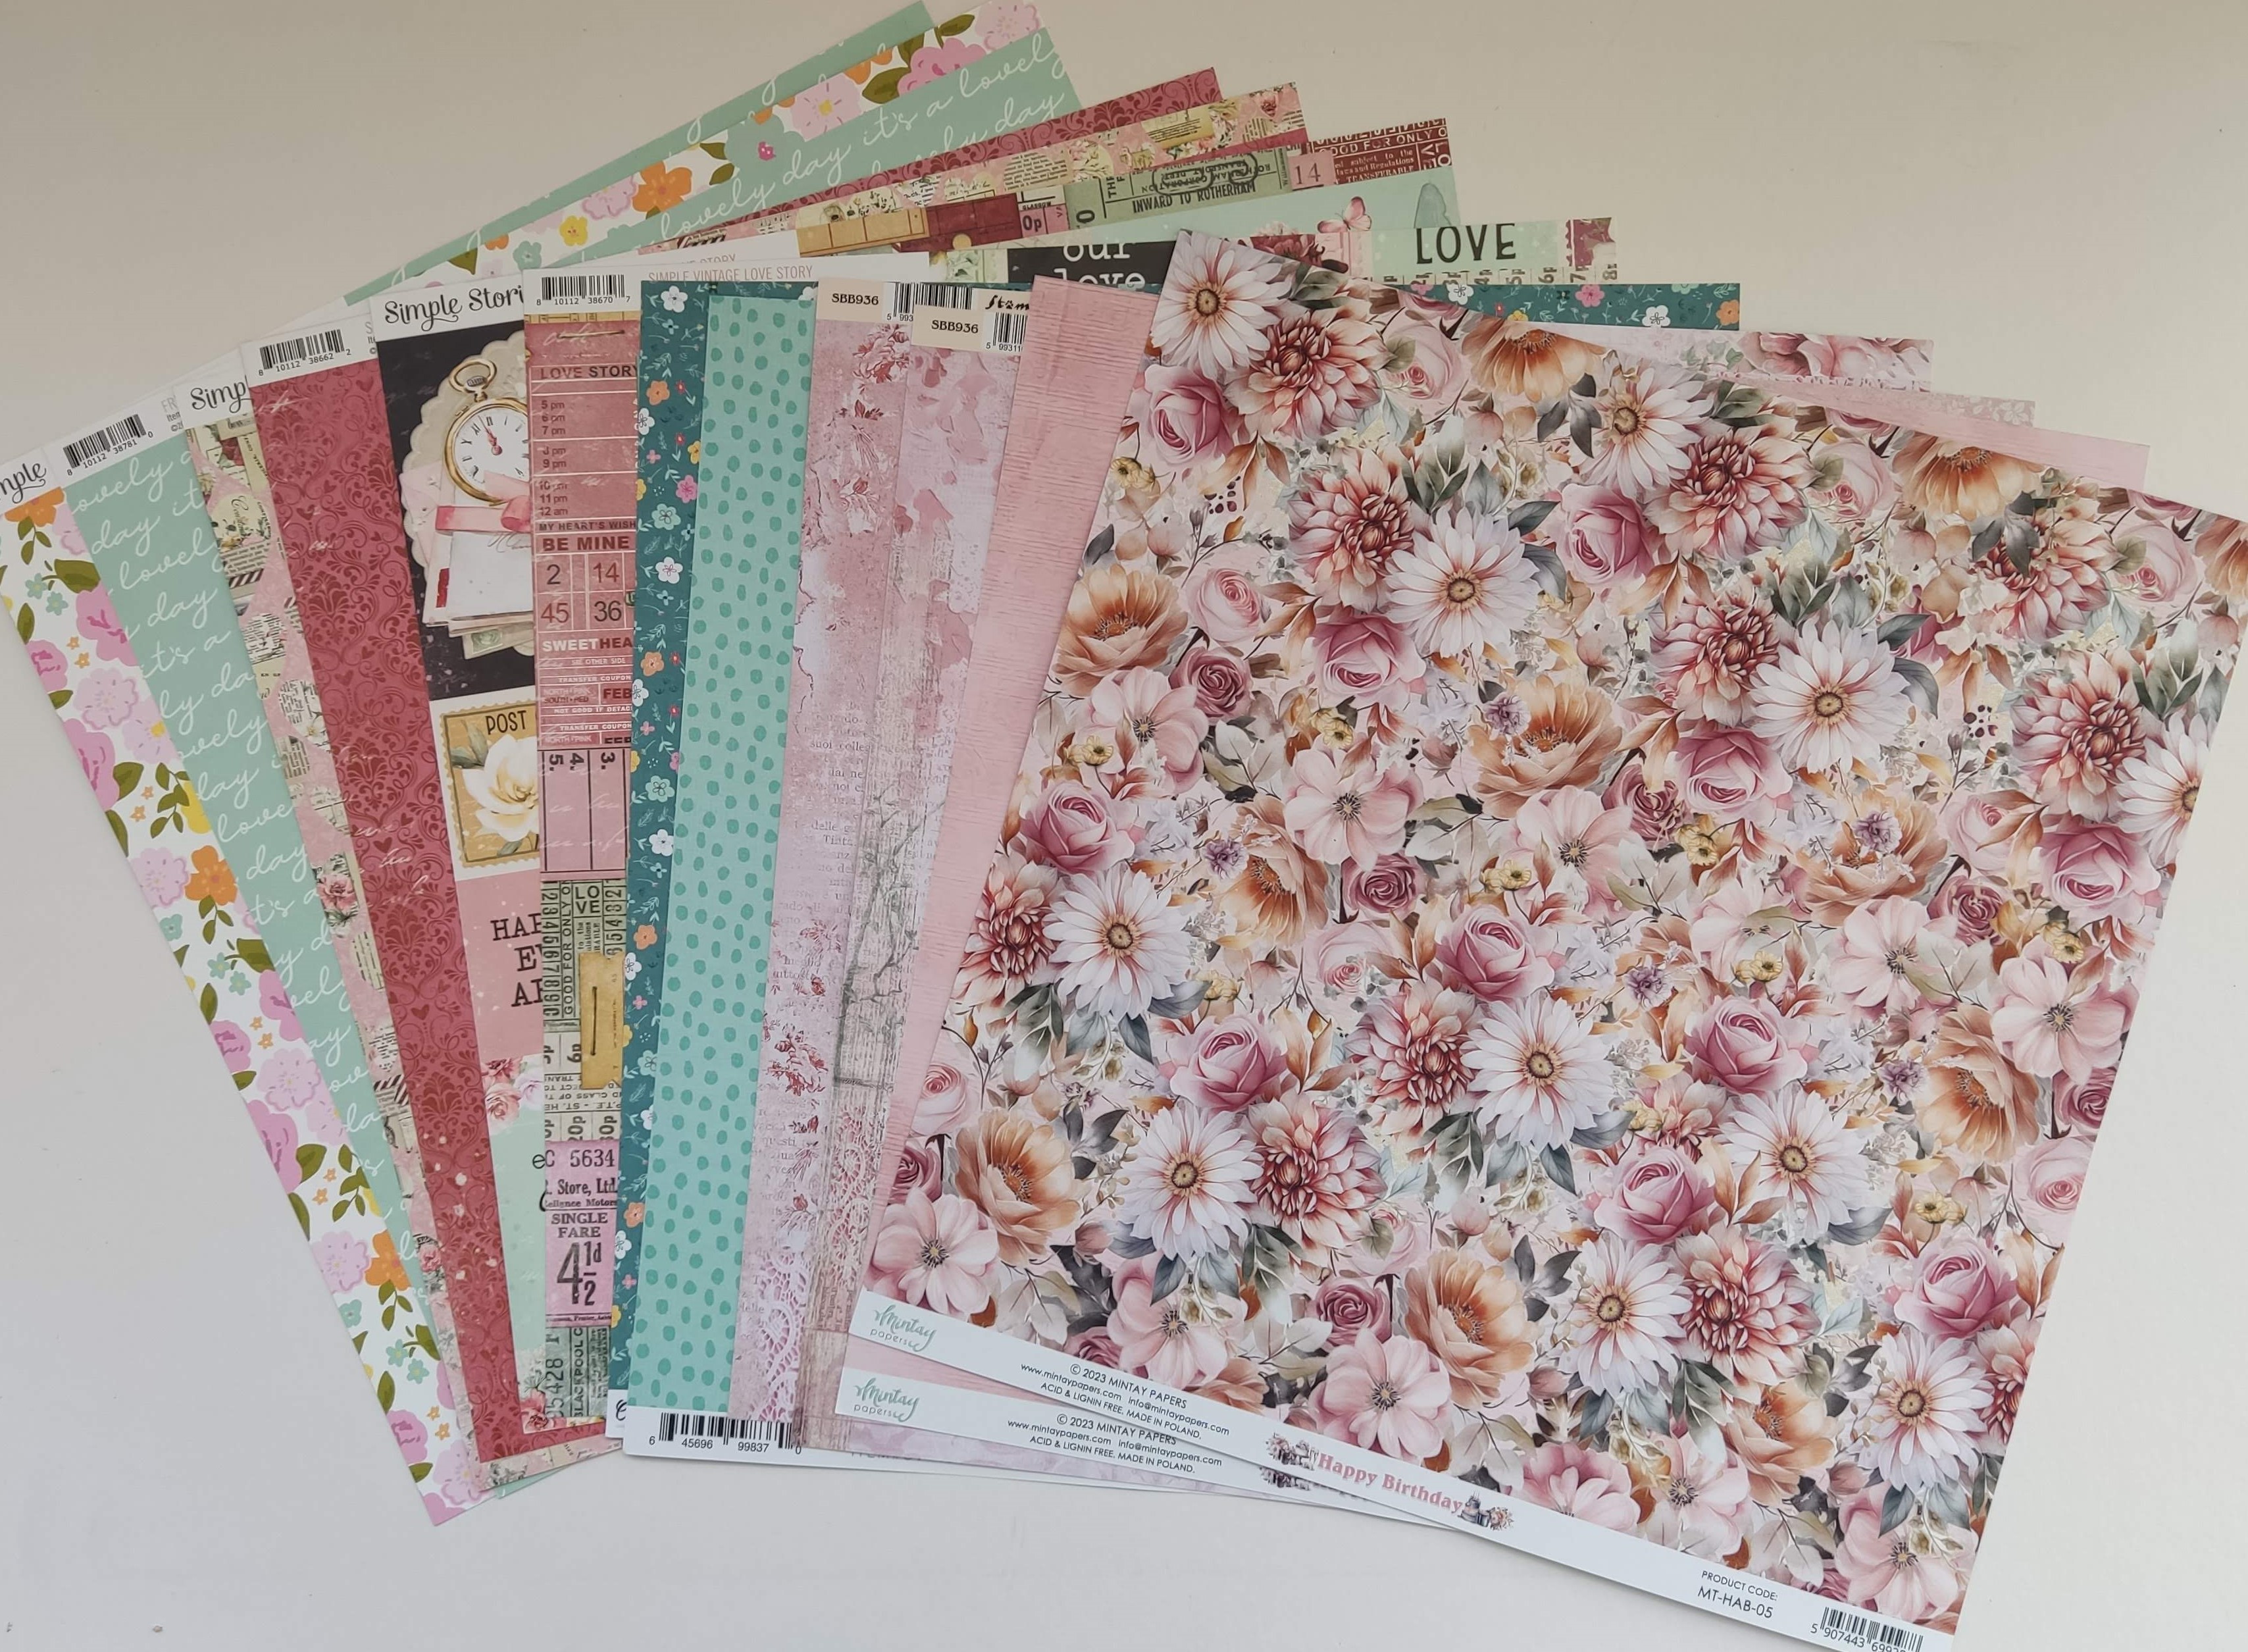
Patterned Papers:
Mintay Papers - Holly Jolly collection - #02 & #04
Simple Stories - Simple Vintage Believe collection - Holiday Traditions & Tag Elements
Simple Stories - All Wrapped Up collection - Magical Season
Graphic 45 - Deck the Halls collection - A Little Sparkle
The photo below shows both sides of the papers:


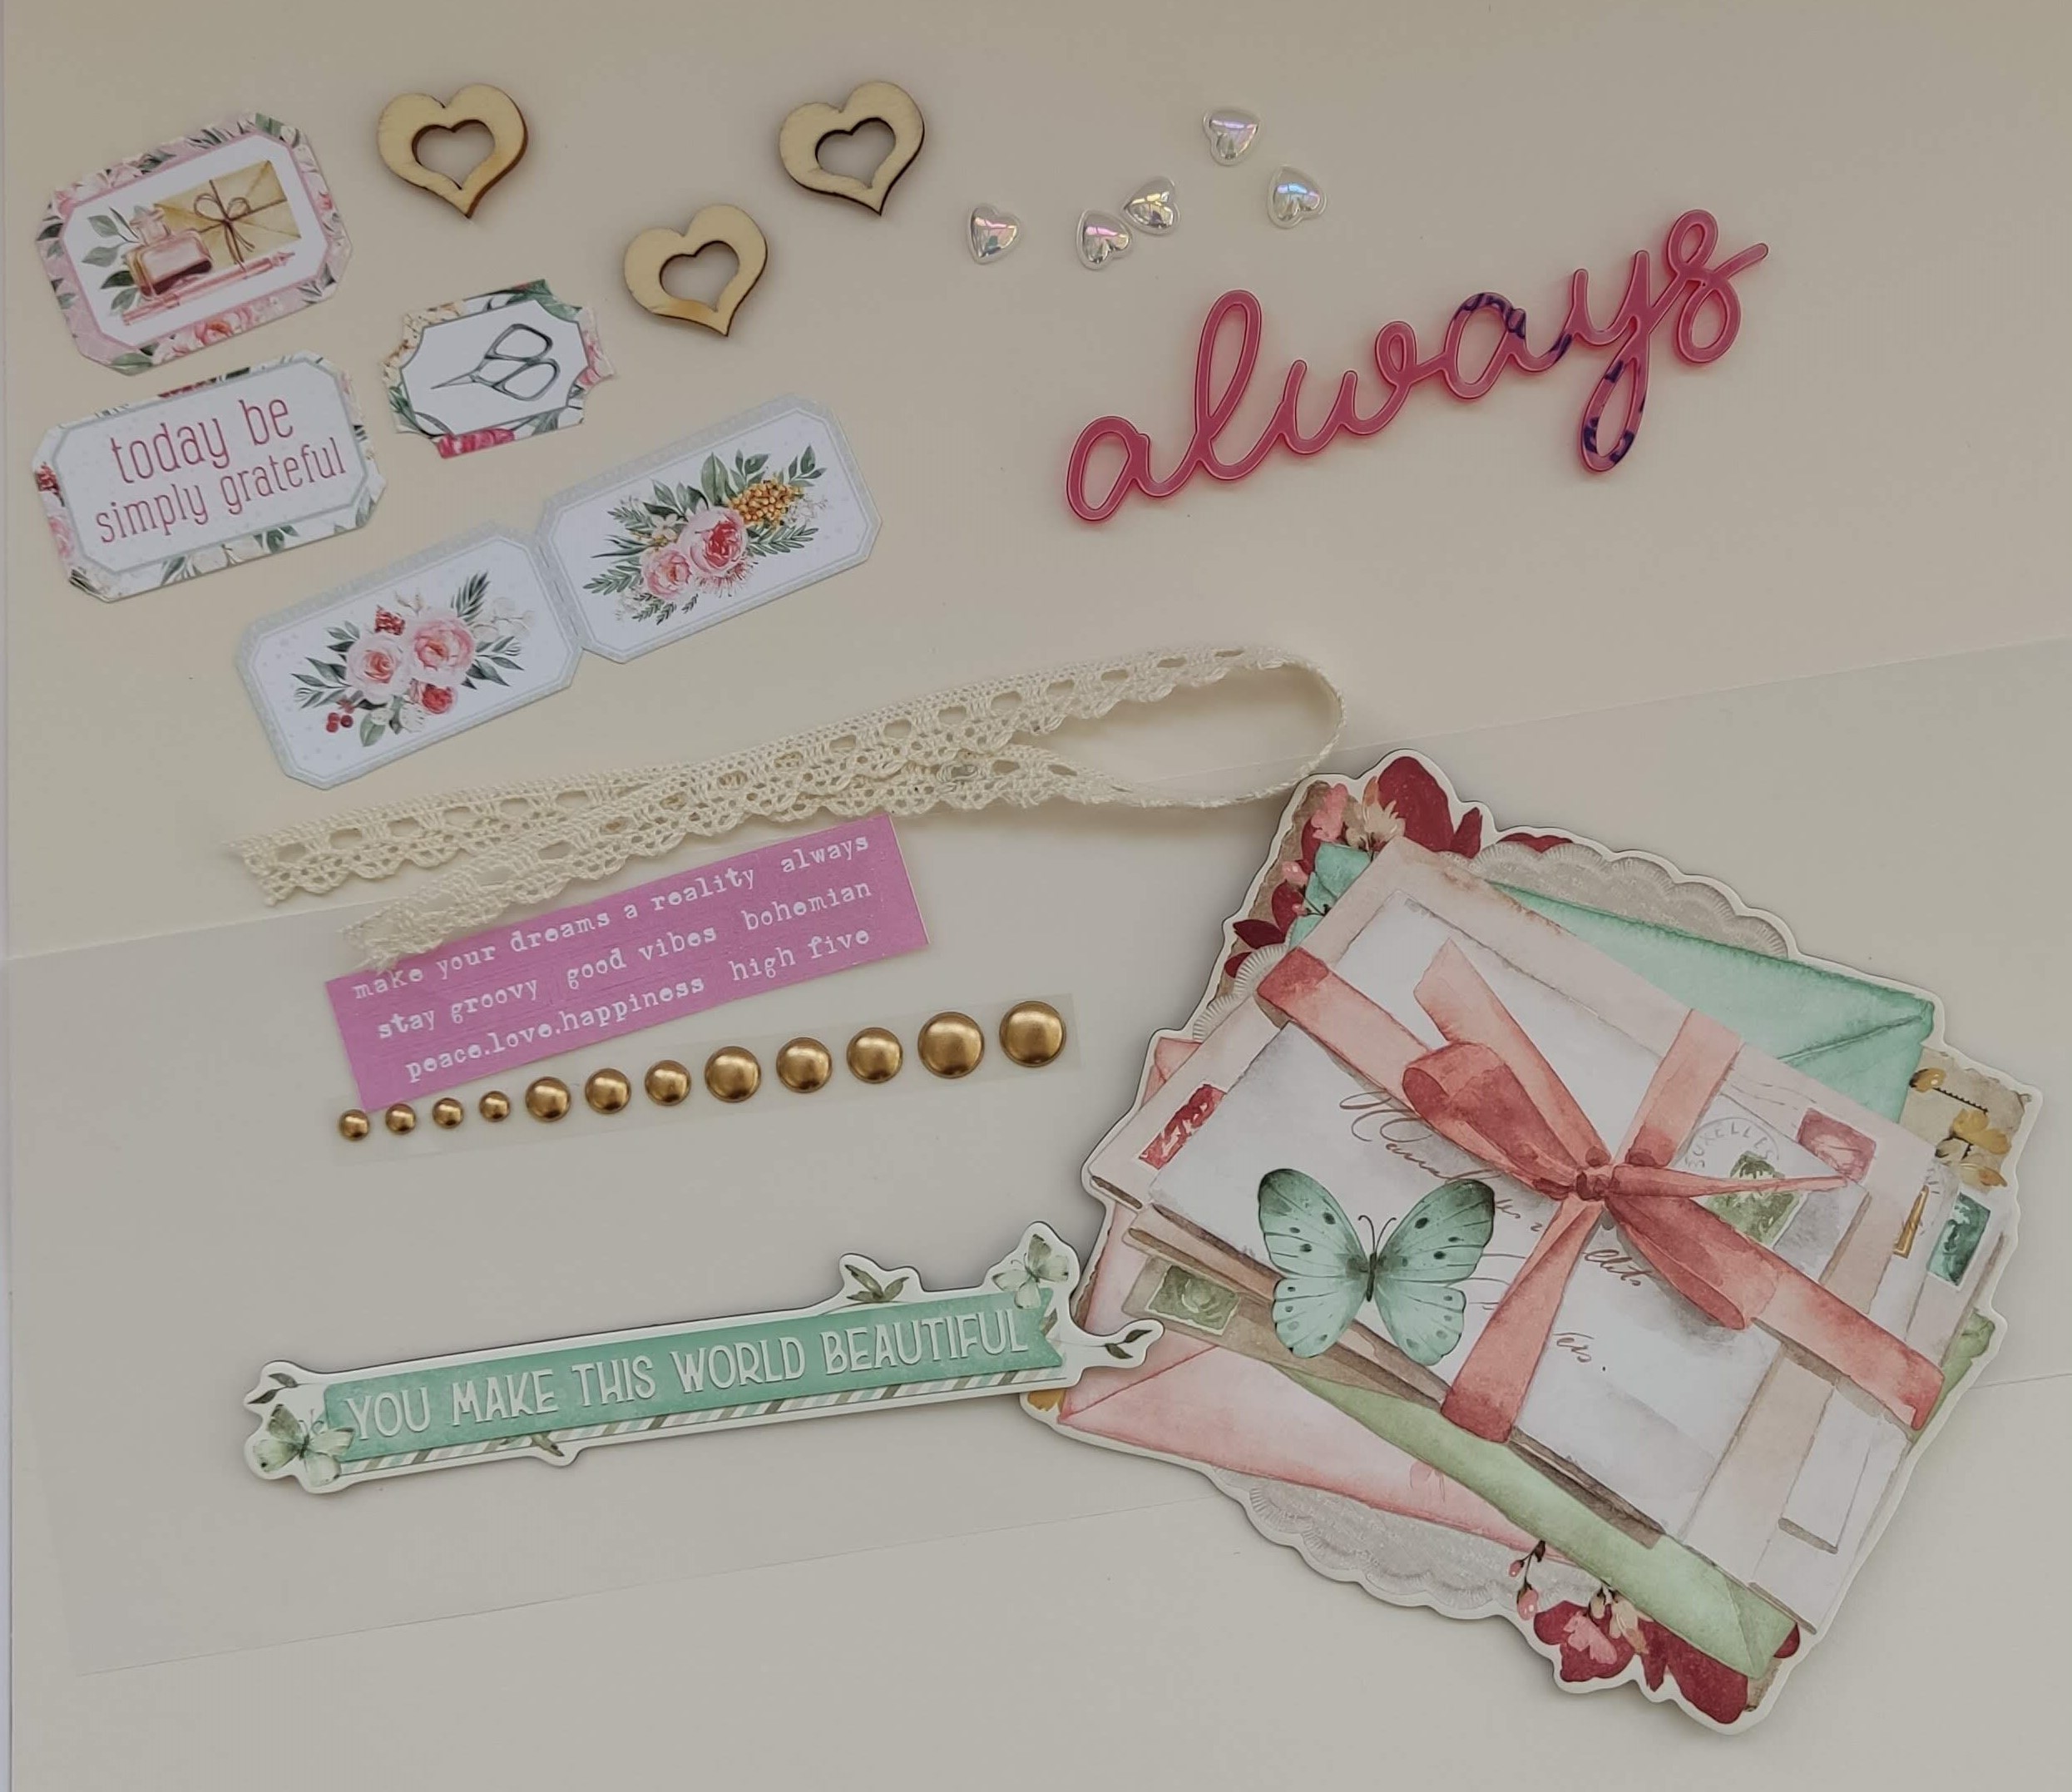
Embellishments:
Simple Stories - Vintage Believe - Foam Stickers & Floral Bits and Pieces
Simple Stories - Vintage Believe - Foam Stickers & Floral Bits and Pieces
Mintay Chippies - Xmas Wreath
Rosie's Studio - Oh Joyful Day - Button
Pretty Little Studio - Comfort and Joy - Holly Jolly Word Titles
Divine Twine - Green Apple
Doodlebug Designs - Doilies Ladybug
Gold enamel dots
Rosie's Studio - Oh Joyful Day - Button
Pretty Little Studio - Comfort and Joy - Holly Jolly Word Titles
Divine Twine - Green Apple
Doodlebug Designs - Doilies Ladybug
Gold enamel dots

Bazzill Basics - Aspen, Grenadine (included in kit), Cinnamon Stick, Coconut Swirl, Cinder and Parakeet.
Merry & Bright - My nephew and his family took a trip to Lapland UK last December, this layout shows a group photo from this exciting day out.

My first task for this layout was to gut the A Little Sparkle paper, giving me a frame of 12" x 12" and 1" deep. I trimmed a sheet of Bazzill White cardstock to 11" x 11".
Merry & Bright - My nephew and his family took a trip to Lapland UK last December, this layout shows a group photo from this exciting day out.

My first task for this layout was to gut the A Little Sparkle paper, giving me a frame of 12" x 12" and 1" deep. I trimmed a sheet of Bazzill White cardstock to 11" x 11".
.JPG)
With two colours of Distress Ink (Barn Door and Rustic Wilderness, slightly watered down, I lightly splattered over the cardstock, to take away from the starkness of the white.
.JPG)
I divided the Tag Elements sheet to separate the 15 tags. The I selected 8 of them to use on my layout. I printed out the large photo with a white border, and arranged this with the tags and one of the Doilies Ladybug on the cardstock, without sticking anything down.
.JPG)
Once I was happy with the arrangement, I inked the edges of the tags, punched a hole in the tops and applied a large red eyelet each one. Then everything was glued into place. The Divine Twine - Green Apple from the kit was threaded through the eyelets, and caught into place with a few spots of glue.
.JPG)
I embellished the layout using the Button and Gold enamel dots from the kit. The title is a foam Sticker Holly Jolly Word Titles, also supplied in the kit.
.JPG)
From my own Christmas embellishments, I added Simple Stories Vintage Christmas Lodge Farm Foam Stickers, and a little clay gingerbread man. I used some old Basic Grey Alphabet Stickers for the date. As I had already used the gold enamel dots from the kit, I found some more from my own stash to add to this page.
Our Dear Reindeer - Our granddaughter last Christmas sporting a set of reindeer antlers, and enjoying a spear of asparagus.

I selected a sheet of Kraft Bazzill from my own stash for the background, and stencilled some stars over it. I used Picket Fence Distress Ink and a Tim Holtz Layering Stencil - Sparkle.
.JPG)
I painted the Mintay Chippies - Xmas Wreath, with Distress Paints - Lumberjack Plaid for the berries and Peeled Paint with Shabby Shutters over the leaves. Then I coated the whole wreath with Glossy Accents for some shine. I set this aside to dry.
.JPG)
Meanwhile, I built up the layers on the layout. I used my Cricut to create the shapes, and cut them from the remains of A Little Sparkle paper. I cut the same shapes a little larger from Cinnamon Stick Bazzill to frame the paper. I cut a 6.5" x 7" piece from Holiday Traditions, and a 3" x 9" piece of Magical Season. Both these pieces were mounted on more of the Cinnamon Bazzill, I gutted some bazzill from the largest piece, to use as a mount for the photo.
.JPG)
All these mounted papers and the photo were arranged on the Kraft Bazzill witout sticking down. I arranged two pieces of burlap in place on the layout. I backed the dry wreath with another piece of Holiday Traditions paper. These were all glued down.
.JPG)
I had some old alpha stickers that were the wrong colour for this layout, but I stuck the numbers '2024' into the centre of the wreath and drew around them with marker pen. I removed the stickers, and painted some watered down Barn Door Distress Ink between the pen lines. I added a December sticker from my stash.
.JPG)
From the remains of the Tag Elements sheet, I selected a tag and mounted it onto the layout with 3D foam pads. I tucked two decorative pins through the hole. I cut the top of another tag, and tucked this under the photo, I added two more pins as before.
.JPG)
My title was cut using the Cricut, using Cinnamon Stick and Grenadine Bazzill, I layered these up to create a shadow.
.JPG)
Finally, I embellished the layout with Simple Stories Vintage Christmas Lodge Farm Foam Stickers.
That's all from the December kit. I'll be back with a new wintery kit for January in a few weeks' time.
Thanks for looking,
Lynn x




.jpg)
.jpg)
.jpg)
.jpg)
.jpg)
.jpg)
.jpg)

.jpg)
.jpg)
.jpg)
.jpg)
.jpg)
.jpg)
