Showing posts with label ric-rac. Show all posts

Monday, 16 February 2026

Papermaze February Kit - Part 1

Lynn here today to introduce you to the romantic February Papermaze Kit. This beautiful collection is ideal for St. Valentine, Wedding and other romantic photos, but they are also perfect for heritage layouts. As the weather is cold and miserable, I have been working on my family tree, and making new links on Ancestry. I came across these lovely photos of our family ancestors. I will add details of these characters on my own blog (should you wish to read about them). 


Before looking at how the layouts were created, here is what you will find in the kit:


Patterned Papers:
Simple Stories - Simple Vintage Junk Drawer collection - Notes And Things
49 and Market - Dennis Burton - Nostalgic Memories collection - Moment & Forever
49 and Market - Vicki Boutin - Curiosities in Willow Grove collection - Starters Paper #5
Graphic 45 - Journalling Through Time collection - Wild Flowers & Golden Rod Pattern & Solid Sheet

The photo below shows both sides of the papers. 


Embellishments - 49 and Market Nostalgic Memories chipboard words, 49 and Market Colourswatch Tickets, 12" lace ribbon, Bare Essentials wooden domes, assorted flowers, 
Mintay paper stickers phrases - beige: & Simple Stories Simple Vintage Woodlands floral bits.


Bazzill Basics Cardstock - Touch of Pink, Mocha Divine, (included with kit) Apricot, Ivy, Fawn & Beeswax (extra pack).


Laura Susannah - A recently discovered photo of a great grand aunt on my husband's side of the family. 


I gutted the Notes And Things paper, making a frame of 1"x12"x12", which I set aside for use on another layout. From the gutted centre I cut a 9" circle from the centre. Then I placed this onto the Fawn Bazzill and gently pencilled the circle onto the cardstock. Using a Tim Holtz Layering stencil (THS077 - Floral) and some Embossing Paste I created the flowery design so it would peep from the circle. I used Stampendous Frantage Shabby White Embossing Enamel over the paste and heat embossed it to fix it in place, making a raised sparkly design. 


I took the circle, cut earlier and punched holes with the smaller hole on the crop-a-dile, 1cm in from the outer edge, and 1 cm apart. Using some cream crochet cotton and a 3.5mm crochet hook I croched around the outer edge of the circle. I worked double crochet stitched through the holes all around the circle first, then my second round was 1 dc, 3tr, 1dc, into each dc created on the first round. The circle was placed onto the centre of the Fawn Bazzill.


I added the photo to the left side of the circle. With the Sizzix and a Tim Holtz Bigz XL die (Wonderland), and some scrap greyboard, I cut the letters for the title. These letters were embossed with Sizzix Caramel Toffy embossing powder. The letters were arranged inside the crochet edging. 


I used the 49 and Market Nostalgic Memories chipboard word from the kit along the base of the photo, I raised this up on 3D foam pads so it sat happily over the crochet. 


From the kit I used the assorted flowers and the Simple Stories Simple Vintage Woodlands floral bits. I trimmed the white halo's away from the butterflies and toadstools, as I felt they looked better this way for a heritage layout. The butterfly wings were raised up on 3D foam pads, while the bodies were glued in place. 


The Kiff Family c1905 - This photo was sent to me by a someone I have linked up with through Ancestry. It shows George and Irene Kiff with Charles, Leonard, Irene, Thomas and Dorothy.


I started making this layout with the Moment paper, I cut off the barcode strip and set it aside for later. I turned the paper so the flower borders ran down either side of the paper, rather than across the top and bottom. Then I cut a piece 5" x 12" from the Golden Rod Pattern & Solid Sheet paper. I glued this down the centre of the Moment paper, leaving the very edges unstuck.


I cut the 12" lace ribbon in half lengthwise, at tucked this under the edges of the Golden Rod Pattern & Solid Sheet paper. I then glued some cream velvet ricrac trim over the join. 


My photo was placed to the right side, again leaving room to tuck embellishments in later. I used the 49 and Market Colourswatch Tickets and some skeleton leaves down the sides of the photo.


I built up the floral areas by adding a selection of paper flowers and leaves, coiling the wires. I added a key embellishment to both areas, using the flower wires to hold them in place. 


Back to the barcode strip - I cut the two phrases apart, then I cut both of them into two lines. I distressed the edges, and added the phrases to the side of each cluster of flowers. They were raised up on 3D foam pads. 


I used some old domed resin stickers from my stash to add the date to the layout. The title was also made with some old stickers from my own collection.


That's all for today, I'll be back with more layouts from this kit soon.
Thanks for looking.
Lynn x

Monday, 3 January 2022

December Papermaze Kit - Part 3

Happy New Year!

Lynn back here today with a third pair of layouts made with the seasonal December Papermaze Kit.  It's amazing value to have been able to make six layouts from one Kit.

I have gone with a pink and silver theme for one and traditional colours for the other.

Before we take a look at how I made the layouts, here is a peek as what you will find in the December Kit. Please see part one for full details of the content - HERE.


Merry & Bright - This is Scarlett in her pj's proudly standing in front of the silver tree, decorated in pink, white and silver decorations.
 

For this page I used the Berry Blush Bazzill cardstock, and drew two large overlapping circles onto the card. I glued Silver Idea-ology Tinsel Twine, over the circles.

I mounted my photo onto white cardstock and applied it to the layout with 3D foam, to raise it over the tinsel.


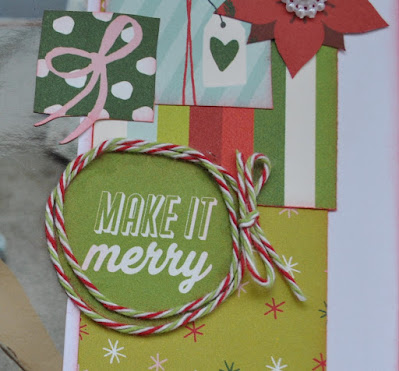
With some glittery silver funky foam, I used a Memory Box die to cut pine trees and a tiny house, which I arranged around the circle. I cut the pink packages from the No Peeking! paper and added these to the circle too.  The two
P13 light chipboard phrases from the kit were also added to the wreath. 


I used some foam alpha stickers to add the date to the trees.


In the centre of the circle I placed a title made using more of the funky foam and the Sizzix Shadow Script Christmas die set. 
 

I embellished the page with some star gems, Doodlebug Designs Shape Sprinkles - Winter Hugs hearts, Nuvo Silver Moondust Glitter drops, Carnation Pink Crystal Drops and Chalk White Stone Drops.


Gift Boxed - We received a box of gifts from our friends for the children's first Christmas, once unpacked, they had fun playing inside the box.


For my final layout this month I stared with the Holliest & Jolliest paper and made a 4cm deep frame. Over this I applied a piece of smooth white cardstock, trimmed to 26cm x 26cm.


I cut strips from papers left over from this and other layouts made with this kit (

Holliest & Jolliest, Wonder & Joy, Merry, Merry, Merry, No Peeking!, Holly Jolly and 6 x 4 Journalling Cards). I mounted these horizontally across the white card. 
 

I mounted the photo in the centre of the layout. I placed red ric-rac and green bobble trim across the strips. I used beaded white trim to run vertically down the page. 


From Hillary and Red Devil Bazzill I cut two circles using the Sizzix Stitched Circles Thinlits die set, and placed them in opposite corners of the page. These were decorated with images cut from several of the paper scraps. 
 

I die cut my title using two different alpha dies, and various scraps of card. I embellished the circular images with the twine and silver and gold gems from the kit.


Journalling was written with a
Uni-ball Signo Broad white pen.
 

That's all for the December Kit. Back with the January kit very soon.
Thanks for looking.
Lynn x

Friday, 2 April 2021

Papermaze March Kit - Part 2

Lynn here today with the second post using the very pretty March kit from Papermaze. Both these layouts feature photos from my daughter's wedding.

Before we look at the process of making the pages, here is a reminder of what you will find in the kit - please see this post for more details.


Celebrate Together
- The photo for this layout shows 18 month old Scarlett, with her Mum and Dad at the wedding.

I started by building up the background with patterned papers from the kit. I used the stripe side of 'Rainbow' paper left over from a previous layout. This is roughly 8cm wide and cut with a wavy curve along one edge. With 'It's A Girl Floral' I followed the shape of the wave and cut a narrow strip about 3cm wide and used this floral side up, I tucked this up closely to the stripe paper. Then I flipped the 'It's A Girl Floral' paper over and used the pink ombre side to cover the rest of the page.

I flicked some Cosmic Shimmer Mist in Rich Gold and some white Distress Paint over the ombre paper. 

I set the sewing machine to blanket stitch, and with dark green thread, worked around the outside and along the wavy edges of the papers.

I gutted the Rain Forest Bazzill, to made a 2.5cm frame and set this aside for later. Then my photo was mounted onto white card and then Rain Forest. I raised this with foam and arranged it onto the page. 

I created two floral clusters with flowers fussy cut from the scraps of the floral paper. I added Rain Forest Bazzill fronds, cut using Sizzix Tim Holtz, Funky Floral Thinlits die sets. To this I added the two prima flowers from the kit together with a few tiny flowers from my own stash. The curio from the kit was placed on the lower cluster. 


The title is made from a Paige Evans Ephemera word and a die cut word using Blossom Bazzill and Simple Stories Say Cheese 4 Happy Words metal die set.

Finally I added a sprinkling of sequins. 

Welcome - This layout features the three pallets I decorated for my daughter's wedding, Welcoming and giving the day's information to our guests.


I used the 2.5 deep gutted rainforest Bazzill from earlier, as a border for this layout. I trimmed the 'All is Calm' paper to 29cm x 29cm and from the centre I cut a 20cm circle. The pink side was placed over the border and the circle was flipped over and popped back into position to show the floral side.

My photos were trimmed with white and then Rain Forest Bazzill, and arranged onto the page.


I trimmed the diameter of the circle with glittery white zic-rac. Then the title was arranged in place with glittery white foam alpha stickers.


Thats all for today, back soon.
Thanks for looking.
Lynn x

Friday, 11 December 2020

December Papermaze Kit

Hello, Lynn here today with the Christmasy December Kit. Although the papers are all from winter or Christmas collections, at least one side of most of them can be used to create non-Christmas layouts.

Here are the first two layouts I have made with a Christmas flavour.


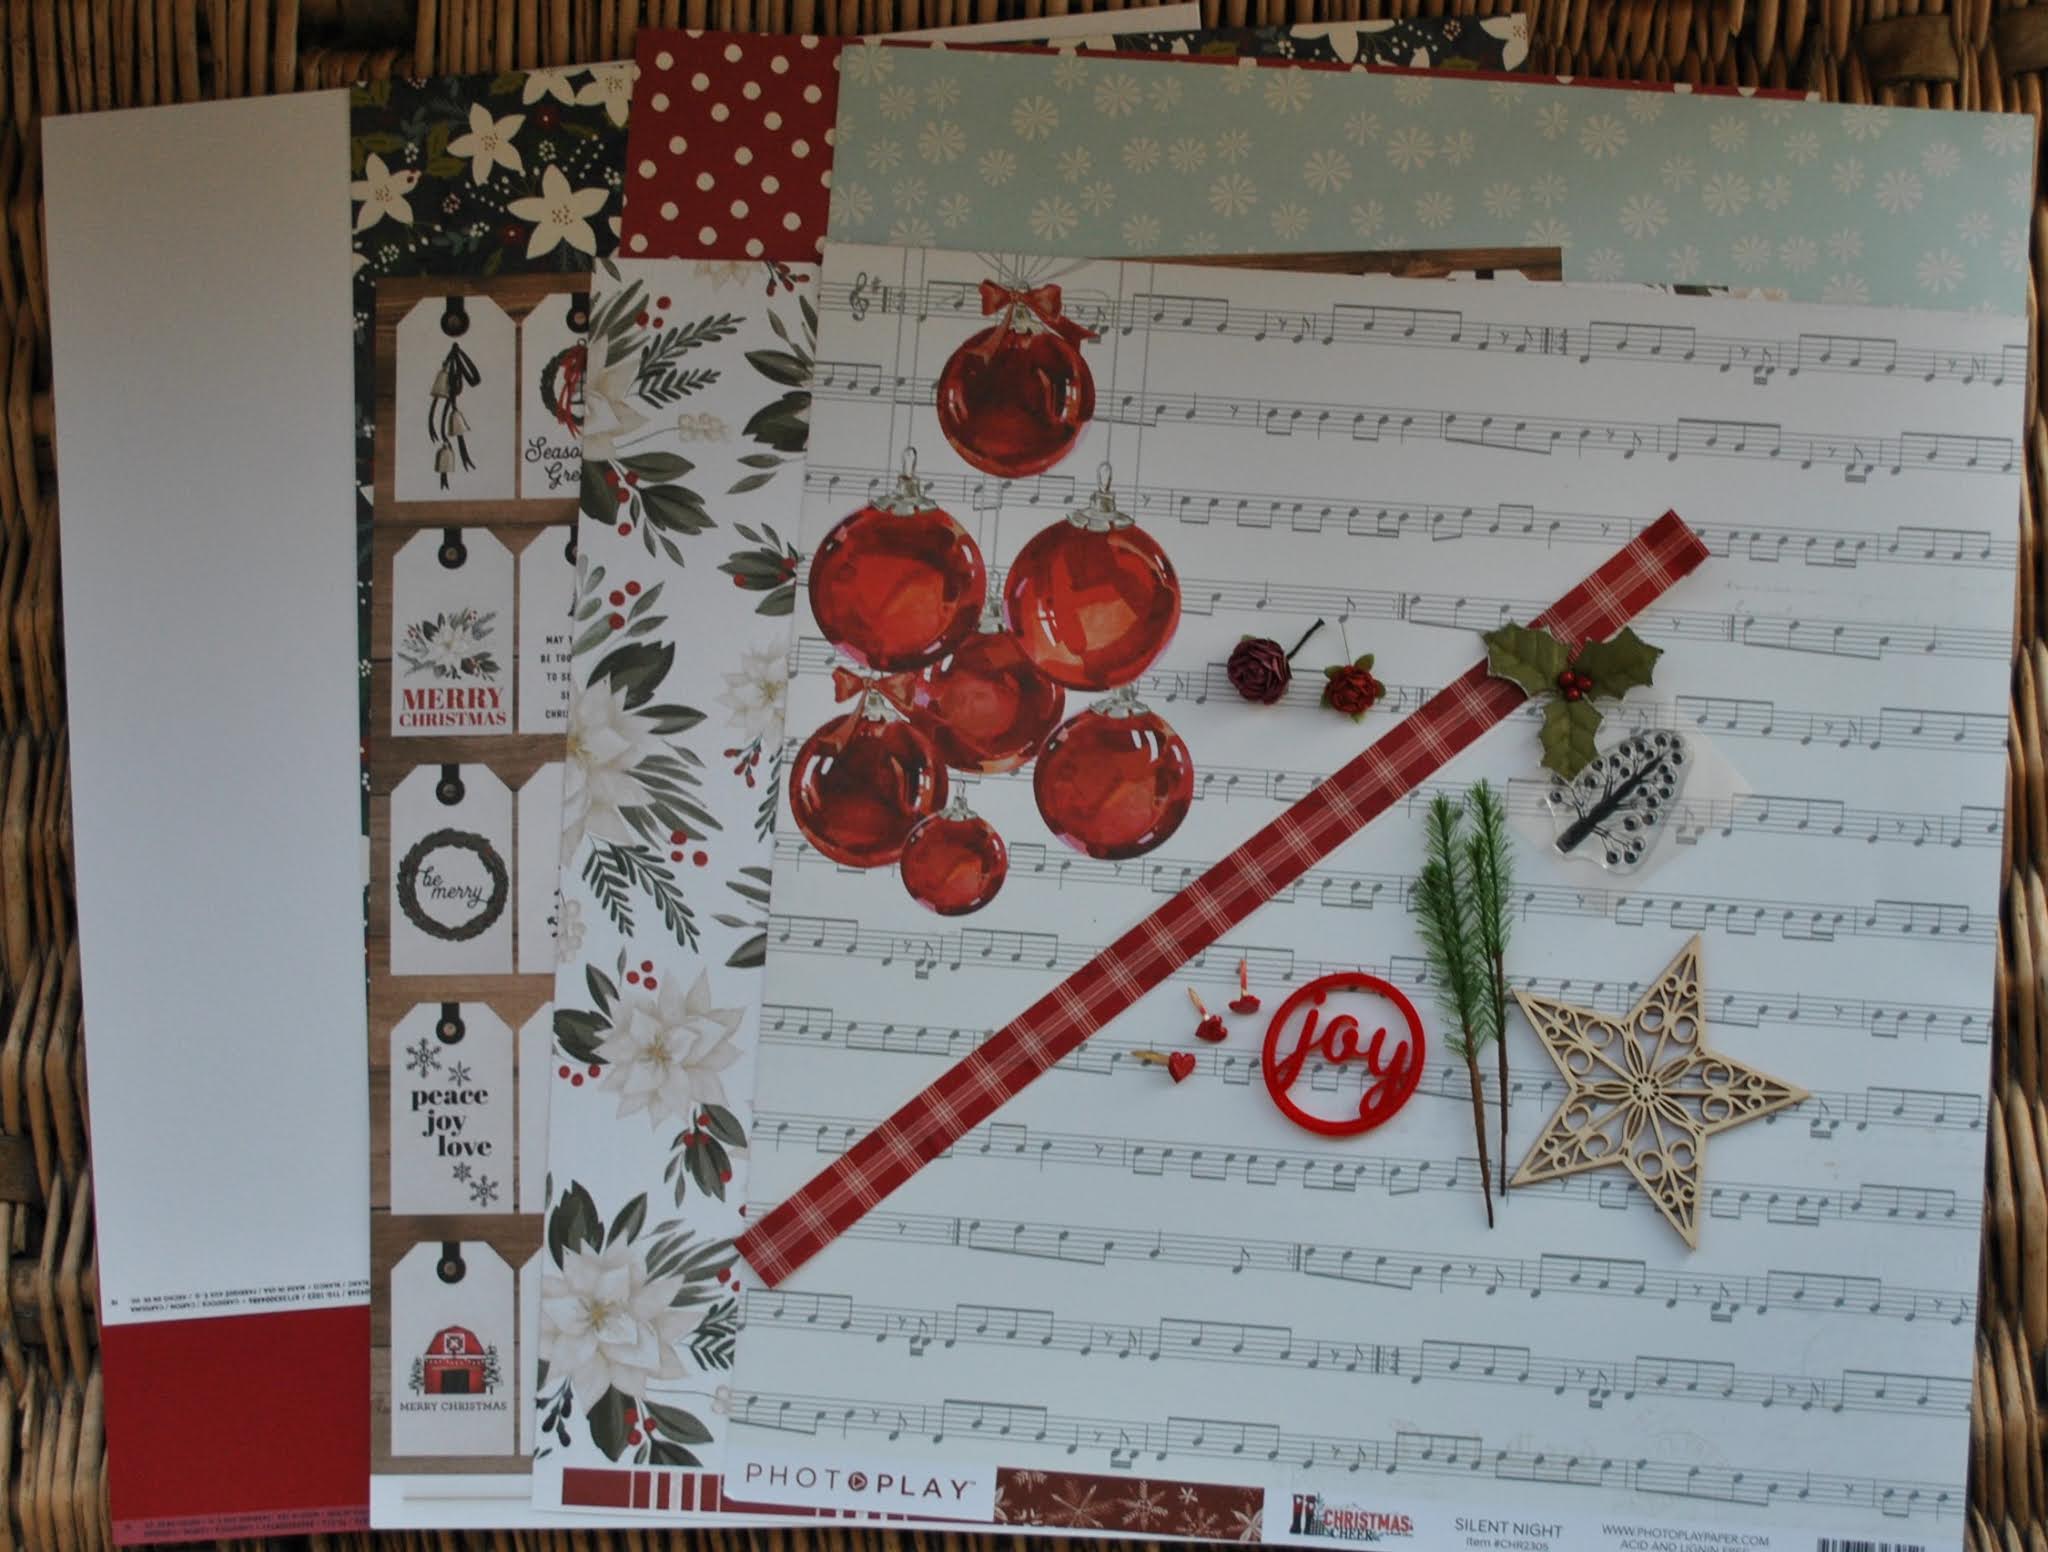
 This is what you will find in the kit.

Patterned Papers:
Carta Bella - Farmhouse Christmas collection - Gift Tags & Poinsettia Floral
Simple Stories - Winter Cottage collection - Season of Wonder & Let it Snow
Simple Stories - Jingle All The Way collection  - December Details
Photo Play - Christmas Cheer collection - Silent Night
Bazzill - White OP & Ruby Slipper

Reverse sides of papers

Embellishments
12" Washi tape, wooden star, 3 heart heart brads, Prima holly, tree stamp, 2 paper roses,
exclusive acrylic shape & Crate paper pine branches.


Extra Bazzill Cardstock Pack - Aspen, Fig Swirl, Jetstream & Walnut


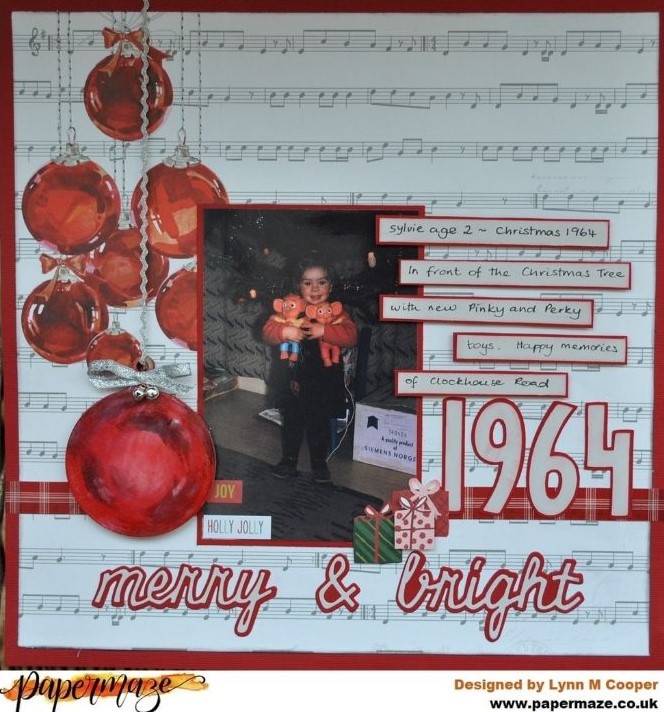
Merry & Bright - I found this colour slide picture of my sister by the Christmas tree with new Pinky and Perky toys - Christmas 1964. Brought back memories of our childhood home and Christmases.


I chose the Ruby Slipper Bazzill as a border for the layout and gutted it making a frame of 2.5cm. Then I trimmed the 'Silent Night Paper to measure 28cm x 28cm (I cut the two edges away from the baubles). I hand stitched over the bauble strings with some silver embroidery thread. Then I inked the edges of the paper before mounting it over the red frame.

The washi tape was applied across the page, about 7cm up from the bottom. I mounted my photo onto some of the Ruby Slipper Bazzill.

I found an MDF bauble and with some acrylic paints, I made it look like the baubles on the paper. Then added a coat of Glossy Accents. Once dry I attached a length of silver ric-rac, a silver ribbon bow and two tiny silver bells. This was stuck into position with 3D foam tape, the ric-rac is taken to the top and it held in place on the back with some tape.


I wanted to use the Fig Swirl Bazzill for my title and journalling, but I needed most of this for the next layout so I cut a piece 23cm x 23cm and set this aside for later. I also used scraps of Ruby Slipper for title and journalling. I cut the Words 'Merry & Bright' using Sizzix Thinlits - Shadow Script Christmas die set. The date was cut using my Cricut and the journalling strips were hand written.

Before cutting three tiny parcels from the 'Season of Wonder' paper, I gutted it to make a frame 4cm deep, and set this aside for the next layout too. Then I fussy cut the parcels and added them to the bottom right of the photo. 


Nutcracker Lego - Last year we purchased and made this Christmas Lego to add to our collection. 


For this page I have already trimmed the Fig Swirl Bazzill and the wide, red and white spotty border form the 'Season of Wonder' paper. Next I trimmed the Aspen Bazzill to 24cm x 24cm, and gutted this to make a 2cm frame. Then all three were mounted onto one another.

My photo was mounted onto some Walnut Bazzill, but again most of this was required for another layout, so first I gutted the whole sheet to give me a 2cm frame, then with a piece trimmed to 26cm x 26cm I gutted it to make another 2cm frame. I set both these frames aside for later.

I cut two fir trees using the Sizzix Thinlits Woodlands die set, and set these to the left of the photo.

By placing all the embellishments onto the papers and re-arranging them until I was happy, I added a few light pencil marks where they would be glued in place later. Then I removed them and using the tree stamp from the kit (upside down) I stamped fronds in green so they would hang down from under the embellishments. 

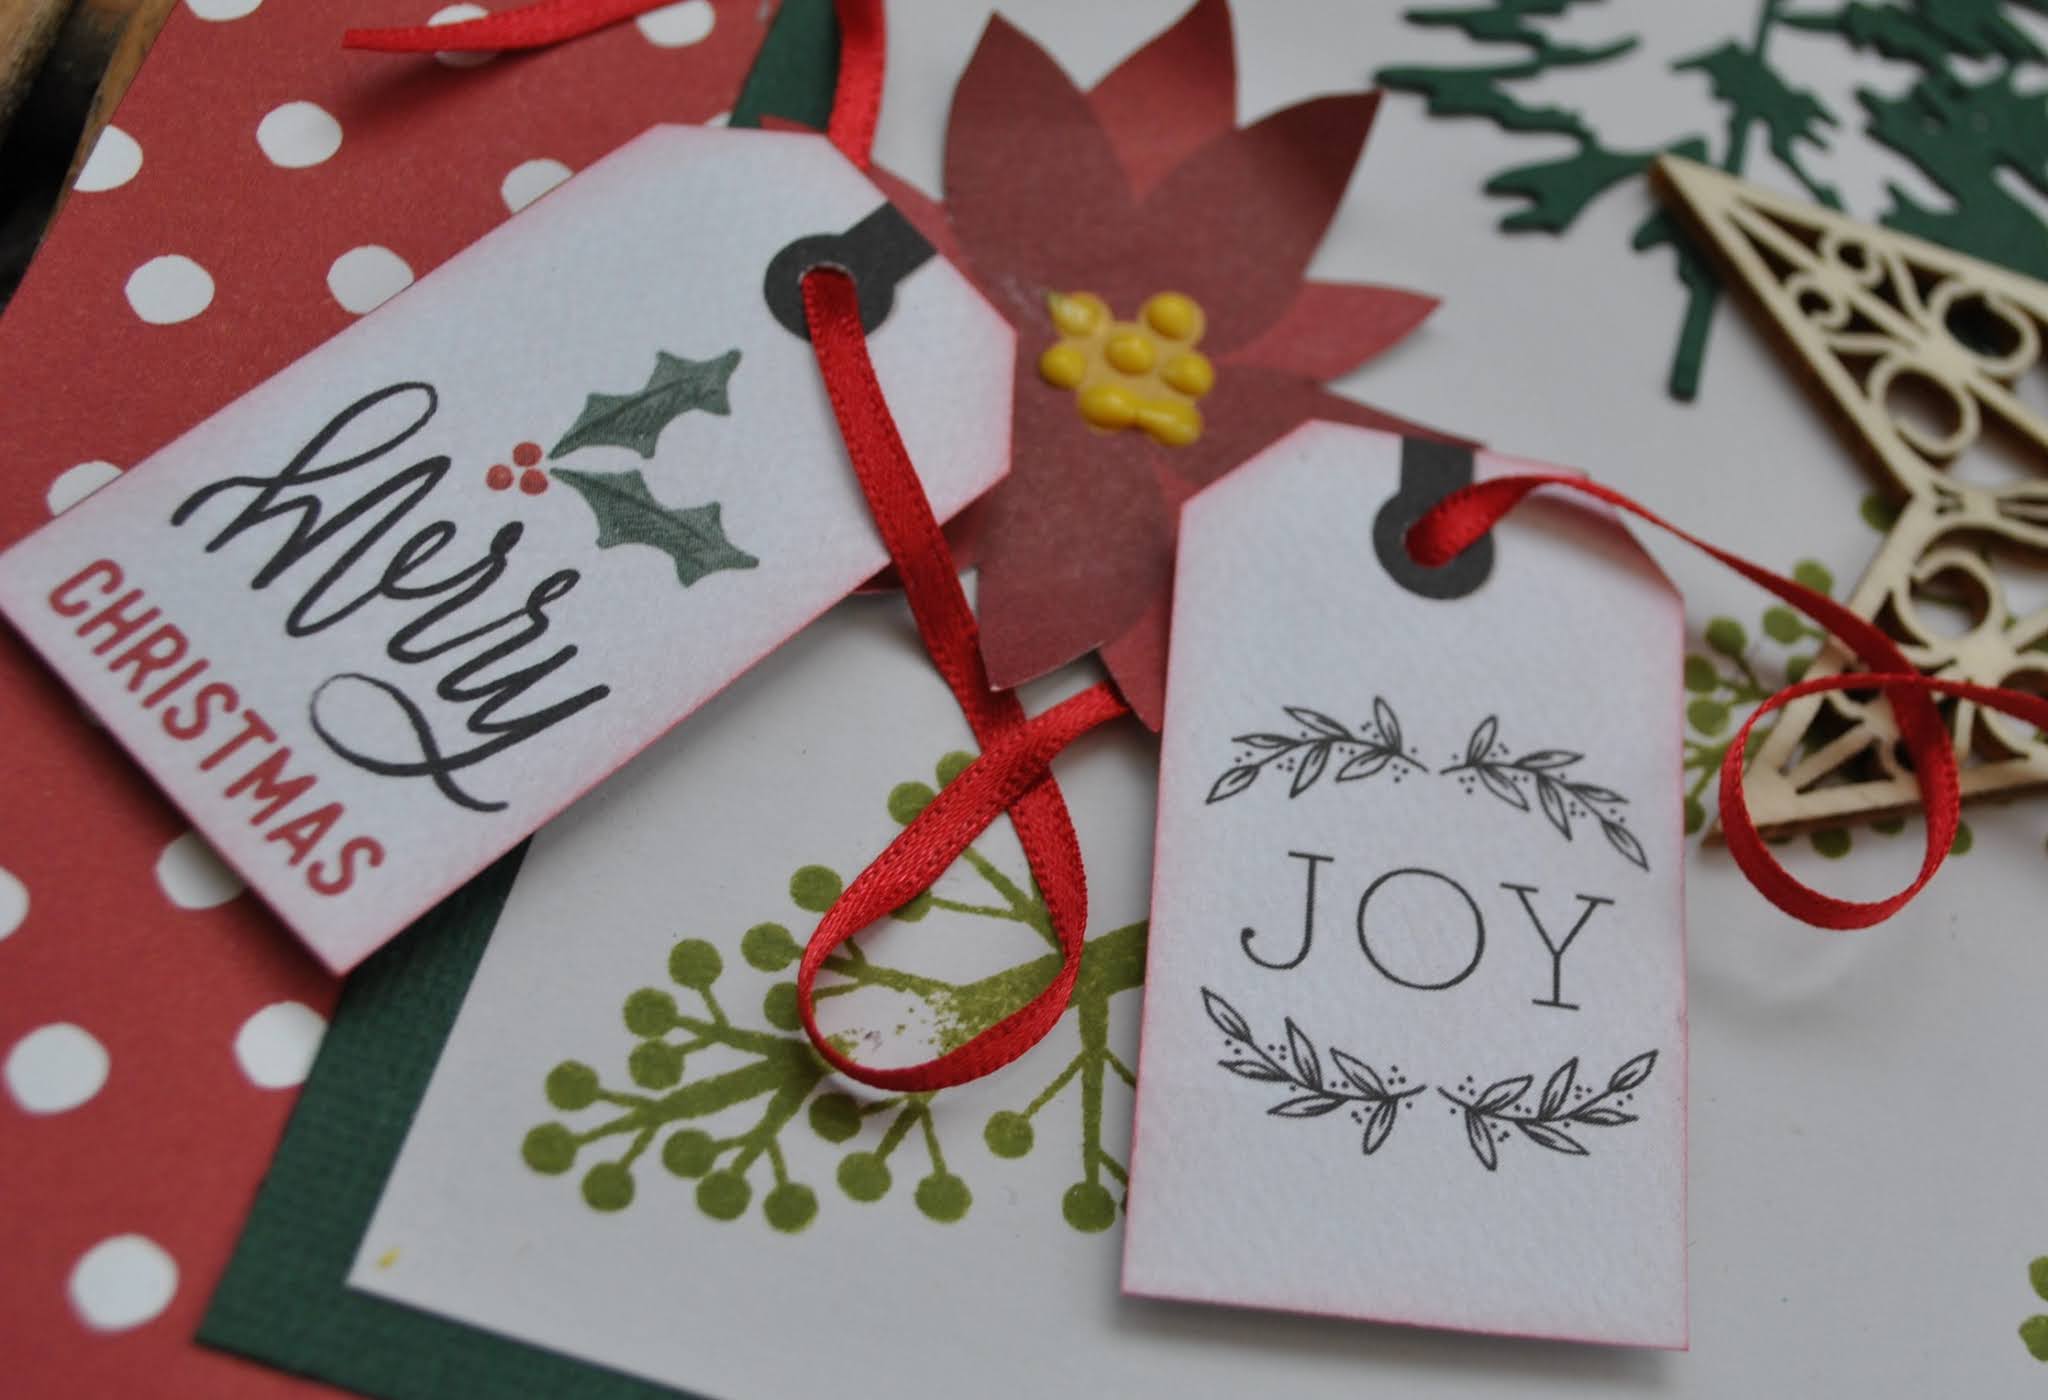
To embellish I used a some bits from the kit - the wooden star, and the two paper flowers. I added a few more red and white flowers, some fabric holly leaves and a twig wreath from my own stash. I fussy cut two poinsettia blooms from the 'December Details' paper and added a few dots of Nuvo Crystal Drops (Dandelion Yellow) to the flower centres.

I wanted to use some of the tags from the 'Gift Tags' paper, but again needed the wooden plank side for another layout, so I cut a 25cm x 25cm piece and set this aside. From what was left I cut four tags and punched holes in the top of each one. These were threaded onto narrow red ribbon and placed along the layout weaving them in among the other embellishments.


Finally I used some of my Basic Grey letter stickers to create the title and the year. 

That's all for part one. I will be back with two more layouts in a few weeks.
Have a good Christmas
Thanks for looking
Lynn x