Showing posts with label word sticker strips. Show all posts

Sunday, 26 July 2020

'Woodland Wander' and 'Memories in the Woods' - using Shimelle's 'Never Grow Up' Collection

Hello, Rebecca here with you this morning to share my final two layouts which I've created using the 'Never Grow Up' collection by Shimelle for American Crafts. I have absolutely loved working with this collection - it's full of bright colours and has an 'outdoorsy' feel to it so it's been great for documenting all our recent photos.

 I've recently treated myself to a silhouette cameo 4 so for the first layout I've used a cutfile and focused on the Acetate Sheet.


I selected black cardstock for the cutfile as I really wanted the colours in the acetate to stand out against the white background. I backed the larger circles in the cutfile and all of the stars using the acetate sheet. 


I focused on the darker shades on the acetate as they went really well with my photo. I've saved the orange and yellow sections to use on another layout.

Next I applied drops of Glossy Accents into the circles I hadn't backed, and added sequins in co-ordinating colours to complement the acetate sheet. I wanted  it to look like the sequins had been randomly placed so I overlapped some of them. 


I adhered the cutfile to my cardstock using black foam pads to add dimension and shadows to the page. I trimmed the cardstock down on either side and distressed the edges and then added torn strips of the 'Forever Young' and 'Past Bedtime' patterned papers to help frame the page.

I matted my photo onto layers of white and black cardstock and added it to my layout with a layer of adhesive foam behind it so raise it off of the cutfile slightly. I then added a couple of stickers from the Accent and Phrase Stickers sheet and created a tab which reads 'Let them be Little' from the Forever Young patterned paper.

I finished off with my title using mini alphabet thickers from my stash.


This layout was really simple and came together quite quickly (for me!). I love the way the colours in the acetate look really crisp against the white really 'pop' off the page.


Here's a look at my second layout:


I've used the 'Summer Adventures' patterned paper at the top and bottom of my layout. I tore the edges and distressed them to give the layout a rustic feel. I also downloaded a cutfile for my title and cut it using the same paper. 


I mounted my photos onto cardstock which co-ordinates with the collection and added a couple of journalling cards from the 'Life is the Bubbles' patterned paper underneath.

I embellished the layout using some pieces from the Floral Ephemera pack and some stickers from the Accent and Phrase stickers sheet, creating 3 clusters to form a visual triangle around my photos.


I finished my layout by adding a chipboard leaf by Tando Creative, which I've painted with acrylic paint and a scattering of green sequins.


I hope you've enjoyed seeing the layouts I've created with this collection. There are still some of the patterned papers and stickers available in the shop so be sure to head over and take a look. 

I'll be back next month with a new collection!

Take care,

Rebecca x


Friday, 24 July 2020

'Fresh Air' - 12x12 Layout using Shimelle's 'Never Grow Up' collection

Hello, Rebecca dropping by today to share another layout I've created using the gorgeous 'Never Grow Up' collection by Shimelle. This collection has been great for documenting our recent days out now that the Covid-19 restrictions have been relaxed slightly. We've been back out enjoying our National Trust membership so I've not been short of photos to go with this amazing collection.


I started this layout by cutting and distressing a strip of the 'Forever Young' patterned paper (B side) to sit vertically down the centre of my page. I then added strips of the 'Past Bedtime' patterned paper (B side) either side of it as I felt that the two papers contrasted really well with one being light and the other being quite dark.

In the photos, my little boy is sat on a rustic tree swing made of a plank of wood and some ropes, so I decided to try and mimic this texture on my layout by adding some twine materials. I have a reel of twine netting which I added so that it was peeking out from behind the patterned papers on both sides, and some actual twine which I wrapped around the centre of my cardstock vertically so that they crossed over in the middle. I then dug out an old 12x12 stencil by Kaisercraft of a fisherman's net and pressed some texture paste through it in certain places on my background. Once this was dry I adhered everything down. I used Glossy Accents to stick the twine down as I find it really strong and it holds really well.


I matted both of my photos on white cardstock to help them pop off the page, and then on two different patterned papers from Shimelle's 'Field Trip' collection as the colours complemented the layout perfectly. I distressed all the edges using the blade of my scissors to try and continue with the 'rustic' feel of the layout.

I cut out and distressed a few of the journalling cards from the 'Life is the Bubbles' patterned paper (B side), and tucked them behind the twine so that they would be visible above and below my photos. I then adhered my photos to the layout, adding a layer of foam behind them.


Now on to the fun part of embellishing! I started by painting a ''Tando Creative Chipboard Leaf' with green acrylic paint. It took a matter of minutes to dry, so I adhered it straight away using glossy accents to keep it in place.


I added some flowers from the Floral Ephemera pack, and a couple of insect stickers from the Puffy Stickers sheet.


I finished the layout with some stickers from the Accent and Phrase Stickers sheet, and my title using some mini alphabet thickers by Elle's Studio from my stash.


And that's it from me! I love this layout - the colours, the textures... and of course the photos! I do have a couple more layouts that I have created using this collection (once I received it I just couldn't stop creating!) so there will be a 'bonus' blog at some point next week - so keep an eye out!

I hope you've enjoyed this layout. I really am loving this collection and it's 'outdoorsy' colours and feel. So perfect for us! It's selling fast, so be sure to check it out in the shop whilst you can!

Take care,

Rebecca x


Wednesday, 12 December 2018

December Papermaze Kit

I can't believe it's time for the last Papermaze kit of 2018, but here it is! Another well co-ordinated collection of papers, cardstock and embellishments ready for us to make Christmas layouts. Much of the content could also be used for non-Christmas layouts too.

For this first post I have created two layouts to share, one with my daughter and her fiance when they became engaged last year on Christmas eve and the second with George choosing a Christmas tree the year before.


Before telling you how I made these layouts, here are the details of the kit.


The December Kit
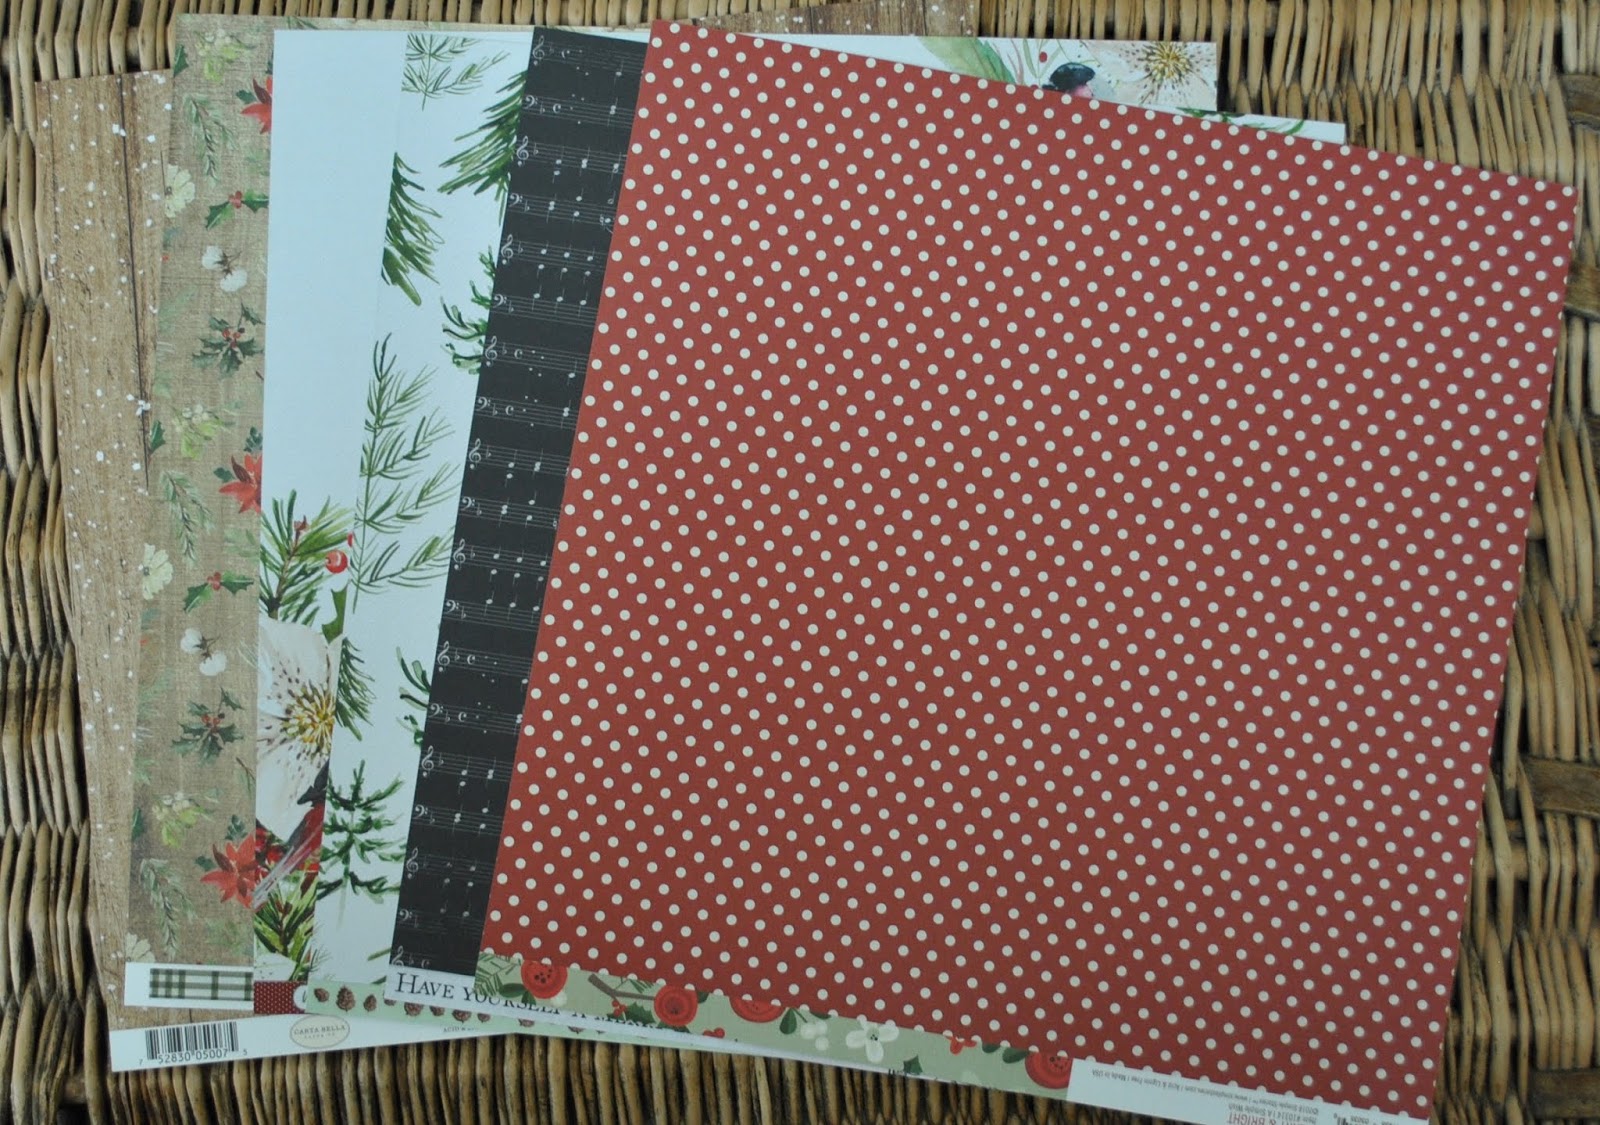
Double-sided Patterned Papers:
Carta Bella - Christmas collection - Merry Snowflakes & Winter Floral
Kaisercraft - Peace & Joy collection - Rejoicing & Elation
Kaisercraft - Christmas Edition collection - Snowcapped
Simple Stories - Merry & Bright collection - A Simple Wish
Bazzill Basics - Kraft & Natural

The reverse side of the papers

Extra Bazzill Basics Pack - Rain Forest, Watermelon, Cajun & Raven


Embellishments:


2 Jolee's Boutique word stickers, 5 heart buttons, 3 Tim Holtz beaded berries, 4 Tim Holtz Christmas Quote Chips, 1 frame, 18" black lace, A5 sheet corrugated card, strip of pearls, 6 strips of word stickers, 2 red flowers, 2 exclusive chipboard stems.

Christmas Eve Engagement


For this layout I wanted to create a wreath to 'hang' on the wooden panels. So I worked with two sheets of patterned paper -
Merry Snowflakes and Rejoicing.

Cut the photo into a circle (mine was about 19cm in diameter), then cut a circle from the centre of the Merry Snowflakes paper, a little smaller than the photo. With the wooden panel side up mount the photo over the hole. Keep the circle cut from the paper for the next layout.

Take the Rejoicing paper and fussy cut the bird, the bird house and white flower from one side then turn and cut lots of red poinsettia and the leaves from the other side. (Also cut out the holly and set this aside for another layout - to come on the next post). Arrange these paper elements all around the photo, curl the leaves and petals with the blade of your scissors. Use double-sided 3D foam pads to give dimension to the wreath. Add a gem to the centre of each flower - I found some golden ones in my stash.

Add the Papermaze exclusive chipboard stems, I broke a piece off one of the stems then tucked them all in among the leaves and flowers. I added a dot of Glossy Accents to each bud. Add quote chips and word sticker strips to the bottom of the photo.


I cut my title from Gold miri card using an alphabet die set from Die-namics. The date was added with some old sticker dies from my stash.

Oh Christmas Tree


My first job was to gut the Rainforest Bazzill, making a frame of 1". I stuck this to a sheet of scrap cardstock to make a stronger base for the layout.

All the edges were inked with either Gathered Twigs and Forest Moss Distress Ink.

Then checking to make sure the trees are running in the right direction, I cut two pieces from the Elation paper, they were both 11" wide and one measured 2" deep and the other 5" deep. After rounding the corners at the top of the 2" piece and the bottom of the 5" piece, I added them to the top and bottom of the layout leaving a dark green border of 0.5" showing.

To fill the gap and make a contrasting band across the page - I cut a piece of Cajun Bazzill 11" x 4.5", and a piece of the plaid side of Winter Floral paper 10.7" x 4.3". I stuck the paper centrally over the card, then put it into place between the strips of Elation paper.

I mounted my photo onto some white paper and then positioned to the right of the layout (The white surround helps to lift the photo from the surrounding papers). From the Rainforest Bazzill I cut six trees (two of each) using the Tim Holtz Sizzix Woodlands Thinlits die set. I used the sheet of corrugated card in the kit to die cut three deer using the Sizzix Woodland Deer Thinlits die set. I mounted these onto the layout with double-sided 3D foam pads.

Selecting one of the quote chips I stuck it to the bottom right of the page, I added a date with some stickers from my stash. For my title I die cut letters from the circular scrap of wood panel paper from the first layout. I also used some old glitter Thicker alphabet stickers from my stash.


I have more layouts to share with you very soon.
Thanks for looking.
Lynn x