Wednesday 23 December 2015

Happy Christmas!

A couple of weeks ago we had our Christmas crop in Otley Village Hall.  It's always a bit different to the normal crops, because we have a couple of make & takes, a challenge kit and Christmas bingo!  This year, Lynn and Carol hosted the make & takes - we had a lovely little snowman tea light to make and a beautiful wooden bauble to decorate with paint and stamps:


 Our challenge kit contained a mix of papers from Shimelle, My Minds Eye and Simple Stories.  It's always fascinating to see how different everyone's layouts turn out, when they've all started from the same kit!  Here are some of the ones I managed to photograph!


I'd like to thank the lovely ladies who come to the crop for their generous gift - it's always good fun, and I  look forward to cropping with you all again in 2016! 
And finally, we at Papermaze would like to wish all our blog readers and customers a very happy Christmas!

Friday 18 December 2015

Alternative wrapping..

Hi, Carol with you today, sharing with you a different way to wrap your presents…

For this post I have used two empty containers that I salvaged from make up freebies - the boxes were painted with some dylusions white paint - the containers I used here are very fragile and to add too much paint wouldn't allow the lid to close and would also be too heavy - so a very light brushing of paint with a dry brush was used on this occasion - I then stamped with distress ink and added a faint covering of creative expressions gilding wax, I applied this with a small piece of cut and dry, and added it to the edges of my box…


The top was decorated by cutting out the poinsettia die and a swirl die from some white cardstock, a piece of bling was added to the middle of the poinsettia….some smaller flowers and embellishments were also added…


These smaller boxes were made in the same way (excuse the photography on the smaller box, the light isn't helping!) - the poinsettia die is so versatile, by using different layers you can change the size, therefore, making it suitable for all sized projects… the same swirl was added and a few sparkles.

TFL xx


Wednesday 16 December 2015

chritmas wrapping 2015

every tear I struggle with wrapping gifts, with a paper crafting twist. Firstly I love the feel of brown parcel paper it stronger than normal Christmas wrapping paper and lends itself to being prettied up with scrap booking papers and die cuts. The bottles are simply wrapped with brown paper and a red card stock border is added along with patterned paper from the 'home for Christmas' patterned paper line from kasiercraft
 

This is a close up of the boxes decorate with the same patterned paper but using die cuts to create a wreath on the box.

This shows that you don't necessarily have to use die cuts to get the best out of your old left over Christmas scrapbook patterned paper. Here I have used an older simple stories line and decorated the bottle tags with punched leaves and brown parcel paper and tags from the local post office
 

Theses boxes are made from vanilla card stock cut at 8inches x 6.5inches. The shorter side (6.5inch) is scored at 2,3,5 and 6inches the longer side is scored at 1, 6.5 and 7.5inches. Fold the scores, the bottom inch you cut out the half inch flap on the side and adhere the long tab. Snip each 2,3 and 5 inch score on that inch flap that then makes your bottom to the box. Then cinch in the top to make the top of the box. I have simply decorated with punched holly leaves, a paper flower, hand cut banner, and garden twine


Tuesday 15 December 2015

All I want for Christmas......

Hello there, Julie here again with a Christmas wish list for any crafter whether you are a beginner or advanced crafter with a healthy stash of goodies already.  Get a pen and paper ready or leave this screen open for your partners to see.  Here's my top 10....

A Big Shot...a die cutting machine for every type of crafter.  I've used it to cut felt, fabric, foam, chipboard, paper, cardstock and plastic.This wonderful machine comes with all the cutting plates you need to get you started right out of the box.  A simple mechanism powered by you turning a handle, no cables or complicated buttons to contend with.  It is just a fabulous machine that no craftroom should be without!

Dies... to accompany the big shot.  The choice is infinite!  Papermaze has dies to suit every taste and every occasion!  Nearly all dies are compatible with a Big Shot machine, you may have to use the various plates that come with the machine in different combinations but I've yet to find a die that doesn't work.  For someone just starting out I would definitely recommend circles, squares and possibly a flag/penant set.  I've found circles can be used for gift tags, shaker cards, backgrounds to scrapbook pages, banners and even used to make circle shaped cards.  If you already have a few dies I don't think you can go wrong with a doilly die cut to add to your collection or a beautiful flourish.  The possibilities are endless!

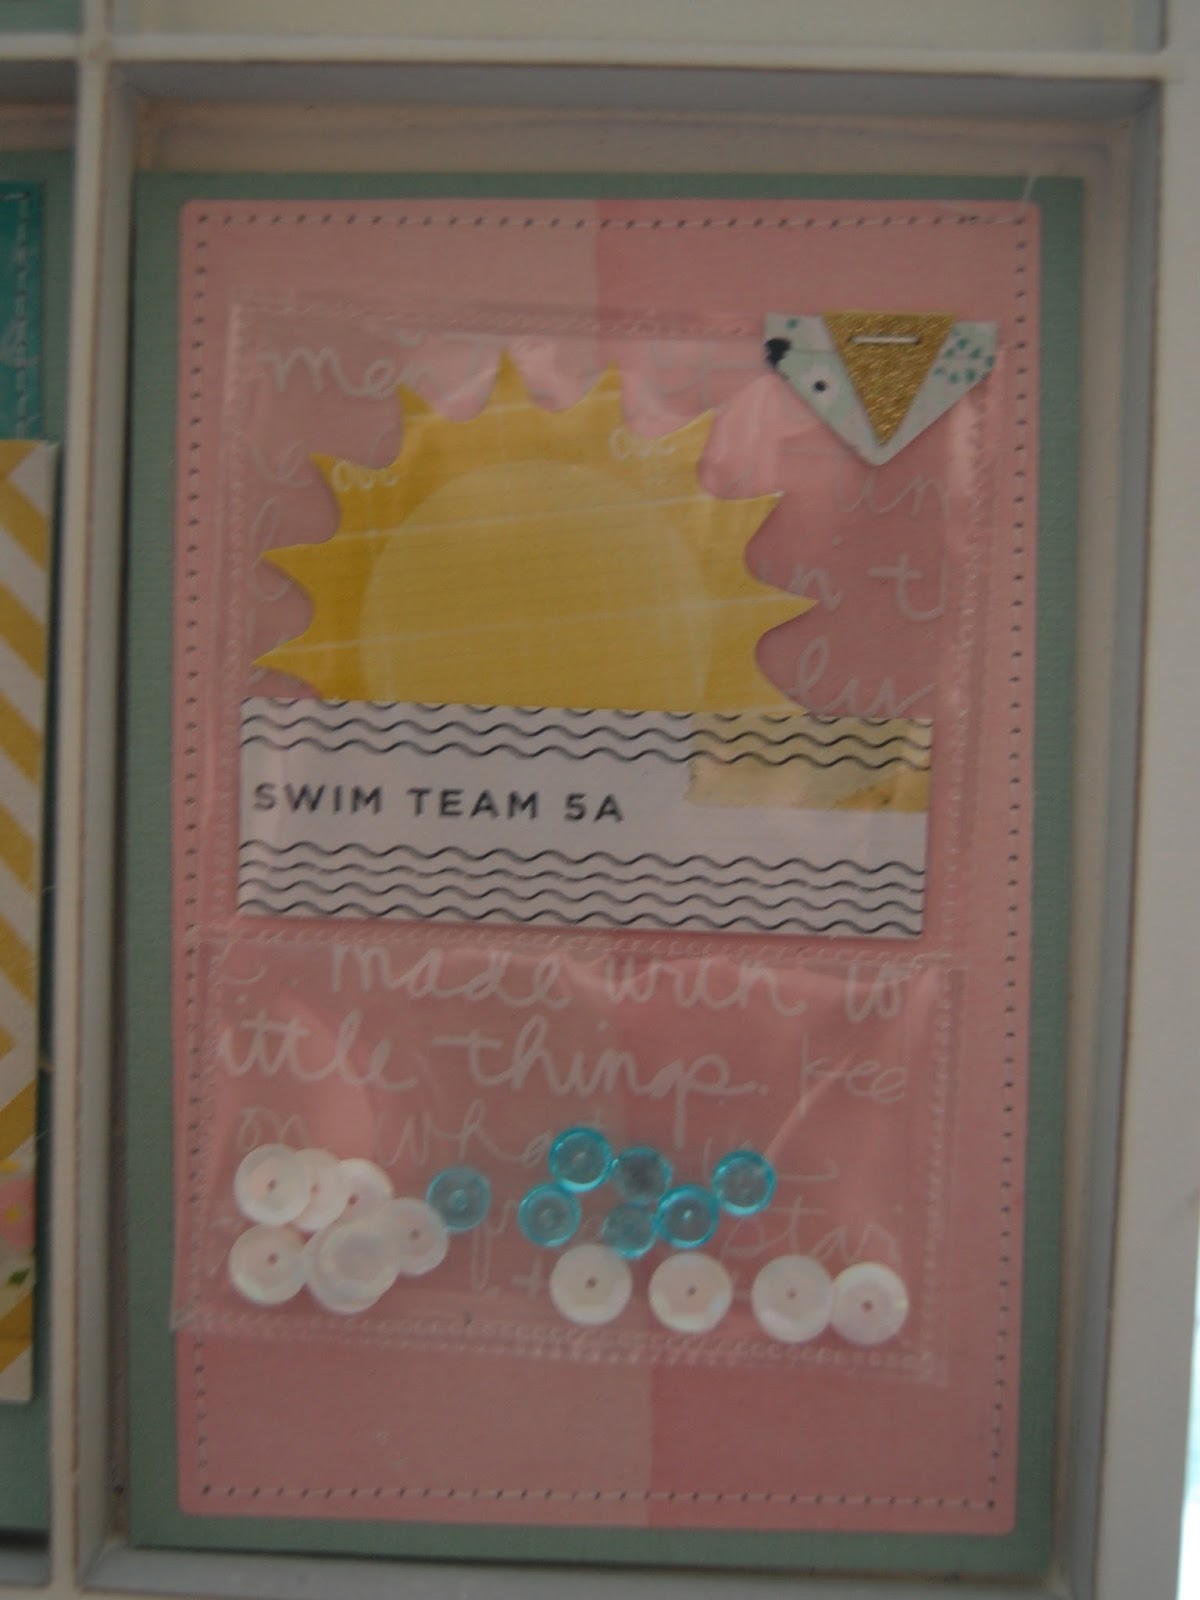
Project Life... Where do I begin!  Scrapbooking made easy.  You can make your Project Life as simple or as complex as it suits you.  To start yourself off, all you need is an album, some page protectors, either a core kit or a value kit and your photos.  You simply pop your photos in the selected slots of the page protectors, add some cards from your kits and a bit of journalling and an album is complete.  Core kits are fabulous to create a whole album with a co-ordinating colour scheme and theme but the kits are wonderful mixed and matched together.  The themes are endless, from babies to animals or Christmas to weddings there is a Project life kit out there for you!

We are Memory Keepers Fuse Tool.... This tool is just a must have for anyone who likes to embellish their Project Life albums.  One nib can either "fuse" together plastic pockets on the Project Life page protectors so you can seal in embellishments, sequins or special keepsakes.  The second nib can cut neat slits in page protectors to add flaps or adjust the size of your page protector to suit your own personal project.  I also use my Fuse for fun party invitations, shaker cards and even clear embellishments for projects.

Planners..... This is the current trend, planners!  So many to choose from and so many ways to personalise and decorate them.  From the gorgeous Carpe Diem planner to the Create 365 planner to the classic Websters Pages Planners and of course the Project Life planners the choice is yours!

Distress Inks..... If you've never used these to stamp before or haven't used these for water colouring, what are you waiting for?  These inks come in the most beautiful vintage colours and are just perfect for stamping and painting.  They react with water and can be used as water colours which makes them a wonderful dual purpose purchase.  You can use them to colour in a stamped image or used with an ink blending tool you can use them to create a colourful background for your scrapbook pages or cards, they can also be used as an ink for your stamps.  The colours are designed to blend together beautifully and each colour can also be found in paint, stain and spray stain form.

Stamps.... I'm going to admit that I wasn't really on the stamp bandwagon until this year and then I realised what I've been missing out on.  No crafting collection is complete without stamps.  You can use them to create backgrounds for cards or scrapbook pages, or as a centrepiece for cards, tags, bags or to make your own ephemera.  Papermaze has stamps of all shapes and sizes from tiny for a planner to large for a background.  If you've never tried stamping before, now is the time to try!

Stencils and Masks.....  Again something I had overlooked for years but now there is no stopping me.  Stencils and masks are fantastic to use with lots of mediums such as paint, texture paste and inks.  They can be used to create wonderful backgrounds and texture to your projects.  My favourite has to be a simple polka dot by Creative Expressions and the Tim Holtz stencils are just fantastic.

Stickles..... These little bottles of glittery goodness get overlooked however they are a wonderful addition to any crafters stash.  Coming in a multitude of colours they can add a little or a lot of bling to all your projects.

Finally.....Vouchers!!!  Who wouldn't want to receive Papermaze vouchers for Christmas?  A perfect present so that you can choose exactly what you want!

I hope you've enjoyed reading my recommendations for a crafters Christmas wish list!  Merry Christmas to you all and thank you for reading xxxxx

Wednesday 9 December 2015

Special Christmas Cards


 Hi, Lynn with you today.  I have been having a play with some of the Crafter's Companion Die'sire Classiques Christmas Collection Dies, and here are my first attempts:

https://blogger.googleusercontent.com/img/b/R29vZ2xl/AVvXsEjfyORgLw-U7pZl88m9DqZdwKHIvj229-rQ8r-4_KFJUrBbF1ozMgT0fq9yg3FA0mPtnslRimFZvp0LA-H5O6YVZh1B7OVQV2_8B3yHOz4iRo3n66Z6EUzE3tEtk5dTk4A4v6YZzpisMHw/s1600/AquaWhiteSnowflakes%255B1%255D.jpg


 I've used the circle accordion base die for all the cards, but then used different overlays - the snowflake circle for the card above, and Jingle Bells for the two below:


https://blogger.googleusercontent.com/img/b/R29vZ2xl/AVvXsEhifnog6gPcayvnwEZZ6sj-GWzH51ZynwYhLCpoESk-IWy7pxnQTh5QiUZNoIz9l6dEVLOA5MD4es_PwcgNpQ1tU743lTkjwDDI4YBhyEweuKvp-EOx0qwRGEP5rjOancVXC51ol2KXDjU/s1600/SilverBells01.JPG

https://blogger.googleusercontent.com/img/b/R29vZ2xl/AVvXsEhN4C_eBoA9rGaGElRU73nhg_40l_OB9T5-C-XzKLNTegAUwHAs6_LUM6sYzRjG_zhHIdjh7rmdvZnvni_cUgM1oXnQoLLuL8PpeLLMFLFVJq_xMH9uSNAoGnNTh_w9YAK9v3AB53noML0/s1600/GoldenBells%255B1%255D.jpg

These cards are fun if a little fiddly to create, but worth the effort for those special people you want to send greeting to at Christmas.
Thanks for looking
Lynn x

Sunday 6 December 2015

Christmas bits!

Hi, its Carol with you today - last Saturday we had the last workshop of 2015 and we made these pieces:-


This Tando Creative Christmas Tree Printers Tray was filled with loads of Tando elements which we painted and doodled and glossed… 

We also made a couple of unusual shaped Christmas cards, the templates can be used for Birthday cards too…


We made a matching black and white tag to match this criss cross card

For this Triple cut card we made our own masterboard and then cut up to cover the sections,:-

Flat look:-


Standing up:-


Aerial view to show the actual folds


All cards were based using bazzil cardstock and fit inside an A5 envelope… the Tim Holtz poinsettia die was used on both cards..

All the Tando elements used are available in the shop, but, are not all are on the website, do give the shop a ring and they will be able to help you.

If you fancy trying your hand at something different keep an eye out for our workshops in 2016!

TFL 

Thursday 26 November 2015

Christmas Cards Two Ways

Hello again its Julie here.  I think we are all probably in the midst of getting ourselves ready for the festive season and I thought I would show you a couple of Christmas card ideas I've been working on.
Firstly I've used my wonderful Tim Holtz Distress inks as watercolours to create a fun background for this jolly little card and I also coloured in the gorgeous new Shimelle Santa stamp with the distress inks to create a soft vintage effect.  Let me go through what I used for this card.


I "smooshed" Mowed Lawn, Festive Berries and Evergreen Bough onto an acrylic stamp block to use them as "paints".  I then used a water brush as my paintbrush to paint the colours on a piece of watercolour paper to create a background.


You don't have to be precise and you can choose whichever colours you like.  Whilst waiting for this to dry I then used Festive Berries, Tattered Rose, Tumbled Glass and Pumice Stone to colour in the adorable Shimelle stamp.  All I did was stamp the stamp on a piece of watercolour paper in Memento London Fog, I found this created a softer outline and then again used my water brush to "paint" the colours onto Santa.  Tattered Rose is a gorgeous skin tone and even though Santa's beard is white, a light wash of Pumice Stone added a bit of depth.  When the background was dry, I cut out several snowflakes and a Christmas tree using my Sizzix Big shot machine, there are so many to choose from a visit to the Papermaze website is your best place to start.  I put the snowflakes in the background, then the Christmas tree and added Santa as a centrepiece popped up using adhesive foam dots.  I also used some Holiday Divine Twine to create a little banner to put my words "JOY" onto.  I created these letters by using double sided sticky paper that I created by running it through my Xyron sticker maker twice and then I added Cosmic Shimmer Polished Silk Glitter which leaves a smooth silky glitter surface which is almost completely flat.

For the second card I used the gorgeous new Creative Expressions Frosty Swirls embossing folder and my Big shot to emboss the card base.  I inked the edges using Tumbled Glass distress ink to add a little pop to the embossing.  I then cut out three Christmas trees and adhered them together to create a 3D tree and cut another tree in a contrasting colour to outline the smaller trees.  The 3d tree presses flat to go into an envelope but pops back out when the card is opened.  I used a penant die to create a little tag to which I added a Merry and Bright sentiment from the Crafters Companion Die'sire collection, it is so detailed and cuts out beautifully.  For the papers on this card I used the beautiful Bo Bunny Candy Cane Lane collection as I wanted to use slightly less traditional festive colours.  As a final touch I added two small holly leaves from the Shimelle collection.


I hope you enjoyed seeing these two Christmas cards and thanks for looking xxxx

Sunday 22 November 2015

Friends

For this layout I'm using My Minds Eye stunning My Story patterned papers and journal cards.
I began with my white sheet of card stock and decided I wanted to use circular theme around my photo. so I grabbed a dinning plate and started drawing around it to create interlocking circles and used a kasiercraft background stamp. To make the circles stand out I used bright pink thread and my sewing machine, and stitched the circles, I left the pencil marks on the page as it added more to the layout. I simply matted my photo onto some light pink card.
 
 Using patterned paper, heirloom roses I fussy cut out the flowers to create a cluster. The gold chevrons, the tag, butterfly, glasses and small words were cut from the 3x4 journaling cards, what I loved about these cards is that they also give you the punched out elements from the cards and they are also great for cutting up. Don't just think that if there 3x4 you can't use them on your 12x12 layouts.


Once I had finished creating my cluster, adhering my chevrons and sequins. I also added touches of gold ink splats and took a chipboard word that a good friend had given me and embossed it with frantage embossing powder.
Totally love these papers just need to find another suitable photo so I can have another play with them.


Friday 20 November 2015

November crop

Lesley has talked of putting together a double-page layout for the crop kit for a while now, and here it is!  Beautiful colours from the Simple Stories So Fancy range, and a great way to put lots of photos on one layout :)  


So tomorrow we're at Otley Village Hall from 10am until 5pm, with our usual array of biscuits and cakes!  If you'd like to join us just drop us an email :)

Saturday 14 November 2015

December Daily Album

Hello its Julie here to remind you that December is coming!  I have made a start early this year and made up my December daily album ready to be filled with lovely festive pictures.

To make my album I used the gorgeous Simple Stories Holiday Binder as a base and then went to work personalising it for my version of a December daily album for our Elf on the Shelf who visits every year.  This gorgeous album comes with 14 Simple Stories page protectors in a variety of styles to get you started for your December daily pictures.


To start I sprayed the front and back cover with gold spray and then used some Cosmic Shimmer Texture paste to create a "snowy" type border around the edges of the red binding.  I used a pallet knife to put the paste generously, spread it around the binding and let it dry.  I then used the same texture paste with the Creative Expressions Swiss Cheese border mask and Creative Expressions Small Polka mask to create a background and some texture on the covers.  I also used some gold texture paste on the back cover to compliment the gold spray on the covers.


I then went to work using Claus and Co 4x6 Horizontal Journal cards as the main piece of my front cover and added pieces from the Claus and Co Bits and Pieces and Fundamental Cardstock Stickers to add accents around the journal card.  I also used a Naughty/Nice card from and old Project Life kit which I will complete for my children once I've finished the album.  I also used stickers from Echo Park The Story of Christmas Element Stickers and the Alpha stickers to complete this album cover as the colours complimented the Claus and Co collection so well.


I hope this inspires you to start your own December daily album.  Thanks for looking xxxx


Monday 9 November 2015

Graphics 45

Hi, Carol with you today…. with Hallowe'en and Guy Fawkes night out of the way, its now time for all us card makers for us to turn our attention to Christmas…. Vanessa has got some fantastic Christmas papers, embellishments, washi tapes and flowers in the store and a special section on the shop website… here

So, for this, my first Christmas post of 2015, there will be many more to follow! - I have used the new Graphics 45 Christmas Carol papers.. to make:-


A matching card and tag…


My card blank is a 5" square, I adhered various patterned papers, cutting out some elements, and added some doodling and gilding wax around the edges.


my tag was die cut out of white cardstock, I embossed a piece of gold cardstock and used this as a mat for an image cut from the paperback… gold gilding wax was added to the edges to finish it off.

TFL xx

Monday 2 November 2015

Pebbles ~ Fun in the Sun...

Hello all, it's Anna here to share with you a layout that I have made using the Pebbles 'fun in the sun' collection. 
This is defiantly my kind of collection, I really like bright, fun, happy papers and they were perfect to use with some holiday pictures. Take a look at the whole range here.

My favourite item in this collection is this sticker sheet. 
I started by using this sheet as my base and then cut out some of the 'sunny days' paper. I added my photos with three of the journaling cards and lined them together making a grid. 


Around the edge of my grid, I added some of those lovely stickers, washi tape and punched out a couple of circles. I also used some of these wood veneers.


Thanks for looking! 
Anna 

Wednesday 28 October 2015

letter tray part 2

 
Home life has totally got in the way of any scrapping, but finally I have got round to putting up part 2 of the letter tray, hope you can forgive me for my delay.
Any way back to crafting and using the stunning crate paper poolside patterned papers. The first aperture uses  the same blue background card stock with the pink matted on top. this time I used die cut circles cut from the patterned paper, acetate and vellum. the larger circle has a wooden word taken from a project life kit and embossed with a baby blue embossing powder.
 

The second aperture  I have covered a smaller Polaroid frame. with patterned paper and then cut my photo down to fit inside and layered a small acetate piece on top of the photo. Behind this I have made a sunburst with some of the scraps patterned, acetate and vellum and used my sewing machine to stitched these in place


My last aperture uses a fuse tool to create a pocket to add embellishments from the embellishment pack, dew drops and sequins. I can see me using this again on many projects and layouts


This is the completed tray, using lots of techniques, die cutting, embossing, sewing machine and fuse tool


Thursday 22 October 2015

Wickedly Wonderful - Crate Paper After Dark

Hello, its Julie here with my favourite time of year Halloween!!

I used the gorgeous new Crate Paper collection After Dark to create a spooky Halloween layout.


I used quite a few elements to create this fun busy layout.  I firstly used a coral spray stain to colour a sheet of Haunted paper to co-ordinate with some of the elements I would be using.  I used a piece of Marmalade Bazzill cardstock as a base for my layout and inked the edges using Black Soot Distress Ink and a Swiss Cheese border mask stencil.   To finish the background and to create a balance to the main layout I cut a doily using my BigShot Plus and cut it in half and placed it at opposite ends of the Haunted paper.

For the main layout I cut apart pieces of October and Spellbound papers to create a tag background for my main photograph.  I also used a Tim Holtz rosette die  to create rosettes to frame the picture using pieces of Trick or Treat and Night Owl paper.  I also fussy cut around and owl to create a centre for the rosette.


To add a little bit of 3d I used a Dusty Attic Pumpkin chipboard piece and inked it with Tim Holtz Spiced Marmalade distress ink and a layer of Glossy Accents  to create a spooky 3d pumpkin.


I used frames from the fabulous ephemera pack and accent stickers to frame all three photos on the layout and I also used pennant flag stickers from the collection and I fussy cut a little garland from Fright and Fun paper to create a link between the photographs.  The accent stickers also came with a lovely black and gold alpha that I used to create the small title Wickedly Wonderful.


Happy Halloween!