Saturday 23 December 2017

Merry Christmas Everybody!

Well, the last parcels have been sent and Christmas is nearly upon us!  We'd like to wish all our customers a Very Happy Christmas and we look forward to continuing to supply you with your papercraft needs in 2018!  

 
We had our Christmas crop at the beginning of December with 2 make & takes.  Lynn had designed some fabulous Christmas cards using Glitter Kiss... 


Our second make & take used the fuse tool and stamping to make some shaker gift tags...


Our challenge kit consisted of paper from Kaisercraft, Simple Stories and Authentique, so I'm going to leave you with some of the layouts the crop ladies designed (some are waiting for this year's photos!)  It's always amazing how the same kit can produce so many different styles!


Tuesday 19 December 2017

Super quick cards...

Hi it's Anita here again with one last very quick post for you.

 Here are a few cards literally made from some left overs from the G45 Winter Wonderland Collection and some gold Mirri Card

Lots of paper collections have sheets in them of various elements and or journalling panels and this beautiful collection is no different. It definately helps to use them if you need some cards in a hurry!!


I picked out some of the decorative panels and then teamed then up with bits and bobs from the Winter Wonderland range....making some standard cards and also a few easel cards too.


I then finished them off with a sprinkling of crystals and Stickles too for some beautiful highlights and results


Perfect to have as a standby for any last minute guests that may turn up and surprise you.

Well that's it from me now this year....looking forward to the New Year and all creative loveliness it brings.

Wishing you a Happy Scrappy Christmas

Warmest wishes
Anita xx

Saturday 16 December 2017

Bo Bunny - Christmas Carousel - Part 2 - Cards

Lynn here today to share some last minute Christmas card ideas. I have used images from the Bo Bunny Christmas Carousel collection. These were left over from making the Advent Calendar last month. I still have more, which I'm saving for a layout.


I cut all the images from the sheet called 'Wonder' - (A great bit of fussy cutting while watching TV!) Then using leftover pieces from other sheets and items from my stash, I created nine cards. All the edges were inked with Distress Inks.
All the cards are made with Bazzill Cardstock, and double-sided sticky foam pads. The die cut greetings are made from gold or silver Miri card and cut with Crafter's Companion dies.

 Christmas Cookies 
Doily, Ribbon, Liquid Pearls, Crystal Stickles, 'Wonder' and 'Magic' papers.

Stag
I had already cut the tree from this papers leaving the star at the top, so I turned it on it's head so the star is hanging.
'Jubilee', 'Magic' and 'Wonder' papers & Liquid Pearls.

Poinsettia and Cinnamon
Doily, Ribbon, Baker's Twine, Distress Stickles for flower centre, Icicle Stickles, 'Wonder' and 'Jubilee' papers.

Bells & Baubles
Martha Stewart punch, Baker's Twine, Embossilicious Embossing Folder, Crystal Stickles, 'Wonder' and 'Floral' papers.

  
Joy
Martha Stewart Punch, Baker's Twine, American Craft Thickers Alphabet Stickers, 'Wonder' paper.
 
 Gifts
'Floral' and 'Wonder' papers, Sizzix Die, ribbon, and Stickles.
 
 Warm Winter Mittens
Sequins, gems, Stickles, Baker's Twine, eyelets, pearls, bells, 'Wonder' and 'Jubilee' papers.

 Birdhouse
Ribbon, Stickles, 'Floral' and 'Carousel' papers.

 Jingle Bells
'Holly' and 'Wonder' papers, glittery twine, and eyelets.

Thanks for looking and wishing you all a very merry Christmas
Lynn x

Wednesday 13 December 2017

Elfie Selfie with Simple Stories

Hello all, 
It's Anna with you today to share my second Christmas post! This time, I have been using Simple Stories 'Oh what fun'.  
This collection was perfect for the photograph that I wanted to scrap. I knew I would call the layout 'elfie selfie' when we took the photo. Sometimes you just think of how your layouts are going to go when you're taking photos don't you? Well I certainly do! 


I used a cream cardstock for the background, cut a circle out of a shimmering white cardstock. Along with a slightly larger circle with green cardstock and mounted them together.


I mounted my photo on the same coloured green cardstock and then again on to the Christmas Wishes patterned paper. 
I also cut out a few of the flowers from the same patterned paper and then began to layer them around my circle, along with a journaling card.
The journaling card and Santa are from the Journaling Card Elements
I also added some stickers from the Combo Cardstock Stickers.
Finally, I used some Christmas Elements from a new manufacturer for Papermaze - Pretty Little Studio.


Thanks for looking. Have a wonderful Christmas everyone. 
Anna 

Monday 11 December 2017

My Greatest Gifts ........G45 Winter Wonderland Pt 2

Good Morning

It's Anita here with you again and today I have a layout to share using some more of the festive G45 Winter Wonderland papers.
This is one of my favourite photos of when our girls were a lot younger ( and still happy for me to get my camera out!)


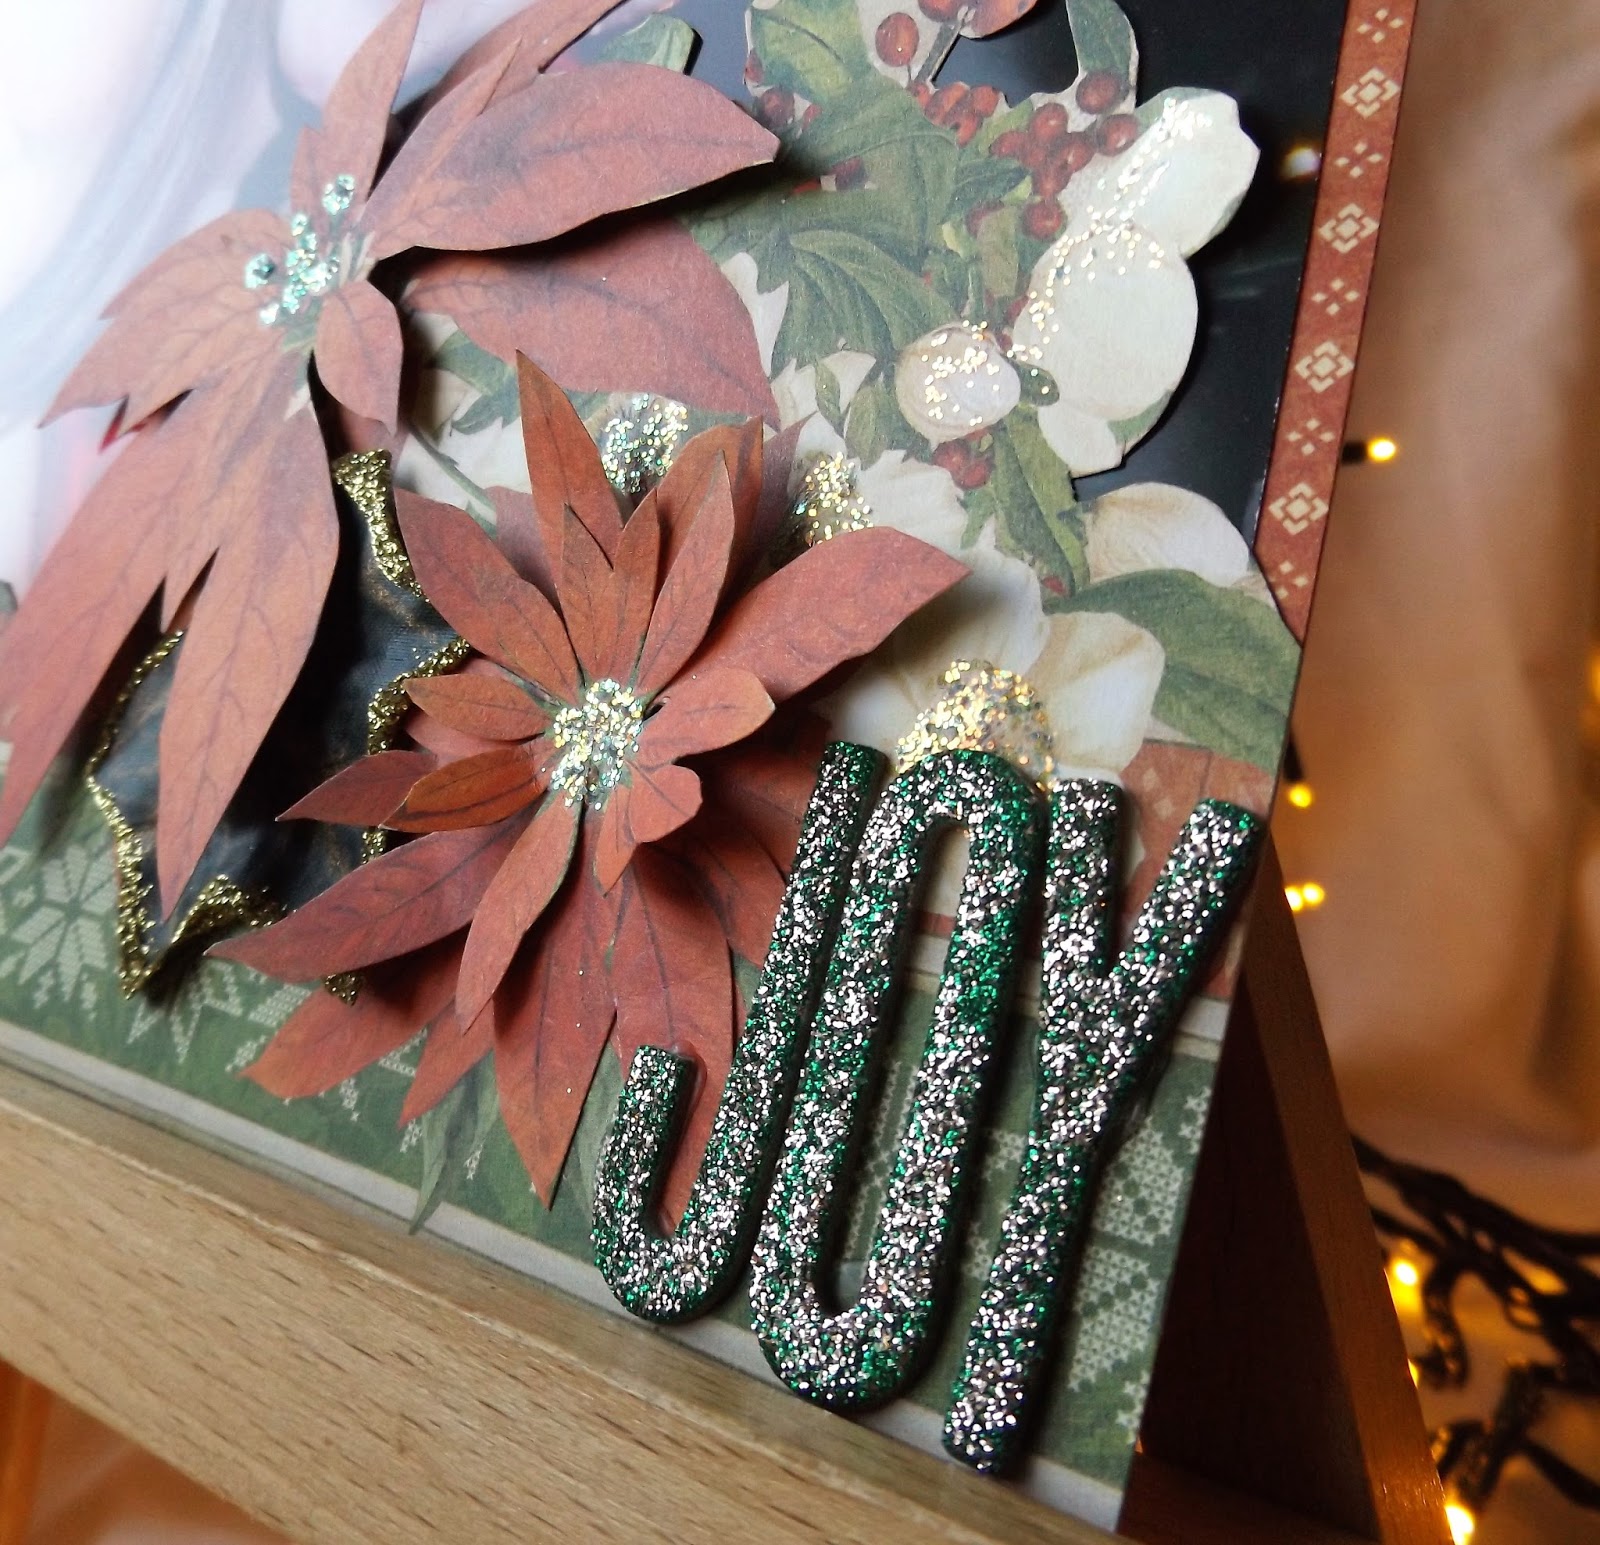
Normally I scrap either standard 6 x 4 photos or 7 x 5's .....but just for a change I thought I would super size it and print out on an A4 sheet. I used 2 identical sheets of Winter Wonderland , with the first one I gutted the middle section out and fussy cut around the flowers and bird that over hung the border edges.


 I then took the 2nd sheet and fussy cut just the flowers and bird and popped them up on foam pads before layering them onto the bottom sheet, creating a decoupage effect.


I popped the completed borders on the top and the bottom of the photo and then added ivy leaves, wooden pine cone shapes, AC Thickers, pearly swirls and some little chipboard word strips. I also cut a couple of small panels from the Nordic Greetings sheet and added a sprinkling of Stickles here and there to finish the page off.


Winter Wonderland is just one of the many beautiful collections from G45 that are on sale in the shop, their intricate details can be a bit mind blowing when you first see them and its almost a shame to cover them with photos, but if you cut them up and use smaller sections they can work perfectly.....and they really do come in the most stunning variety of designs and themes.


What is your favourite size photo to scrap with? Do you mainly stick to 6 x 4's or do you like to venture out with other sizes?


Warmest wishes
Anita xxx

Friday 8 December 2017

peace

this layout used the stunning papers from kaiser-craft Christmas Edition. Its a monochrome set which i felt was very different for Christmas  and suited my style of scrapbooking
My first task was to prime my plain card stock with  clear gesso. I knew i wanted to create a background with distress oxides but i didn't want the card to get saturated with inks and clear gesso allows that to happen without deteriorating the card.


I added some ink from spruced ice D/O on to an acrylic block and then spritzed some water and then stamped with his across my page it did this several times till i was happy with the out come and then let it air dry and flicked some black D/O ink on top. I then took one of my background stamps from my stash and stamped over the ink.


I printed off a 6x4 black and white photo and with it mounted it on a piece of torn Christmas Tale patterned paper. It was then i felt it looked like a wanted poster. I then mounted this on to black card and then cut strips of wood grain from the Coal patterned paper. Then went about making a cluster in the corner of fussy cut flowers, pine cones, and holly with some wooden embellishments.
Made a banner and added some jewellery chain, some cardboard buttons which i coloured with the spruced ice D/O ink. Stamped a stag on to some patterned paper and added a red gem for its nose and the finally added a silver transparent title "PEACE" Finally added some gun metal coloured sequins across my page

Above a close up of the inking and stamping. And below a close up of the cluster and stag head


Thursday 7 December 2017

Christmas Wishes with Echo Park


Hi Tracee with you today with a home decor piece created using the adorable A Perfect Winter collection by Echo park.

https://www.papermaze.co.uk/category/tonic-studios-nuvo-collection

I love to fussy cut elements from papers for my projects and the Winter Wonderland sheet has lots of images for you to play with. I used some lolly sticks to make a frame for my wall hanging and I have to confess that at the moment it is the only Christmas decoration hanging in my house.


Have you tried Nuvo Drops by Tonic Studios? I am a firm fan, they have a great enamel dot look to them and I can make them any size I want. You can find them in the shop here Nuvo drops for the snowflakes and the glitter Nuvo drops for the snowy edges of my hills. I kept to the blue colours of the collection using just a few small pops of red that appear in the papers.


I cut a title on my Silhouette and added glitter. I also used the Nuvo Glitter Drops to make some snowballs, they would've had a more round shape had I not  accidentally turned the paper upside down before they were dry, these do dry quite fast too and squashed them a little!


More numbers cut on the Silhouette and I replaced the one with a wooden snowflake that I painted and glittered. I did make this for my daughter but i am rather enamoured with it and may just keep it for myself.

Hope you are heading towards a happy scrappy weekend, don't forget for this and all your crafting needs please head over to the shop