Monday 30 October 2023

Journaling Pages Made Easy

 Hello!!

I'm here to make pretty journal pages with you today.

I tend to make them with loads of layers, pockets and flips. So much going on, but sometimes it's fun to make simple easy pages.

I thought I'd share some tips and ideas today with you.


I'm using this very pretty collection from Simple Stories 'What's Cookin'
It's a very homely and geared around family and food. 


I chose to create a page about some amazing fried chicken that we had in Disneyworld.


The elements papers are perfect for journaling. I find having smaller spaces to journal makes it feel less overwhelming.


By tearing pages and layering is a very simple way to add colour and texture.


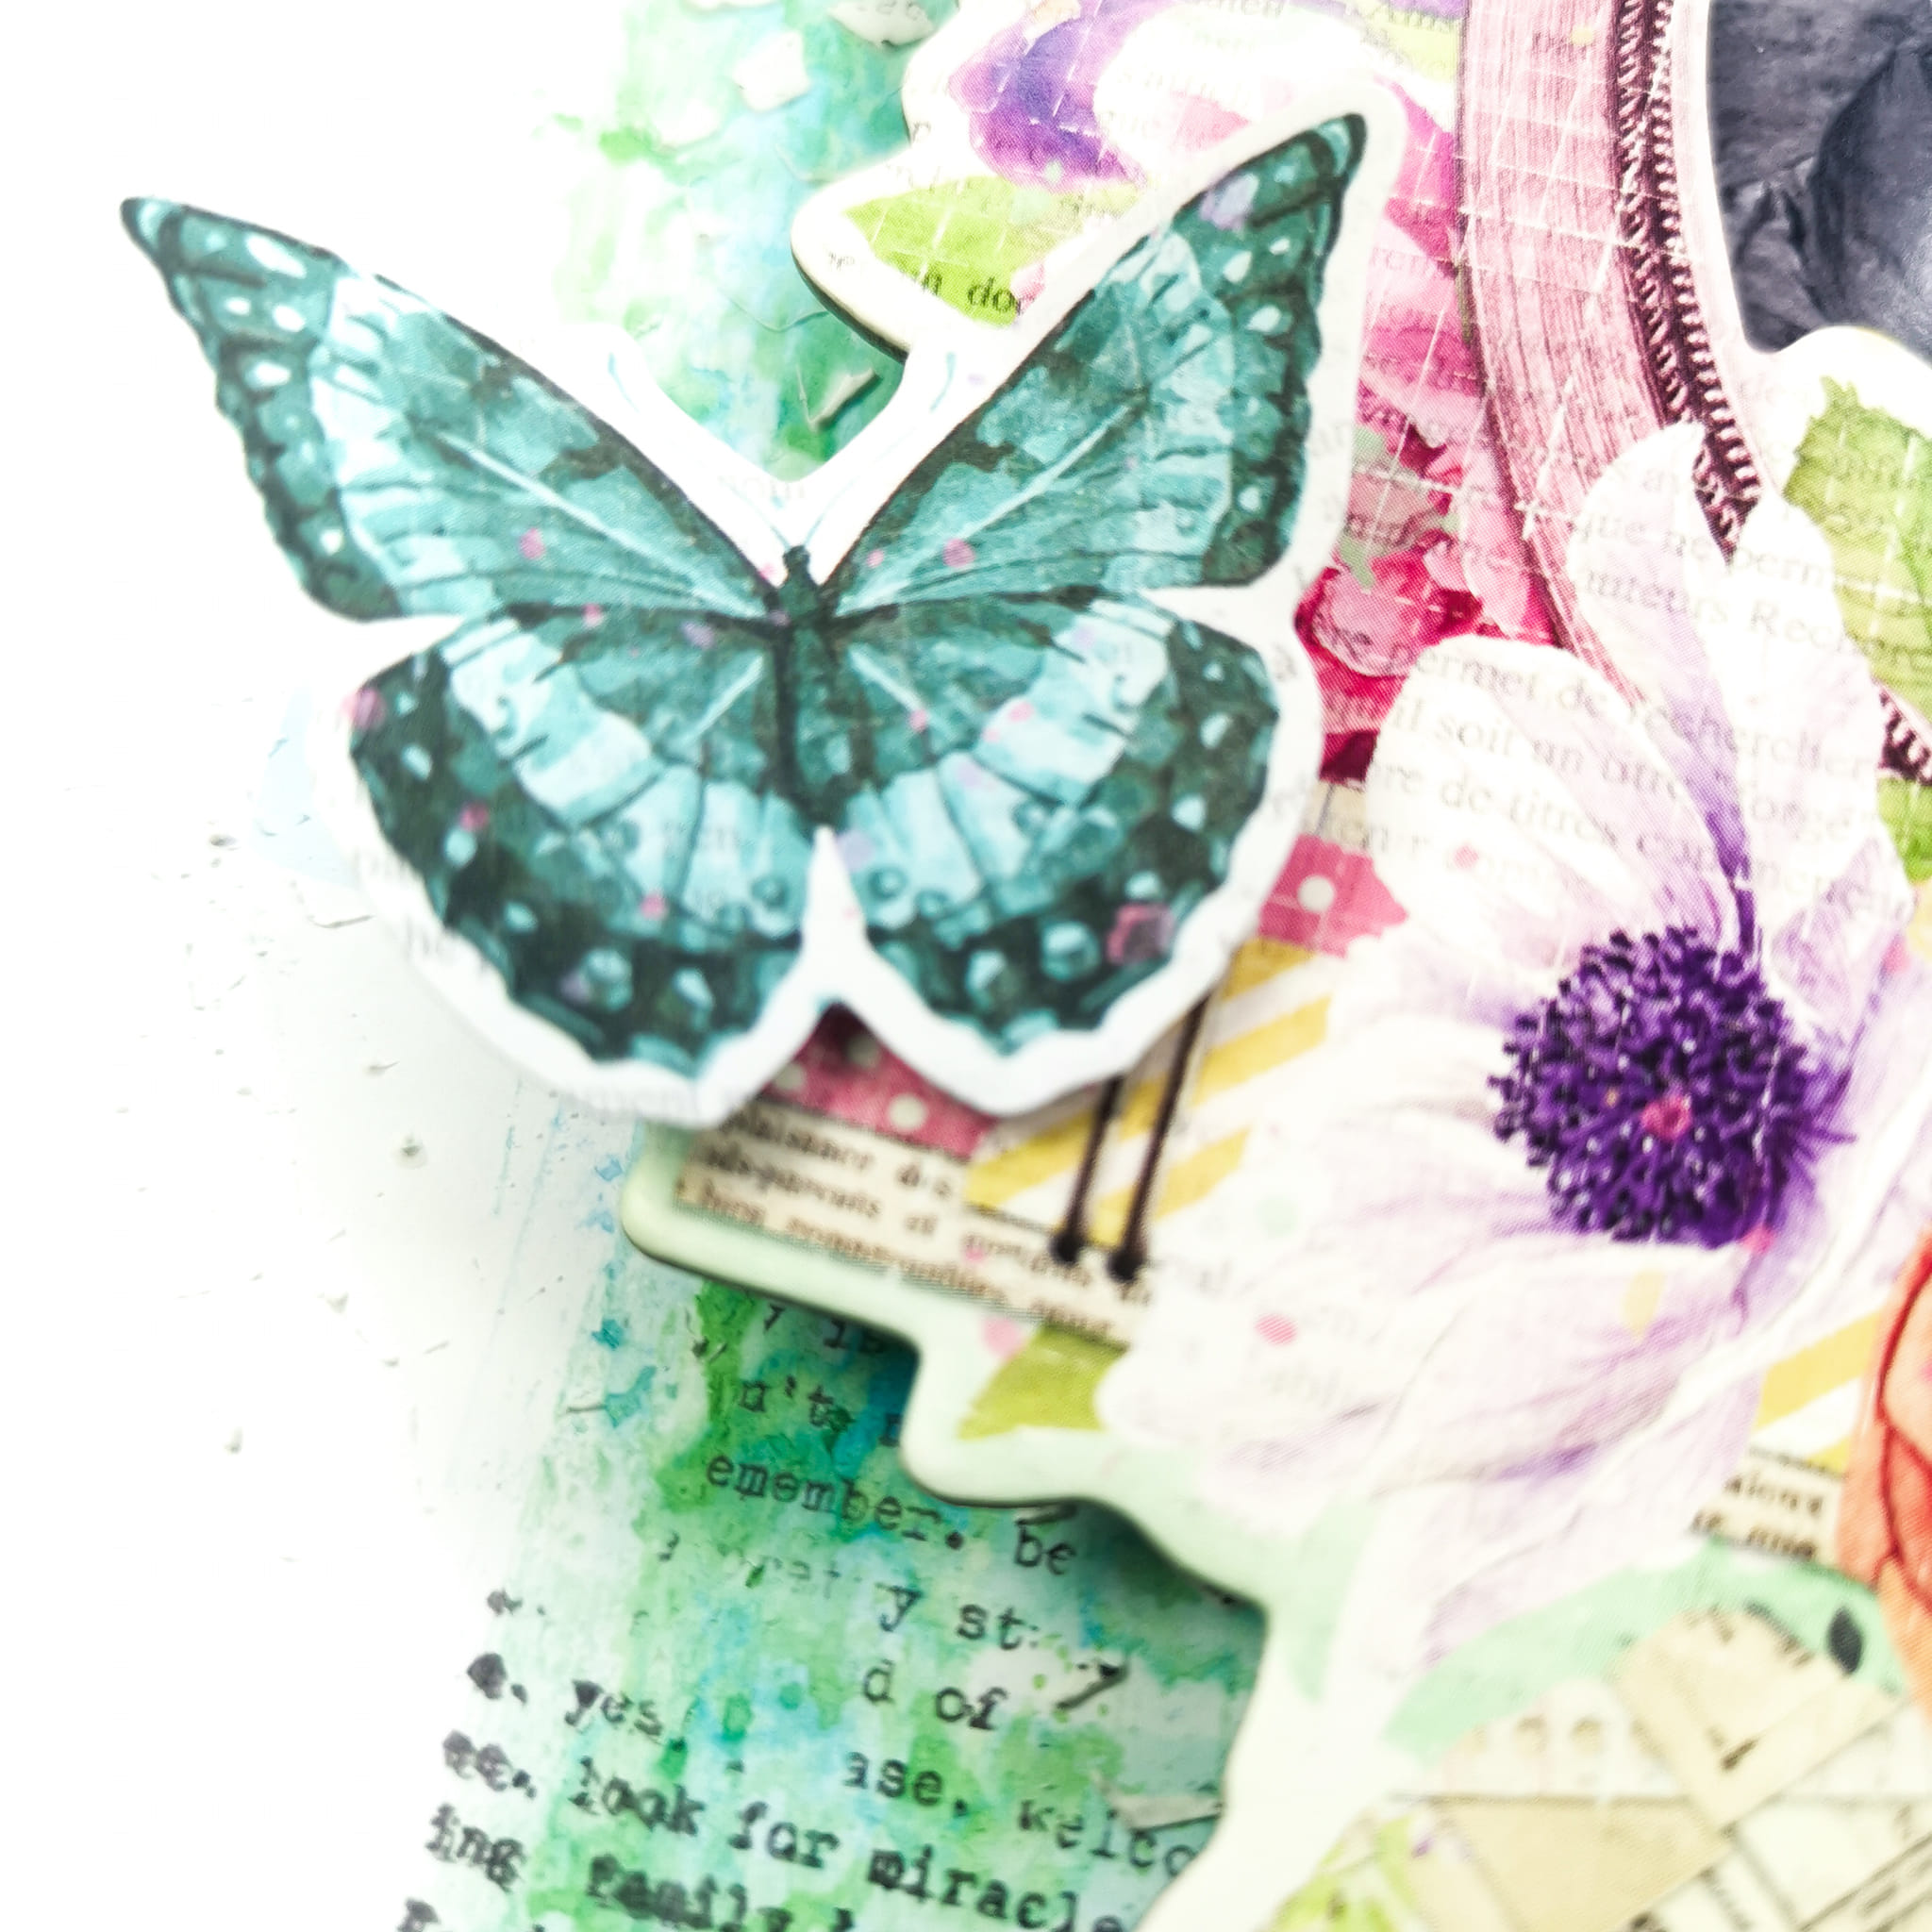
 This is another way to add lots of colour and texture.

I took one of the branding strips (the yellow piece) and a piece of pink thread.  I stuck double sided sticky on the back and wrapped the thread around to tie in a bow.

I did stick the bow in place with pva to hold in place.


I did create one easy pocket on this page.

I took this paper here and very roughly fussy cut around the outside.  

I added double sided sticky to the 2 longer sides and stuck on the corner of this page.

It looks so pretty and makes a very quick and easy pocket.


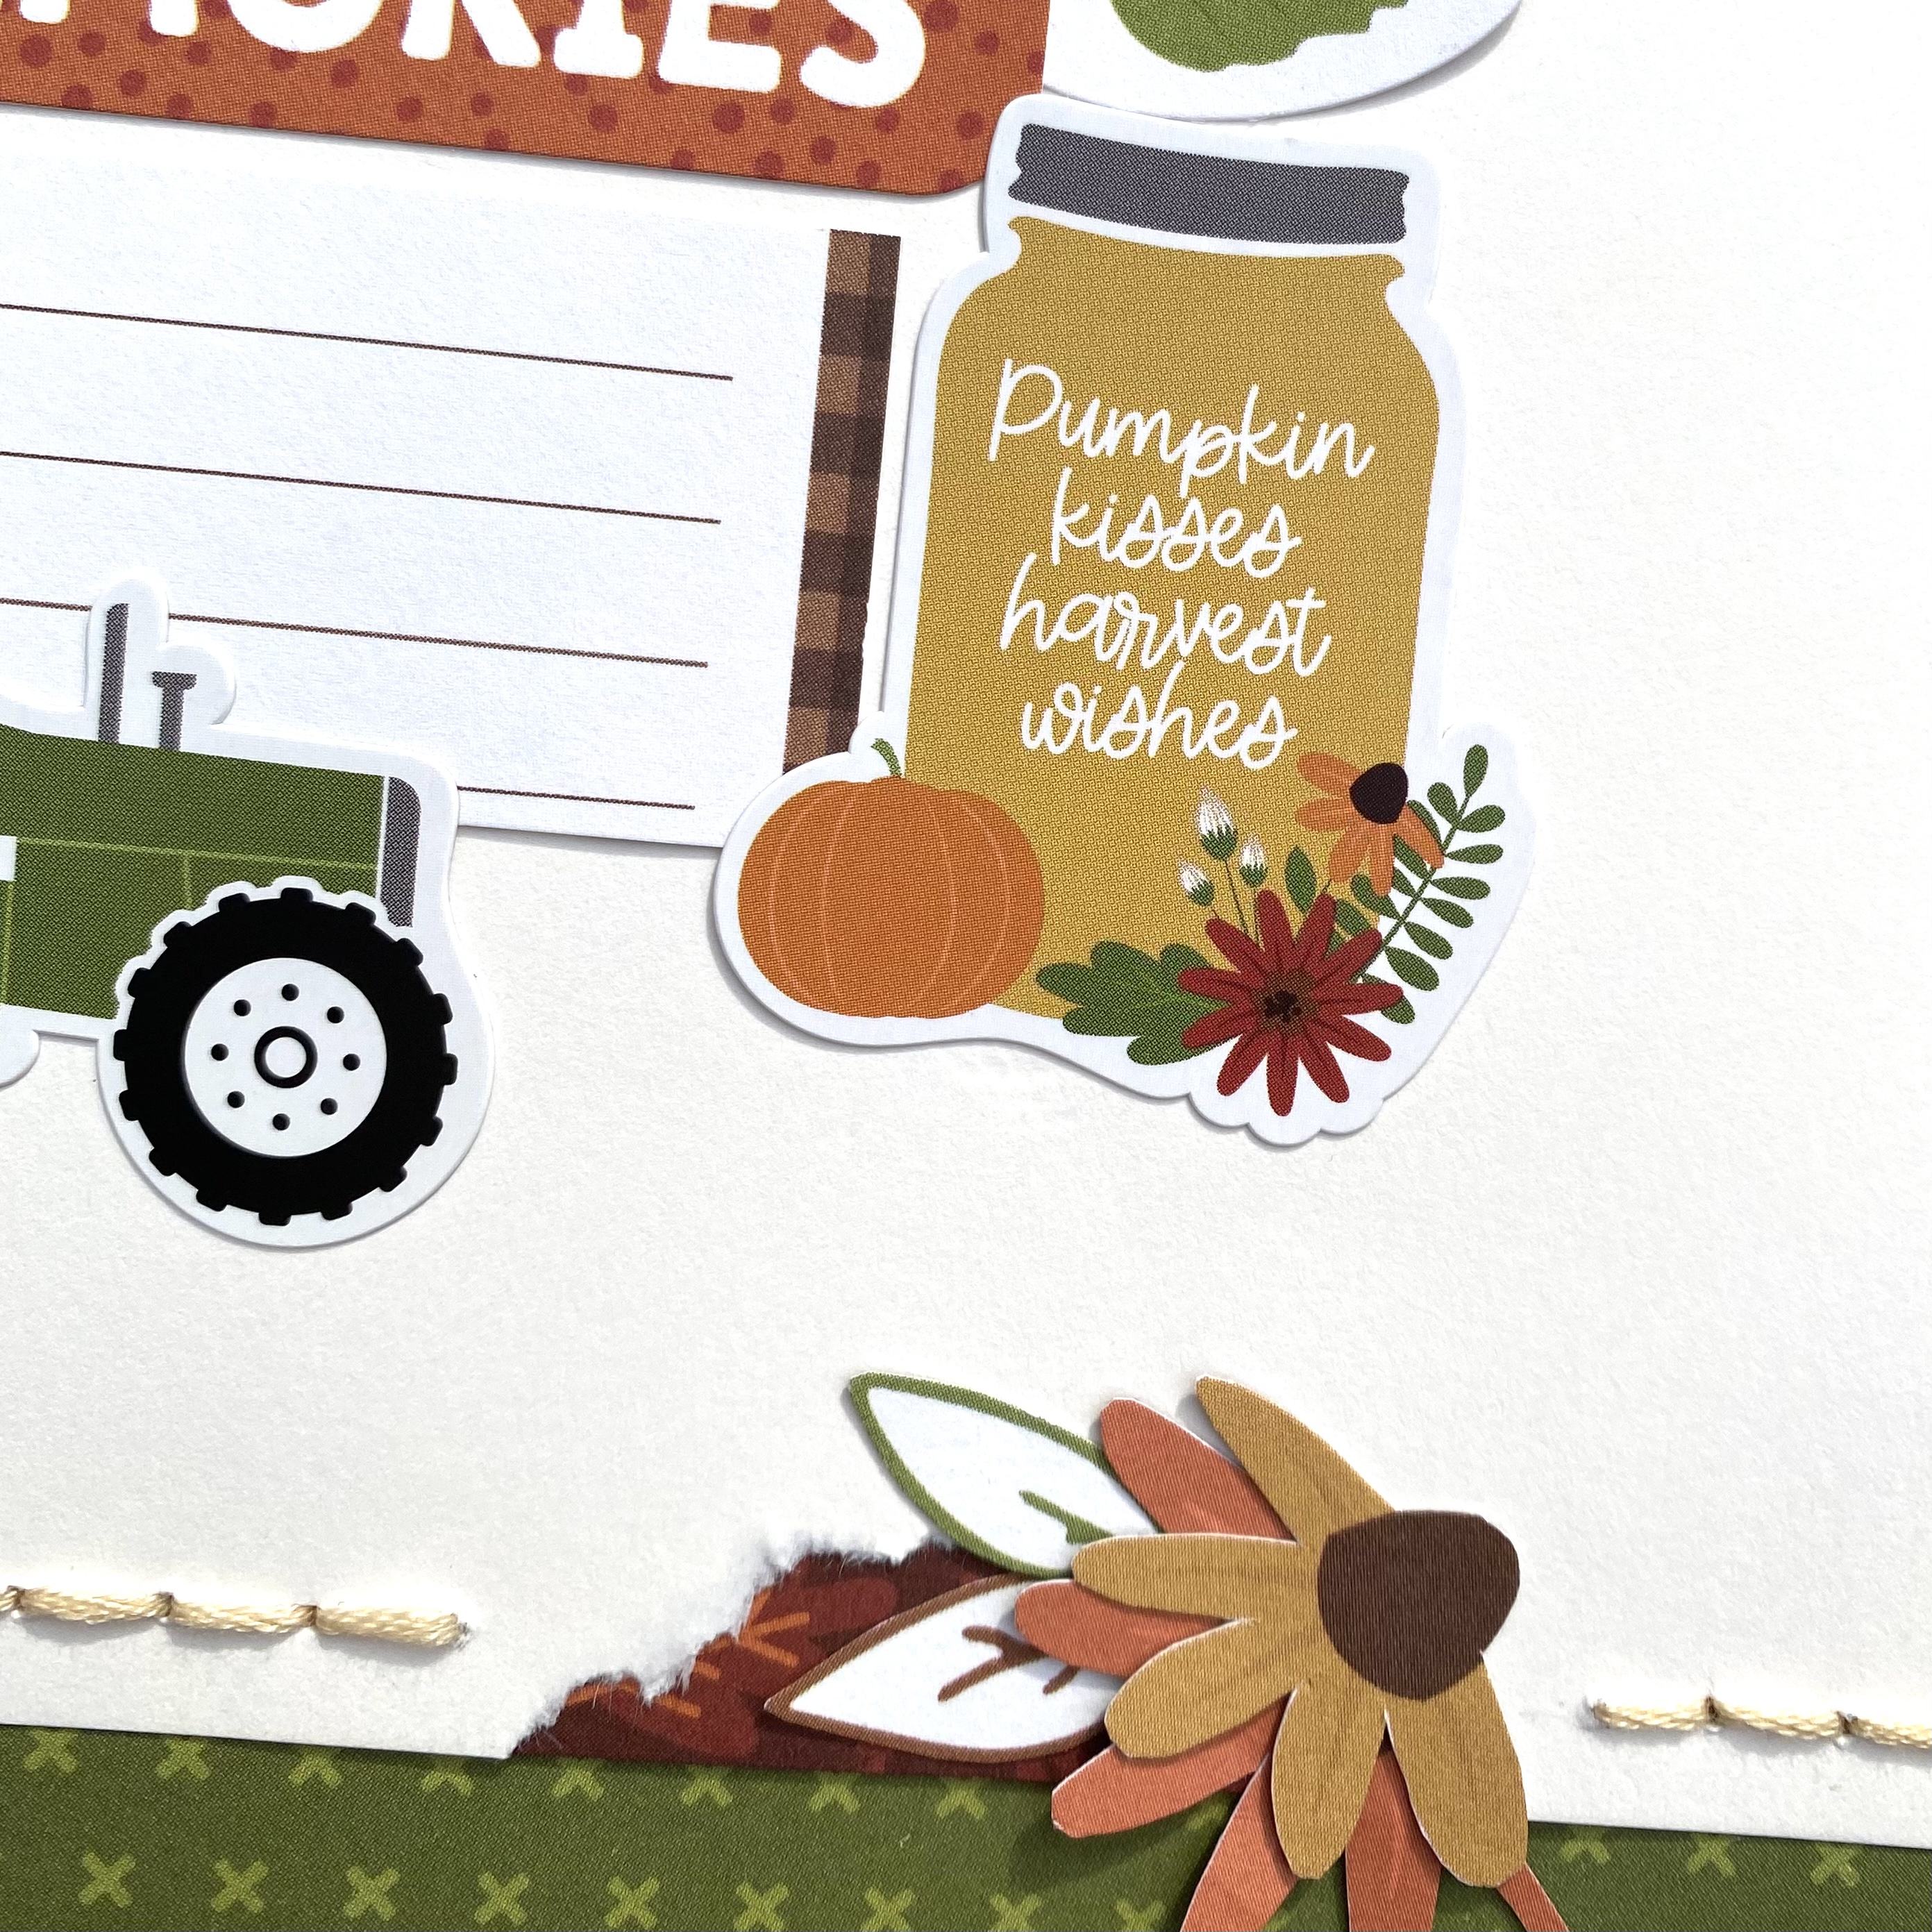
And I've embellished the pages with the matching stickers here.


This page is so easy and very quick to make.

I do also have a process video here if you'd like to see it come together.


Happy Creating!!

Lisa xx


Friday 27 October 2023

Carta Bella Fall Fun - 'tis the Season for Giving Thanks

Hello, Karen here. It is certainly feeling very autumnal where I live and as I like to scrap with the seasons, I was really pleased when Vanessa sent me some of the new Fall Fun collection from Carta Bella to play with. 

This collection uses a colour palette which fans of Carta Bella will be familiar with and features images of pumpkins, leaves, sunflowers, plaids, wreaths and lots more. As the colour palette is an old favourite for Carta Bella, you can also easily easily mix and match old and new Carta Bella collections. My layout uses a harvest photo taken at a National Trust property.


I started this layout by spraying some Mango Blaze Cosmic Shimmer mist onto a sheet of smooth white cardstock. The mist contains mica so has a lovely shimmer. Once the mist had dried, 5mm was trimmed from each edge of the cardstock and layered onto a gutted sheet of the Flannel Warmth paper leaving a narrow frame around the outside. The mist did warp the cardstock a little but once the layout is in album I don't think it will be noticeable. Using brown thread I machine stitched round the edges of the white cardstock.


In the Silhouette Store I found an autumnal wreath cut file and cut this from some dark brown cardstock. The cut file was then backed with papers from the collection and some scraps of cardstock.

The backed cut file was placed in the centre of the layout and the 5x7 photo which had been matted with dark brown card was added.


On the sheet of Chipboard Phrases I found an appropriate plaque and placed this beneath the photo.


In my stash I found some extremely old paper sunflowers and paper leaves and added these to the cut file.


Finally I added a journalling strip printed on the computer at the bottom of the page and dotted some enamel dots and some sequins from Picket Fence around the layout.

I hope you like this layout. Autumn scrapbook layouts are always some of my favourite to create and in the shop there are sooooo many georgeous seasonal papers and embelishments to use. 

Until next time, take care.
Karen x x

Wednesday 25 October 2023

Frank Garcia Twilight Cake Topper

 Hello Julie here for my second Halloween post.  I have thoroughly enjoyed using the pastel colours from the Frank Garcia Twilight collection for Halloween. Today I created a 3d cake topper using some ephemera and some die cut flowers that I made.  I took this idea in a large part from the Prima blog as it was so pretty and I wanted to recreate something very similar.


Firstly, I used a wooden spiderweb and sprayed it a tiny bit with pink paint to match the colours from the collection.  I then used my Cricut to cut out three spider web outlines to create a base for my wooden spiderweb to sit on and also it gave the cake topper some stability.

I used both packs of the Twilight ephemera to add elements to my spiderweb.  I couldn't pass up the adorable pumpkin man and I used lots of pieces from the packs to create some clusters and depth layering the pieces on foam tape.

Prima has some beautiful flowers to match each collection, however I decided to make my own using the brilliant Tim Holtz Sizzix Tattered Florals dies.  If you do not have these dies in your collection, run to Papermaze and grab yourself some!  I used several of the papers from the Twilight collection and die cut my own flowers, the beauty of these dies is that you can make numerous layers in different sizes or just use one layer to make a flower the choice is yours.  I also used the branch in this die set to make a couple of "spooky" branches poking out of the background.  I added a little touch of glue to the edge of the flowers and dipped them into my go to Glitter Dust.

I love using some gold thread to add a bit of interest to the back of ephemera pieces and I continued to add some enamel dots and sequins to the piece to create a bit of sparkle.

Finally I used a small bow die (similar to this one) to cut out a little bow from various paper scraps I had left, and added some tuille behind it to create a little bow for the bottomm of the topper.  I think this would have looked just as good with a little bouquet of Prima flowers added to the bottom.  I used my hot glue gun to add the whole piece onto a gold straw to enable me to put it into a cake.  I hope you like this little project, the ephemera pieces can be used in so many different ways and create such a "wow" factor.  Thank you so much for taking the time to read this post, I will be back next month with some Christmassy goodness xx 

Monday 23 October 2023

Boo to You - Simple Stories - FaBOOlous Collection

Hi everyone, Rebecca back with you today. I'm getting more and more excited as we edge closer to Halloween! Today, I'm sharing another layout created with the FaBOOlous collection from Simple Stories. You can find the full collection in the shop here.


I was really drawn to the Shrieks and Screams patterned paper and wanted to feature it on my layout so I decided to be brave and use it for my background. It's obviously a very busy paper though, so I needed to bring in some white space to work on! I cut a piece of Premium White Cardstock down to about 7 inches wide and then shortened it by tearing along the top and bottom to create some texture. I adhered this to the centre of my page. 

The first thing I got into place was my title - the 'Boo to You' piece from the Chipboard Stickers. I've been wanting to use this piece for ages but haven't been able to make it work on previous layouts, so I got it into place early on today! 


I love this photo of my little boy from last Halloween, and due to the way his body is positioned in the photo, I decided to place it over onto the right hand side of the page so that he is 'looking' across the page towards the centre. I added a layer of dark patterned paper behind my photo to help make it pop against the crisp white background.


I love everything that is included in this collection, so I pulled out all the embellishment packs to see what I wanted to use to embellish. I started with the larger pieces as they obviously take up more space. I positioned the orange moon from the Journal Bits & Pieces in place first, along with some larger pumpkins from the Bits & Pieces


Once these were in place, I could clearly see where I had gaps and where I could tuck smaller things in to build up clusters. I've used some of the florals from the Floral Bits & Pieces pack and some phrase stickers from the Cardstock Stickers sheet. Once I had everything in position, I carefully started to adhere it all together, without sticking anything to my background. This is because I wanted to add some light mixed media to the background. 

When it comes to mixed media, sometimes I find it easier to get it on the page first, and then build my layout on top of it. But other times, I build my layout and then think 'ah, maybe I'll add some stencilling' - and this was one of those times! It means everything has to come back off the page, so by trying to stick it all together, it makes it easier as I can just move it off as one piece. 


I've used a stencil from my stash, along with a Distress Ink Pad in 'Black Soot' and added some spider web detailing around my photo and embellishment clusters. I love adding detail to my background in this way - it's subtle, and as there's no water or wet paint involved, it's not at all messy and doesn't require drying time - perfect when you are as impatient as me!


I finished off the layout with the addition of a cluster of bats from the Page Pieces in the top left hand corner. 

I hope you've enjoyed this layout and the previous ones I've created with this collection. Thanks so much for reading.

Rebecca x

@preciouspagespapercraft


Friday 20 October 2023

Simple Stories - Simple Vintage Life in Bloom - Today

Hi everyone,

Claire back with you today, and I'm sharing my second layout made with the Simple Stories Simple Vintage Life in Bloom collection.

In contrast to my first layout, today I'm focusing on the blue and aqua tones in the collection, with pops of pink, purple and yellow to add some vibrancy.


I started with a piece of Premium White Cardstock and applied a thin coat of clear gesso to prep the page for some mixed media.

I reached for some turquoise, green and aqua watercolours, applying them to my page with a brayer. I applied each colour one by one, making sure it was dry before applying the next, avoiding any of the colours getting 'muddy'. 

Once each colour was dry, I applied some white modelling paste through a Vicki Boutin Fernwood stencil.

For a little extra detail, I took a script stamp from my stash and added a few patches of stamping in Black Momento ink


I selected this beautiful floral frame from the Chipboard Frames pack and honestly, it's so striking, it really doesn't need much else to make an impactful page.


For extra definition, I raised it on foam and inserted my photo, adhering it to the mixed media background.

I like the colours against the black and white photo so opted for a bold black title from the Foam Stickers.


At this point, I really liked the layout, and wanted to add just a few small embellishments so as not to overpower the page.

I opted for a leaf and a teal coloured flower that you can see in the image above, along with a small butterfly, all of which came from the Floral Bits & Pieces pack.


In the opposite corner of the frame, I added a 'magical purple butterfly' element from the Bits & Pieces pack and a tiny foam heart from the Foam Stickers.


A little further down on the left, I added another butterfly again raising on foam for extra movement.


I decided to add just one last small butterfly from the Sticker Book to bring a pop of purple to the right hand side of the design.


I really didn't think the page needed anything else, as the frame was so beautiful. It made a big impact with just a few small additions - making this collection go a really long way!

I've thoroughly enjoyed creating with this collection and hope you've been inspired to create with it.

See you next month!

Claire xx

@Scrappysoulmate


Wednesday 18 October 2023

Echo Park ~ I Love Fall #1 🎃

Hi everyone, it’s Anna back with you today. 
Well the weather has finally turned colder and now seems like the perfect time to start scrapping Autumn! So with that said, for my next two posts I’ll be working with Echo Park’s latest autumnal collection - I Love Fall. You can find it in the shop here


I used the b side of plump pumpkins as my base, which I gutted as I knew I’d just be using it for a boarder. I then trimmed down a sheet of white bazzill cardstock by roughly an inch each side. I adhered the cardstock to ‘plump pumpkins’ and then made some sewing holes ready for stitching later. 


I wanted to create a multi photo layout to use lots of pictures from a recent trip to a pumpkin patch. I had so many to use, I wanted to be able to include lots of my favourite ones. 
I mounted them with various patterned papers from the collection as well as some orange bazzill from the matchmaker pack. I also selected a frame from the ephemera icons to mount one of my photos. 


I tore an area out of my cardstock at the top left and the bottom right side. I then filled in the gap using ‘crisp fall air’ and added some fussy cut florals from ‘fall flowers


When I was happy with how my photos were laid out, I added a few stickers from the element stickers filling in gaps and tucking them in and around my photos. I also added a few elements from the ephemera icons pack


I cut out a journaling box from the 4x4 journaling cards and trimmed it down to make a box to do some journaling. 


Finally, I added my stitching around the edge of the cardstock. 


Thanks so much for looking! 
See you next time with another layout using this collection. 

Anna
x

@acraftylifewithanna
 

Tuesday 17 October 2023

Prima Twilight 3D frame

Happy October, Julie here again with another 3d project using the most beautiful pastel Prima Frank Garcia Twilight.  This collection uses pinks, pastel orange and the traditional black paired with vintage, whimsical Halloween images.


I had a box frame in my stash already but if you wanted to purchase the same it was a small square white frame from Ikea.  I started by taking the glass from the frame and covered the back of the frame with some Bazzill Blackbird to have a blank canvas to start with.  I then tore a square of Oddities paper as a background to my photo.


I used a tag from the Bewitching Ephemera (which is unfortunately sold out at the moment) to tuck behind my photo and a spider for the top left corner of the photo.  The ephemera packs are so full of large and small pieces that can be used for backgrounds and embellishments.  


I put a playing card from the Bewitching ephemera at the bottom of my photo and then went about creating raised layers to give a 3d effect.  I used three layers of foam strips on top of each other to make the pumpkins and book from the Halloween Night ephemera stand slightly away from the background.


I love the vintage pumpkin ephemera and wanted to bring a little pumpkin to the foreground of my box frame but not right to the front.  I found a small block of wood and glued the pumpkin to the block of wood and then to the background.


The frame had a groove all the way round that used to house the glass that I utilised as a ledge for the crow with the top hat.  The ephemera pack also included a beautiful trim piece that fit in the groove at the top of the frame perfectly.  To add an additional and final layer, I added a crow and cauldron on the outside of the frame as well as some sequins rising from the cauldron.

The Oddities paper is beautiful however, I felt it was a little too pink for my photo.  I found some black spray similar to Dylusions Shimmer Spray and spritzed a big on the background to add a little bit of texture.  I also used up some Say It In Crystals that I had from a previous collection.  The beauty of Prima is that so many of the collections can be interchanged as they use similar colour pallettes.

If I did this project again, I would say that I would probably have used another piece of card to mat my photo to make it stand out a little more but the beauty of scrapbooking is that we can always learn new things and can do something different the next time!  Thank you for taking the time to read this blog and I hope you enjoy my project.

Monday 16 October 2023

October Papermaze Kit - Part 1

Lynn here today, with the amazing, colourful collection of papers and embellishments from the October Papermaze Kit. Here are the first two of five layouts I have created with this kit.

Here are the details of what you will find in the kit:


Patterned Papers:
Pinkfresh Studio - Sunshine On My Mind collection - Poolside
Crate Paper - Moonlight Magic collection - Pixie Dust
Photoplay - Sweet Sunshine collection - Sun Rays
49 and Market - Vintage Artistry Sunburst collection - Ray of Sunshine 
Shimelle - Main Character Energy collection - Blue Skies & Zoom In
Bazzill Basics - White & Evening Surf

Reverse side of papers

Embellishments:
2 exclusive acrylic clouds, 2 mini doilies, 3 - 49 and Market Chipboard word pieces, 3 Paige Evans Chipboard Milk Caps, 6 Paige Evans Floral Ephemera pieces, 3 wooden banners, selection of Rosie's Studio Puffy Phrase Stickers and a strip of enamel flower gems. 


Extra Bazzill Basics Pack - Berry Sensations, Lily Pond, Blue Calypso and Amber.

Celebrate - This layout shows my daughter Emily, at a celebration for two family wedding anniversaries, and just a month before her own wedding.

I selected the Blue Calypso Bazzill from the kit as the background for this layout. With two different Tim Holtz Layering stencils I inked large dots (THS06 Dot Fade) above where the photos will go and tiny dots below (THS002 Bubble). I use Picket Fence Distress Ink and a blending tool to make a bad of dots across the centre of the layout.

Using 'Pixie Dust' paper from the kit, I used half the sheet to cut a selection of different sized hexagons using a set of dies from Memory Box - Hexagon Layers.


I printed the small photos and trimmed them all to the same size (about 7.5 x 6cm). Then I arranged the photos and hexagons onto the layout.


I used a puffy word sticker from the kit for my title and scattered multi-coloured sequins over the Bazzill, to match the colours in the paper. Finally, I used a Uni Ball Signo White Gel Pen to add my journalling.


Little Red Devils - Sunshine on a Rainy Day
- My three little ones trying on new rain suits back in 1994.


I wanted to bring sun and rain together in this layout. For this I used the cloudy 'Blue Skies' paper, cutting sun rays using a cutfile. I distressed the edges of each piece and placed them onto the sheet of Evening Surf Bazzill. I then flicked Picket Fence Distress Paint and Winter Frost Distress Mica Stain over the page.


The photo was mounted onto some red Bazzill.
I created a rainbow using scraps of cardstock from my stash and a Poppystamps Rainbow Arch die. These were arranged onto the layout together with the Papermaze exclusive acrylic clouds.


To reflect the rainbow colours in my long title, I used Doodlebug Designs Alphabet Soup stickers to spell out the title and the date. I included a little strip of birds from the manufacturer's strip.


Finally, I added journalling under the cloud at the bottom of the page.


That's all for today, I'll be back with more from this kit soon.
Thanks for looking.
Lynn x