Wednesday 31 March 2021

Updating My Recipe Journal

Updating My Recipe Journal

.  

Hi. Lisa here today!

I'm working in my recipe journal.

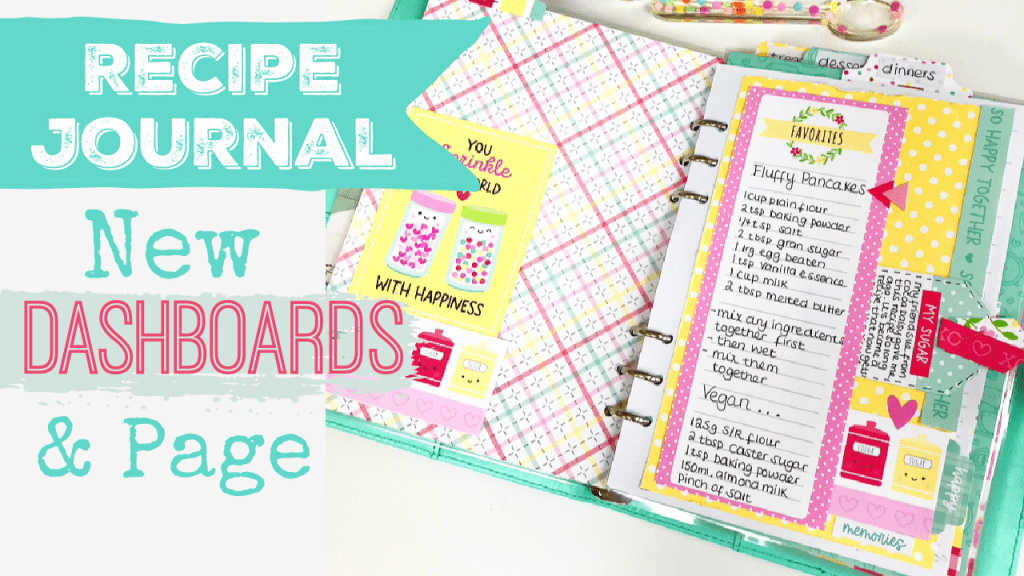
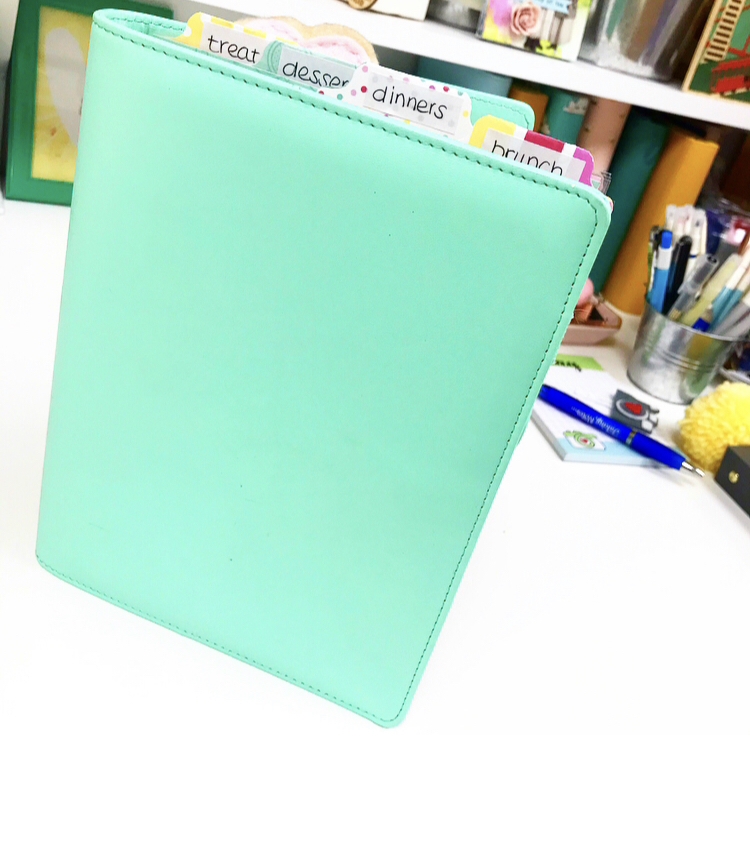
I have an A5 planner where I store my favourite recipes. These are recipes that our family love and they all have stories attached to them.

I also decided today that I wanted to create some new dashboards. These are the 4 separators between each section.

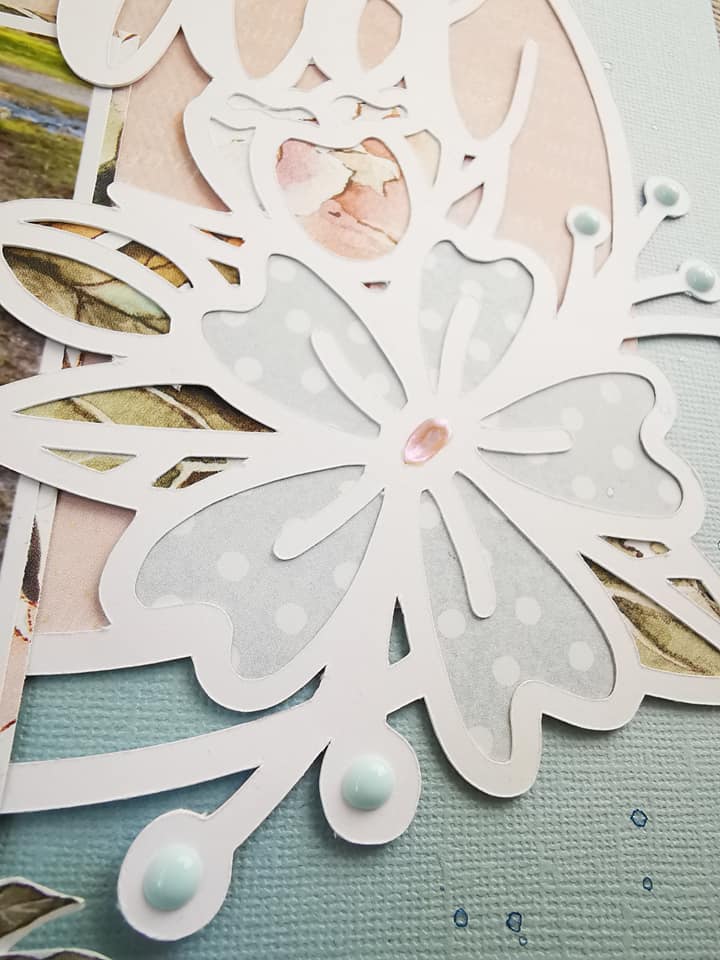
I'm using the Doodlebug Design collection - Made with Love.

It's so perfect! I do have a process video here if you'd like to watch.


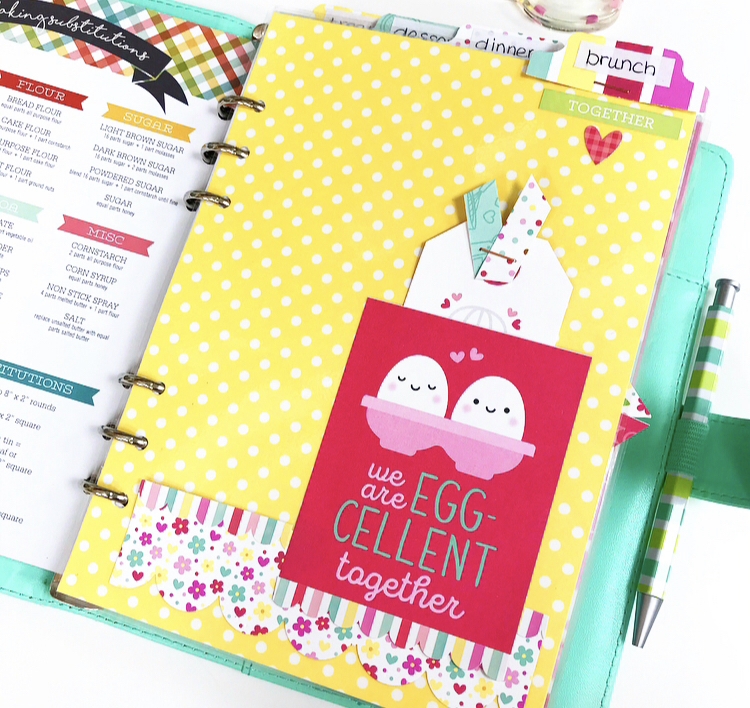
I used a page from the planner as my template to cut to size (cutting it slightly larger than the page). I laminated it and added the holes. I also  added a pocket on the front of each using this sheet. It's so cute. I love the illustrations.

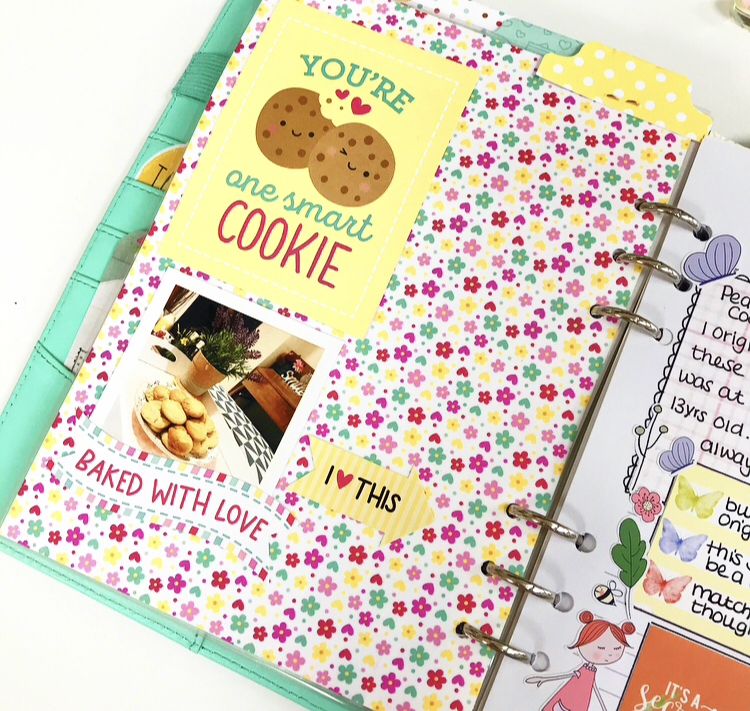
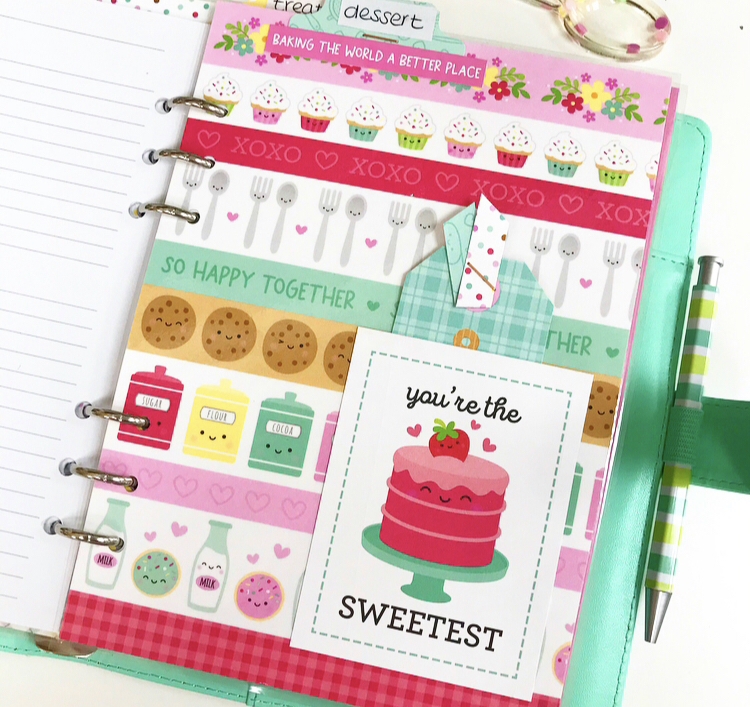
I ended up decorating the reverse of each one too

I have brunch, dinner, dessert & snacks sections. But you could have whatever works best for you.

I couldn't resist the cute tags here. I cut them out and popped them inside the pockets.

.

I used a tab punch to create the tabs on the top. Using the papers from the collection and stapling them in place.


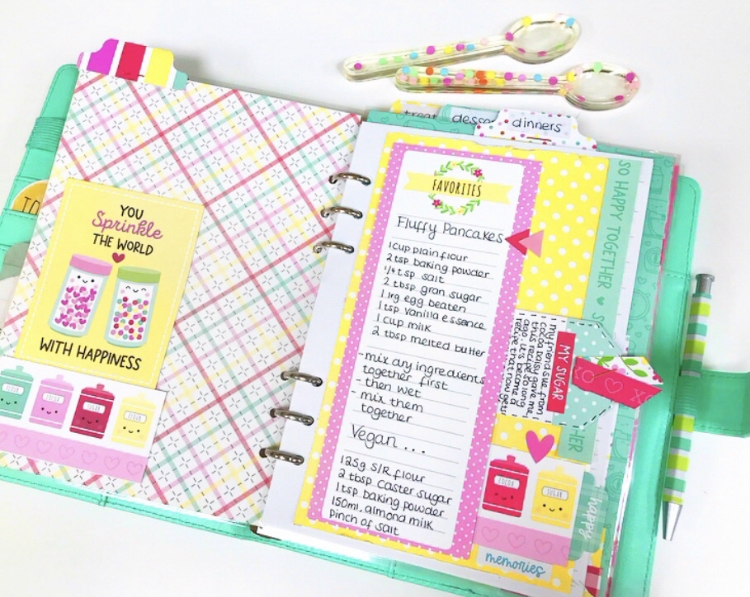
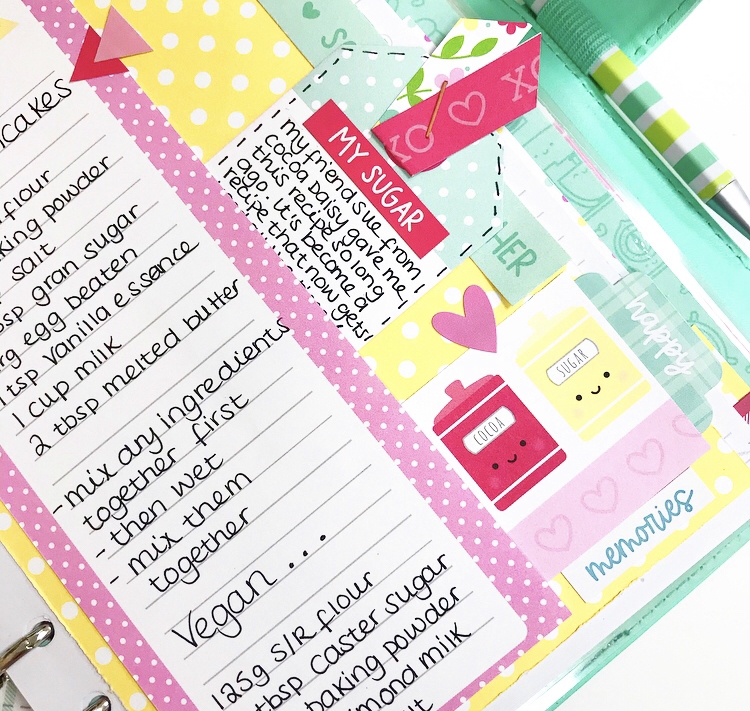
I also created a page about our Fluffy Pancake recipe that we use loads. It was given to me about 12 yrs ago by a scrapbooking friend in the US.  It was so nice to give this loved recipe a proper home and document the story. .

.

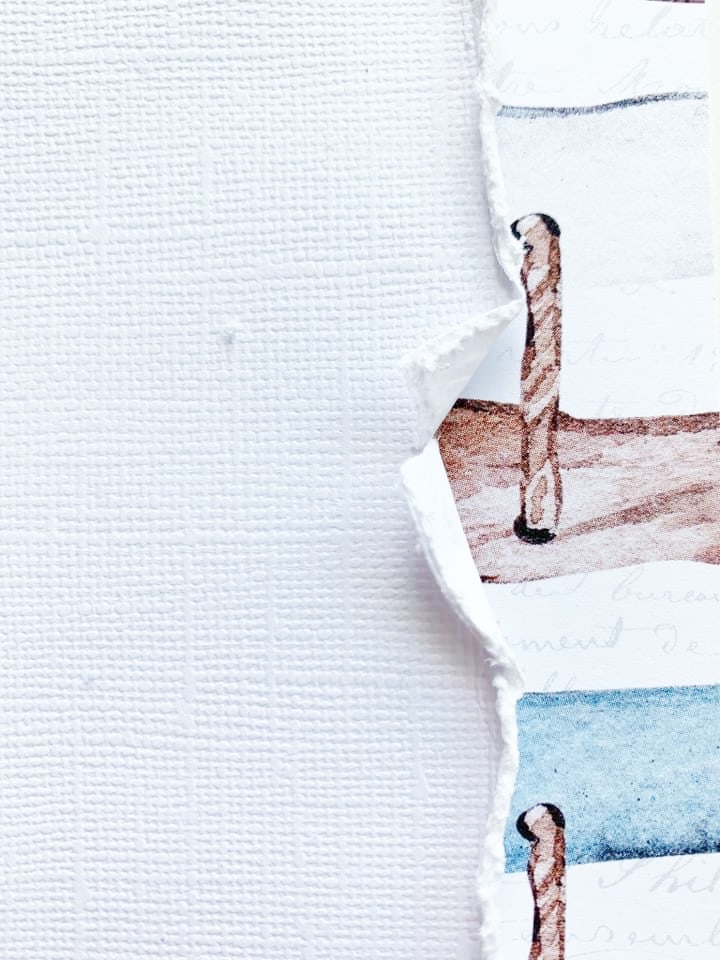
This paper here is perfect for story telling. I only attached it down in the centre, so I could slide my tag under and it's now held firmly in place. I also decorated my pages with the matching stickers which I love.

I'm so happy with these new additions to my recipe journal and I hope you like them too. Don't forget the video here. I've got an idea with the leftovers using the collection, so I'll be back with another idea soon.

Take care

Lisa x    

Monday 29 March 2021

Smile - P13 Paper Products - Beyond the Sea

Hello, Rebecca back with you today with another layout created using the gorgeous 'Beyond the Sea' collection by P13 Paper Products. I think I may have found my new favourite collection - I am enjoying working with it so much and I cannot believe how far this collection is stretching. I've made 7 layouts now and still have so much left!


I had the idea in my head that I wanted to cut a ship's steering wheel (Sailing folk - I apologise! I'm sure the wheel has a proper name but for the life of me I can't think of it!) from Paper #03, which is a gorgeous weathered wood effect pattern. I found an image online, and traced it in my silhouette software to give me the outline of the wheel. I then offset the image, and cut it slightly larger from a sheet of Bazzill Cardstock in 'Bark'. I stuck the two together and added foam on the reverse. 


I've used a sheet of white Premium Cardstock for my background, and have trimmed half an inch off each side and have used the leftover sheets of brown bazzill cardstock, and Paper #03 to add a layered border around the edge of my layout to frame the page. I've also distressed the edges to bring some texture to the layout.

Behind my wheel, I have added some very soft mixed media using a stencil brush and a distress ink in Salty Ocean to help create a bit of depth to the page.


In my photo, my husband and son are looking directly at the camera so I decided to have my photo sitting in the centre of my layout. I raised it up on foam, and added some cheesecloth behind it to bring in some more texture. I love using cheesecloth on beachy layouts and feel like it's the perfect texture. 


Moving on to embellishing my layout, I added some florals which I had fussy-cut from Paper #04 and some more of the fussy-cut elements from Paper #07 that were left over from my previous layouts. I've built a cluster either side of my photo, raising some of the elements up with foam pads. Nestled in the centre of these clusters are also two circular stickers from Cardstock Stickers #3.


For my title I have used a wood veneer piece which says 'Smile' and I've painted it with a Shimmerz Paint in 'Anchors Away'. (Shimmerz are new to Papermaze so if you haven't already checked them out, I highly recommend you do!)


I felt that the layout was a bit bottom-heavy so decided to create a small cluster in the top left corner to help balance the page out. I added the same blue ink to my background, and added a fussy-cut leaf cluster with a gorgeous tag from Cardstock Tags #3


I then finished my layout by drawing an outline border, in white, on the wheel to help add a bit more detail and make it look slightly more realistic. And that is my layout complete! This page came together VERY quickly for me - it only took 45 minutes to create. It definitely helps that this collection is so beautiful - the pages just seem to fall together effortlessly!

If you'd like to watch the process, there is a video on my YouTube channel, which you can find Here

Officially, that's me done for March! I do have some bits left from this collection so I’m sure I’ll manage another couple of layouts at some point!

You’ll notice that a lot of this collection has sold out on the website - it literally flew off the shelf! But fear not - restocks are on their way, along with a few more P13 collections so keep an eye on the website!

Take care,

Rebecca x

Saturday 27 March 2021

March Papermaze Kit - a little extra!

Hi Lynn here - with an extra layout made using the March kit. I have already made four layouts with this pretty kit, (two published last week, and two for next week), but had some papers left over and so made this extra one.

Before we look at the process of making the pages, here is a reminder of what you will find in the kit - please see this post for more details.


For this layout I gutted the
Will You Be Mine? paper to make a frame 2.5cm deep. I used this frame with the hearts side uppermost. Over this I applied the Whirlpool Bazzill, which I had trimmed down to 28cm x 28cm. I distressed this and the other papers and inked them with Distress Ink. 

Using a Tim Holtz Layering Stencil - 'Stitched' and some Worn Lipstick Distress Oxide Ink I added some little crosses to the background Bazzill.

Then I cut hearts in various sizes using Bazzill and both sides of the patterned papers - Will You Be Mine? and
String of Pearls, including a larger one for my journalling. I arranged these in a large heart shape on the page.

I mounted my photo onto some scrap white card and then Flamingo Bazzill. This was placed to the left of the page, with the journalling heart to the right.

My title was created with a Tim Holtz Sizzix Thinlits die set - Alphanumeric Shadow - Upper and scraps of Bazzill. I heat embossed these with Clear and Turquoise Tinsel embossing powders.

Tip - I keep any spare embellishments from each kit in a box on my desk and I dip into this from time to time - for this layout I selected the chipboard heart strip, puffy letter stickers, pink lace and some wooden elements.

Finally I added raised dots with Ranger's Enamel Accents in Pink Gumball, Glacier White and Caribbean Coast.

Thanks for looking. I'll be back soon with the rest of the March Kit.
Lynn x

Friday 26 March 2021

Echo Park ~ Magical Birthday Boy #2

 Hi all, it’s Anna here, happy Friday! The days are getting longer and the sun is starting to shine, phew! It’s been a long winter, but scrapbooking has certainly helped me through it! 

With my DT kit this month I have been playing with the Echo Park Magical Birthday Boy collection, you can find the collection in the shop here

Today I’m going to share two layouts with you. But first, here are some direct links to the supplies that I have used for these pages. 

Birthday Fun, Make a WishBazzill Matchmaker Pack (cardstock), Let’s Party, Tags, Element Stickers, Stix2 3D foam pads , Thickers, Nuvo Drops, Bazzill cardstock scraps, twine, doodlebug alphas


For my first layout I used the red bazzill cardstock from the matchmaker pack as my base. I then used a Paige Evans floral Mickey cut file as the main feature on my layout. This took a long time to back! I used a selection of scraps of different coloured coordinating cardstock. The collection doesn’t feature any pink, purple or dark blue, but I wanted to incorporate these colours to match my photo. So I used these colours in my cutfile to make it work. I also used some vellum and glitter cardstock, as well as patterned papers from the collection to back the cutfile. I added some Nuvo drops around the edges of the flowers. I placed this to the left of my layout and trimmed off the edge. 


I had a few photos of my 30th birthday cake that I wanted to include, it was Disney themed and decorated beautifully, with lots of little details. But to add them all on the page itself would’ve been far too much, as the cutfile is really quite busy. So I made a mini book, which just tucks in behind the main photograph - I used some 3D foam pads behind the main photo to create a space for the mini book to slot in. I made this by trimming a strip of Let’s Party paper and scoring two measured equal sections wide enough for my photos. This also allowed me to add in some journaling. 


To the left of my layout I added just a few of the element stickers and that’s all that was really needed. 

Moving on to my second layout for today...


I used the blue cardstock from the matchmaker pack for my base. For this layout I used some pictures from a Disney party that we had for my son’s 3rd birthday, this paper collection was perfect for this! 


I used a strip of Let’s Party patterned paper behind a large ‘Disney’ title. I used one of the tags from the ‘tags’ paper for a journaling spot. 


Something was missing at the top right hand corner so I ripped a tear at the top of the paper and backed it with the make a wish patterned paper, along with some element stickers. 


To finish, I added some more element stickers around the layout. 

Thanks so much for looking, I have one more layout to share with you using this collection, so I will be back with that soon! 
Have a great weekend! 
Anna 
X
@adisneycraftylifewithanna 

Wednesday 24 March 2021

P13 Paper Products - Forest Tea Party - My World

Hello!

Claire back with you today and I'm here with my second layout using the beautiful P13 Paper Products Forest Tea Party collection.

Given my last layout was very woodland themed, today I thought I would focus on the beautiful floral elements in the collection, using the pastel pinks and blues which are just so pretty.


I started with a piece of Coastal Blue Bazzill cardstock from the Matchmaker Pack and cut a strip of Paper 04 to run along the left edge of the paper.

Now I have to admit these two photographs of my dog are some of my favourite ever pictures of her - she just looks so happy to be out on another adventure - if I could bottle that euphoric feeling that she's showing (particularly in the top photo), I absolutely would!

I used the 'My World' cutfile from Peartree Cutfiles as she really is the centre of our world, so it was perfect for this layout.  I backed it in Paper 06 which is a really beautiful peachy pink paper with a very feint scripty font design.


To back the flowers, I used Paper 02 (blue) and Paper 03 (pink and leaves). I also added some Nuvo Drops in Duck Egg Blue and some Nuvo Dream Drops in Love Potion.


Next, I set about creating three large floral clusters, using flowers I fussy cut from Paper 07 and Paper 03.


To each of the clusters, I added some Chipboard Embellishment #4 leaves and painted them with Shimmerz Paints - Inklingz Miner Miner 49er.

I added a small tag from Cardstock Tags #3 and a larger tag from Cardstock Tags #2 to the top right and complemented this with a chipboard banner from Chipboard Embellishments #7 and some stickers from Cardstock Stickers #1.


To finish off the page, I added a few small splatters of Shimmerz Inklingz Oakie Bear Blue around the globe and a few small drops of Nuvo Crystal Drops in Bright Gold.


There are still some of these beautiful papers available in the store, along with two other stunning collections from P13 Paper Products, so do head on over and check them out whilst stocks last.

See you soon.
Claire xx

Tuesday 23 March 2021

Summer Fun - P13 Paper Products - Beyond The Sea

Hello, Rebecca here with you today sharing another layout with P13's 'Beyond the Sea'. It looks as though everybody else loves this collection as much as me - it's pretty much flown off the shelf at Papermaze! Thankfully though, restocks are on their way!


I started this layout with a piece of White Bazzill cardstock, which I cut to about 10x10 inches. I heavily distressed the edges, tearing it in some areas to make it look worn and weathered. I then mounted it onto a frame using Paper #01. I distressed the edges enough to allow the twine detail on the pattern paper to show.


I added some mixed media to my background in two areas using Shimmerz Paints in two shades of blue (Anchors Away and Teal the End of Time). I ended up covering most of this mixed media with embellishments, but the splatters are still visible so it wasn't entirely in vein!


I'd chosen a photo of my little boy sitting on the steps of Apley Tower in the Isle of Wight for this layout - it's one of my favourite photos of him! I mounted the photo onto white cardstock, and again onto Paper #05 and placed it in the top left corner of my layout. I selected two of the Banner Die Cuts to sit underneath my photo, one showing above, and one below. I selected these specific banners based on their colours as they matched my son's swimsuit in the photo.

Around my photo, I placed several elements I had fussy cut from Paper #07. This paper is great for stretching this collection because it contains so many different images to create your own ephemera. I also used a couple of the large floral clusters from Paper #04. I finished my clustering off with a round element from Cardstock Tags #1


In order to balance my layout out, I created a smaller cluster to the bottom right corner of my layout. I've used a banner from Cardstock Tags 2 which says 'By the Sea' and another floral cluster from Paper #04. I then positioned a small shell among the cluster from the A side of Paper #01


I've used a raw chipboard piece by Dusty Attic for my title. It's called 'Summer Fun' and was perfect for this layout. I've painted it with one of my new Shimmerz Paints - Teal the End of Time to give it a gorgeous shimmer and to tie in with my mixed media. The dusty attic chipboards paint so well with Shimmerz paints, and I've found that I don't even need to apply gesso first.


I finished my layout with a couple of lines of Nuvo Drops and some acrylic perspextives. 


If you'd like to watch how this layout came together, there is a process video up on my YouTube channel, which you can find here.

I'll be back soon with another Beyond the Sea layout, and as I mentioned before - restocks are on their way!

Take care

Rebecca x

Monday 22 March 2021

Echo Park Coffee & Friends - Cards from Scraps

Hello, Karen C here again. Recently I have been sharing with you the scrapbook layouts I've created using the Coffee and Friends collection from Echo Park. After creating three layouts with my DT kit I was left with a few random sized scraps of patterned paper and some of the die cut Ephemera Frames and Tags

None of the scraps were bigger than about 6" square so rather than try and make another scrapbook layout I decided to challenge myself to make as many cards from the scraps as I could. On YouTube I follow American cardmaker Kristie Marcotte. Kristie has a series of videos where she takes a 6x6 paper pad and turns the entire paper pad (plus cardstock and minimal embelishments) into a set of cards. I love Kristie's style which uses a lot of black cardstock and took inspiration for my cards from her. By coincidence, Kristie has recently used the 6x6 Coffee & Friends paper pad to make cards. Unlike Kristie I didn't have a full 6x6 paper pad so didn't have as many papers or patterns to choose from but double sided papers help. 


I managed to make 9 cards.


Four of the cards were just under 6" square and five were 4.5" square


I used a lot of black cardstock to mat the patterned papers and die cuts. This made the colours pop.


The die cuts were mounted on 3D foam to add some dimension to the cards.


I used some cardstock in colours picked out from the patterned papers and die cuts on some of the cards.


Embelishments were minimal - sequins, ribbon and card candy all from my stash.


Because I didn't have much patterned paper left I had to be creative on some of the cards. Some of the papers were joined and the join hidden behind another element,


For this card I was able to add blue cardstock to emphasis the blue cups on this paper and the die cut.


Some of the sentiments were printed onto white cardstock. 


I hope I've inspired you to try and use up the scraps left over from a collection or kit to make some cards or if you have no scraps a few sheets of patterned paper can go a long way. and there's plenty available in the shop.

Take Care
Karen x x