Showing posts with label icon ephemera. Show all posts

Friday, 27 May 2022

Hello Sunshine - Vicki Boutin - Sweet Rush Collection

Hello, Rebecca with you today sharing another colourful layout created with Vicki Boutin's Sweet Rush collection. You can find the collection in store here.


It's been a long time since I've used a cutfile on my layouts so decided that it would make a nice change to use one. I chose a pie chart cutfile from Cut To You, and cut it twice. The first cut is from the B side of the Simple Pleasures patterned paper, and then I made the file slightly larger and cut it from black cardstock and layered the two together.


I wanted to make the hearts on the patterned paper 'pop' a bit more, so I used a black gel pen and drew around the outline of some of them to give them some definition.


Behind my cutfile, I added some colour using a Distress Oxide Ink Pad in the shade 'Mermaid Lagoon', to match the colour of some of the hearts, and the top my little boy is wearing in my photo. I used an ink blending brush to apply the colour, and then watered some of the ink down and added some splatters.


I placed my circular photo in the centre of my cutfile, raised up with foam and then added some die cuts from the Icon Ephemera pack, focusing on the tropical items to match my photo. I arranged these in two clusters, either side of my photo.


Next, I added my title - also from the Icon Ephemera pack, and embellished further with some flowers I had fussy cut from the Daisy Chain patterned paper. I love that there are so many opportunities for fussy-cutting and creating your own embellishments with this collection. It's a great way to make a collection go further.


I also introduced some of the Phase and Icon Chipboard Thickers - some sentiments and butterflies. 


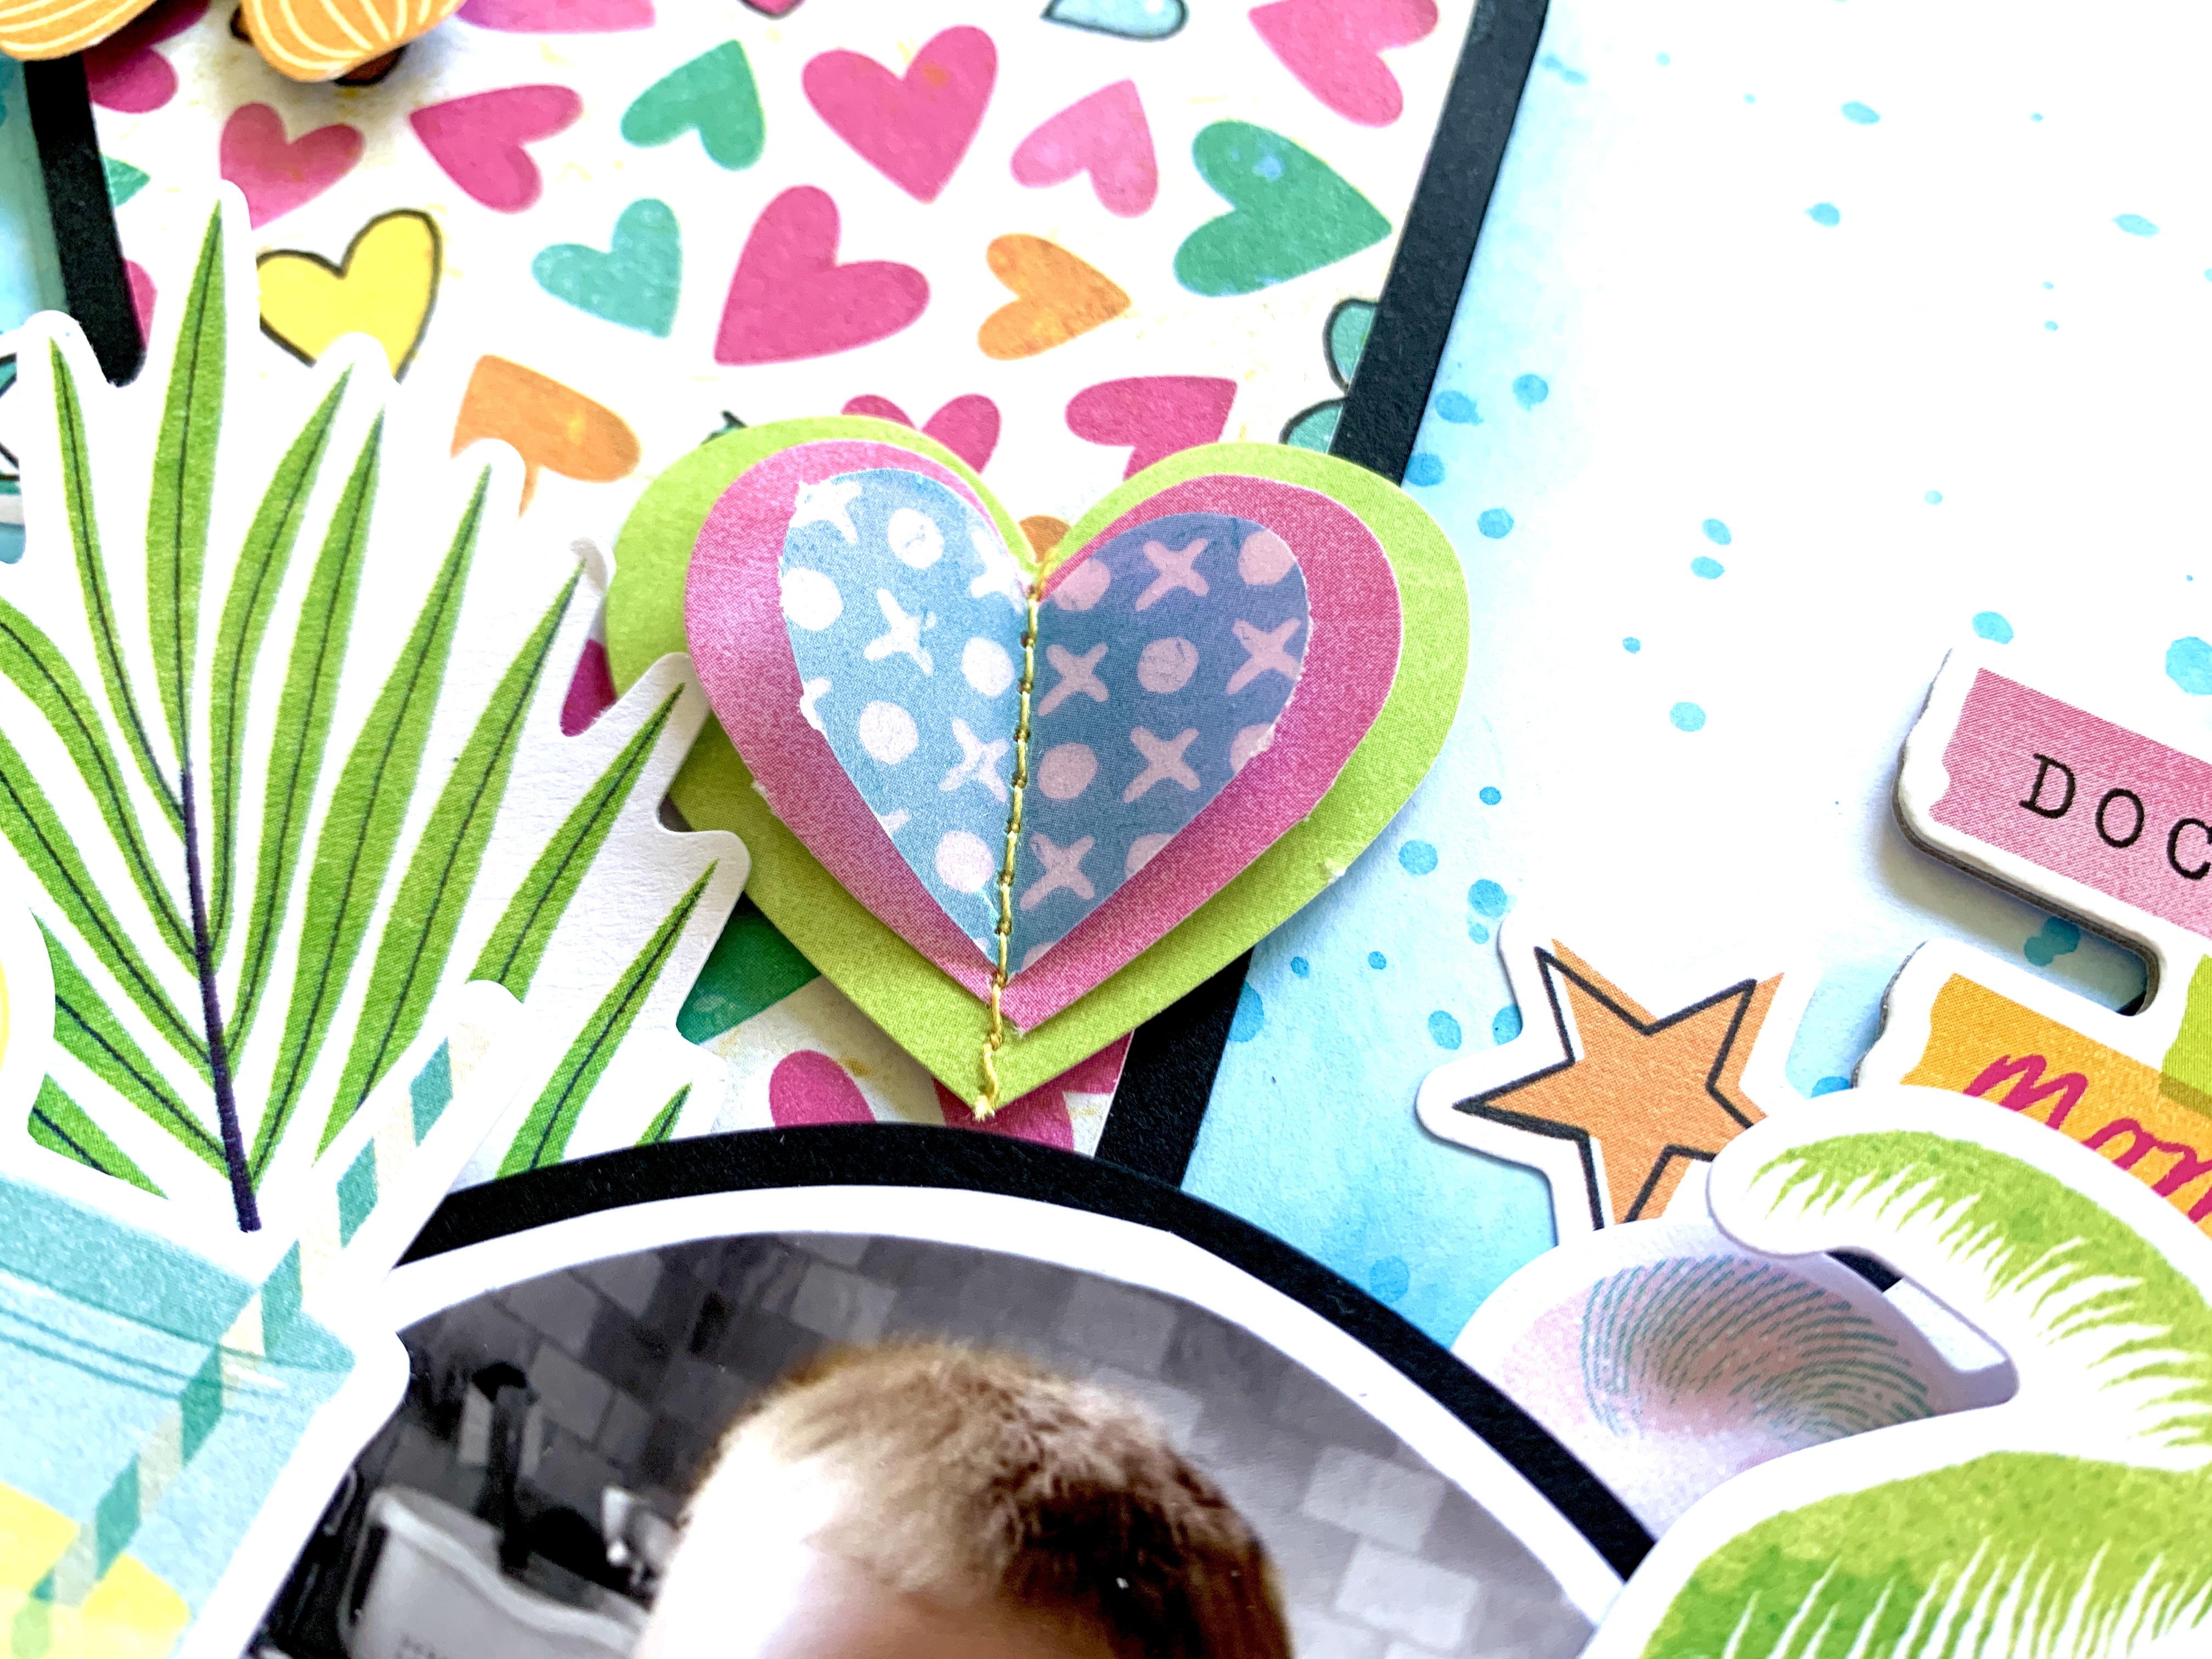
I finished my layout off with some star stickers from the Sticker Book and a couple of the heart shaped Layered Embellishment Stickers.


I hope you've enjoyed this layout and it inspires you to create with the Sweet Rush collection. As always, I have lots left over so this won't be the last time I use it!

If you'd like to watch how this layout came together, there is a process video up on my YouTube channel, which you can find here.


Take care,

Rebecca x

@preciouspagespapercraft


Friday, 15 October 2021

Jen Hadfield Peaceful Heart - Dreamer by Meg

Hey everyone, I hope you're well! I've been working on another layout using Peaceful Heart by Jen Hadfield and I'm so excited to show it to you today - I've been enjoying playing with this collection so much, the colours are just so serene and gorgeous! 

So this time round I thought I'd do some squares and fancied doing a bit of a grid layout - I started by picking out some pink and yellow tags that I liked together from the Thankful paper and cut them into squares. I then picked out my photos and cut them into the same size squares, plus three yellow squares cut from Yukon Gold Bazzill cardstock and a square of Look Up

At first I had decided to arrange them all on the left of the page, but after laying them all out I decided instead to stagger them diagonally in a more relaxed form, with a smaller cluster on the bottom right to balance out the page. I added some light pink splatters to the page to add some colour and texture under the squares before adhering. 

I started layering some of the squares with chipboard frames I already had in my stash and Peaceful Heart Icon Ephemera. I tried to arrange the burgundy pink and the yellow colours in triangles around the page to make the page feel more cohesive and draw attention to the centre of the page, where I built my largest cluster with paper and acrylic foliage and a large gold puffy title 'Dreamer', which came from my stash. 

I finished the page by cutting out the duplicate 'celebrate' text from the Thankful tag paper and sticking them down in an arch shape, to add some more dimension to the page. I also added some acrylic hearts from Bramblefox, some gold flat back gems, some puffy word stickers, journalled and a few last splatters of white and burgundy pink paint. 

And there we have it, my page finished! I am so thrilled with how it turned out and I love how different it looks compared to my last two Peaceful Heart layouts. I really hope you feel inspired to give this collection a go!

Take care, I'll be back again soon but with a different collection to show you. Thank you for dropping by! 

Meg x 

Sunday, 3 October 2021

Jen Hadfield Peaceful Heart - Leaves are Falling by Meg

Hello, happy Sunday and welcome to the blog today! It's Meg here sharing my newest layout, using the stunning Jen Hadfields Peaceful Heart collection, which I'm finding SO versatile and elegant! 

As my last page used delicate florals and peachy pinks, I decided I wanted to try a more Autumnal feeling layout this time. I started with some Autumn photographs of my little boy that I took in the woods last year and picked out the green Breathe Deeply paper which matched the green trees in my photos quite nicely! 

I didn't have much left of the Breathe Deeply paper after fussy cutting most of it for my last layout, so I cut a rectangle out of what I had left and went from there. I decided to layer up my photos and keep them central on the page, with a longer title on the green paper as a focal point. 

I wanted to use three photos on my page but they are all quite similar as they were taken at the same time, so I layered my favourite photo up with plain white cardstock, distressing the edges to add some texture. I cut my large green Breathe Deeply rectangle in half, so that half would become my title focal point on the right and the other half would be layered behind my photo on the left, to tie the green together across the page. I stitched the green paper onto a larger rectangle of vellum, to create a pocket. This is where I tucked away my extra photos - they don't tuck away entirely so that they are easy to pull out and they add interest to the page by being partly visible. I liked the effect of the extra photos layered up behind my first photo!

Next I splattered the page with dark green ink to coordinate with the Breathe Deeply paper, either side of where my central rectangles would be. I splattered white acrylic onto the green paper where my title would go. 

I then adhered the rectangles to the page and began creating the ephemera clusters either side. The green foliage was fussy cut from the Breathe Deeply floral side and I used the log circle, butterflies, a large floral element and a mug from the packet of Peaceful Heart Icon Ephemera. I used foam pads behind the butterflies to add some depth and the tag behind my photo came from the Thankful paper. I used acrylic autumn Bramblefox pieces and a few word phrases from my stash and I decorated with gold flat back gems and sequins. 

To make the page look more finished, I tore the white cardstock at the top and bottom and added the marble effect I Am Enough paper behind, with a few more small embellishments in the top corner. I created my title using a letter punch and added my journaling underneath. 

And that's that, my layout complete! I hope you enjoyed seeing what I've created with the Jen Hadfield Peaceful Heart collection and that you feel inspired to give it a try. Thank you for stopping by to have a read! 

I'll be back soon with another layout, so until then, 

Take care and have fun scrapping! 

Meg x 


Monday, 13 September 2021

Jen Hadfield, Peaceful Heart collection - Thankful by Meg

Hello all! 

I'm sharing my first layout today using Jen Hadfield's Peaceful Heart. I absolutely love all of Jen Hadfield's collections - they are always so stunning and classy and combine so well together! Peaceful Heart is a lovely collection to mix and match with any older collections you have hiding in your stash already, to give them a refresh and get them used up! 

So here is my page today: 

The first thing I did when I received my DT pack, before anything else, was start fussy cutting the beautiful large florals from the Breathe Deeply paper. I wasn't even sure what I wanted to do with them yet, but I just love cutting out florals! I fussy cut a couple of clusters and stuck them together to form a large cluster, before cutting out duplicates of the two central flowers, to make them 3D. I created 3D stamens for the flowers by fussy cutting the sunshine side of the Look Up paper and curling the edges. 

I chose the Be Kind paper and Peach Creme Bazzill cardstock for my background as I really liked the way it looked with the peachy tones in the oversized cluster and the contrast with the dark green foliage. I thought about cutting a cutfile out of the Be Kind paper with my Cricut as I think the pattern would look subtle and classy, but I ended up using the full sheet as the background and cutting five strips from the Peach Creme cardstock. I folded up the edges of the longer sides and adhered them to the centre of the page closely together, so that the raised edges created some texture and interest. 

After moving the cluster round on the page a bit, I decided to have it sort of off-centre above my photo. I splattered some watered down white acrylic across the cluster and around the page then I began making some paper tassels. These were just simple strips of fringed paper, rolled up with some double sided tape. The paper I used for it was Thankful and Yukon Gold Bazzill cardstock, which matched the floral 'stamens' absolutely perfectly! If you didn't fancy making your own tassels though, there are some gorgeous tassels here as part of the Peaceful Heart collection. 

I decided I wanted to use some vellum somehow on the page to soften things up, so I scrunched an A4 sheet up in a loose concertina to overlay across the Peach Creme strips. I tore the longer sides to again add a little more interest. I adhered this to the page using foam tape under my photo, the large cluster and by placing a couple of small stitches on the side of the page in white thread, just to hold the edges of the vellum down and stop it from lifting too much. 

I finished by creating a cluster to go below my photo - I fussy cut the 'Hello' note paper from the Thankful paper and layered it with some pieces from the Icon Ephemera packet. I actually journalled straight onto the 'Hello' note paper, but I messed it up so I cut out the wood effect 'Thankful' from the Thankful tags paper and I journalled on that instead, which I adhered over my mistake! It ended up a happy mistake though as I like the effect it gives and the bold 'Thankful' I incorporated into my journaling. 

Finally I used a few small peach puffy stickers that I already had in my stash and then I was done! 

This was quite a quick layout to come together as I'd already done the fussy cutting. After doing that, it just came together nicely as the colours and all the pieces just coordinate so well!

Thank you so much for visiting today and I hope you have a lovely week! 

Take care, 

Meg x 


Saturday, 22 May 2021

Paige Evans - Wonders - Hello there!

Hi Everyone!

Claire here. I've had so much fun this month I'm popping back in today with an extra layout using Paige Evans Wonders collection. You can find it in the store here.

For this layout, I'm focusing on the Floral Ephemera and Icon Ephemera packs. There are so many bold die cuts in these packs that with just a few pieces, you can create a really striking layout.


I started with a piece of White Bazzill cardstock from the Matchmaker Pack and selected some distress oxides that matched the ephemera pieces shown below. The shades I used were Wild HoneyPicked Raspberry and Tumbled Glass.


I used the packaging technique to create three colour blocks across the centre of the page. Once it was dry, I added some white glitter texture paste through a stencil to form the basis of my page.


Next, I started to layer up the ephemera, starting with the labels from the Icon Ephemera Pack , positioning them down the left hand side of the page, and adding the corresponding coloured butterflies from the Floral Ephemera Pack.


To complement the butterflies, I used some stickers from the Sticker book and hearts from the Chipboard Stickers to create some tone on tone clusters.

Next, I matted my photos using a some white tissue paper and Paper #22, distressing the edges for additional texture.


Behind my photographs, I used some of the foliage and florals from the Floral Ephemera Pack, creating height.


Underneath my photos, I created my Hello there! title, using this statement piece from the Chipboard Sheet. Again I went to tone on tone, layering this on top of the pink distress ink.  To secure this firmly in place against the mixed media background, I used Glossy Accents.


To finish the page off, I added some large black nuvo crystal drops and that was my third and final page done!

I hope you've enjoyed this layout - it's very rare for me to use mixed media and ephemera with so little patterned paper, but these statement pieces really are so fabulous, they make a real impact on the page.

I'll be back with a new collection next month.  Until then, take care.

Claire x