Today i am going to show you a present that i have made for a friend of mine...altered candle and a bag to put it in.
First off you need to cut out a piece of card like the following...
 you can click on it to make it bigger....I cut this one out as a template and then drew one onto the pattern paper i wanted to use.
The paper i used for this project is the Hometime collection from October Afternoon.
I cut out my box...and inked all the edges...
 and added holes to the top four points...
I then cut out a strip of paper the width is about 1.5cm...the length is from the top to the bottom of two of the sides...before adhering add some scallops down both sides...
 I used the hole underneath to show me where to punch the hole...
Then using the retro punches for the following flowers and layered them...


added a button and a pin that i made...i made two of these and adhered them on alternate sides.
I then made a tag....
 Next you have to pull it all together...please dont do this without your present inside!!!! lol like i did!!!
You use string or a ribbon to pull the top together...I chose to use string and i choose to tie 3 together at the begining and then add the last one to add a tag to the side...you can close it other ways though...

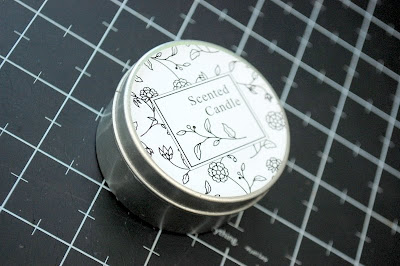
 I then wanted to make the present inside the box..for this i used a small scented candle...
 I covered the round the bottom half edge with pattern paper...
 and then added really strong tape around the edge of the lid and wrapped string around it...
I then cut out the following...
 The big yellow circle is to cover the lid. I the cut out a big scalloped circle out of text paper...inked the outside of a white flower and then cut out a blue paper flower from the pattern paper...layered it all to look like this...
 then added a button and a gem on top and i was done...


thanks for stopping by...come back 2m as i have made my own kraft envelopes with a card inside...Wendy x

3 comments:
This is so cute! Love the papers!
Another wonderful project - love the fact that an inexpensive gift can be turned into an exclusive present just with paper and ingenuity. thanks!
:)
Post a Comment