
So, what’s new?
10 bright colours. So now there’s a rainbow palate of 12 to choose from.

What are Enamel Accents?
Enamel accents are a dimensional medium that dries to a very shiny, opaque, domed finish. They are available from Ranger in 14ml bottles with a nozzel and cap.

What projects could they be used for?
These fine-tip applicators are great for detailed work. They can
be used on paper, card, glass, plastic, fabric, wood, metal, canvas… the list
goes on, but in all cases you can create an extra dimension to your work with faux
enamel accents.
So far I’ve seen them used to great effect with paper crafting, home
décor, mixed media, and jewellery projects. Some have chosen to work directly
on their project with the accents, others make accents on scraps of acetate to
be added to a project at a later date.
These enamel accents have been used to doodle, dot, dash and decorate
craft projects, achieving the look of shop sold enamel dots with a non-toxic formula.

The Enamel Accents colours match the Ranger Dye
Ink Pads (which are also available from Papermaze)
and are available in:
- Black Tie
- Blue Ribbon
- Caribbean Coast
- Cheese Puff
- Classic Cherry
- Electric Lime
- Glacier White
- Grape Soda
- Lily Pond
- Pink Gumball
- Wild Orchid

How do I use them?
Top tip: Before you start, grab a piece of scrap paper or paper towel to establish the flow before working directly on your project. This will eliminate any air bubbles from the nozzle which may spoil the finished shape of your enamel piece.
If the nozzle becomes blocked use a fine piece of wire with a
blunt end (about the width of a pin) to remove the problem. Do not use a pin as the sharp point may
make a hole and cause a leakage where you don't want it!
It is a good idea to invert the bottle while the cap is still attached and give one good shake to move the fluid to the tip of the nozzle. There is no need to repeatedly shake the bottle.
The medium is easy to apply, simply hold the
bottle upside down and gently squeeze the sides until the required
amount of medium has been dispensed.
When you’re finished, wipe the nozzel with a clean cloth and replace the cap.
Once the cap is definitely secure,
bang the bottle on the table to move liquid from the nozzle and back into the
bottle to prevent blockages.
When finished it is wise to wipe the nozzel with a clean cloth and once the cap is replaced bang the bottle on the table to remove liquid from the nozzel back into the bottle, to prevent blockages.
How long does it take to dry?
That depends on the surface size and depth your accents. It is best to
leave your accents overnight for best results.

Ranger’s Enamel Accents are opaque - which means they can be used on any
colour base. The colours remain true on white, black and any other colour.
What if I need a different shade of enamel dot?
I’m sure more colours will be introduced at a later date, but in the
meantime, you can colour your dots.
Take the Glacier White and make the dots in the sizes you require.
Allow to dry and then colour with your favourite alcohol markers. You
can also try this with Glossy
Accents instead of the Enamel Accents (see
above).
How do I adhere my pre-made dots to my projects?
Peel them from the backing and simply stick in place with adhesive. Glossy
Accents works well. I found that if I
took the finished dots off the acetate and put them together, they don't appear
to stick together. They look very attractive together in a jar, but it’s
not quite so easy to see them all.

Can I use more than one colour in a single accent?
Yes, you can use colours to make designs or make eye balls on stamped
images!
 |
| Tim Holtz Bird Crazy Stamp |
In the image below I have used several colours, dragging a spot of green
outwards with a pin to create a flower pattern. See this tutorial HERE by Ranger for more
ideas. I think I need more practice!

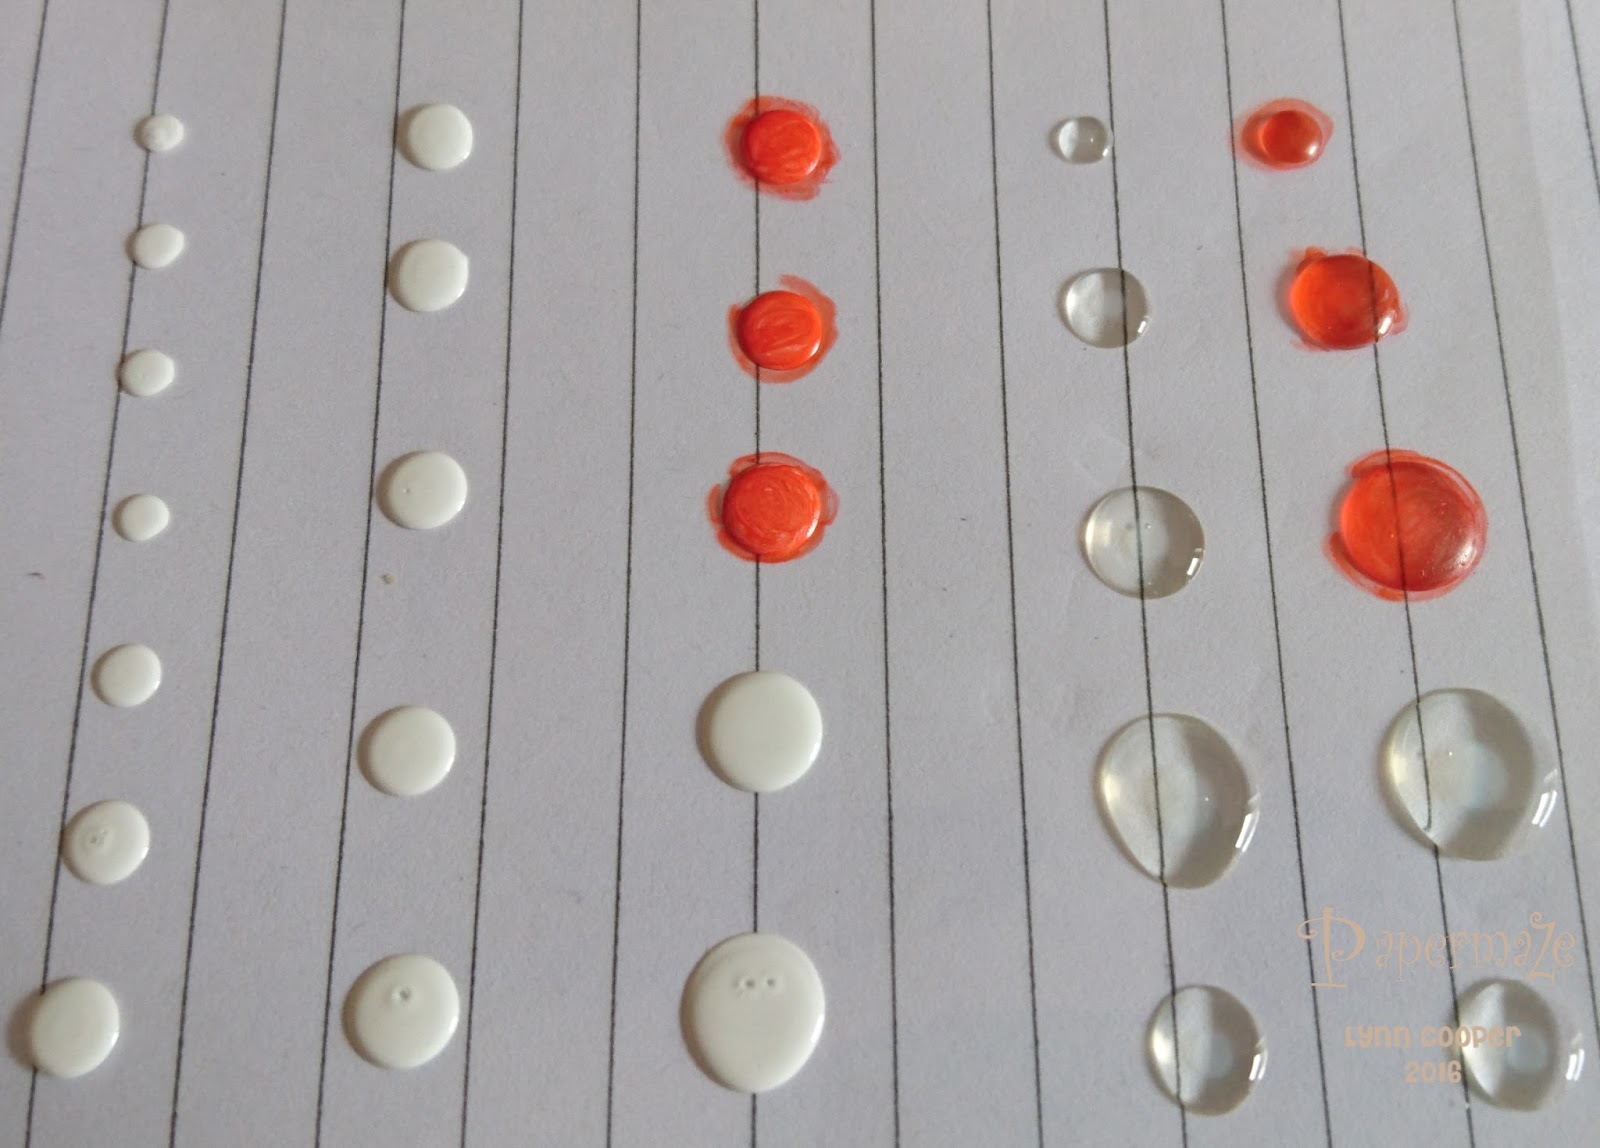
How do Enamel Accents compare with Liquid Pearls?
Both have a place in my craft stash. The Accents (right) leave a high
gloss, domed finish and the Liquid
Pearls (left) a pearly, more peaked finish.
Have fun experimenting with the Enamel Accents,
and don't forget to share what you make.
and don't forget to share what you make.
Thanks for looking
Lynn x
3 comments:
That's really helpful, Lynn! Thanks x
You are welcome - glad you found it helpful. x
What a brilliant post, thanks for all the inspiration Lynn, love what you have done with these.
Post a Comment