Friday, 16 August 2024
Echo Park ~ Sunny Days Ahead #1 🏖️
Wednesday, 26 October 2022
Vicki Boutin - Print Shop - Hey Friend!
Hi everyone,
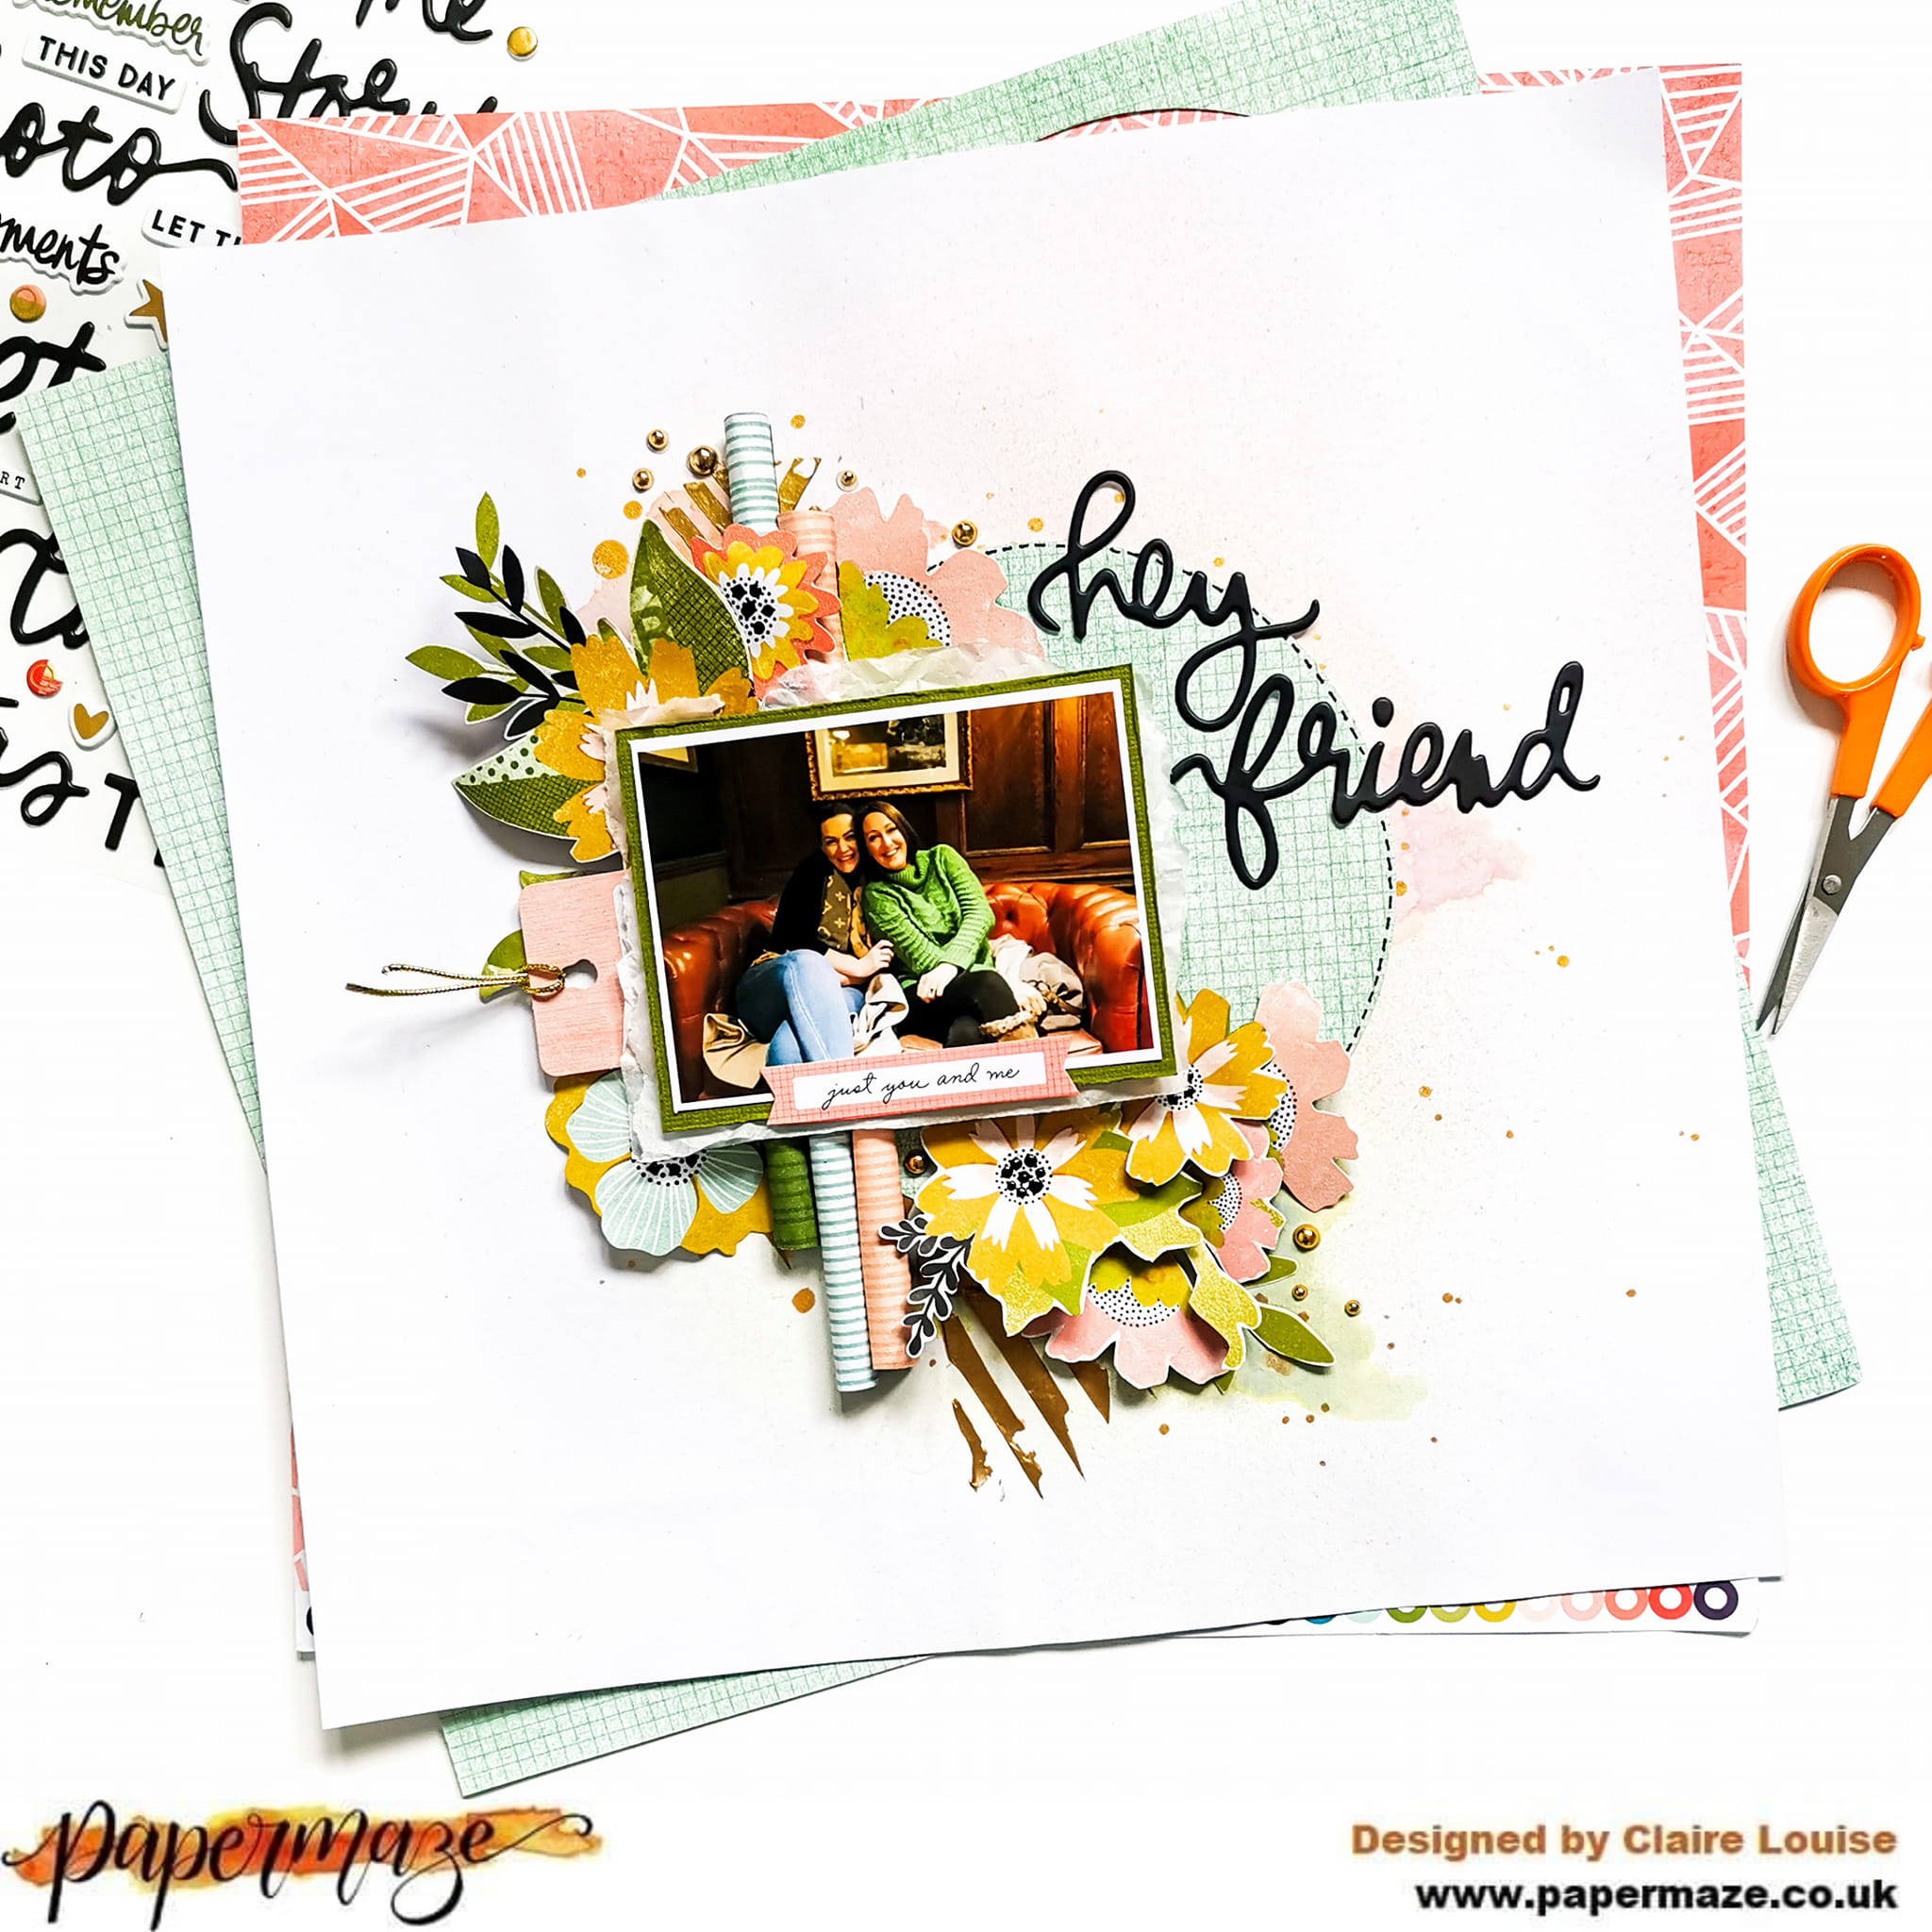
Claire here with you today, sharing my second layout with the wonderful Vicki Boutin Print Shop collection.
I mentioned in my first post that this collection is incredibly versatile, and true to form, my second layout is completely different to my first.
This time I am focusing on the soft pinks, teals and yellows to create this beautiful floral layout.
As usual, I started with Premium White Cardstock and applied a generous coating of gesso as I planned to add ink to my background.
I left it to dry overnight before applying Distress Oxide Spray in Tattered Rose and Bundled Sage. I also added some gold splatters to the background before building the layout.
I love the stencils in this collection, and used one that almost has chevron lines to create extra texture by applying gold texture paste on to of the distress oxides.
Next, I cut a circle of patterned paper from the b side of the Star Gazer paper. It's a beautiful soft teal colour with a grid pattern on top.
I stuck this flat to my page on top of the mixed media to act as an anchor. To help give it more definition, I added a dotted black line in black pen to the outer edge.
Next, I made three paper rolls using strips cut from the Etched paper, adhering them to the patterned paper circle with Glossy Accents.
I mounted my photo using Bazzill cardstock from the Matchmaker Pack and some tissue paper from my stash. I lay the photo on top of the paper rolls, adhering with glossy accents to ensure a strong hold.
Around the photo, I created a diagonal line of florals. I picked out any yellow and pink flowers from the Floral Ephemera Pack, a cut some extras from the Flourish paper. To create extra dimension, I curled the petals of the flowers before sticking them down just in the centre.
For an added touch, I added some black Nuvo Drops to the centre of some of the flowers, giving them a high gloss look. I also used a beautiful pink tag under my photo for extra interest. This is from the Journaling Pack.
To my photo, I wanted to add a small tab from the Journaling Ephemera Pack, drawing on the pink tones from the flowers.
For my title, I used one of the Perfect Day Phrase & Accent Stickers. These are a real 'Must Have' as they do all the hard work for you. Such a great part of Vicki's collections.
As a final touch, I added some Pinkfresh Studio Essential Jewels in gold and that was the page done!
Hope you've enjoyed this layout, and it has shown how versatile this collection can really be! I have tons of papers and embellies left over so there's plenty of ideas still to try :)
Take care,
Claire
@scrappysoulmate
Saturday, 12 March 2022
'One Magical Amazing Day' by Meg, using Echo Parks Its's a Girl
Hey all, it's Meg here today with a layout using the sweet pink It's A Girl collection by Echo Park. I absolutely love the colour pink so I was super excited to see this in my DT pack!
I looked through and this one paper especially caught my eye - it's the B-Side to the 3x4 Journaling Cards but it's so so pretty! They're like little tiles! So I cut out and distressed 6 of the 'tiles' to use as my background.
I also loved the look of Rosies Studio 'By Starlight' Gold Puffy Stickers with the beautiful It's A Girl colours, so I wanted to create a title using them. I made a banner using a Paige Taylor Evans banner cutfile, cut from the soft Dreamland paper for the cutfile and backed with Dresses and Jumpers.
I had picked out a few photos of my little girl to go with this collection and decided on this one - I moved it around the page a bit to decide where it would go, and I double matted it with the Dreamland paper to co-ordinate with the title banner and a darker Coral Cream Bazzill cardstock.
I decided I wanted the photo on the bottom right of my tile column and I wanted to do a sort of diagonal cluster, so I splattered some gold and green watercolour paint to highlight the diagonal shape and then I began building my cluster on top.
The title 'One Magical Day' is made up of the Rosies Studio Gold Puffy Stickers and the 'Amazing' is a Bramblefox perspective. The tag tucked behind my photo, the mini green banner and the 'It's a Girl' are all Chipboard Phrases; I fussy cut the pink frilly dress, 'You will do amazing things' phrase and the yarn bunting from the 3x4 Journaling Cards and the sweet little deer and flowers came from the Dreamland paper. I finished my large cluster with stars from the pack of Rosies Studio Gold Puffy Stickers and a few gold Nuvo Drops.
I popped my journalling on some vellum paper and made a mini cluster behind it on the top left of my page, with a rectangle of Dreamland paper and the 'Beautiful Girl' phrase I cut from the 3x4 Journaling Cards.
And that's it! My one-month-old little girls pink page finished - perfect!
Thank you for stopping by and until next time,
Meg x
Monday, 8 November 2021
Echo Park ~ Fall #2
Hello all and welcome back to the Papermaze blog!
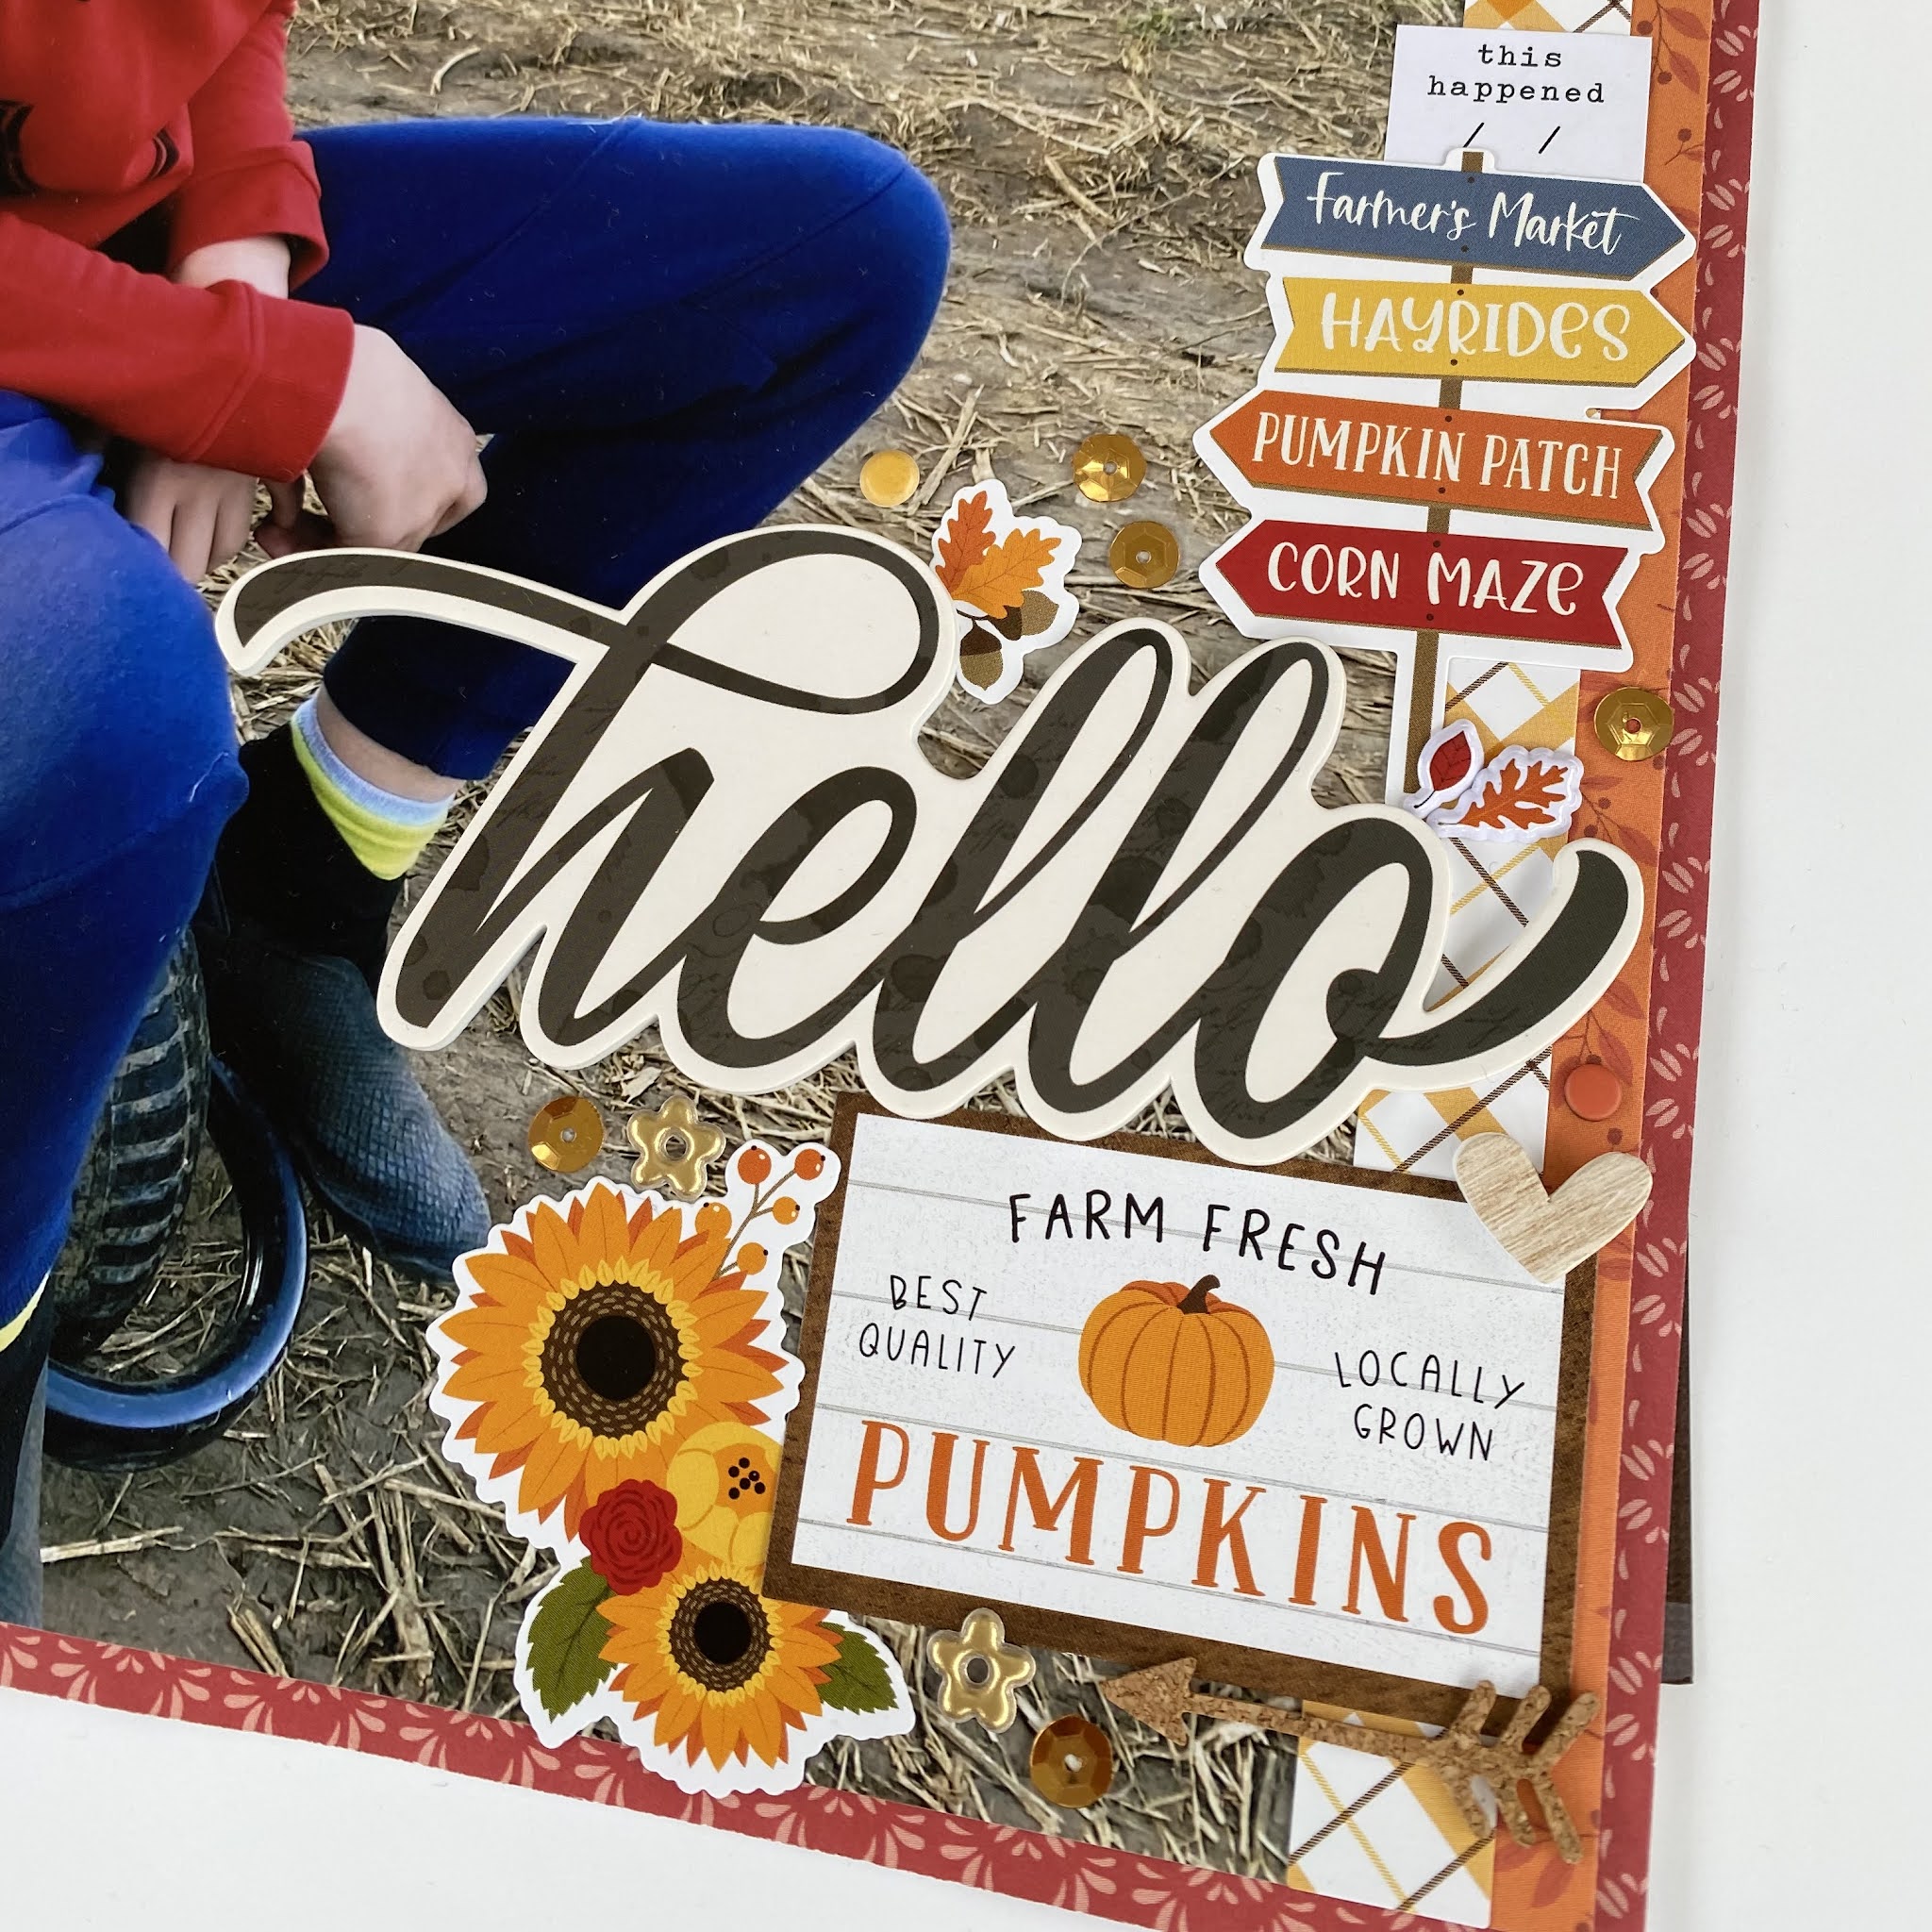
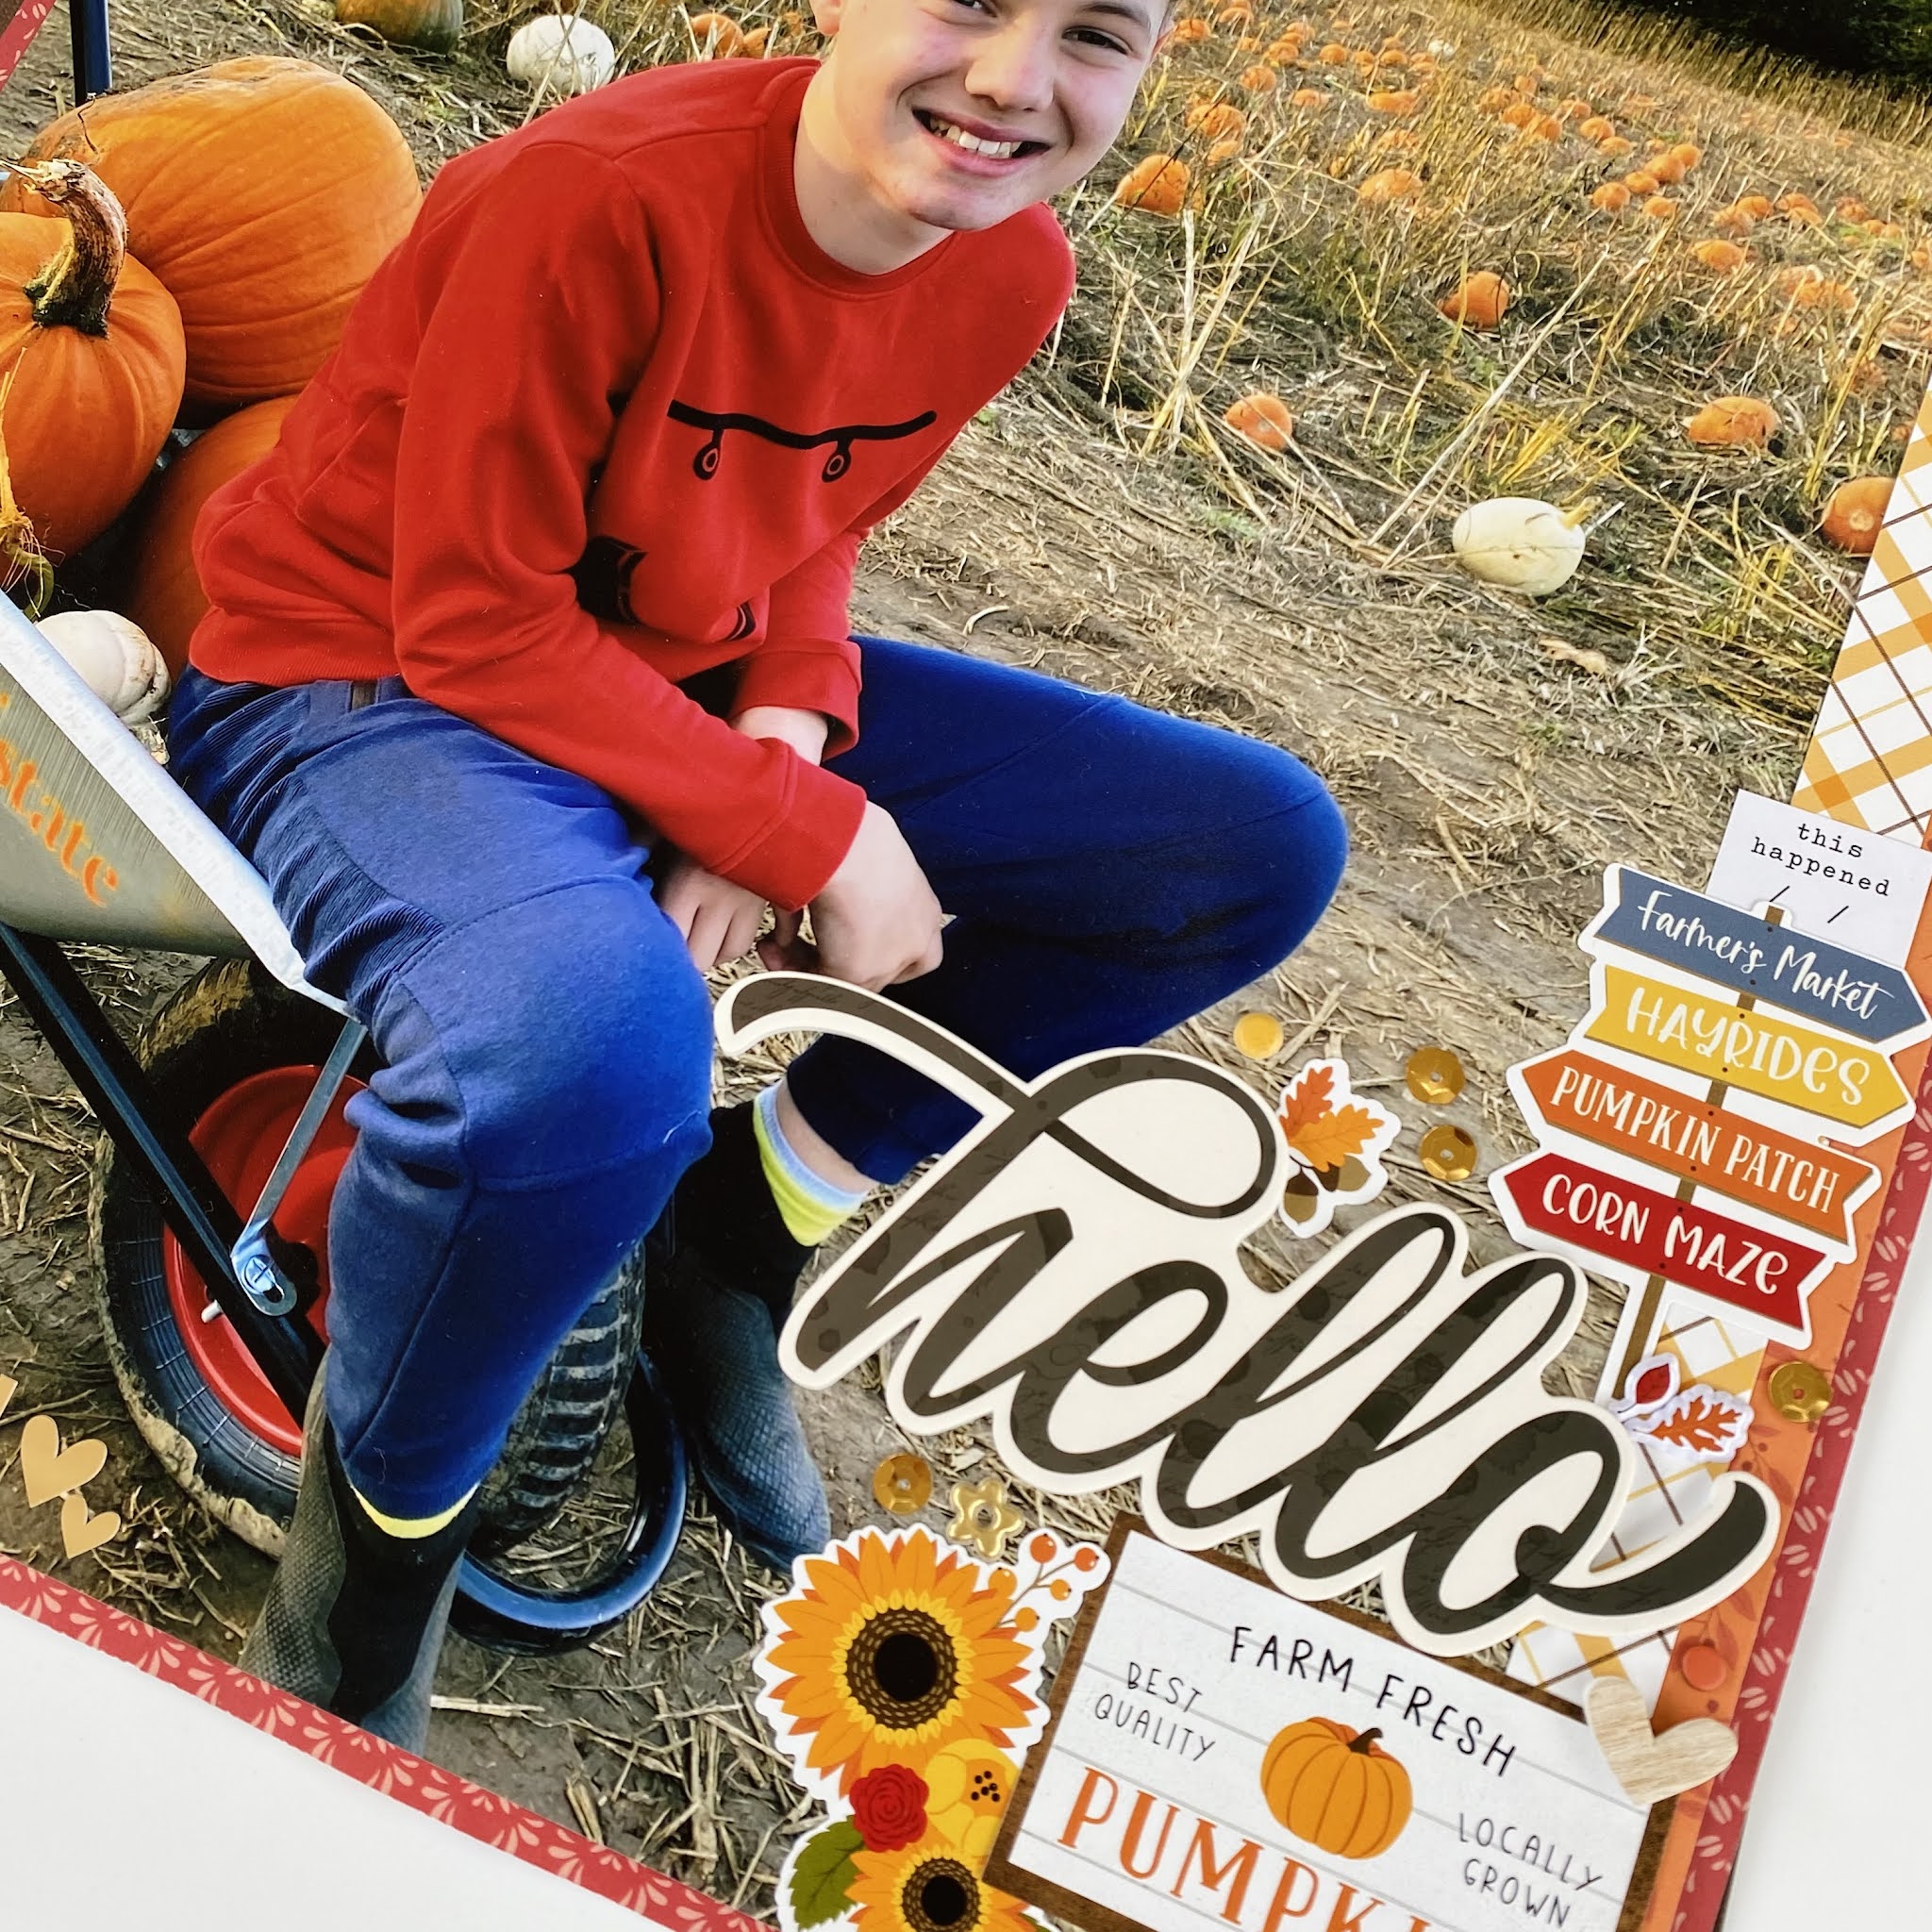
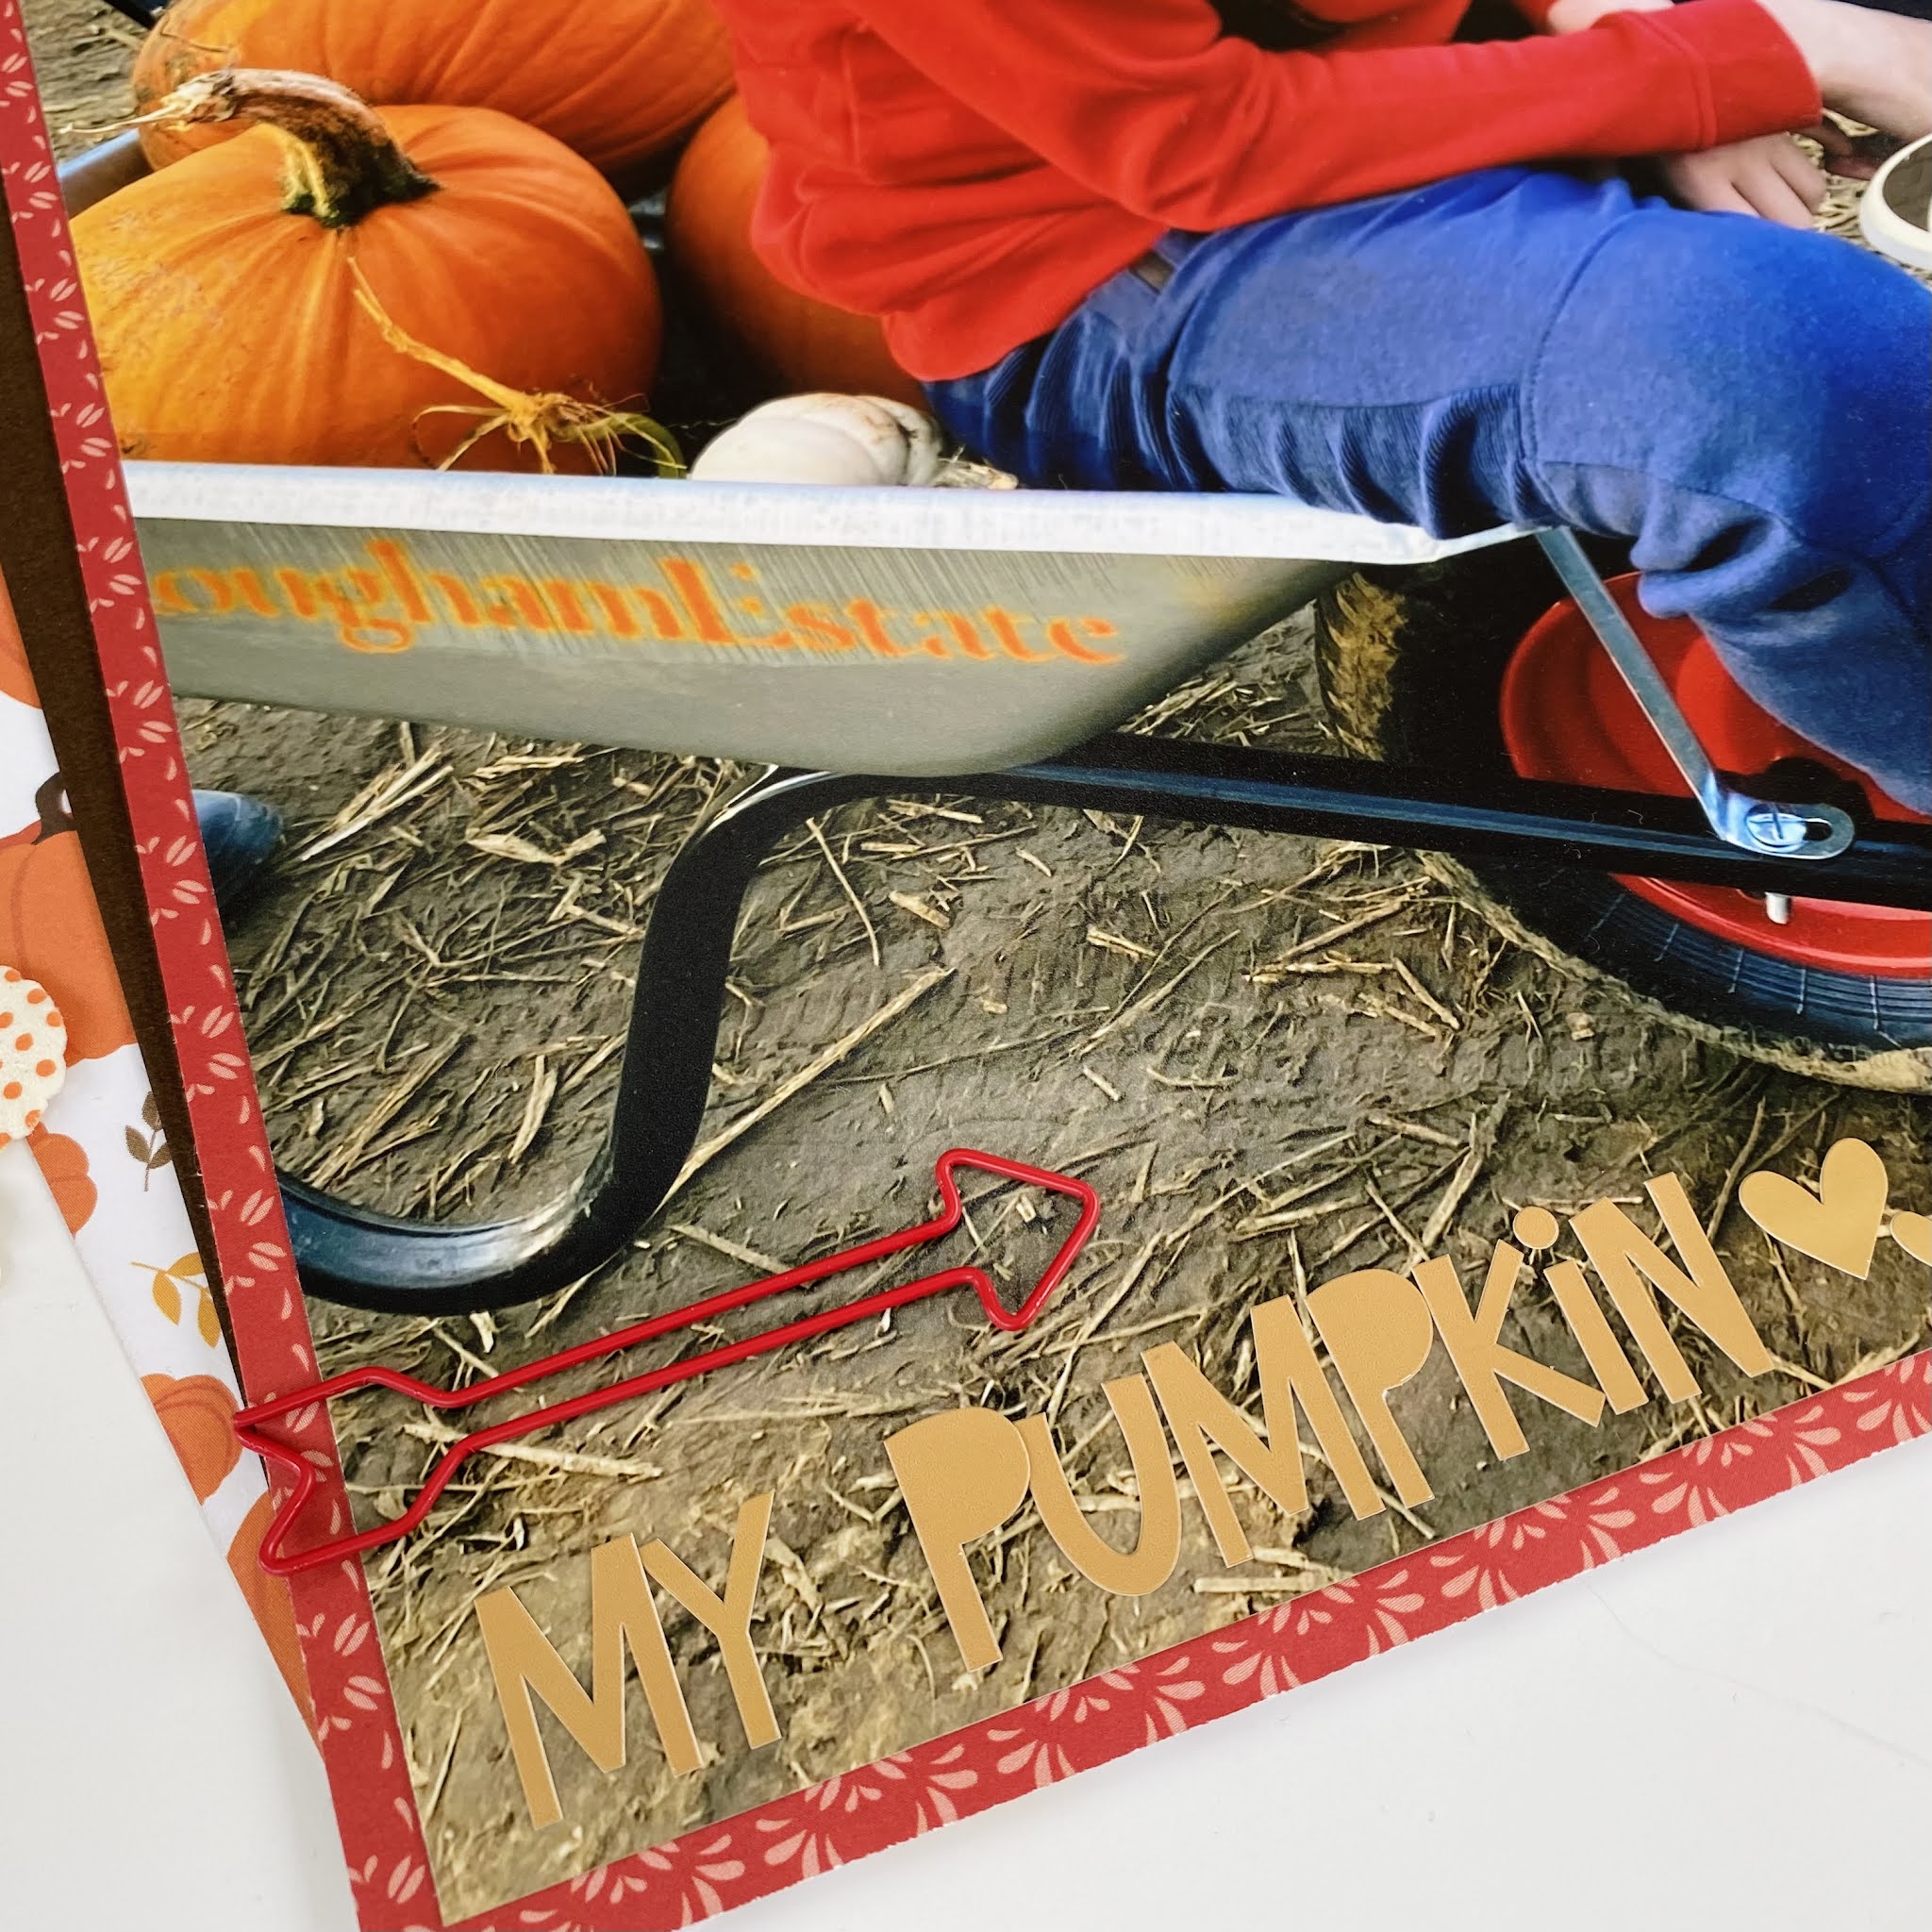
It’s Anna back today sharing my second layout using Echo Park’s Fall collection. This collection has been perfect for scrapping my autumn/pumpkin patch photos. Take a look it it in the shop here.
Last time I shared a double page layout with you, using several photos. Today I’m doing the complete opposite and I have scrapbooked one large 12x12 photo!
I began with the b side of leaf pile as my background. I trimmed down a large 12x12 photo by roughly 1cm each side to allow a boarder for the photograph.
Monday, 21 December 2020
Echo Park - Winter Magic - Snow Day
Hi everyone,
Claire here with you today and I'm back with the beautiful Winter Magic collection by Echo Park.
The collection captures the spirit of winter perfectly with lots of beautiful blue and aqua tones. Todays page features another photo from my Iceland trip from a few years back. It really is one of the most scenic and magical places I have ever visited - so different to my usual holiday destinations.
I was excited to use the 4x4 Journaling paper. The B side of this paper is absolutely stunning! It's almost as if the paper is glistening!
I decided to tear the paper and layer it against a strip of the Magic Snowflake paper. Both of these were placed on a sheet of blue Jetstream Bazzill cardstock. I just love these pale blue shades - match made in heaven for cold, snowy photographs.
To add a little extra texture, I was super brave, and stitched a fancy pattern down the edge of the paper. I also created a small cluster using a banner and circular snowflake from the ephemera pack. I added a small wood veneer star, thread and cut a silver banner from glitter cardstock I had to hand.
Because the paper is so striking, I really didn't want to cover very much of it up so I decided to opt for a minimalistic design. I layered my photo onto a piece of Rain Bazzill cardstock, and added a layer of tissue paper and glittered silver card from my stash.
Friday, 6 November 2020
Simple Stories - Winter Cottage - Making Memories
Hello there and Happy November!
It's Claire here and this month I am designing with the Winter Cottage collection by Simple Stories. You can view the whole collection in the shop here.
For my first page, I wanted to make a wintery themed layout - capturing a trip we took to Devon last December for Mr Claire's birthday. I fell in love with the pink, blue and green tones on the papers which set the colour theme for my page.
I made a watercolour wash for my background using a brayer and once dry, used some oxides and a scripty font stencil from my stash to add an extra layer to the background.
You may have noticed by now that I have a love for stars so added some glittery gold stars on top of my colour wash using the Echo Park Summertime Seashell stencil - perfect as this pic was snapped at the beach - If only we'd had the summer weather to match!
Next came those gorgeous papers! I've wanted to have a go at making 3D stars for a long time now and I decided today was the day! I used the B sides of the Let It Snow, the 2x2 Elements and the Winter Wonderland papers. The stars were made using a template on my Cricut and adhered using a glue gun. There are lots of ways to make the stars - you don't need an electronic die cutting machine. If you have a 5 point star die (like the Technique Tuesday Nested Stars one in the shop) they are quite easy to make by creating your own score lines. There are lots of tutorials on YouTube should you fancy giving it a go.
I mounted my photo on a piece of the Winter Wonderland paper and an offset piece of vellum and then created a cluster for it to sit on. For the cluster, I knew as soon as I saw this cute to do list from the Journal Bits & Pieces that it has to feature on my page.
I paired it with some tags I fussy cut from the Tags paper - my absolute favourite - definitely a must have item!! I decided to add eyelets to each tag from my stash but they really didn't need it. I just seemed to have the corresponding colours so went for it.
Wednesday, 21 October 2020
Pebbles - Spooky - Happy Halloween!
Hi everyone,
Claire here back with you sharing my second layout with the Pebbles Spooky collection. You can view the whole collection here.
Given my last layout was a bit of a scary one, you'll be pleased to know I thought I'd explore the cuter option this time around. I decided to share this picture of my 9 year old Springer Spaniel in her ghostly get-up. She is so laid back and seemed to do very well in securing more 'treats' than 'tricks' in her outfit!
To really make the most of these superb papers, I opted for a grid layout, with one side positioned slightly higher than the other - there's probably a proper name for that, but I don't know what it is?!
I cut 4" squares from the Monster Mash paper using both the A and B side. The other two squares were made with the B side of the Bad Luck and October 31st papers. I again distressed the edges for a bit of texture.
Starting from the top left, I layered my photo with a tag from the Eeeek paper and cut a tab from the B side. I added some Devine Twine to the tag and added a cluster of houses from the Icon Ephemera pack. I cut the 'Boooooo' sentiment from the cut apart elements of the Eeeek paper and raised all these elements on foam pads along with some tiny bats from the branding strip of one of the papers.
Next, I used the 'eeek' tag from the cut apart elements of the October 31st paper, distressed the edges and added a moth from the Icon Ephemera pack and another one of those cute mini bats. I also added a laser cut chipboard strip from the Dusty Attic Wordplay #6 set - I really loved those, they're definitely worth a look for adding a bit of something extra to your layouts.
Directly underneath, I just had to use the 'If you've got it, Haunt it' cut apart from the Eeeek paper - it really made me laugh when I saw it so it had to feature on my page. I framed it with a few pieces of Icon Ephemera and a mini bat.
And then there's the final square - and that AWESOME Halloween title - fussy cut from the Eeeek paper - isn't it just fab! So impactful! It really didn't need much else on that square, so I just added a few spider webs from the phrase stickers and a mini bat.
To finish the page off, I added white zig-zag stitching around the outside and a row of black and orange nuvo drops in between each square.
See you next time.
Claire
xxx
Wednesday, 7 October 2020
Pebbles Spooky - Fright Night - Mwahahaha!
Well Hello there!
Claire here, and as it's October, I'm sharing my first layout using the Pebbles Spooky collection, celebrating all things Halloween!
Designing with this collection is the most scrappy fun i've had in a long time. It's full of really striking and inspiring patterns that are sure to spark your creativity - here's what it inspired me to create!
I started the layout with some black Premium Cardstock and layered a piece of Mwahahaha paper on top. I trimmed this down slightly and distressed the edges to help it stand out next to the black base sheet. I used the paper B side up, showing off this amazing spiders web pattern, perfect for spooky layouts. To add a bit more dimension, I left opposite corners tape free so I could curl them at the edges.
Next, I used some white and orange paint with a brayer to create a mixed media background. I'd never used a brayer before and was really happy with the effect vs effort so would definitely recommend. I splattered a bit of extra paint around the edges to make it a little less uniform.
Next I started on my layers. I cut a spiders web on my cricut and matted my photo using the October 31st and the Bad Luck papers, distressing the edges to match the larger sheet (this is the BEST Halloween stripe I've seen about this year so far!).
To finish the page off, I used the Mwahahaha puffy phrase sticker and added some Divine Twine, a flair and my favourite nuvo drops. The Fright Night Title uses the Crate Paper Sunny Days alpha stickers - who would have thought something from that collection would be so perfect for Halloween - They are a match made in heaven!
I absolutely love this page - even if I do look hideously awful in the photo!! But don't worry, I promise the next layout is a lot cuter and I will be back with that in a few weeks time.
See you then
(Mwahahaha...!!)
Claire xx