
Hi everyone, it’s Anna here. This month I’m working with Paige Evan’s latest and final collection with American Crafts - Happy Haven. You can find most of the collection in the shop here.

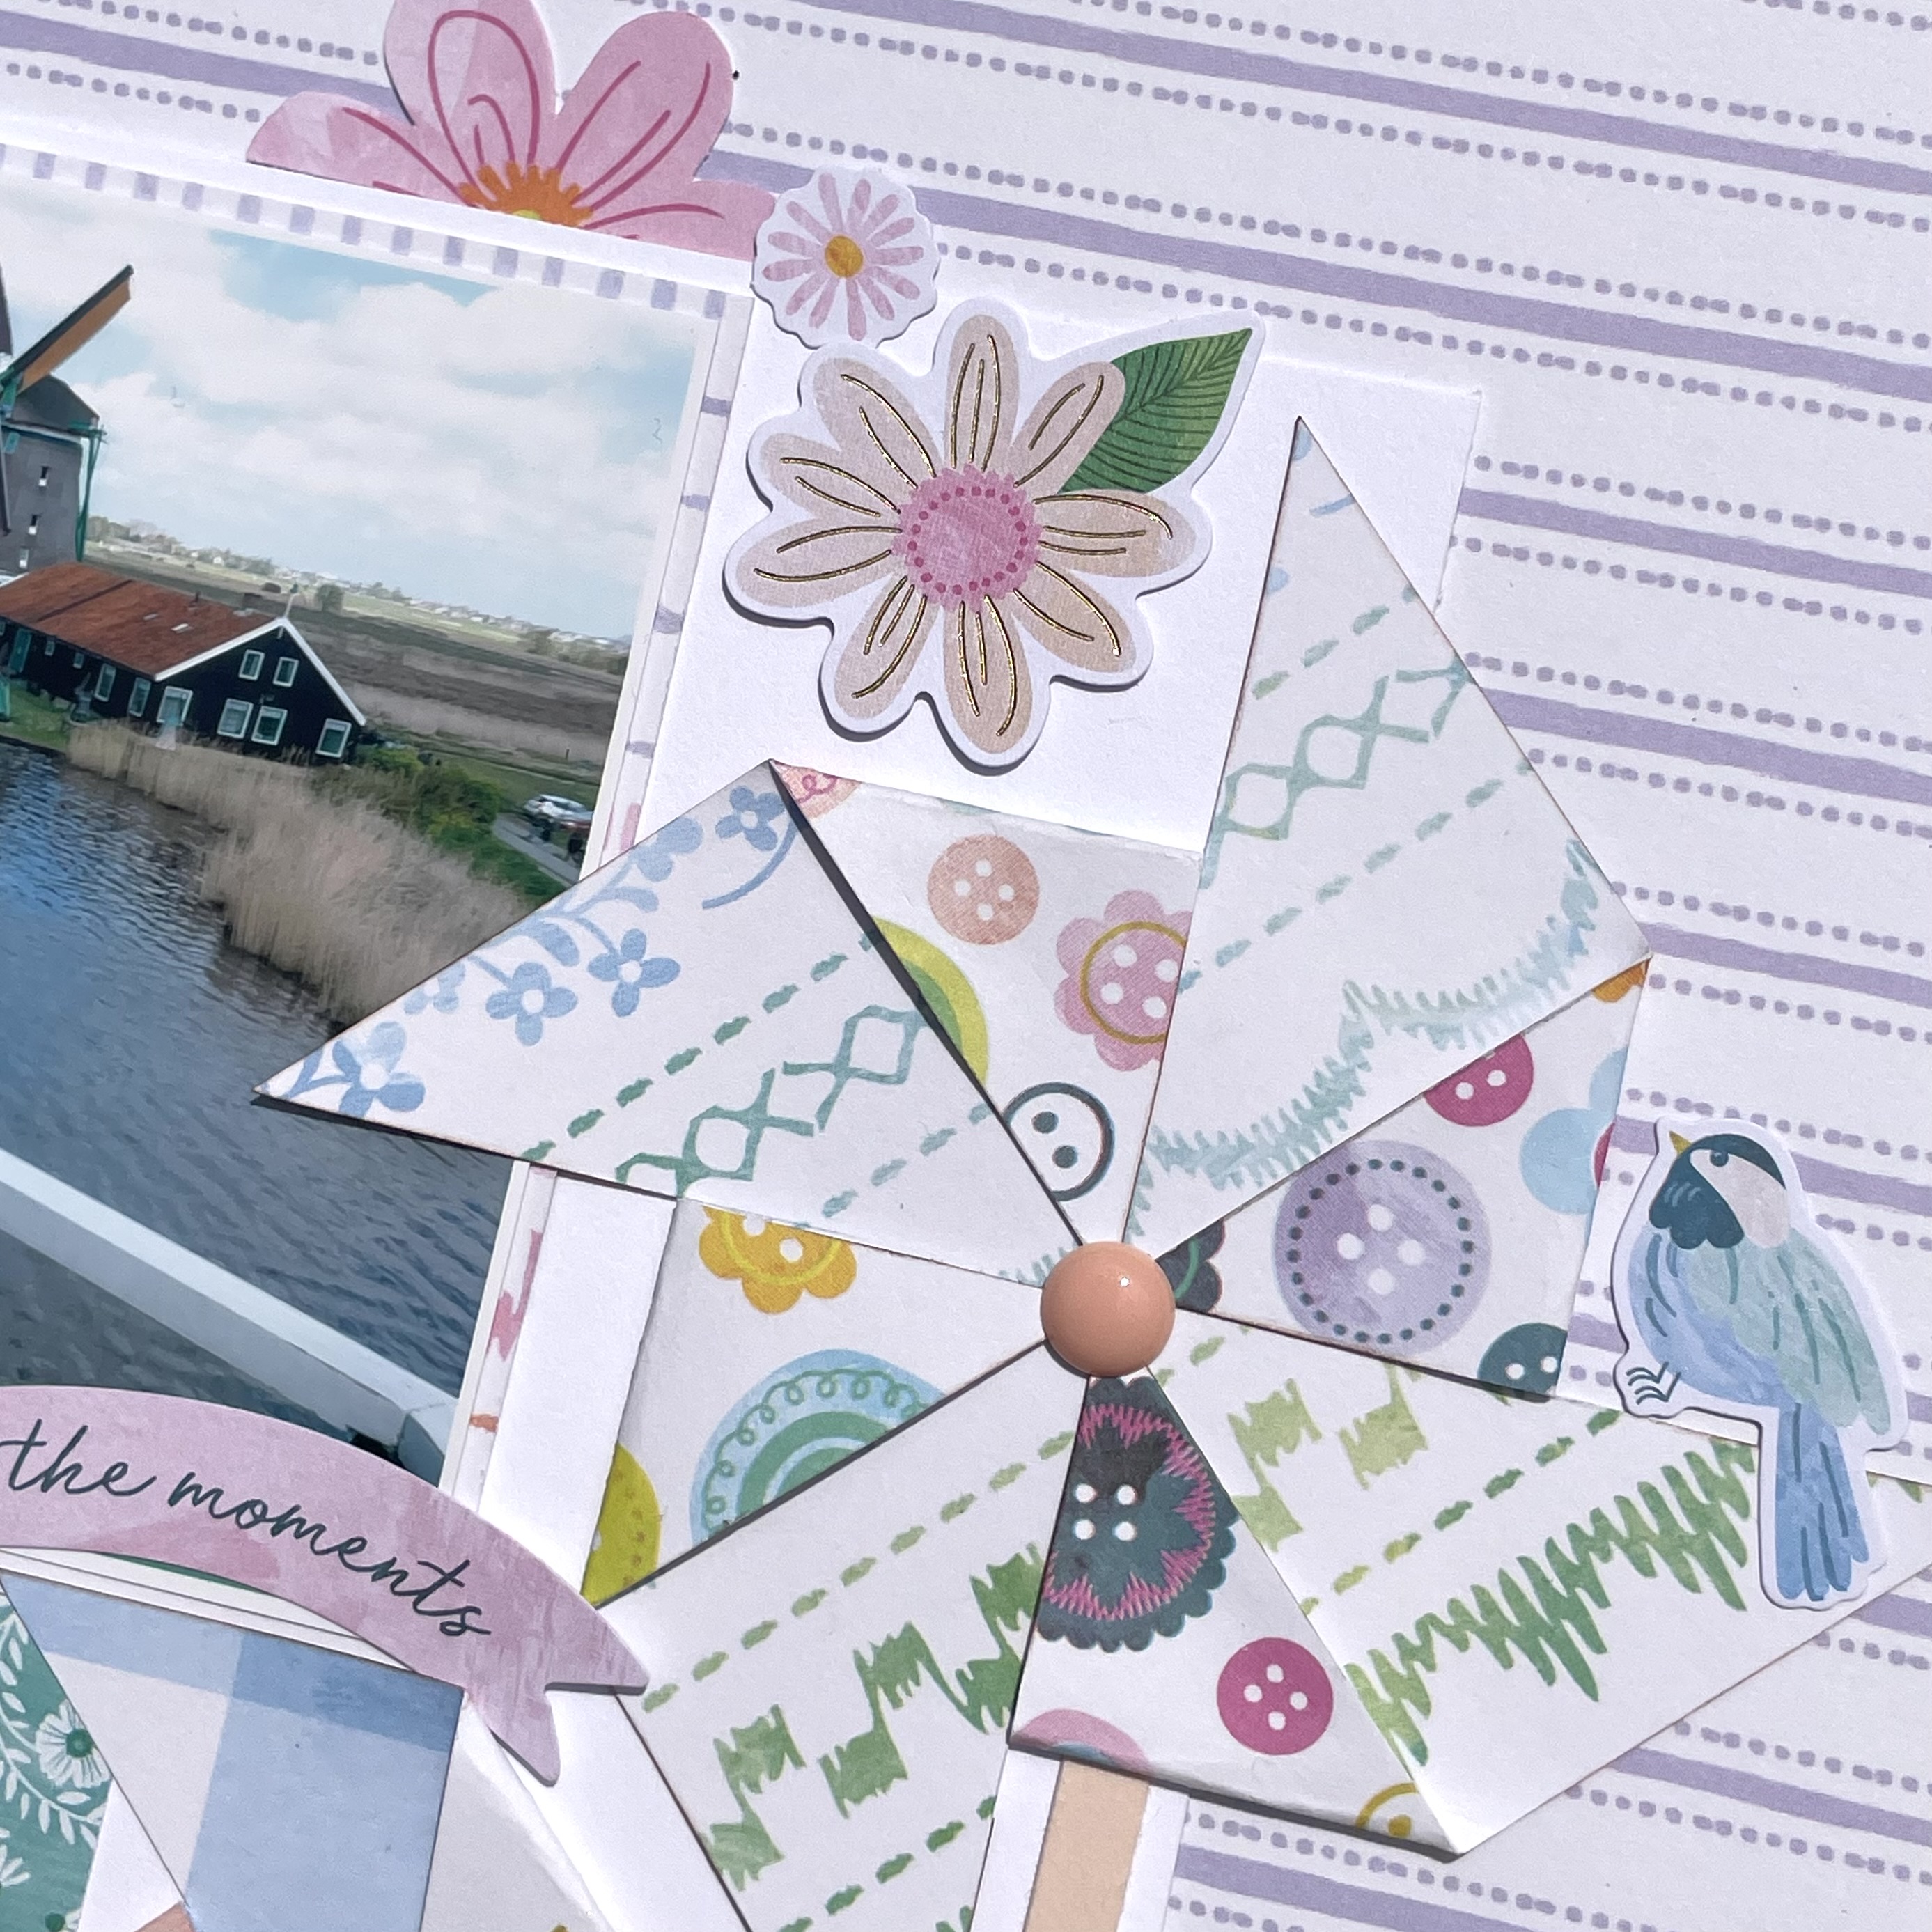
For this layout I knew I wanted to use lots of folded paper windmills to document a trip to a windmill in Holland. I also knew I wanted to keep some of the florals on paper #1 while still using the b side as my base. So I gutted a section out of the middle and then trimmed some white cardstock to go in the centre.

I made some folded paper windmills using a variety of 5cm and 6cm squares. I used paper #3 and paper #7 to make the windmills and I trimmed some coordinating bazzill cardstock for the ‘stem’. I added an enamel dot in the centre of each to secure and add extra detail.

I chose a journalling box from paper #12 and adhered it under my photo. Once these were in place, I began to arrange the windmills on the layout.

I cut out some of the florals from paper #1 and tucked them around the edge of the white cardstock.

Finally, I selected a few stickers from the cardstock stickers and placed them around my layout.
Thanks so much for looking! See you later in the month with another layout using this collection.
Anna
@acraftylifewithanna


 .
. .
.


