Showing posts with label mini alpha stickers. Show all posts

Friday, 23 February 2024

Carta Bella ~ At Home #2 🏡

Good morning everyone and welcome back to the Papermaze blog. 
It’s Anna back with you today and I’m sharing my second project using Carta Bella’s At Home Collection. You can find it in the shop here


To create this layout, I used the following:
Carta Bella at Home - wonderfully beautiful 
Carta Bella at Home - 3x4 journalling cards
Carta Bella at Home - Good morning moths
Carta Bella at Home - Beautiful chaos flowers
Carta Bella at Home - Bursts of Love
Carta Bella at Home - Simple Things Signs
Carta Bella at Home - Bazzill Matchmaker Cardstock 
Carta Bella at Home - Element Stickers


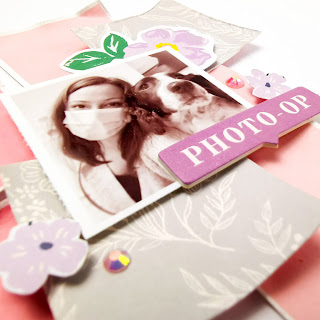
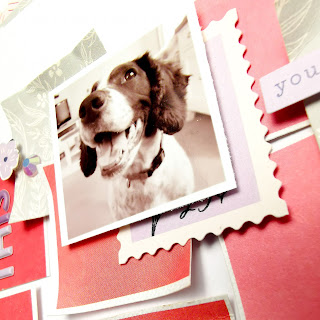
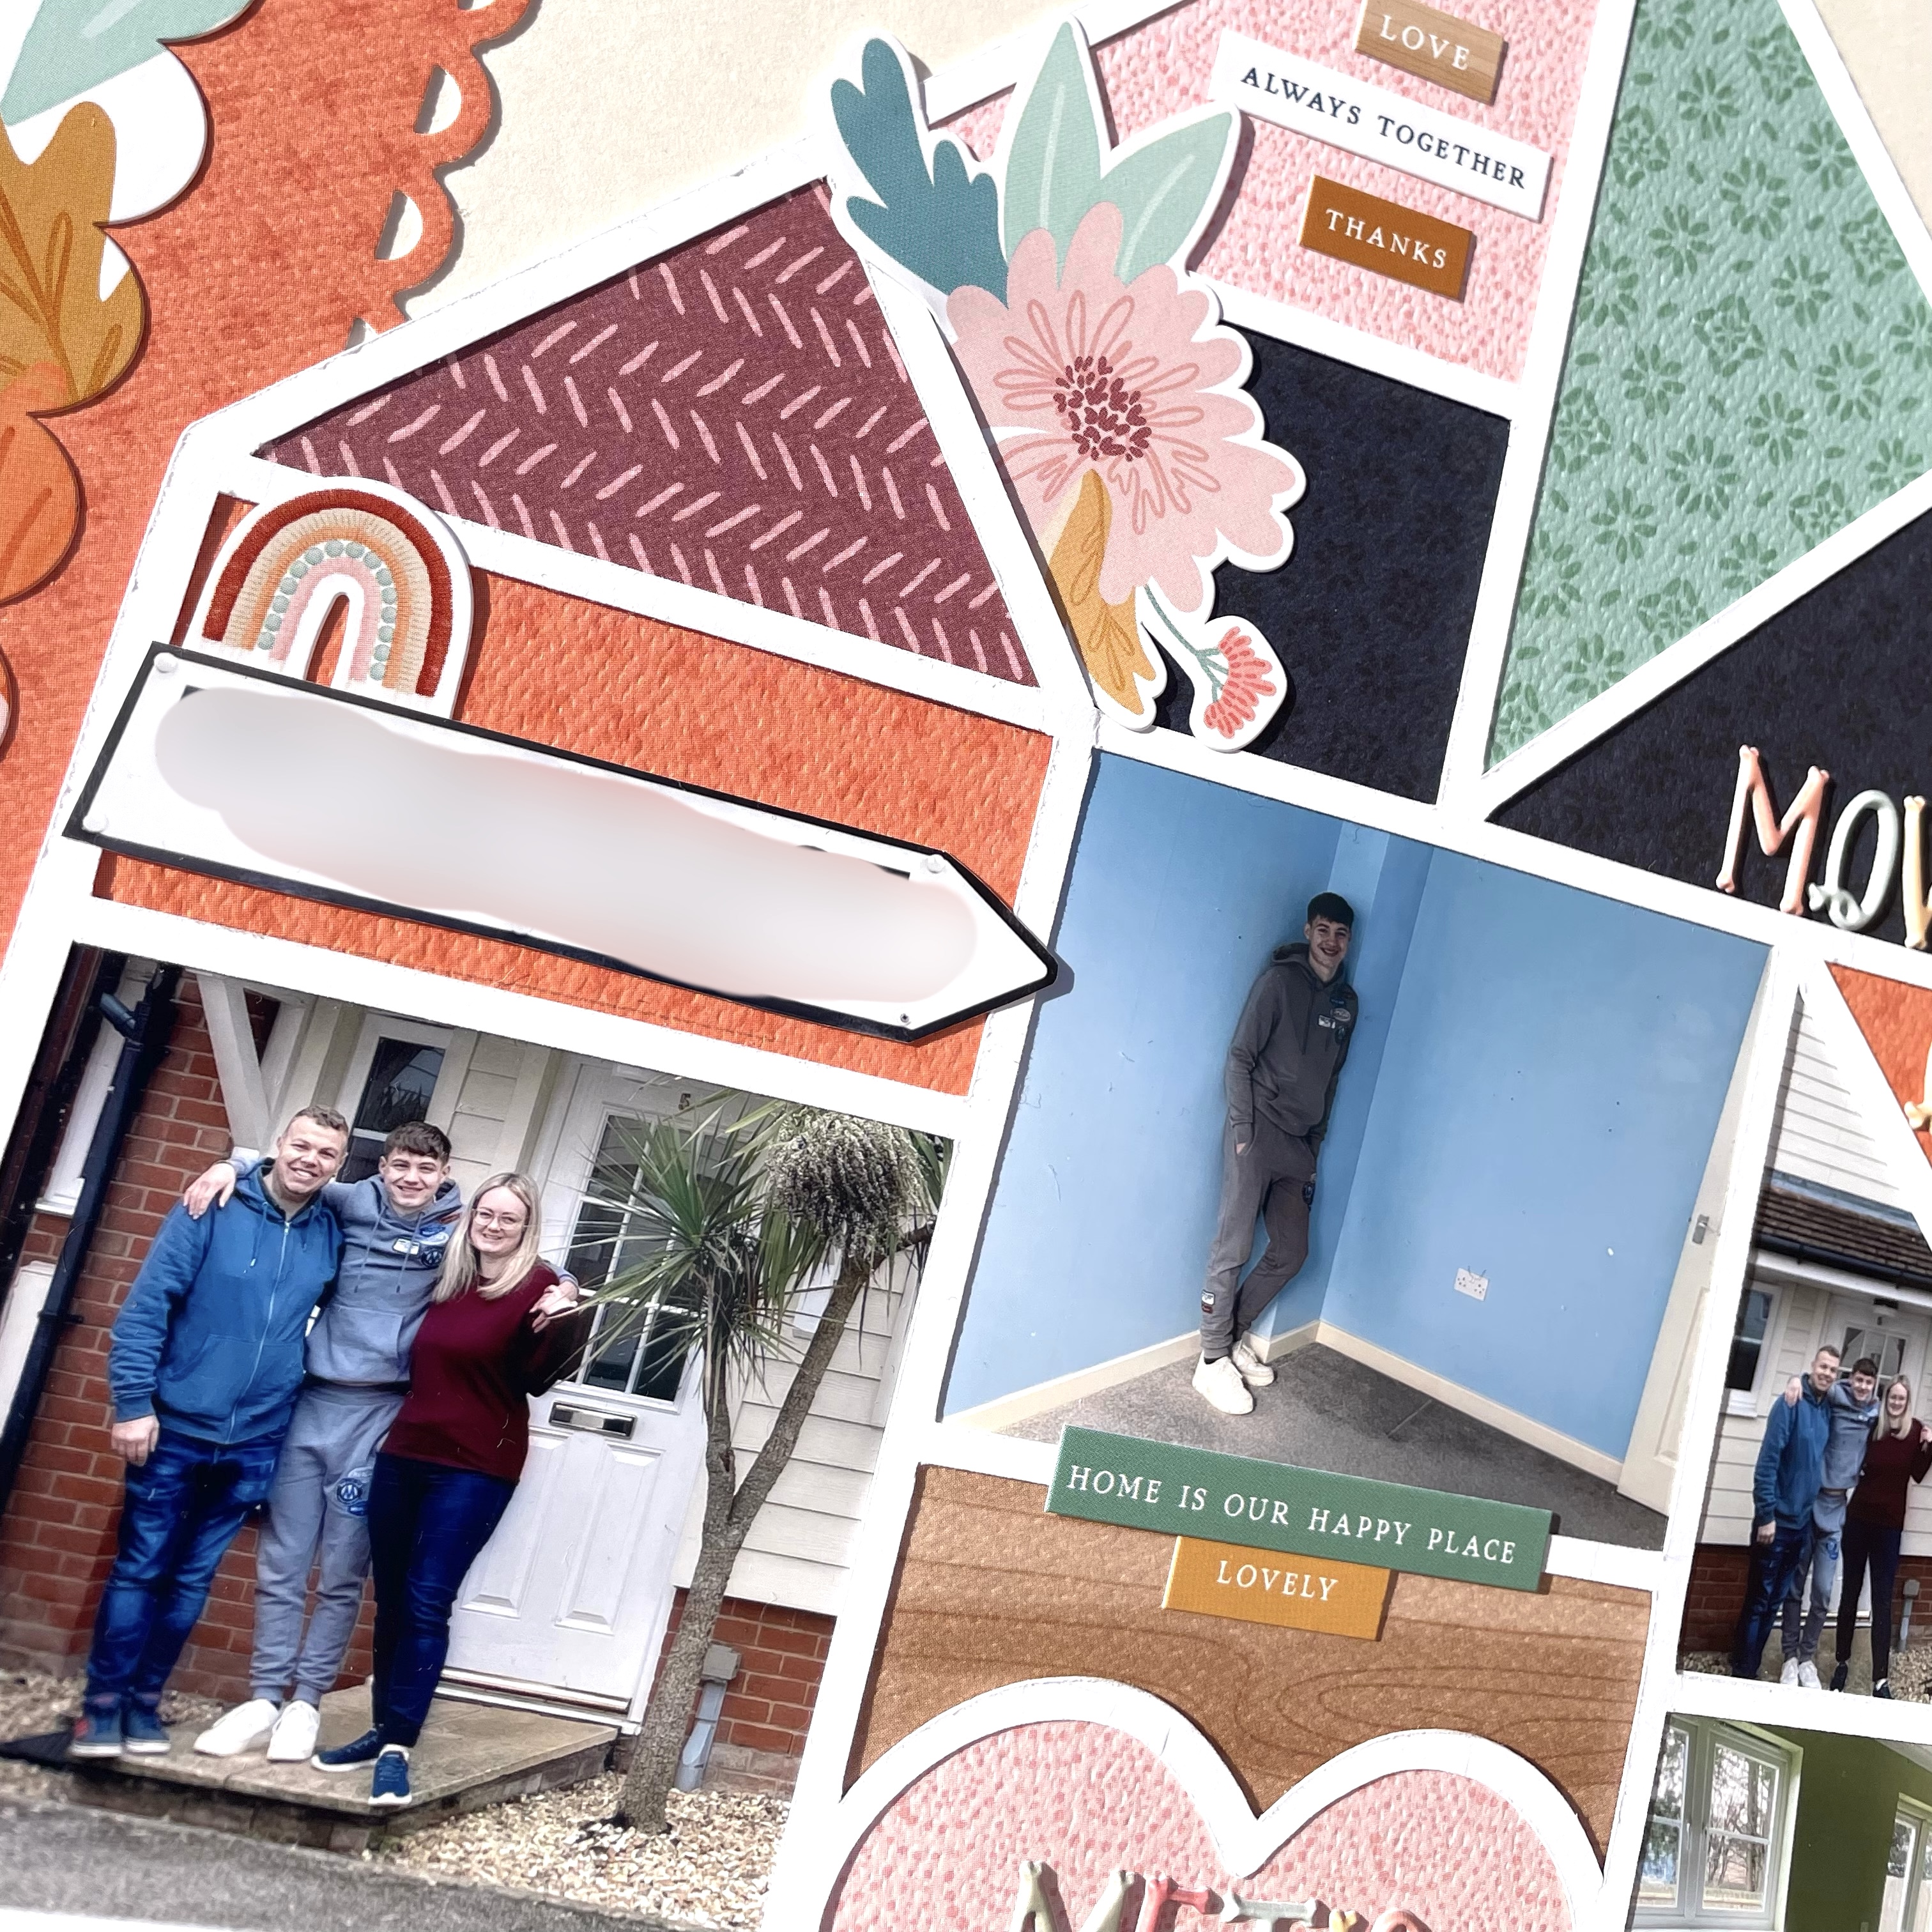
I began by cutting out a house cutfile by Paige Evans. I knew that I wanted to back each of the sections with photos and some of the patterned papers from the collection. So I worked out which pictures fit in where first before filing the rest with the patterned papers. 


I mounted my finished cutfile onto some bazzill cardstock which I had added some patterned papers to the left hand side as well as a boarder sticker. 


I used several stickers from the Element Stickers to embellish my page. These were tucked in and around my cutfile house. 
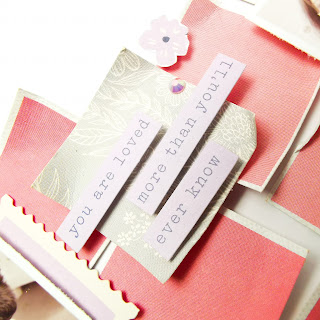
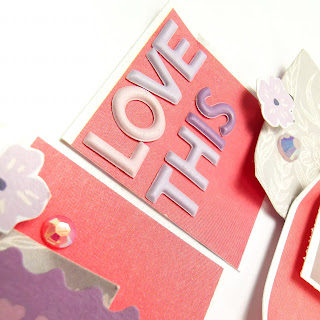
I added a title and subtitles with some mini alpha stickers by Cocoa Vanilla Studios.


Thanks so much for looking! 
See you next month when I’ll be working with Noteworthy by Simple Stories

Anna
X

Friday, 22 October 2021

Pinkfresh Studio - The Best Day - Love This!

Hi everyone,

Claire back with you today sharing another layout with The Best Day collection from Pinkfresh Studio. You can find it in the store here.


There were a few papers that immediately caught my eye in this collection, and this paper called Cozy Days was definitely one of them. 


The rows of different coloured squares screamed to be cut apart, and that's exactly what I did....and then they sat, stacked up on my desk for over a week! I just couldn't work out how best to use them.  I've seen a few really beautiful layouts with lots of squares, but just couldn't make them work for me.  

Does that ever happen to you?  In those scenarios, I find it best to walk away until inspiration strikes - and a few days later it did!

I kept the squares in their own colour groupings and bent around the edges to create a worn look. I laid three squares of each colour in a vertical design, alternatively laying one square flat, the next raised on foam pads and so on.


On each of the bottom squares, I took a tiny heart punch (I really need to use my punches more) and punched out 2 hearts.  


I then punched out lots more hearts from some of the remaining paper, keeping them in their own colour blocks.

I scattered the hearts down the page, again laying most flat, but raising the last few on small foam pads for extra dimension.  I stuck the hearts as they fell, so some are sideways, some upside down and some the right way up. I love this effect as it helps keep the cascading hearts look natural.


Next, I wanted to add a little contrast to break up the pink tones, so I selected a piece of the Home Sweet Home paper and cut some grey squares 1.5", to match that of the pink. I selected three photos and printed them at 1.5" also, before starting my embellishing.


The 'Photo-Op' chipboard piece was a perfect accent for my first cluster, take from the Chipboard Frames.

I took the purple flowers from the Floral Ephemera Pack and used the large one as a layer behind my photo.  The other, is a taller flower with lots of smaller purple flowers on it. I cut that up and scattered the flowers across the page, raising them on foam pads.  

I also used some of the Floral Ephemera and Cardstock Ephemera as layers in my other two clusters.


Next, I added a small subtitle to one of the squares using one of the Cardstock Stickers.


For my title, I reached for those cute Mini Puffy Alpha Stickers - Love these! I pulled out a mix of the pink, lilac and purple tones as I'm running low now on these but I love the effect the mixed tones brought to the title.


To finish the page, and add a little bit of sparkle, I sprinkled a few Pinkfresh Jewel Essentials in Ballet Slipper. Have you seen these in the store? They come in a whole range of colours and arrive in a cute little zipped pouch - I have had mine for a few months now and still have so many left. I've added a few more colours to my scrappy stash now. They're such great value.

I hope you've enjoyed this page  - I really love the simplicity of the design and especially love those falling hearts. such a lovely technique that would work with so many of my neglected punches. I'll definitely be trying this again.

Until next time.

Take care,
Claire xx

Friday, 9 July 2021

Pinkfresh Studio Happy Blooms - Find your Inner Peace

Hi everyone!

Claire here with you and I'm sharing my first project made with the Pinkfresh Studio Happy Blooms collection.

Pinkfresh is one of my favourite brands and this collection does not disappoint! It's full of spring vibes, lots of florals, butterflies and pretty patterns. You can find the full collection here.

For my first layout, I wanted to document a recent trip to the UKs oldest blueberry farm and their flower fields which I saw an article on in a magazine.  I didn't realise it was only 25 minutes down the road so off we set!


I started with white textured Bazzill cardstock from the Matchmaker Pack. I printed the photo in a circle so wanted to mirror the shape across the page.  I found a template for some paper rosettes on my cricut, which cuts the strips and adds score lines which you then fold manually, and glue together to crease the rosette shape. You don't need a machine however, and can find lots of tutorials on YouTube.

I used the pink Cottage paper, green Handkerchief paper and the beautiful blue Garden paper to create the rosettes, before adding a small circle of paper to the centre with a hot glue gun to secure in place.


I layered these in a vertical pattern down the centre of the page and cut a few flat circles to place as a mat underneath, creating a base to add floral clusters.


I used the A and B side of the Embroidered paper and the Heirloom paper for this.

I had left a space for my circular photo, which I mounted on a piece of teal green cardstock from the Matchmaker Pack. I distressed the edges and lay it onto a doily from my stash.


Next, I selected some florals from the Floral cardstock Ephemera and arranged these around the rosettes and paper circles to create a bit of interest and help frame the design. To this, I added some butterflies, fussy cut from the Homegrown paper.


I created my title using multiple fonts from the coordinating alpha sets - the larger green Puffy Alpha Stickers and the mini puffy alphas. To help the smaller alphas stand out against the green rosette, I mounted these to a small piece of vellum first and then laid in position.


I added a small sub title to the rosette, using a phrase from the Cardstock Ephemera pack and a chipboard butterfly from the Tando Creative Chipboard Butterflies, which I pained with Shimmerz paint.


As a final touch, I used some of the new Pinkfresh Studio Essentials Crystals Mix in Ballet Slipper, scattering them around the page for a bit of sparkle - Keep an eye out for these - they'll be hitting the shop soon, and in my opinion, these are of of those "need" items!! They are awesome!


And that was it for my first page! I really love how this one turned out and am looking forward to sharing more of this gorgeous collection with you soon.

Take care,
Claire


Wednesday, 12 May 2021

Echo Park ~ Welcome Spring #2

 Hello! Welcome back to the Papermaze blog! It’s Anna here again with my second layout using the Echo Park Welcome Spring collection. But for this layout, I’ve also added in a couple of extra elements from the Pinkfresh Studio Keeping it Real Collection. 

For my second layout, I have taken inspiration from a Paige Evans layout and used her Cutfile - 165 flowers. The cutfile alongside the patterned papers were perfect for these photographs I had been wanting to scrap for a while now.  


I used the b side of the bumblebee breeze patterned paper as my base and began by adding a few coordinating shades of distress ink; shabby shutters, tumbled glass, milled lavender and dried marigold under the cutfile using the packaging technique. 

I then mounted my three photographs. The larger one, I double mounted - first onto African daisy cardstock and then to the b side of the 3x4 journaling cards. I used 3D foam pads to adhere this photograph and kept the other two flat. I mounted the two smaller photographs on to the b side of the sunny spring day paper. 


I used the pinkfresh studio keeping it real floral cardstock die cuts, tucking them in and around the cutfile and between my three photographs, rather than backing it with any papers.


From the same collection, I used the Pinkfresh Studio Keeping it real mini puffy alpha stickers for my title. 


To finish, I added a few stickers from the element stickers sheet, tucking them around my central cluster of flowers, as well as some Doodlebug sprinkles


Thanks so much for looking! See you next time!

Anna 

X

IG ~ adisneycraftylifewithanna