
Hello Lynn here today with the second pair of layouts using the Papermaze kit for February. This time I have used the teal / turquoise / aqua papers and card from the kit for both pages.


Patterned papers:
American Crafts - Vicki Boutin - Storyteller collection - Bohemian, Fresh Cut & Narrative
Simple Stories - Apron Strings collection - Live Love Eat & What's For Dinner
Echo Park Coffee and Friends collection - Letterboard
Bazzill - Vanilla & Blackberry Swirl
Beautiful Beach
- The photo for this layout was taken on our first trip to the Western
Isles, the beaches are beautiful beaches look tropical. This is on
Harris - Seilebost Beach.

My base for this page is the Vanilla Bazzill, and I started by using a TCW stencil, and a mix of Ranger's Transparent Gloss Texture Paste and some Distress Oxide Ink (Evergreen Bough). I then splattered some Distress Paints and Stains onto the page.

With the 'Bohemia' paper I tore off the bottom of the sheet at an angle, then I tore off another strip about 3cm deep. I inked the edges and glued them to the bottom of the Bazzill, tucking the strip under the top of the larger piece. Between these two pieces of paper I applied a strip of frayed cheesecloth.
I mounted my photo onto white card then onto a piece of Blue Ocean Bazzill. I added it to the left side of the layout raised with 3D foam tape.
I used the 'BEAUTIFUL' Papermaze exclusive cutfile, and embossed the solid letters with Stampendous Frantage Aged Teal Embossing Enamel. Then I embossed the outer letters with a translucent teal embossing powder. I put the letters together beneath the photo, and cut the word 'BEACH' with the Cricut from Blue Ocean Bazzill.

With the tiny alpha stickers from the kit I added the details to the bottom right corner of the layout.

Finally with the dew drops from the kit and some embellishments (glass nuggets, cork pieces, tiny shells and gems), from my stash I added the finishing touches to the torn edges of paper.

All Dressed Up - My daughter and her husband ready to go to a friend's evening wedding reception.
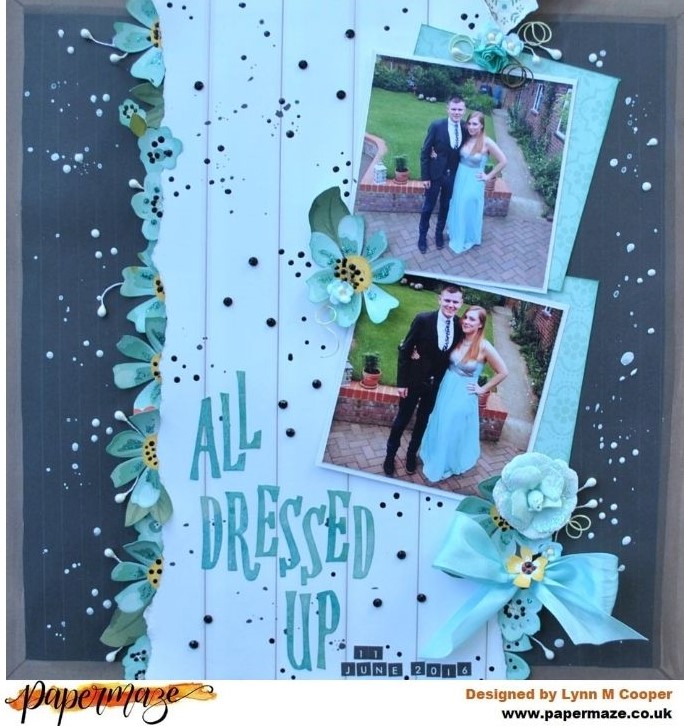
This time I took a sheet of scrap 12" x 12" paper as base to stick my background to. Both sides of the 'Letterboard' paper were used to build up the background, I tore a strip (about 15cm wide), from the centre of the paper, so I could retain the wooden border at the sides and corners of the blackboard side, and use the white of the letterboard for the centre of my page. These were placed onto my scrap paper, leaving the edges unstuck so I could tuck in my flowers later.
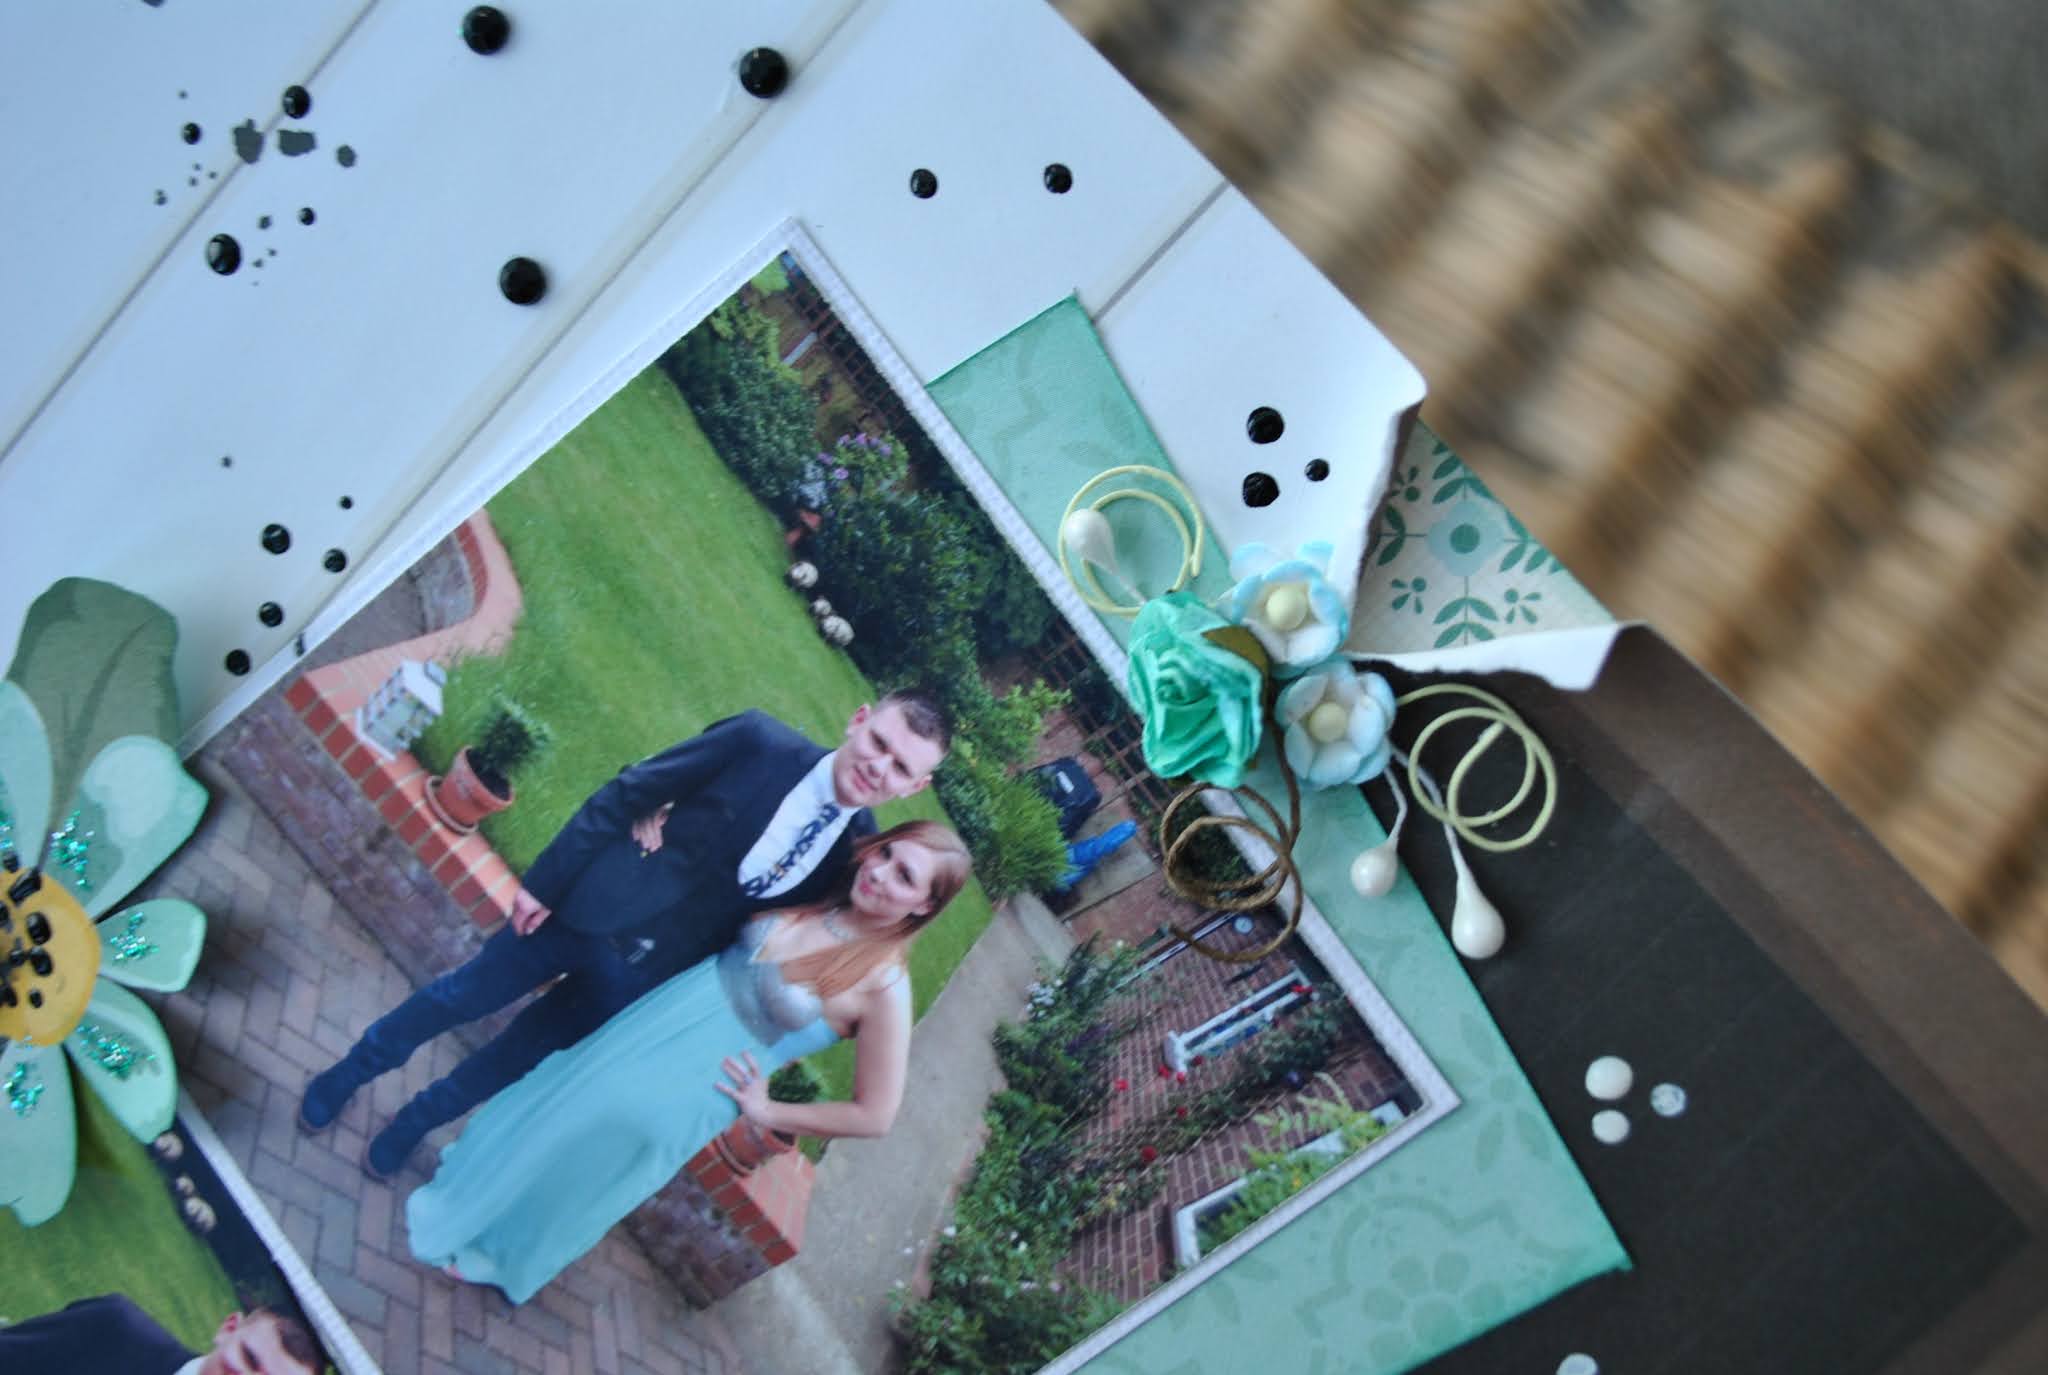
I mounted the photos onto white cardstock and then off set them onto 'Live, Love, Eat' paper, cut to a similar size to the photos. These were stuck, one above the other over the paper join on the left side of the page. Above this join I peeled back both papers and tucked in a scrap of 'Whats for Dinner' paper. I embellished this area with some small paper flowers and a pearl stamen.
I fussy cut the flowers from what was left of the 'Live, Love, Eat' paper and sucked these all the way down the right hand join, and the bottom of the left hand join. Many of these flowers were incomplete, but because they were being tucked in, I didn't need whole flowers. I inked the cut edges with evergreen Bough Distress Ink and shaped the petals over the scissor blade.

I placed the large Prima flower at the bottom left of the photo, and added a ribbon bow in that area too.

I scattered a few more tiny blossoms among the paper flowers, together with more stamen.
The title was cut from 'Bohemia' paper scraps using the Tim Holtz, Handmade Sizzix BigzXL die. The date was created with more of the Websters mini alphabet stickers from the kit.

To add different dimensions, I used the strip of black gems and some dots of Ebony Black Nuvo Crystal Drops on the white area. To the black areas I used some Gloss Simply White Nuvo Crystal Nuvo Drops. A little sparkle was applied to the petals with Turquoise Stickles.

That's
all for the February kit, although I still have plenty more paper and
other bits left, so I may make more at a later date. Off to start work
on the March kit now!
Thanks for looking.
Lynn x
No comments:
Post a Comment