Showing posts with label cheesecloth. Show all posts

Monday, 5 May 2025

April Papermaze Kit - Part 2

Here is my second DT post, with two layouts made using the April Papermaze kit. As well as the six patterned papers, the kit has a collection of  embellishments. There are two sheets of Bazzill cardstock included, and you can also buy four more in the co-ordination pack. I have dipped back into the past for these two layouts with photos from 2008 and 1995.


Before looking at how I made the layouts, here are the details of what you will find in the kit.


Patterned Papers:
Mintay Papers - 
Photographer collection - #02 & #05
Stamperia - Alterego collection - Postcard & Turquoise Wallpaper
Stamperia - Create Happiness collection - Dewdrops - Wood
P13 - Love Stories collection - #06


2, 49 & Market frames, 6 pieces 49 & Market acetate ephemera, 1 strip Prima crystals, 1 sheet P13 alpha stickers, selection of Cocoa Vanilla foam stickers, 12" lace, 6" Tim Holtz filmstrip ribbon and 6x Tim Holtz brads


Bazzill Basics Cardstock - Twig & Whirlpool (included in kit). Coastal, Avalanche, Jade & Cinnamon Stick (in extra Bazzill pack)


Home Sweet Home - My son at 3 years old, helping to clean the Wendy house


For the background I used the sheet of Turquoise Wallpaper paper. Onto this I added a strip of paper torn from Dewdrops - Wood, and placed this vertically onto the background, after inking the edges. I followed the line of the wood effect paper, with a strip of my own filmstrip washi tape.


I arranged my photo overlapping the strips, in the centre. Then I fussy cut some flowers from Mintay #05 (scraps leftover from previous layouts). I inked these and mounted them onto the page using 3D pads.


For my title I used the word 'HOME' from the Cocoa Vanilla foam stickers in the kit. I added the rest of the title using some tiny letter stickers from my stash.


I tucked some cheesecloth along the joins in the papers and around the flowers.


I added a little wooden house, numbers for the date and a key to the layout. 


I made a small journalling tag from Dewdrops - Wood paper, and a die from the Tim Holtz Sizzix Tag collection set.  I inked the edges, and wrote my journalling, then tucked it just under the flowers.


Finally, I added a scattering of water drops.


Memories - A photo of me with my husband on a family day out in Essex. We visited the Battlesbridge Antique Centre, and here we are at the very top of the building in the cafĂ©.


I started this layout with the sheet of Whirlpool Bazzill. Then I added torn pieces to the top and bottom of this cardstock, leaving a gap of the Bazzill in-between. The top area is from Postcard, and the bottom area from the Dewdrops - Wood paper. I tore some small triangular pieces from the scrap cut away from the #02 camera paper. These pieces were placed over the other papers, to give the appearance of small tears.


I cut a two complete and two incomplete postcards from the remains of the Postcard paper. I mounted my photo onto some corrugated card. I arranged the photo and postcards in a fan overlapping each other, so it appeared the postcards were all complete. I placed these in the centre of the layout.


I decorated the layout with the 49 & Market acetate ephemera from the kit. The title was made with Cocoa Vanilla foam stickers which are also included in the kit.


I used a Tim Holtz Idea-ology label holder from my stash, to add the date with some alpha stickers.


Finally, I scattered the Prima crystals from the kit, around the page.


That's all for the April kit. Back with the May kit soon.
Thanks for looking
Lynn x

Monday, 3 April 2023

March Papermaze Kit - Part 2

Lynn here today, with the second pair of layouts made with the beautiful kit for March. Full of papers, cardstock and embellishments, in a purple and aqua colour scheme.

Here is a reminder of the kit:

Patterned Papers:
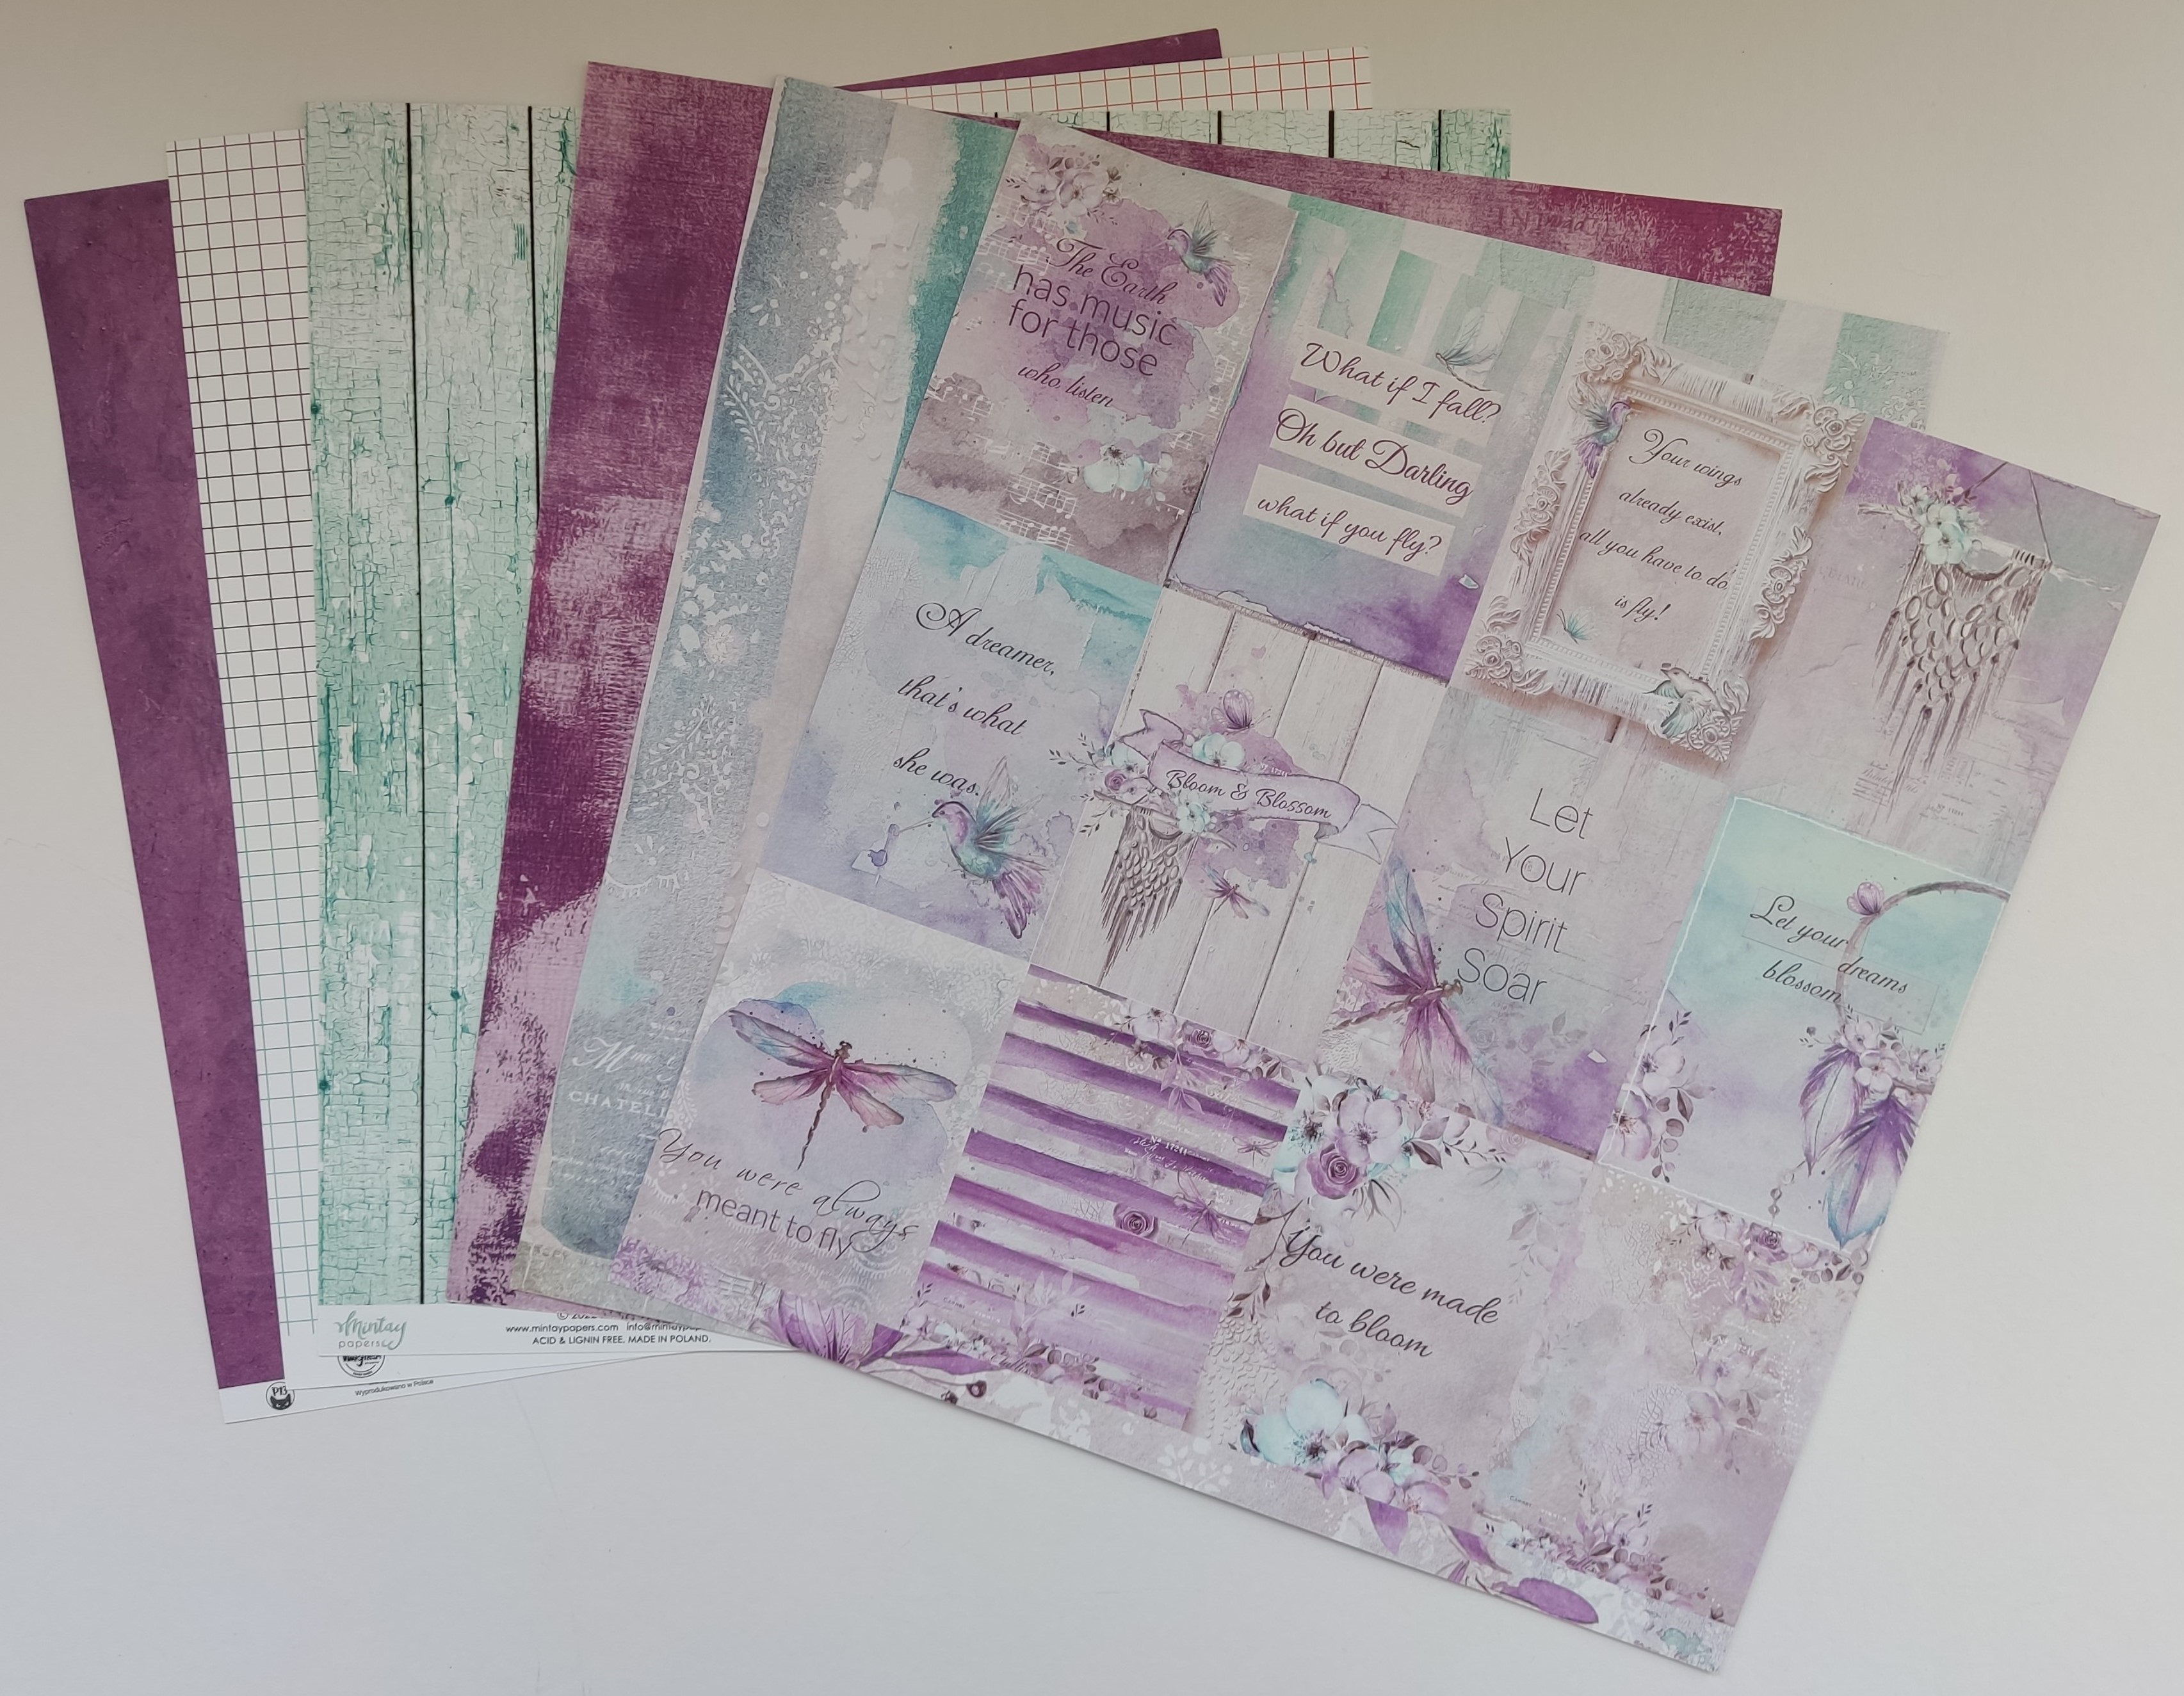
Prima Marketing - Aquarelle Dreams collection - Timeless Tales & Forget Me Not
Mintay Papers - Lavender Farm collection - #05
49 & Market - ARToptions Plum Grove collection - Coloured Foundations 1
P13 - Secret Garden collection - #06
Pinkfresh Studio - Delightful collection - Brighter Days

Bazzill Basics: Bazzill White & Grape Delight

Reverse side of papers


Embellishments:
1 sheet P13 Secret Garden phrase stickers, 1 heart doily, cheese cloth, 5 Prima Dreams dragonflies, 12 Rosie's Studio Fanciful Gemstones, 5 - 49 & Market chipboard pieces, 3 - 49 & Market tags 3 mini flowers


Extra Bazzill Pack: Date Swirl, Wisteria, Parakeet & Pastel Blue


Bertha's Bridesmaids - Another family history layout, on the back of the layout and inside the mini envelope are details of the people in the photo from my research.

I chose the Prima 'Timeless Tales paper for the base of this layout. After working out where the photo would sit, I used a craft knife to cut around any petals and leaves that would otherwise be half hidden by the picture. I inked the edges of these, then I tucked the photo into place with the leaves and petals overlapping the edges.

With the Tim Holtz Thinlits die set - Funky Floral Large, I cut leaves using some purple vellum. I arranged them around the wreath attaching them with wet glue at the stem ends only.


I created a small envelope and insert with the Bazzill from the kit and the Tim Holtz Sizzix Thinlits die set Postale.  I tucked the envelope into the base of the wreath, beside the photo.


At the base of the envelope, I added three large blooms from an artificial flower I had taken to pieces. I placed a large flat backed pearl in the centre of each flower. I added the remaining Prima Dreams acetate dragonflies from the kit to the page. I scattered lilac pearls and purple gems around the wreath.

After adding the date (Tim Holtz Sizzix Thinlits die set Alphanumeric Tiny Type) to the card insert, I wrote some journalling onto both sides and placed it into the envelope. I attached some mini flowers to the envelope opening.


For the title I created and cut the word 'Bridesmaids' on my Cricut and cut it using Bazzill from the kit. The word 'Bertha' was made with LDRS One Fine Day puffy alpha stickers.


Two Months Baby My great niece Poppy at two months of age, very happy little soul.


I started this layout by tearing large areas off the diagonal corners of the wood panel effect side, of the Mintay Lavender Farm paper. I tore strips from the remains of this paper and flipped it to the floral patterned side. These strips were applied to the torn edges of the wood panel piece. 


Next, I lightly stencilled butterflies onto the Date Swirl Bazzill. I used a selection of Distress Oxide Inks and a Vicki Boutin stencil from the Sweet Rush collection. The colours I chose for the inks was Wilted Violet, Cracked Pistachio and Hickory Smoke.


I glued the paper onto the cardstock and used the cheesecloth from the kit to tuck between the paper and the card.


Using the heart doily as a photo mat (also provided in the kit), I placed it to the left of the layout and arranged my three small photos onto it. I added some paper poppies from my stash around the photos.


I used two of the 49 and Market pieces from the kit: The first was a tab on which I added die cut letters to spell out Poppy's name. The second was the label plate into which I added the date. Both of these were cut with the Tim Holtz Sizzix Thinlits die set Alphanumeric Tiny Type.


For the main title I cut the word 'Months' with the Tim Holtz Sizzix Thinlits die set Alphanumeric Emporium. I cut this word twice with Bazzill cardstock from the kit, this allowed me to cut the letters in Wisteria and then add in the highlights with the darker Grape Delight.
The word 'Two' was created with Pinkfresh Studio Happy Bloom puffy alpha stickers.


That's all for today, and the March kit, I'll be back with the April kit soon.
Thanks for looking.
Lynn x

Friday, 16 July 2021

Papermaze July Kit - Part 1

Lynn here today with the beautiful July Kit and my first pair of layouts for this month. The pretty kit has a selection of dreamy, watercolour effect papers, which are great for feminine, romantic, family history (and many more) layouts. The kit is now available in the shop or online.

For today's layouts I have chosen floral papers and embellishments.

Before looking at how they are made, here are the details of the kit:

Patterned paper:
P13 - When We First Met collection - #03 & # 06
Prima - Watercolour Floral collection - Dreamy Florals & In the Water Garden (both foiled)
American Crafts - Maggie Holmes' Garden Party collection - Blossom in Blue
Pinkfresh Studio - Keeping it Real collection - Deep Breath
Bazzill Bazics Cardstock - Avalanche & Boysenberry Delight

Reverse side of papers:

Embellishments:

Sheet of 49 & Market rubons, 12" washi tape, 2 Prima Waltercolour Floral flowers (1 glittery), 6 wooden hearts, 1 star, 7 pieces Prima Watercolour Floral ephemera, 5 silver heart stickers, a pinch of sequins

Extra Bazzill Basics Cardstock pack:

Romance, Wildberry Pie, Aqua, Heidi

Roses Around The Door - The photo for this layout shows the progress of the climbing roses around the arbour in front of our door, after three years.


The base for this page is the Aqua Bazzill. The papers were distressed and inked with Iced Spruce Distress Ink.


With the sheet of 'Dreamy Florals' paper, I picked a few of the images I wanted to use and cut them out. Then preserving a few more images for later use, I backed my photo with the remains of this paper. With a circle template, the photo and images arranged in place, I outlined, with pencil the space where I wanted the stencil to show.

The photo and images were set aside. With the Tim Holtz, Layering Stencil - Scribbles (I think this looks like roses.) and texture paste mixed with Distress Stain - Worn Lipstick; I worked this through the stencil to fill the space marked out. I altered the strength of the stain to vary the colour of the 'roses'. I also made two small areas of stencilling on the edges of the cardstock - I set this aside to dry.


Once I had adhered the images and photo in place, I added a selection of paper roses from my stash (in shades of pink and cream). I worked around the stenciled area, between the images. A few roses were also added to the areas of stencilling on the edges of the cardstock.

I scattered a few roses among the images too. The title was made with some scraps of Pinkini Bazzill from a previous kit and some Sizzix alphabet dies. Finally I added the date with some alphabet stickers.


Christine - Another black and white negative found among my Dad's collection - this time his cousin Christine. Another relative found to add to my family scrapbook album.

I started by making a 2.5cm frame with the Boysenberry Bazzill. Over this I placed the P13 - #03 paper, which I trimmed by 0.5cm on all four sides. I cut four notches into the edges of this
paper and trimmed behind these with a little lace. I distressed the edges of all the papers and card. 

With Distress Oxide Inks in Dusty Concord and Faded Jeans, I brushed some colour onto the background, then splattered it with water, and black ink.

The photo was mounted onto scrap white card, then onto Boysenberry Bazzill. I placed this where it was to go and arranged some burlap, corrugated card and cheesecloth under the photo. Once arranged it was all stuck in place.


Then came the embellishments - I created two large clusters and one smaller cluster of flowers by using a selection of the following:
Fussy cut rose clusters from P13 - #06, inked and raised on 3D foam pads
Two Prima paper roses from the kit
Additional paper flowers from my stash
Silver stamen
Rose ribbon
Owl Charm and purple Baker's Twine
Sizzix Thinlits - Tim Holtz Wildflowers set and Boysneberry Bazzill and scraps of P13 - #06 - all inked with the Distress Oxide Inks.


Finally I added the title - 'Christine' with some alphabet stickers.

That's all for today, back with more from this kit soon.
Thanks for looking
Lynn x