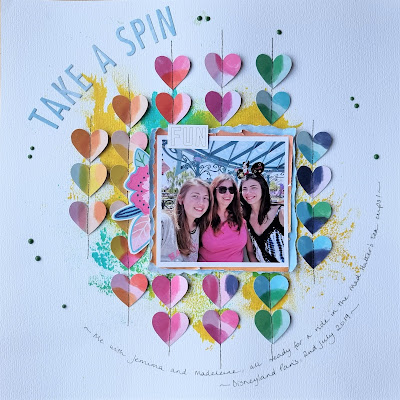
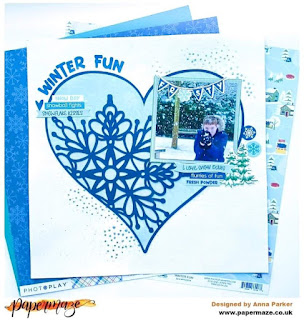
Here we are, ready for our first crop of 2022! We have very limited spaces, so if you would like to join us, booking is essential - email vanessa@papermaze.co.uk
Our kit this month uses papers from the colourful Go The Scenic Route by Paige Evans.
Here we are, ready for our first crop of 2022! We have very limited spaces, so if you would like to join us, booking is essential - email vanessa@papermaze.co.uk
Our kit this month uses papers from the colourful Go The Scenic Route by Paige Evans.
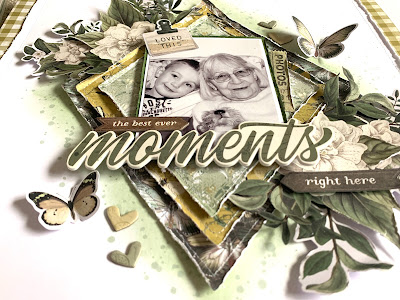
Hi everyone, Rebecca with you today sharing my first layout of 2022 for Papermaze! I hope you all had a wonderful Christmas and New Year and are looking forward to the scrappy year ahead. I'm starting the year off working with Simple Stories 'Simple Vintage Weathered Gardens' collection, which you can find in the shop here.
I started my layout by cutting 3 diamonds from the patterned papers. The papers I used are 'Fills my Heart' (B side) and 'Sweet Moments' (both sides). I cut the diamonds in 3 different sizes, stitched around and distressed the edges and then layered them on top of each other, with some craft foam in between the layers.
To my background, I added some ink using a Distress Ink Pad in the shade 'Bundled Sage'. I used a blending brush to add a subtle layer of colour, and on top of this I added some splatters. I didn't want my mixed media to be drastic, but wanted something soft in the background to sit my diamonds on.
Once my diamonds were in place, I added my photo centrally on top. It's a 3x4 inch photo with a white border and a layer of 'Rainforest' Bazzill cardstock from the '12x12 Basics Kit' behind it.
I added the word 'Moments' from the Foam Stickers along the bottom of my photo with a chipboard banner above it from the Chipboard Stickers to make my title 'The Best Ever Moments'. I love this as a title as the photo is of my son and my Nan who are pretty fond of each other, but don't get to see each other too often at the moment.
It wouldn't be right to make a layout with this collection and not include some florals, so I fussy cut some large flowers and leaves from the 'Hello Lovely' patterned paper and added them to 2 edges of my diamonds, and then extended these clusters using some florals and foliage from the Floral Bits & Pieces pack. I raised a lot of the leaves up using foam pads to create some dimension and movement.
I then had a sort through the Bits & Pieces pack and selected some die cuts to embellish with. I added another banner under my title to extend it further, a ticket and a little note with a bulldog clip which says 'Loved This'.
I then felt like the other two sides of the diamonds needed a little something to balance the page out a bit, so I added two butterflies from the Floral Bits & Pieces, and some small chipboard hearts.
I finished the layout off with a patterned paper border around the edge of the page. I cut about half an inch off of all 4 edges of my layout - this is slightly more than I would usually cut off, but I wanted a wider border as I intend to frame this layout as a gift for my Nan, and I know the frames often cover the outer edge of the page! I distressed all the edges of my layout, and then used the 'Cherish Today' patterned paper to frame the page. I added a row of white stitching around the edge for a bit of texture.
I absolutely love how this layout turned out. It's a beautiful collection and I really think my Nan is going to love it!
If you'd like to watch the page come together, there's a process video up on my YouTube channel here.
I'll be back later in the month with another layout using this stunning collection, until then,
Take care
Rebecca x
@preciouspagespapercraft
Hey hey all you scrappy friends! I hope you had some fantastic festive celebrations and that you had a chance to wind down time over Christmas and New Year!
Today I'm sharing another Christmas page using Holly Days by Simple Stories - I realised I haven't EVER tried out a classic green and red Christmas combo and this was the perfect opportunity to get one done, while it's still cold outside!
So I started this page by pulling out the Tis The Season paper and the Mistletoe Memories paper. These two compliment each other so well, especially since the floral print is a large pattern and the polka dots on Mistletoe Memories are much smaller and contrast nicely. I cut them into wide strips, as well as a third strip from the Let's Get Cozy paper scraps I had left over from my previous projects.
Originally I thought I might use the strips across the page horizontally, but I decided to cut the strips into thirds to create a 3x3 grid across my page. I realised I could use the 'Holly Days' and 'Comfort + Joy' elements from the 3x4 Elements paper, which matched the papers I'd chosen perfectly and added a little extra interest to the page. I trimmed the 3x4 Elements and arranged on the left and the right and used my photo on the lower right to create a sort of triangle around the page and keep the eye moving.
After distressing and adhering the squares, I began creating a large cluster around my photo. I backed my photo with tags from the cut apart Tags paper and used 3D foam to pop up the photo and add dimension. The sweet little Christmas tree and polar bear were both fussy cut from the Tags paper too.
I created a little banner using Bazills red cardstock, edging it with a white pen and using some little alphabet stamps with white paint to add the date to the banner.
I finished the page with some puffy stickers, including the Vicki Boutins Warm Wishes Puffy Phrase 'Deck the Halls' thicker and hanging bauble, some fussy cut flowers from the Mistletoe Memories paper and some white and gold watercolour splatters peeking out each side. I really love this effect as it mimics the twinkling lights in my photo - I added quite a lot of little flat back gems and Bright Gold Nuvo Drops on top to really emphasise those twinkles!
And there we have it, another paper made with the fun and festive Holly Days collection. I really enjoyed using these papers and I love how not a lot of product has ended up in a page just bursting with colour.
Thank you so much for joining me today and I hope you have a wonderful start to the New Year!
Stay safe,
Meg x
Claire here wishing you all a very Happy New Year.
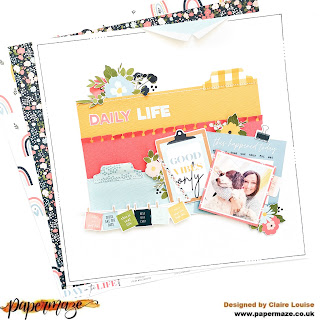
I have a new layout for you today using the Echo Park Day in the Life collection. This collection is extremely versatile. It has lots of cut apart designs on the 'a' sides, perfect for monthly pocket pages, but also has the most beautiful patterned papers on the 'b' sides which I just couldn't resist.
My layout is inspired by a Bella Boulevard sketch I saw last year that I instantly fell in love with and has stayed in my mind ever since.
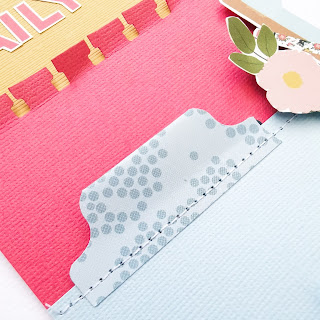
I started with the Matchmaker Pack. I used the white cardstock as my background and cut 3x2.5" strips of coloured cardstock in the blue, pink and yellow. I used a notebook border punch to create an interesting edge for the pink paper, and punched two tabs for the remaining strips using the yellow gingham paper (October) and beautiful blue paper (June) - I think that's my favourite :)
To attach the tabs, I stuck them loosely with a glue pen and machine stitched along the top of the strip.
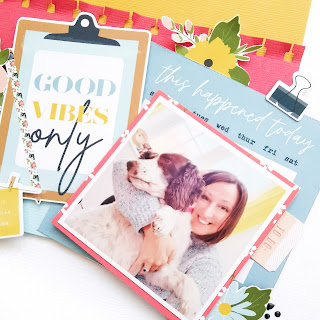
I created my photo cluster at the bottom right of the design layering a cut apart form the April paper (which I also used to back my photo).
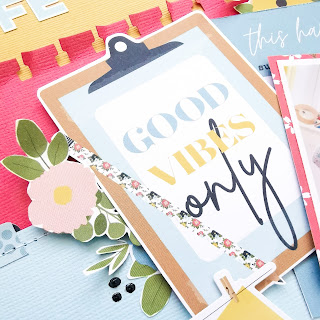
I cut the 'Good Vibes Only' clipboard, fussy cut from the January paper.
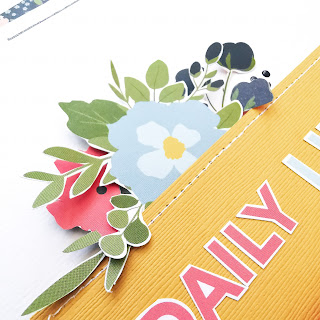
The 'b' side of this paper is filled with beautiful florals, which I fussy cut and added to my photo cluster and scattered around the page, raised on foam pads for dimension and movement.
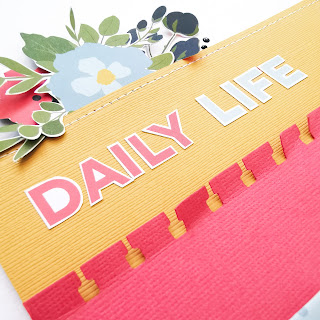
I made the 'Daily Life' title by cutting this from the October paper and stuck this flat to the page.
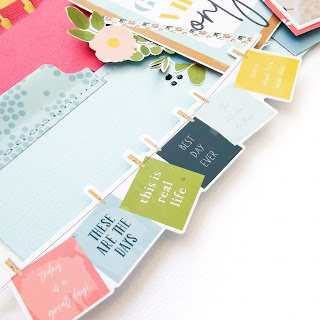
To embellish, I selected a few stickers from the Element Sticker sheet. I added the tab to the side of the photo and bulldog clip to the top of the photo cluster. The string of notes sticker I absolutely adore, so gave this a prominent place across the bottom of my page, raised on foam pads.
As a final touch, I added a few small drops of Black Nuvo Drops and hand drew a border in black gel pen.
I really love how this turned out. That colour combination is one of my all time favourites and is just the bright and cheery I need for a cold and rainy January.Hello. Happy New Year!
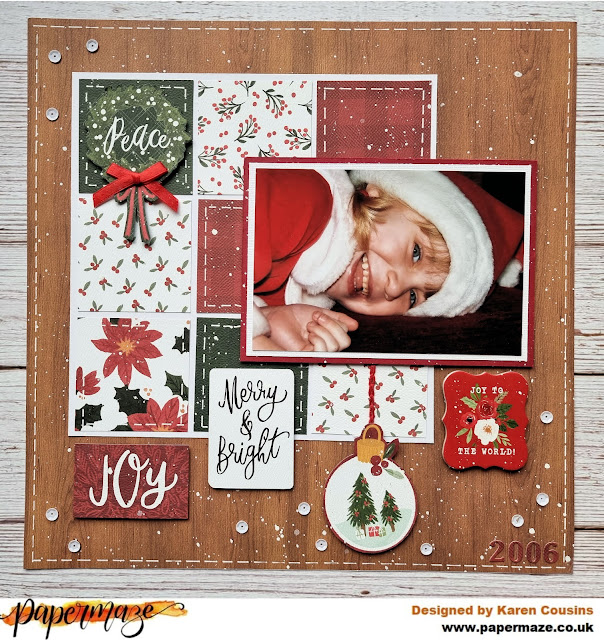
Karen here today with my final layout using Carta Bella's Happy Christmas collection. I've mentioned before how I like to scrapbook with the seasons. I feel inspired to scrapbook autumn photos when it's autumn, summer photos when its summer, winter photos when its winter, etc. Although Christmas is now passed, my decorations and tree will stay up until twelfth night and so still surrounded by the sparkle and glitter of Christmas I still feel inspired to scrapbook Christmas photos. I know other people scrapbook Christmas in July, straight after Christmas or at any time that takes their fancy and that's great too because Papermaze have a wonderful collection of Christmas papers stamps and embelishments in the shop all year round.
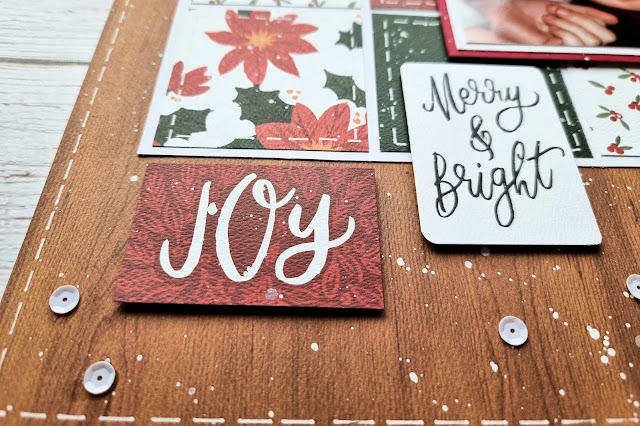
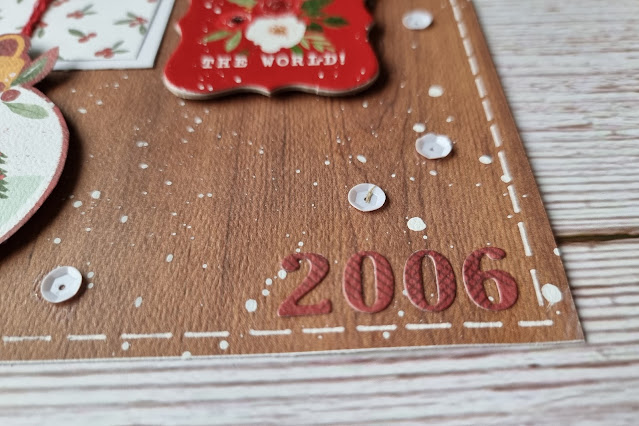
For my layout I started with a sheet of the Christmas Signs paper. The woodgrain on the B side was used as the base and I have to admit I did cry a little inside because I wasn't going to use all the gorgeous chalkboard images on the A side.
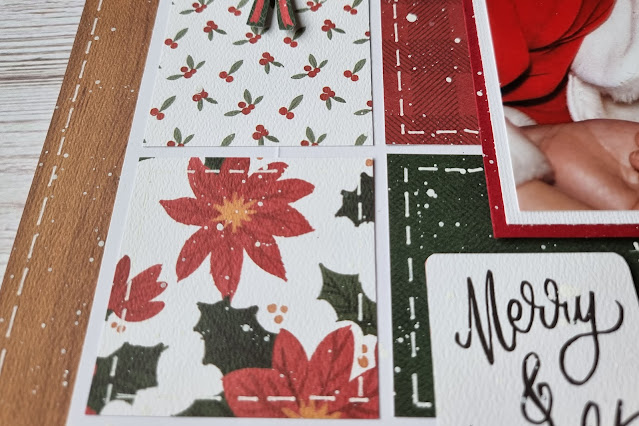
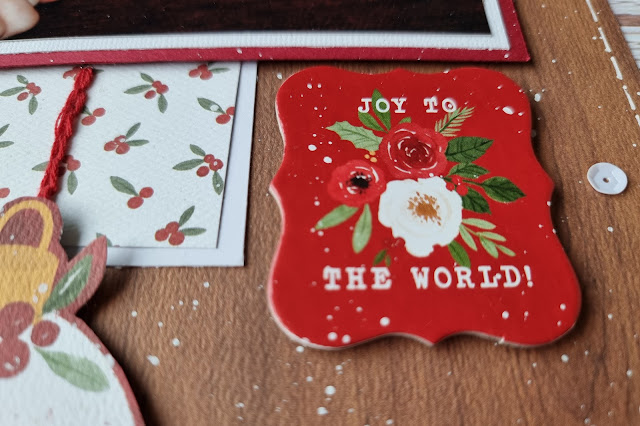
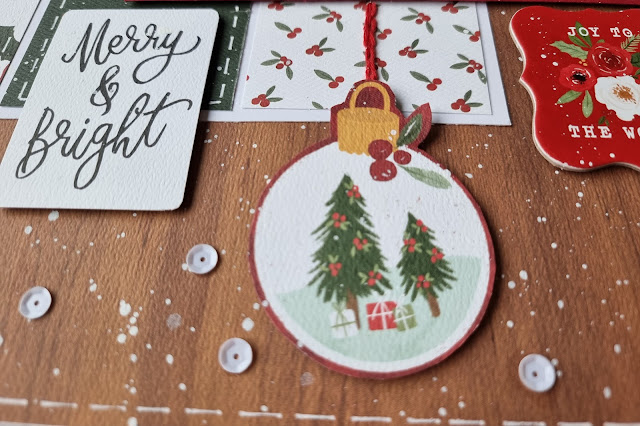
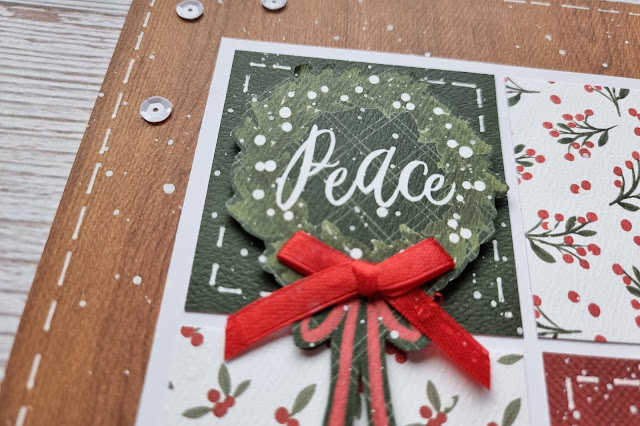
I then cut nine 2.5" squares from scraps of the various papers from the collection. These were arranged in a 3 x 3 grid on a piece of white cardstock and placed on the layout. Using a Uni-ball White Signo Gel Pen I drew faux stitching round the edges of the squares and also round the outside of the layout.
My 4x6 photo was double matted onto white and red cardstock and fixed onto the layout with 3D foam underneath, overlapping the nine square grid.
Happy New Year!
Lynn back here today with a third pair of layouts made with the seasonal December Papermaze Kit. It's amazing value to have been able to make six layouts from one Kit.
I have gone with a pink and silver theme for one and traditional colours for the other.
Before we take a look at how I made the layouts, here is a peek as what you will find in the December Kit. Please see part one for full details of the content - HERE.