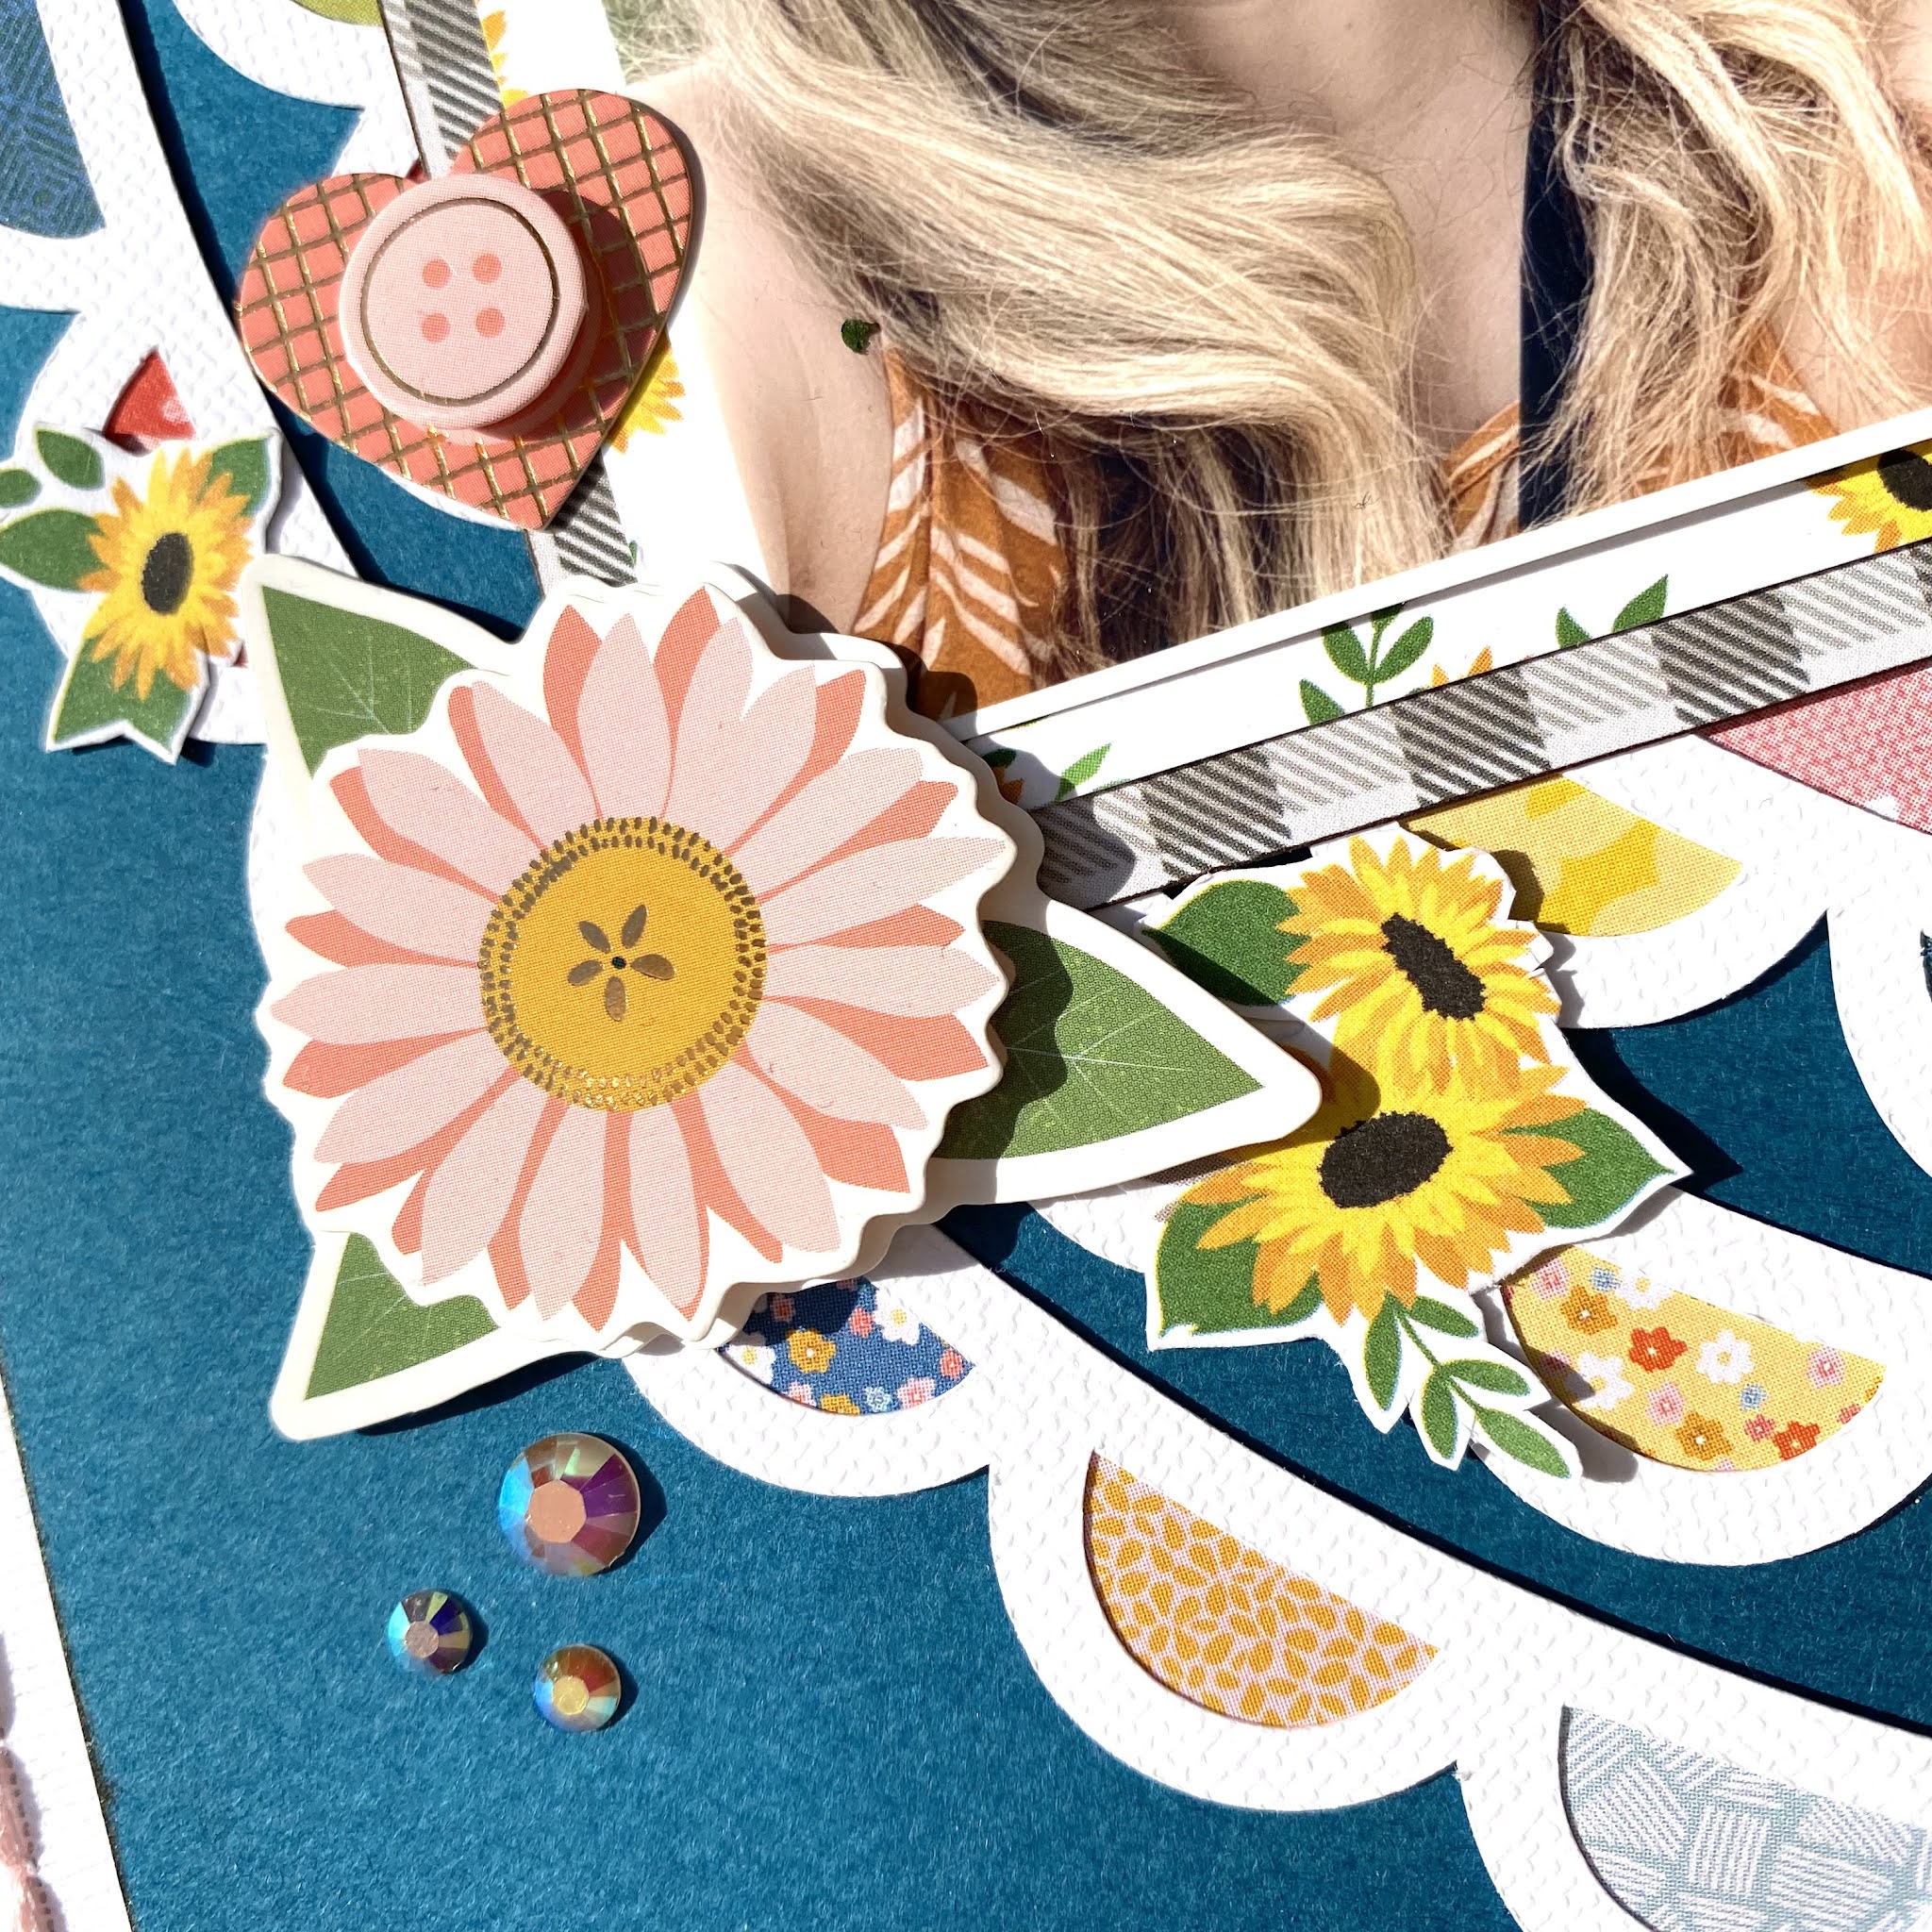
Hello, Rebecca with you today sharing my first layout of June. This month I am really excited to be working with the new ARToptions Viken collection from 49 and Market. This is only the second 49 and Market collection I've ever created with (the first being Spectrum Sherbet) and I'm really loving it.

The colours in the collection lend themselves perfectly to scrapping bluebell photos so I've purposely been saving my photos until this collection was released!
I cut some scalloped circles on my silhouette cameo from white cardstock, and then cut out circles from some of the patterned papers to fit within the scalloped edge. I've used both sides of 'Enchanted Fields', the A side of 'Floral Notes' and the B side of 'Endearing'. I selected these papers as I thought floral tones would work perfectly with my theme, and the purple and green papers added some solid blocks of colour - which match my photo perfectly. I adhered the patterned paper circles to the white scalloped edge and arranged them on the right hand side of my layout, overlapping slightly.
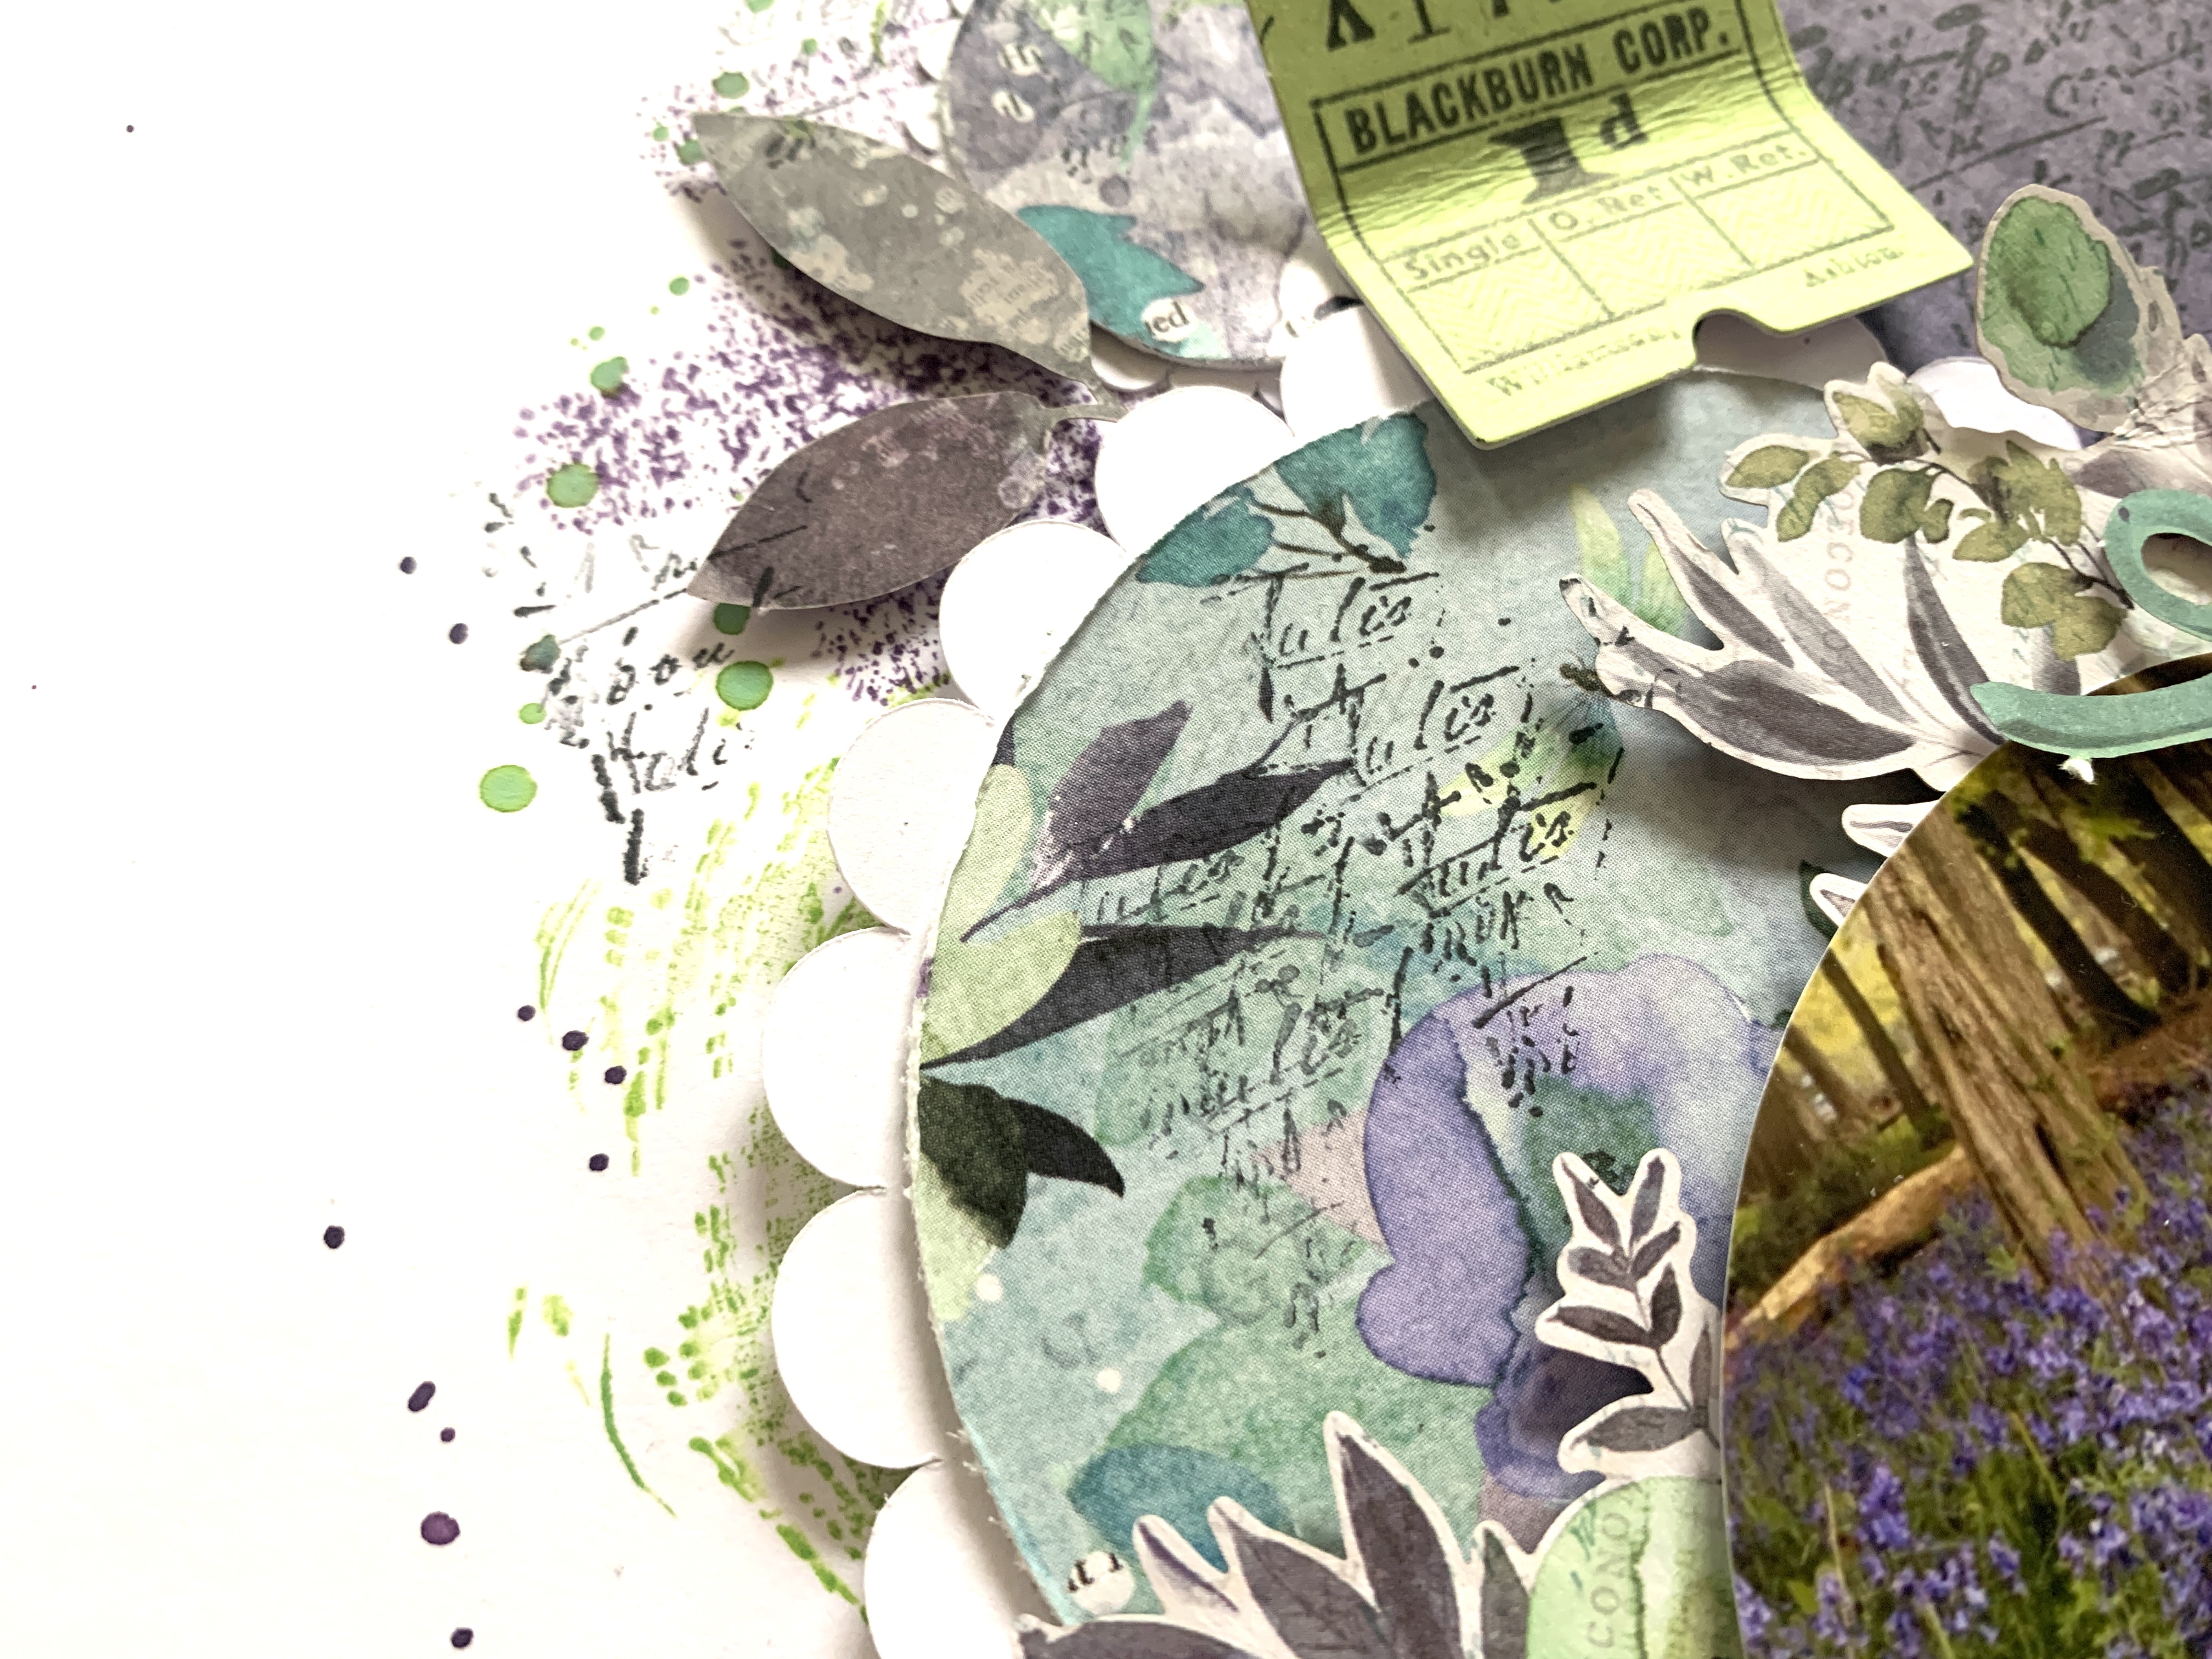
Once I was happy with my arrangement, I drew around the circles with a pencil and took them back off so that I could had some light mixed media. I've used a set of stamps by Tim Holtz (they are called 'Brushstrokes') and a Distress Ink Pad in the shade 'Dusty Concord' to add some colour around the edge of my design. I purposely left some gaps and filled them in with a different stamp from the same set, using a Distress Oxide Ink Pad in the shade 'Mowed Lawn'. I love the effect that stamping brings to a layout. It's not a complete colour-wash, but it adds so much texture and some subtle colour. I also added some scripty stamping using a black Staz On Ink Pad. I've added this to the background, and also to the green and purple circles as they were looking very 'clean'. I finished the background off with some purple and green splatters.

With my mixed media finished and dried, I adhered my circles to the background, using my pencil lines to help me get them in the right position. I then added a circular photo to the centre of the circles. I love the way that the colours in my photo continue out onto the page.

Embellishing this layout was so much fun - and really easy! I have the 'Laser Cut Elements' (which is jam-packed with beautiful pieces) and the 'Die Cut Pieces' (again - jam packed with no less than 73 pieces of ephemera!). I've selected small die cuts to embellish the page with as I didn't want to cover too much of my background or the patterned papers.

I started with two large floral clusters around my photo, and then added lots of small things - leaf sprigs, butterflies, a couple of postage stamps and bows and also a couple of tickets. I also used one of the die cuts for my title.
To help balance the page out, I also created a cluster over to the left of the page. I've used two of the lace trim die cuts from the 'Laser Cut Elements' and then to keep my embellishing consistent, I've added similar die cuts to those that I used on the right - a postage stamp, leaf sprigs, a bow and a butterfly. I also extended my mixed media over to the left hand side.

I really adore how this layout turned out and I'm so glad I saved my bluebell photos for this collection! I hope you've enjoyed it and it's given you some inspiration. If you'd like to watch along and see how the layout came together, there is a process video up on my YouTube channel which you can find here.

Keep an eye on the Papermaze website- this collection will be uploaded soon!
I'll be back later in the month with another Viken layout, so until then, take care.
Rebecca x
@preciouspagespapercraft