Showing posts with label Pinkfresh studio jewel essentials. Show all posts

Wednesday, 7 June 2023

Jen Hadfield - Flower Child - Fun!

Hi everyone,

Claire with you today and I'm going to be creating with the new Flower Child collection from Jen Hadfield.


I started with plain white cardstock and the Retro Rainbow paper. It's such a fun paper and I set about fussy cutting each section to create shards.

Once each section had been cut out, I rearranged them in one large cluster. Originally, I had them in a vertical design but couldn't quite get it to work, so flipped the page to create a horizontal design.

I stuck some flat and raised the smaller sections on foam to create extra height and dimension.

To echo the shape of the stripes, I printed my photo and traced around one of the larger pieces so that my photo fit seamlessly within the design, backing it on plain white cardstock to help it stand out.


To give the page some balance, I took two of the smaller shards and positioned them at the bottom of the page - again lying one flat and raising one of foam. 


I knew I was going to embellish the page with flowers from the ephemera pack, and wanted to echo this amongst the paper shards, so I cut some small segments from the Fab Flowers paper and added these to the top and bottom of the page.

Using flowers from the ephemera pack and mini puffy stickers, I grouped by colour on each shard.  The ephemera had quite a big white border so I trimmed the edges off as I didn't want too much separation between the flower and the paper shard.


For a bit of extra interest, I added some coordinating Nuvo Drops to the centres of the flowers, and sprinkled some Pinkfresh Studio Jewel Essentials across the page.


To finish the page, I added a large title using Foam Alphas from Simple Stories Color Vibe range.


I had a lot of fun creating this vibrant page. I hope it has inspired you. Don't forget to visit the shop and check out the collection here.

I'll be back later this month to share another layout with this gorgeous collection.

See you soon!


Claire xx

@scrappysoulmate

Wednesday, 7 September 2022

Simple Stories ~ Say Cheese at the Park #3 ✨

Hi all, 
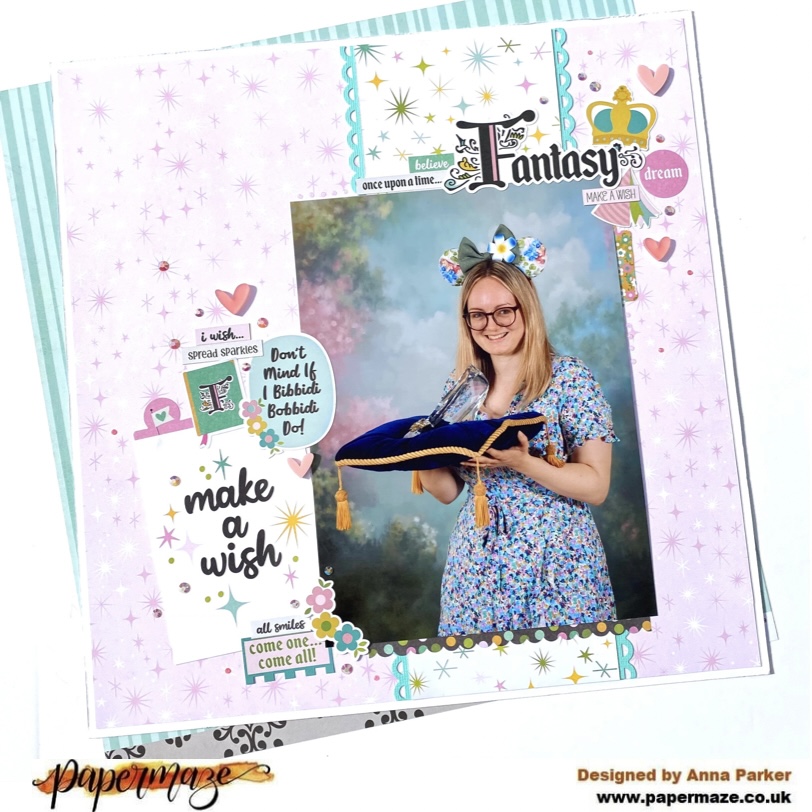
It’s Anna back with you today and I’m continuing working with the wonderful collections by Simple Stories - Say Cheese at the Park. For todays layout, I have focused on using the Say Cheese Fantasy at the Park collection.
But you can find all five parts of the release in the shop as follows:


To create this layout, I gutted a white sheet of cardstock and then used it to create a thin boarder. I mounted the b side of Once Upon a Time to the cardstock. 
I then trimmed a strip of the b side of ‘Elements 2’ and adhered it vertically to the page, just off centre. I used a boarder punch to create two scalloped strips of cardstock either side. 


I chose a larger photograph to use on this layout, it’s in the size 8x6.
I selected one of the element cards from ‘Elements 2’and adhered it to the left of my photo. 


I then began to add two clusters of embellishments, I like to balance embellishments on my layouts. I often go with an approach of two opposite clusters… and that’s what I’ve done with this layout. 


To create my clusters of embellishments, I have used a selection of stickers from the Combo Stickers and from the Sticker Book, which has lovely small stickers and alpha stickers from all of the collections together in one book.


Lastly, I added some Pinkfresh Jewel Essentials in the shade Peach Fuzz, which I dotted around randomly. I also added a few drops of Nuvo drops around the edge of my photograph.


I’ll be back again soon with another Disney layout for you! 
See you then! 
 😊
Thanks for looking. 
Anna 
X


Friday, 12 November 2021

November Papermaze Kit - Part 1

The November Papermaze kit is available from the shop or online today, and I'm here to share my first pair of layouts. This month Vanessa has put together another lovely collection papers, card and embellishments in subtle colours, with an autumnal flavour.


 Let's have a look at what is in the kit:


Patterned Papers:
American Crafts - Jen Hadfield - Peaceful Heart collection - Breathe Deeply & Grow
Cocoa Vanilla Studio - These Days collection - The Good Life & Day Break
American Crafts - Paige Evans - Bungalow Lane collection - #10
Reminisce - Be Kind collection - Be someone's Rainbow
Bazzill Basics Cardstock - White & Ash

Reverse side of papers:

Embellishments:


2 CVS Wood Epoxy Buttons, 2 CVS Pocket Cards, PFS chipboard frame, 3 heart Brads, 8 Dew Drops, 2 Prima Flowers,  3 PFS chipboard flair

Extra Bazzill Basics Cardstock Pack:


Yukon Gold, Blossom, Jet Stream & Nixon

Bagpuss - This layout features a photo of my daughter's cat, who crawled into a large brown paper bag from a take away meal.

For the base I used the white Bazzill, a Tim Holtz Layering stencil (Nordic) and a selection of Distress Oxide Inks (Worn Lipstick, Fossilized Amber, Forest Moss and Dried Marigold). I used two methods of transferring the pattern onto the card. First I placed a little of each colour onto my craft mat, spritzed them with water, then dipped the stencil into the wet ink before transferring ink onto the card. Once this was dry, I used a blending tool and rubbed more of each ink through the stencil. This gave me some positive and negative images.


I inked the edges of my papers with Forest Moss Distress Oxide Ink.

Next, I built up the layers - I cut a piece of  Breathe Deeply paper (dark green side) 18.5cm x 16cm, and placed this in the centre of the layout, leaving the edges free of glue to allow me to tuck in embellishment later. Next I layered a piece of Grow paper (floral side) 16cm x 14cm. 


I used two photos of the same image, one a little larger then the other, these were mounted on top of each other over the papers.

Then I set about embellishing the layout, I cut flowers from the Breathe Deeply paper, shaped them and added them to the right side of the papers. I cut a wreath image from
The Good Life paper, cutting this in half and trimming the top of each piece to make a tag shape. Then I punched a hole, added a copper eyelet, I threaded a short length of Baker's twine through the hole. These were tucked under the papers to the top and left of the layout, and the date and cat's name were spelt out with PFS Mini Puffy Alpha. I also cut a small label from The Good Life paper and used this to add the subtitle.

My title was created with PFS Puffy Alpha stickers - Office Hours.

The layout was further embellished with two narrow strips of paper, a short piece of lace, buttons, washi tape and some Nuvo Glitter Drops - Honey Gold.


New Home - Last month my nephew and his young family moved into their brand new house. 


I started with the Jetstream Bazzill, added a strip of paper at an angle across the top left corner and then built up the layout in a 'patchwork' effect from there. I placed the photo first and worked around it.

I used Forest Moss Distress Ink on the edges of all my paper and card. 


Most of the patterned paper used was from
The Good Life as there are lots of strips, journalling blocks, flags, and phrases on this sheet. I also used the matching Pocket Cards and Wood Epoxy Buttons from the kit.


I found a selection of wooden houses and some numbers in my stash which matched the buttons well. 

The date and title were spelled out with CVS These Days Mini Puffy Alpha Stickers purchased from Papermaze.


That's all for today, I have more to share with you soon.
Thanks for looking
Lynn x

Friday, 22 October 2021

Pinkfresh Studio - The Best Day - Love This!

Hi everyone,

Claire back with you today sharing another layout with The Best Day collection from Pinkfresh Studio. You can find it in the store here.


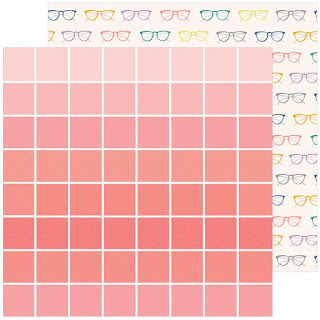
There were a few papers that immediately caught my eye in this collection, and this paper called Cozy Days was definitely one of them. 


The rows of different coloured squares screamed to be cut apart, and that's exactly what I did....and then they sat, stacked up on my desk for over a week! I just couldn't work out how best to use them.  I've seen a few really beautiful layouts with lots of squares, but just couldn't make them work for me.  

Does that ever happen to you?  In those scenarios, I find it best to walk away until inspiration strikes - and a few days later it did!

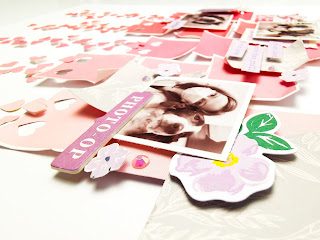
I kept the squares in their own colour groupings and bent around the edges to create a worn look. I laid three squares of each colour in a vertical design, alternatively laying one square flat, the next raised on foam pads and so on.


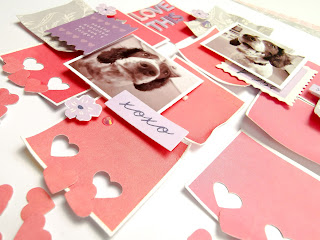
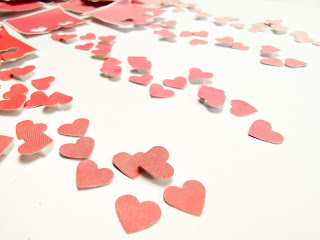
On each of the bottom squares, I took a tiny heart punch (I really need to use my punches more) and punched out 2 hearts.  


I then punched out lots more hearts from some of the remaining paper, keeping them in their own colour blocks.

I scattered the hearts down the page, again laying most flat, but raising the last few on small foam pads for extra dimension.  I stuck the hearts as they fell, so some are sideways, some upside down and some the right way up. I love this effect as it helps keep the cascading hearts look natural.


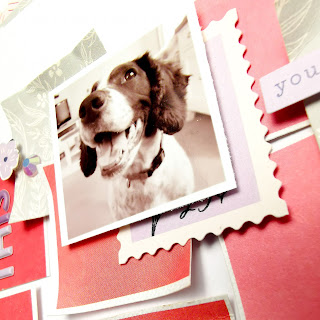
Next, I wanted to add a little contrast to break up the pink tones, so I selected a piece of the Home Sweet Home paper and cut some grey squares 1.5", to match that of the pink. I selected three photos and printed them at 1.5" also, before starting my embellishing.


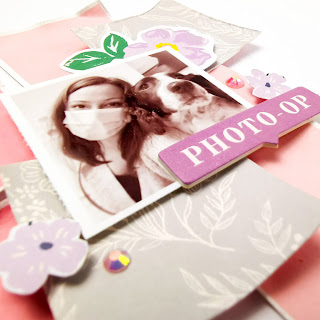
The 'Photo-Op' chipboard piece was a perfect accent for my first cluster, take from the Chipboard Frames.

I took the purple flowers from the Floral Ephemera Pack and used the large one as a layer behind my photo.  The other, is a taller flower with lots of smaller purple flowers on it. I cut that up and scattered the flowers across the page, raising them on foam pads.  

I also used some of the Floral Ephemera and Cardstock Ephemera as layers in my other two clusters.


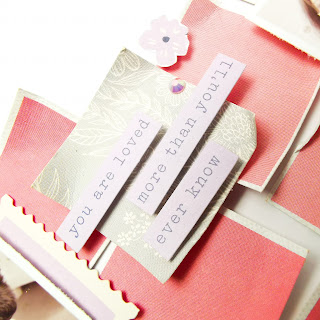
Next, I added a small subtitle to one of the squares using one of the Cardstock Stickers.


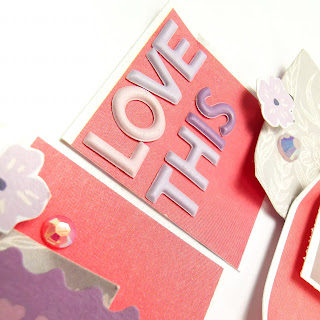
For my title, I reached for those cute Mini Puffy Alpha Stickers - Love these! I pulled out a mix of the pink, lilac and purple tones as I'm running low now on these but I love the effect the mixed tones brought to the title.


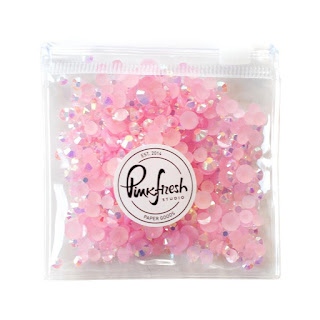
To finish the page, and add a little bit of sparkle, I sprinkled a few Pinkfresh Jewel Essentials in Ballet Slipper. Have you seen these in the store? They come in a whole range of colours and arrive in a cute little zipped pouch - I have had mine for a few months now and still have so many left. I've added a few more colours to my scrappy stash now. They're such great value.

I hope you've enjoyed this page  - I really love the simplicity of the design and especially love those falling hearts. such a lovely technique that would work with so many of my neglected punches. I'll definitely be trying this again.

Until next time.

Take care,
Claire xx

Saturday, 2 October 2021

Paige Evans ~ Bungalow Lane #3

Hi everyone! 
It’s Anna back with you today to share another layout using Paige Evans’ Bungalow Lane collection. 
This collection is so beautiful, so why not take a look at it ok the shop here..

 
For this layout, I began with a sheet of white bazzill cardstock from the matchmaker pack (gutted and the centre used for the cutfile), with a piece of blue bazzill cardstock mounted on top. I trimmed the blue bazzill down by about an inch each side and then hand stitched a boarder around the outside on the white cardstock. 


I then cut out a scalloped circle cutfile, also by Paige Evans using my silhouette cameo. 
The semi circles on Paper 15 are pretty much the same size as the scallops, so I cut out lots of those and backed the cutfile with them. 
I then backed the smallest circle with the b side of Paper 20


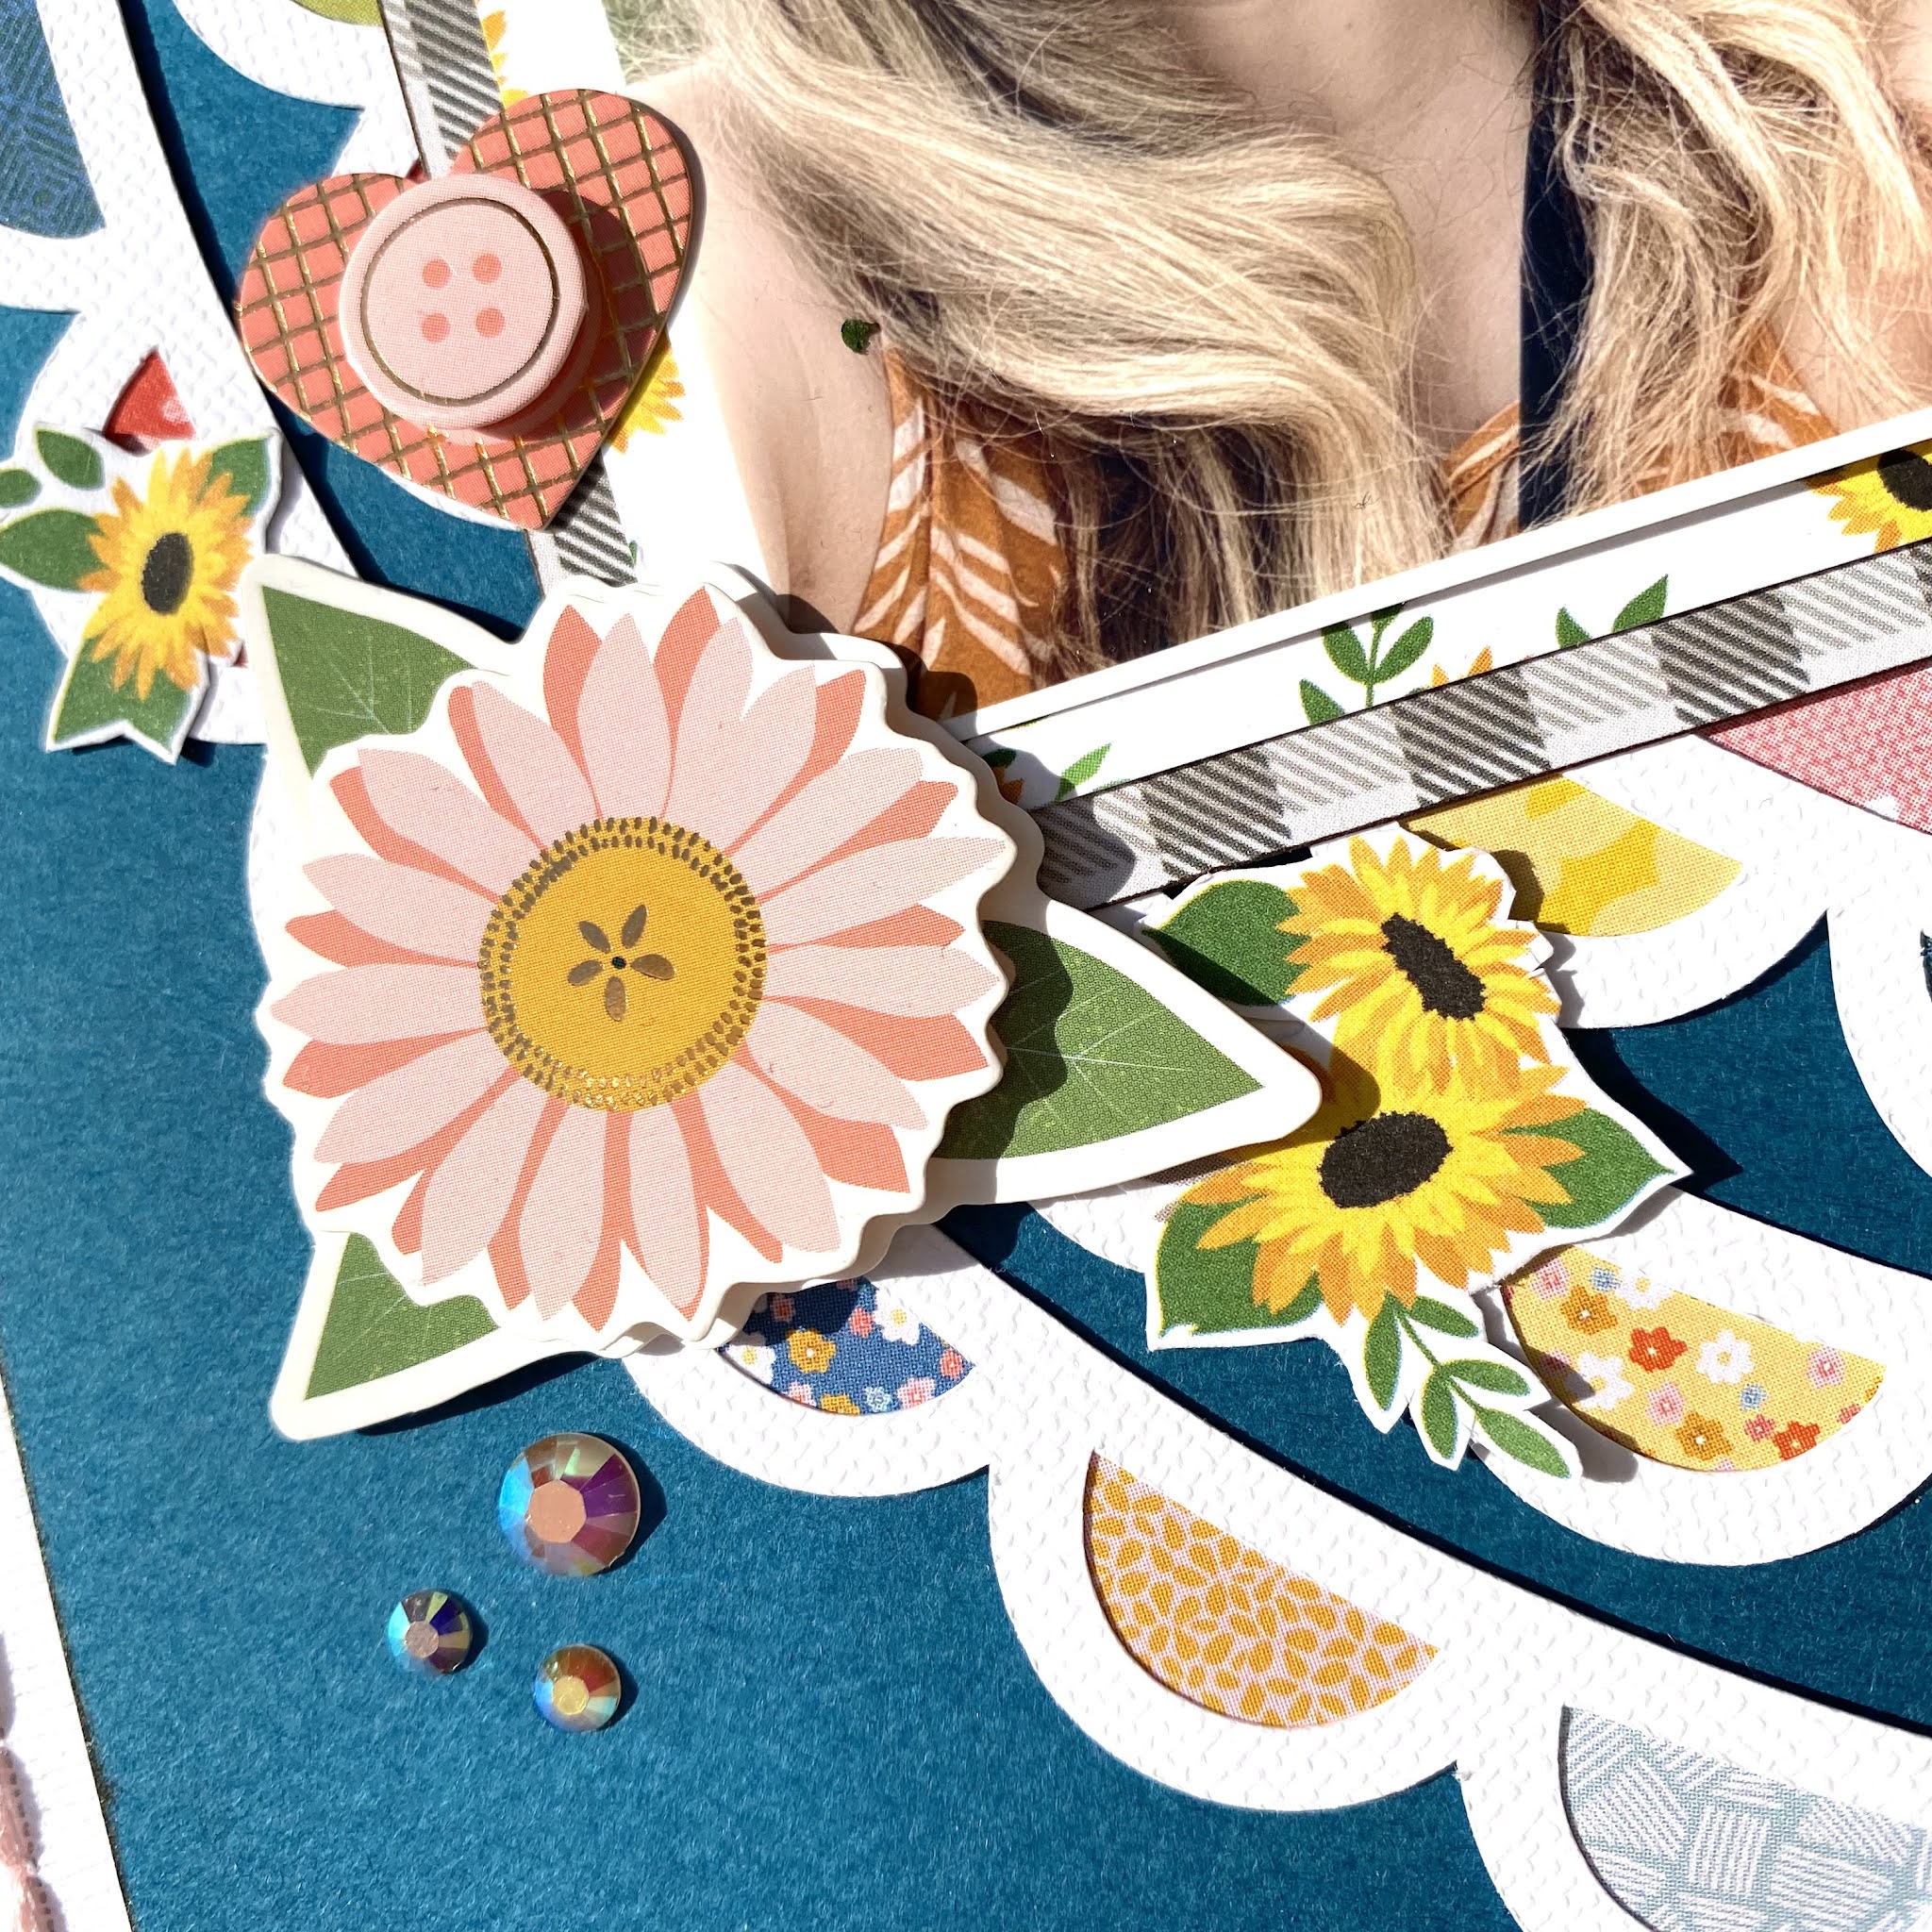
To fit in well with the photograph I was using, I fussy cut out a few of the sunflowers from the sweet as honey sunflowers patterned paper by Photoplay and dotted them around the scallops. I also double mounted my photo with the a and b side of this paper. 


To the left of my photograph, I have added a flower and heart from the dimensional banner stickers, as well as some bigger sunflower clusters and a few Pinkfresh Studio Jewel essentials.
I used some thickers for my title fo finish and that was me done!


Thanks so much for looking! 
See you again soon. 
Anna 
X