Showing posts with label bazzill matchmaker pack. Show all posts

Friday, 12 December 2025

Merry | Rebecca Bee | Echo Park Santa's Christmas Delivery


Hello everyone, Rebecca Bee here! Is anyone else starting to feel a little festive? I most certainly am and so I couldn't resist creating using Echo Park's Santa's Christmas Delivery this month to document some festive memories.. 


To create this layout I cut out some of the square cards in the 2x2 Journaling Cards paper, distressed their edges and created some rolled tabs to add some interest and texture above the central photo panel of this layout. My three 2x3" photos are matted into a panel of the Happy Santa paper.


To add some pretty detail to the cardstock background, I have added some star shaped sequins and a small amount of texture paste through a stencil from my stash- similar item here. 


A scattering of stickers from the Element Stickers sheet and some journaling finishes off the layout. I adore using soft pink with traditional Christmas reds and greens, it makes them feel fresher and softer. This soft pink Bazzil cardstock comes from the coordinating Bazzil Matchmaker pack for this collection and suits the collection perfectly 


I finished the layout off by adding some journaling and some tiny doodled stars using my white journaling pen. I'll be back later in the month with another layout using this charming Christmas collection. Until then, have a wonderful Christmas friends!

Rebecca Bee 
XOXO


Friday, 19 September 2025

Simple Stories ~ Happy Travels ✈️ #2

Hi everyone, it’s Anna back with you today. I’m sharing my second layout using Simple Stories Happy Travels. 
You can find this collection in the shop here. 


To create this layout, I started with the b side of ‘Here & Now’ as my base. 
I then cut out a large circle from some white bazzill cardstock and a thinner boarder circle ‘Scenic Route’ 


I mounted my photo on to some coordinating cardstock from the matchmaker pack and double mounted on to the b side of journal elements. 


I cut out a journaling card from the journal elements and adhered it to the right of my photo. 


I then added various stickers from the element stickers and placed them in a cluster across the page. 


I fussy cut some clouds from ‘scenic route’ and adhered them to the top right of the circle. 


Thanks so much for looking! 

See you next month with a new collection. 

Anna 

@acraftylifewithanna

Wednesday, 20 August 2025

Simple Stories ~ Fun Times #2 🎈

Hi everyone, it’s Anna back with you today. 
I’m sharing my second layout this month using Simple Stories Fun Times - take a look at the collection in the shop here. 
You can find my previous double page layout using this collection - here. 
🙂


To create this layout I focused on the ‘Tag Elements’ paper. I chose 8 that would work well with my photos and cut them out. 
I chose to use mostly the plain side of the tags so that I could add a title, journaling and element stickers to them.
This collection is great for so many things, its main focus is to document theme parks/amusement parks. But with the balloons and other fun elements, I wanted to have a go at using it for a birthday layout.


I printed four pictures and mounted them on to coordinating cardstock. I then lay the tags out on my Bazzil white cardstock, with four along the top and four along the bottom. I left a gap in between the tags and placed the photos in the middle. 


I punched small holes in the tags and then threaded some twine through each tag. 


On one of the tags, which was lined, I added my journaling along with a couple of stickers from the element stickers. 


With the remaining tags, I added element stickers and a title. 


Thanks so much for looking! 
See you next month. 

Anna 

@acraftylifewithanna 

🙂

Wednesday, 6 August 2025

Simple Stories ~ Fun Times #1 🌟

Hi everyone, it’s Anna back with you today and this month I’m working with simple Stories - Fun Times. You can find this collection in the shop here. 


For my first project with this collection I have a double page layout to share…


I wanted to document going to a concert and I had sooo many photos to use! I decided to print the ones I wanted to use and put them into strips. I lined up all of the portrait and landscape pictures as well as the square ones together and adhered them on to coordinating cardstock. I then had strips of photos to place on my layouts. 


I cut out two pieces of ‘Admit One’ and adhered each strip to each side of my two pieces of 12x12 bazzill cardstock. This ties both sides of the layout together. I continued with this technique as I created the layouts by mirroring both sides with a similar design. 


I arranged my strips of photos on both sides of the layouts and then began to add in my embellishments. 


On the left layout, I added my title using Bella Blvd Luna Alphabet Puffy Stickers. I also added in some page pieces and element stickers. 


I also used the page pieces and element stickers on the right layout. 
I layered several of the page pieces, tucked alongside a strip of photos to replicate the size and detail of the extra photo which I’d used on the left layout.  


I added some of the word phrases from the element stickers tucked in between the photos. 


Thanks so much for looking! 
See you later in the month with another layout using this collection. 

Anna 


@acraftylifewithanna

Friday, 28 March 2025

Simple Stories ~ Tea Garden #2 🌸

Hi, it’s Anna back with you today. I’m sharing my second layout using Simple Stories Tea Garden which you can find in the shop here. 

For this layout I created a frame using the b side of ‘Enjoy Life’ 


I began with a white bazzill base and then trimmed ‘enjoy life’, creating a frame which was about 2 inches wide. I adhered the frame to the centre of the cardstock. 


I double mounted my 6x4 photo onto coordinating cardstock from the bazzill matchmaker pack and placed it off centre in the frame. 


I cut in half the remaining floral bits and pieces and tucked them under the edges of the frame. 


I then added a title using the cardstock sticker ‘all smiles’ as well as a few of the sentiment stickers. 
I added a sub title using doodlebug alphabet soup stickers.
I added a few more floral bits and cut out a journaling box from ‘journal elements’. 


Thanks so much for looking! See you next month. 

Anna 
x

@acraftylifewithanna

Sunday, 16 March 2025

Simple stories ~ Tea Garden 🌸

 Hello everyone - it’s Anna back with you today and this month I’m working with Simple Stories Tea Garden - which you can find in the shop here. 

This collection is great for all of your spring adventures, with florals, butterflies and birds, with a tea element to it as well. 


To create this layout I began with a sheet of white bazzill from the matchmaker pack, I trimmed it down by about an inch on each side and mounted it on to ‘All Smiles’. 


I used the floral bits to create a wreath shape in the centre of my layout and placed the two vines, also in the pack on opposite corners. I then hand stitched with white thread around the edge of the bazzill cardstock. 
You could recreate this layout design using any of the simple stories floral bits packs which you can find here.


I mounted my 6x4 photo on to coordinating cardstock from the matchmaker pack. 


I added a few stickers from the cardstock stickers around my wreath. 


Finally I added a title using some alpha stickers. 


Thanks so much for looking! See you later on this month with a second layout using this collection. 

Anna

@acraftylifewithanna

Wednesday, 26 February 2025

Simple Stories ~ For the Record ❤️

Hi everyone, it’s Anna back with you today. 
I have one final layout to share with you using Simple Stories For the Record, which you can find in the shop here. 


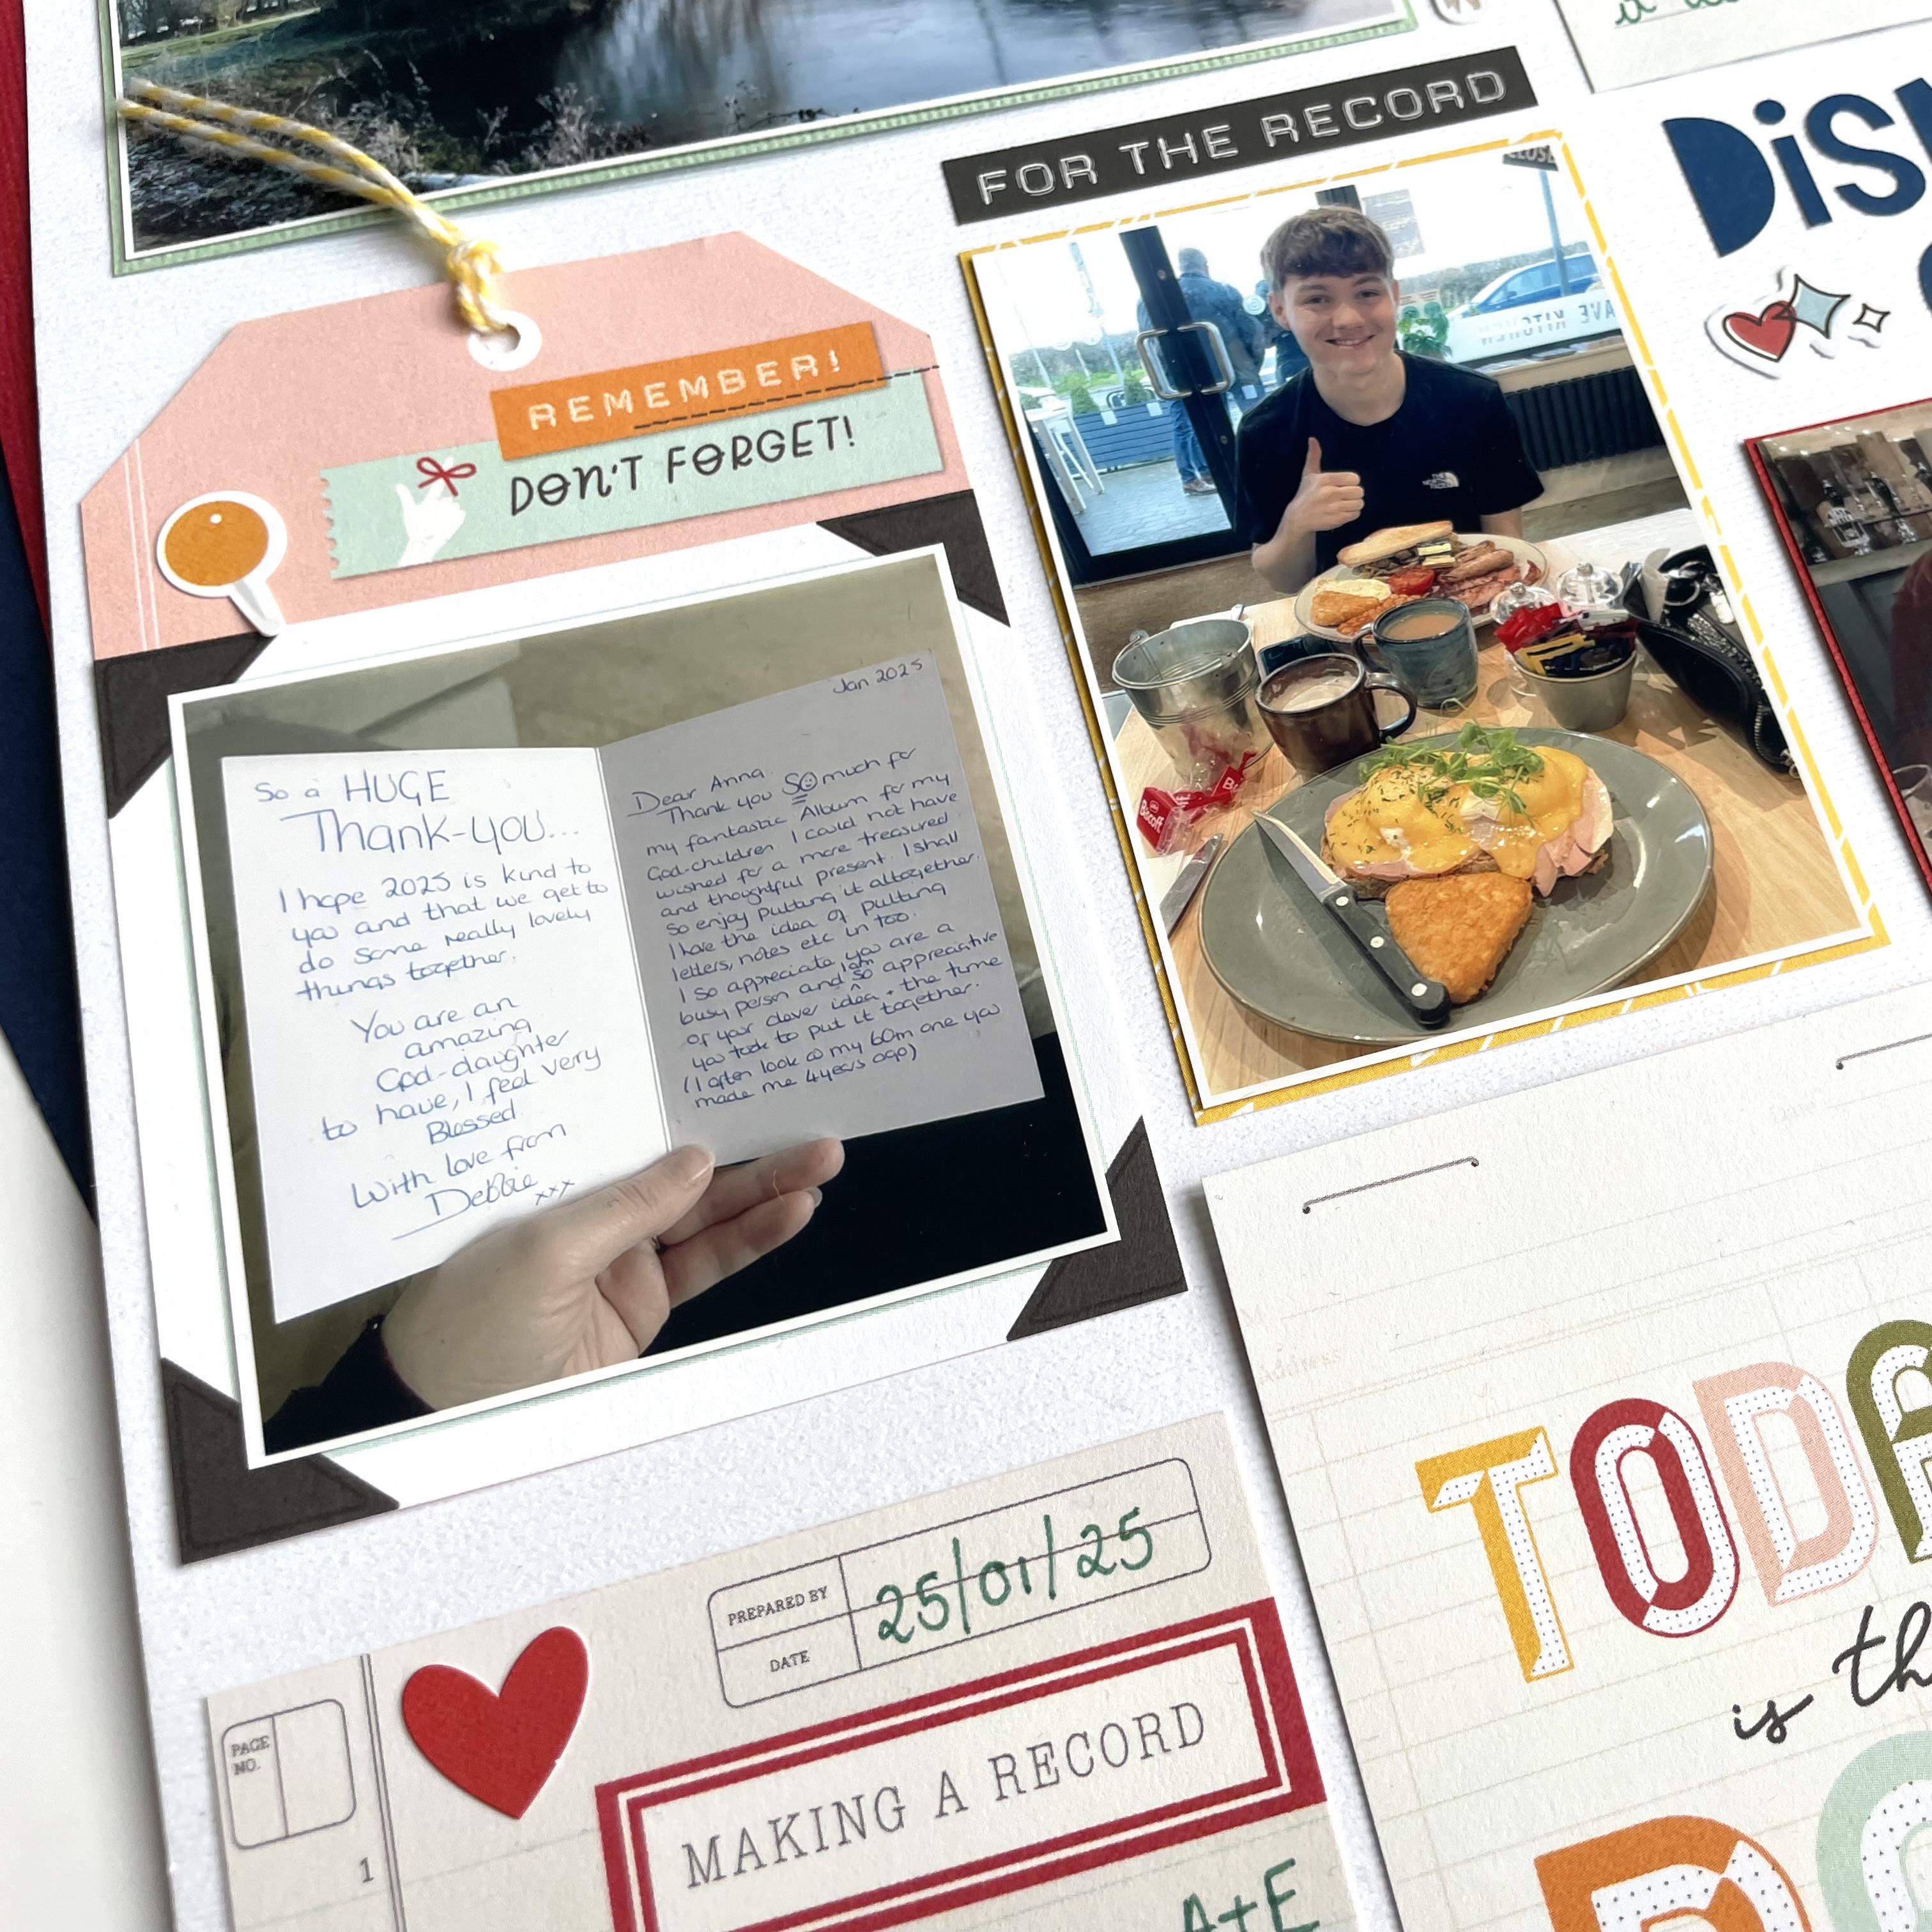
I like to create a ‘project life’ style page in my album each month. I do this to document all of the little bits of life, things you wouldn’t necessarily create a whole page for. 
I used to always use pocket pages to create this kind of page. But sometimes, I now create them on a 12x12 sheet of bazzill, just dividing various subjects into sections on the page.


I used a sheet of white 12x12 bazzill cardstock as my base and printed a selection of pictures that I wanted to use. I started to arrange them around the page to get an idea of spacing and what might fit where. 


I cut out a few elements from the collection including the January 4x6 and some journal elements. 


I arranged all of the components on the layout and filled in any gaps with cardstock stickers. 
I added a couple of stickers from other collections to fit in with a particular theme or picture. For example I added a tree next to my frosty scene from the Vintage Fresh Snow Cardstock Stickers. 


I added some alpha stickers to create some mini titles. 


Thanks so much for looking.
I’ll be back with a new collection soon. See you then!

Anna

@acraftylifewithanna

Wednesday, 29 January 2025

Simple Stories ~ For the Record #2 💛

Hi everyone, it’s Anna back with you today. 
I’m here to share my second layout I’ve created using Simple Stories For the Record. 
You can find the collection in the shop - here. 

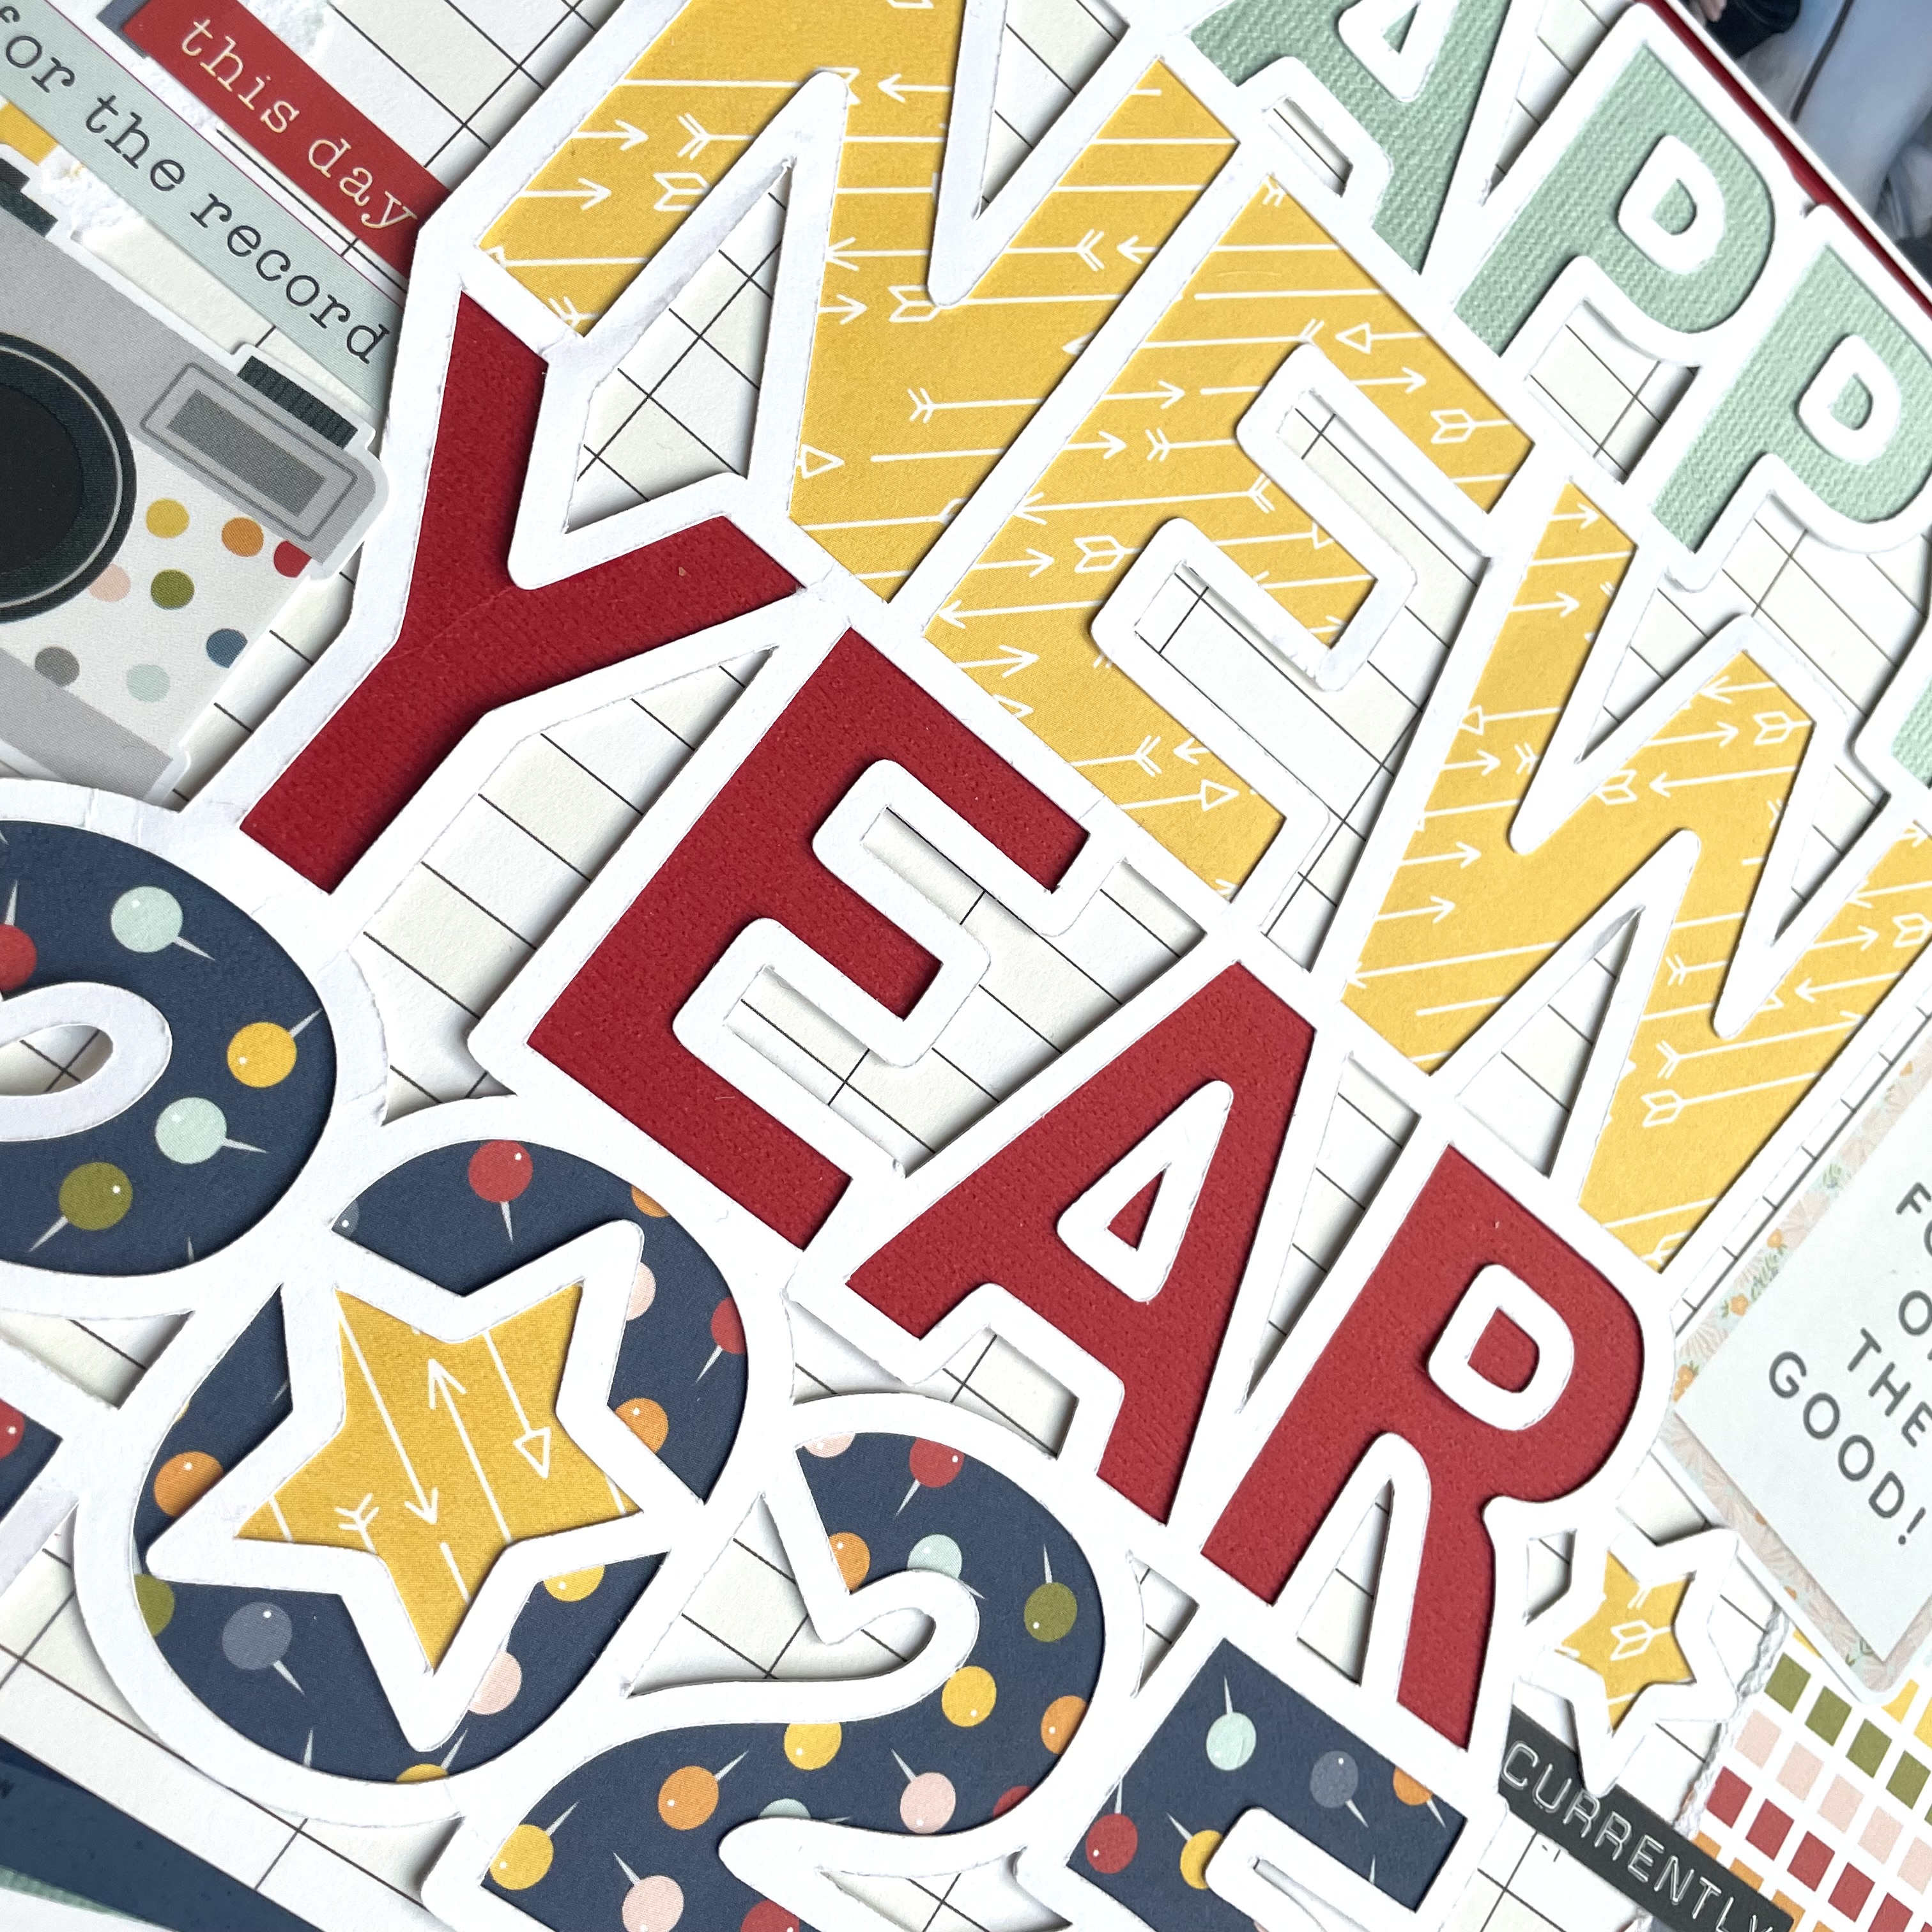
For my second layout I am creating a title page for my 2025 album. I like to use a photo from around the start of the year and create a page to have at the front of my album. There are lots of yearly themed cutfiles which will help you document this, alternatively you could create your own large title with alpha stickers. 


I used the b side of ‘Don’t forget this’ as my base. I then tore two pieces of ‘It’s all good’ and adhered a piece to each side of my layout. 


I used a cutfile ‘Happy New Year 2025’ by Paige Evans. I backed all of the letters using ‘the best part’ and ‘Just the Details’ as well as some coordinating cardstock. 


I adhered it to the centre of the page and mounted my photo in coordinating cardstock. 


I added cardstock stickers in three clusters to balance the layout. 


Thanks so much for looking. See you again next month!

Anna 

@acraftylifewithanna