Showing posts with label fall. Show all posts

Monday, 8 September 2025

Fabulous Fall Vibes - Simple Stories - Simple Vintage Autumn Breeze Collection

Hi everyone,

It’s Rebecca here on the blog today! I’m feeling a bit torn about September… On one hand, I’m excited for autumn and all its beautiful colours. But on the other, I’m really sad to see summer go! One thing that always helps ease the transition is seeing the gorgeous new autumn collections arriving in the shop—and this month, I’ve been working with Simple Stories “Simple Vintage Autumn Breeze.” You can find the full collection in the shop here. I always look forward to the Simple Vintage lines as we head into autumn, and this one definitely didn’t disappoint!


To start my layout, I tore strips from two different patterned papers. I chose a subtle, neutral paper for the top layer, backed with a more colourful one for contrast. Down the left-hand side of the page, I arranged a cascade of Polaroid-style frames, which I fussy-cut from the Crisp Days patterned paper.

I hollowed out the centre of one frame and backed it with my photo, adding foam behind it for dimension. Placing it centrally among the other frames helped it stand out. I also tucked a larger piece of ephemera from the Ephemera pack behind the framed photo to add some extra detail.


For my title, I chose the word ‘Fabulous’ from the Foam Stickers, and placed it to the right of my photo—raised up on foam pads for added depth. Underneath, I added a smaller foam sticker to extend the title. I love combining fonts like this—it adds visual interest and a playful feel to the page.


With the larger elements in place, I started embellishing. I fussy-cut some tags from the Tag Elements paper, punched metal eyelets through each, and arranged them around the layout for extra texture and charm.


Next, I turned to the Floral Bits & Pieces. I selected a few floral clusters and layered them around the layout, including a sticker from the Elements Stickers to complete the cluster in the top-right corner.


At this point, I needed to decide on a background. I’d been building everything on Premium White Cardstock, but it felt a bit too stark—it just wasn’t making the elements pop. The great thing about adhering your layout pieces together first is that you can lift them off and try different backgrounds underneath!

After testing several patterned papers, I fell in love with the bold orange Journal Elements paper (B side). It really brought out all the other colours on the page. It was a bit of a daring choice for me, but I’m so glad I went for it!

To finish off the layout, I added a couple of tabs from the Bits & Pieces and some mini heart foam stickers. I love how these tiny, last-minute touches pull everything together without overwhelming the page.


Thanks so much for reading—I hope you’ve enjoyed seeing how this layout came together. I’ll be back later this month to share my second layout using this stunning collection.

Take care, 
Rebecca xx

@preciouspagespapercraft

Monday, 9 September 2024

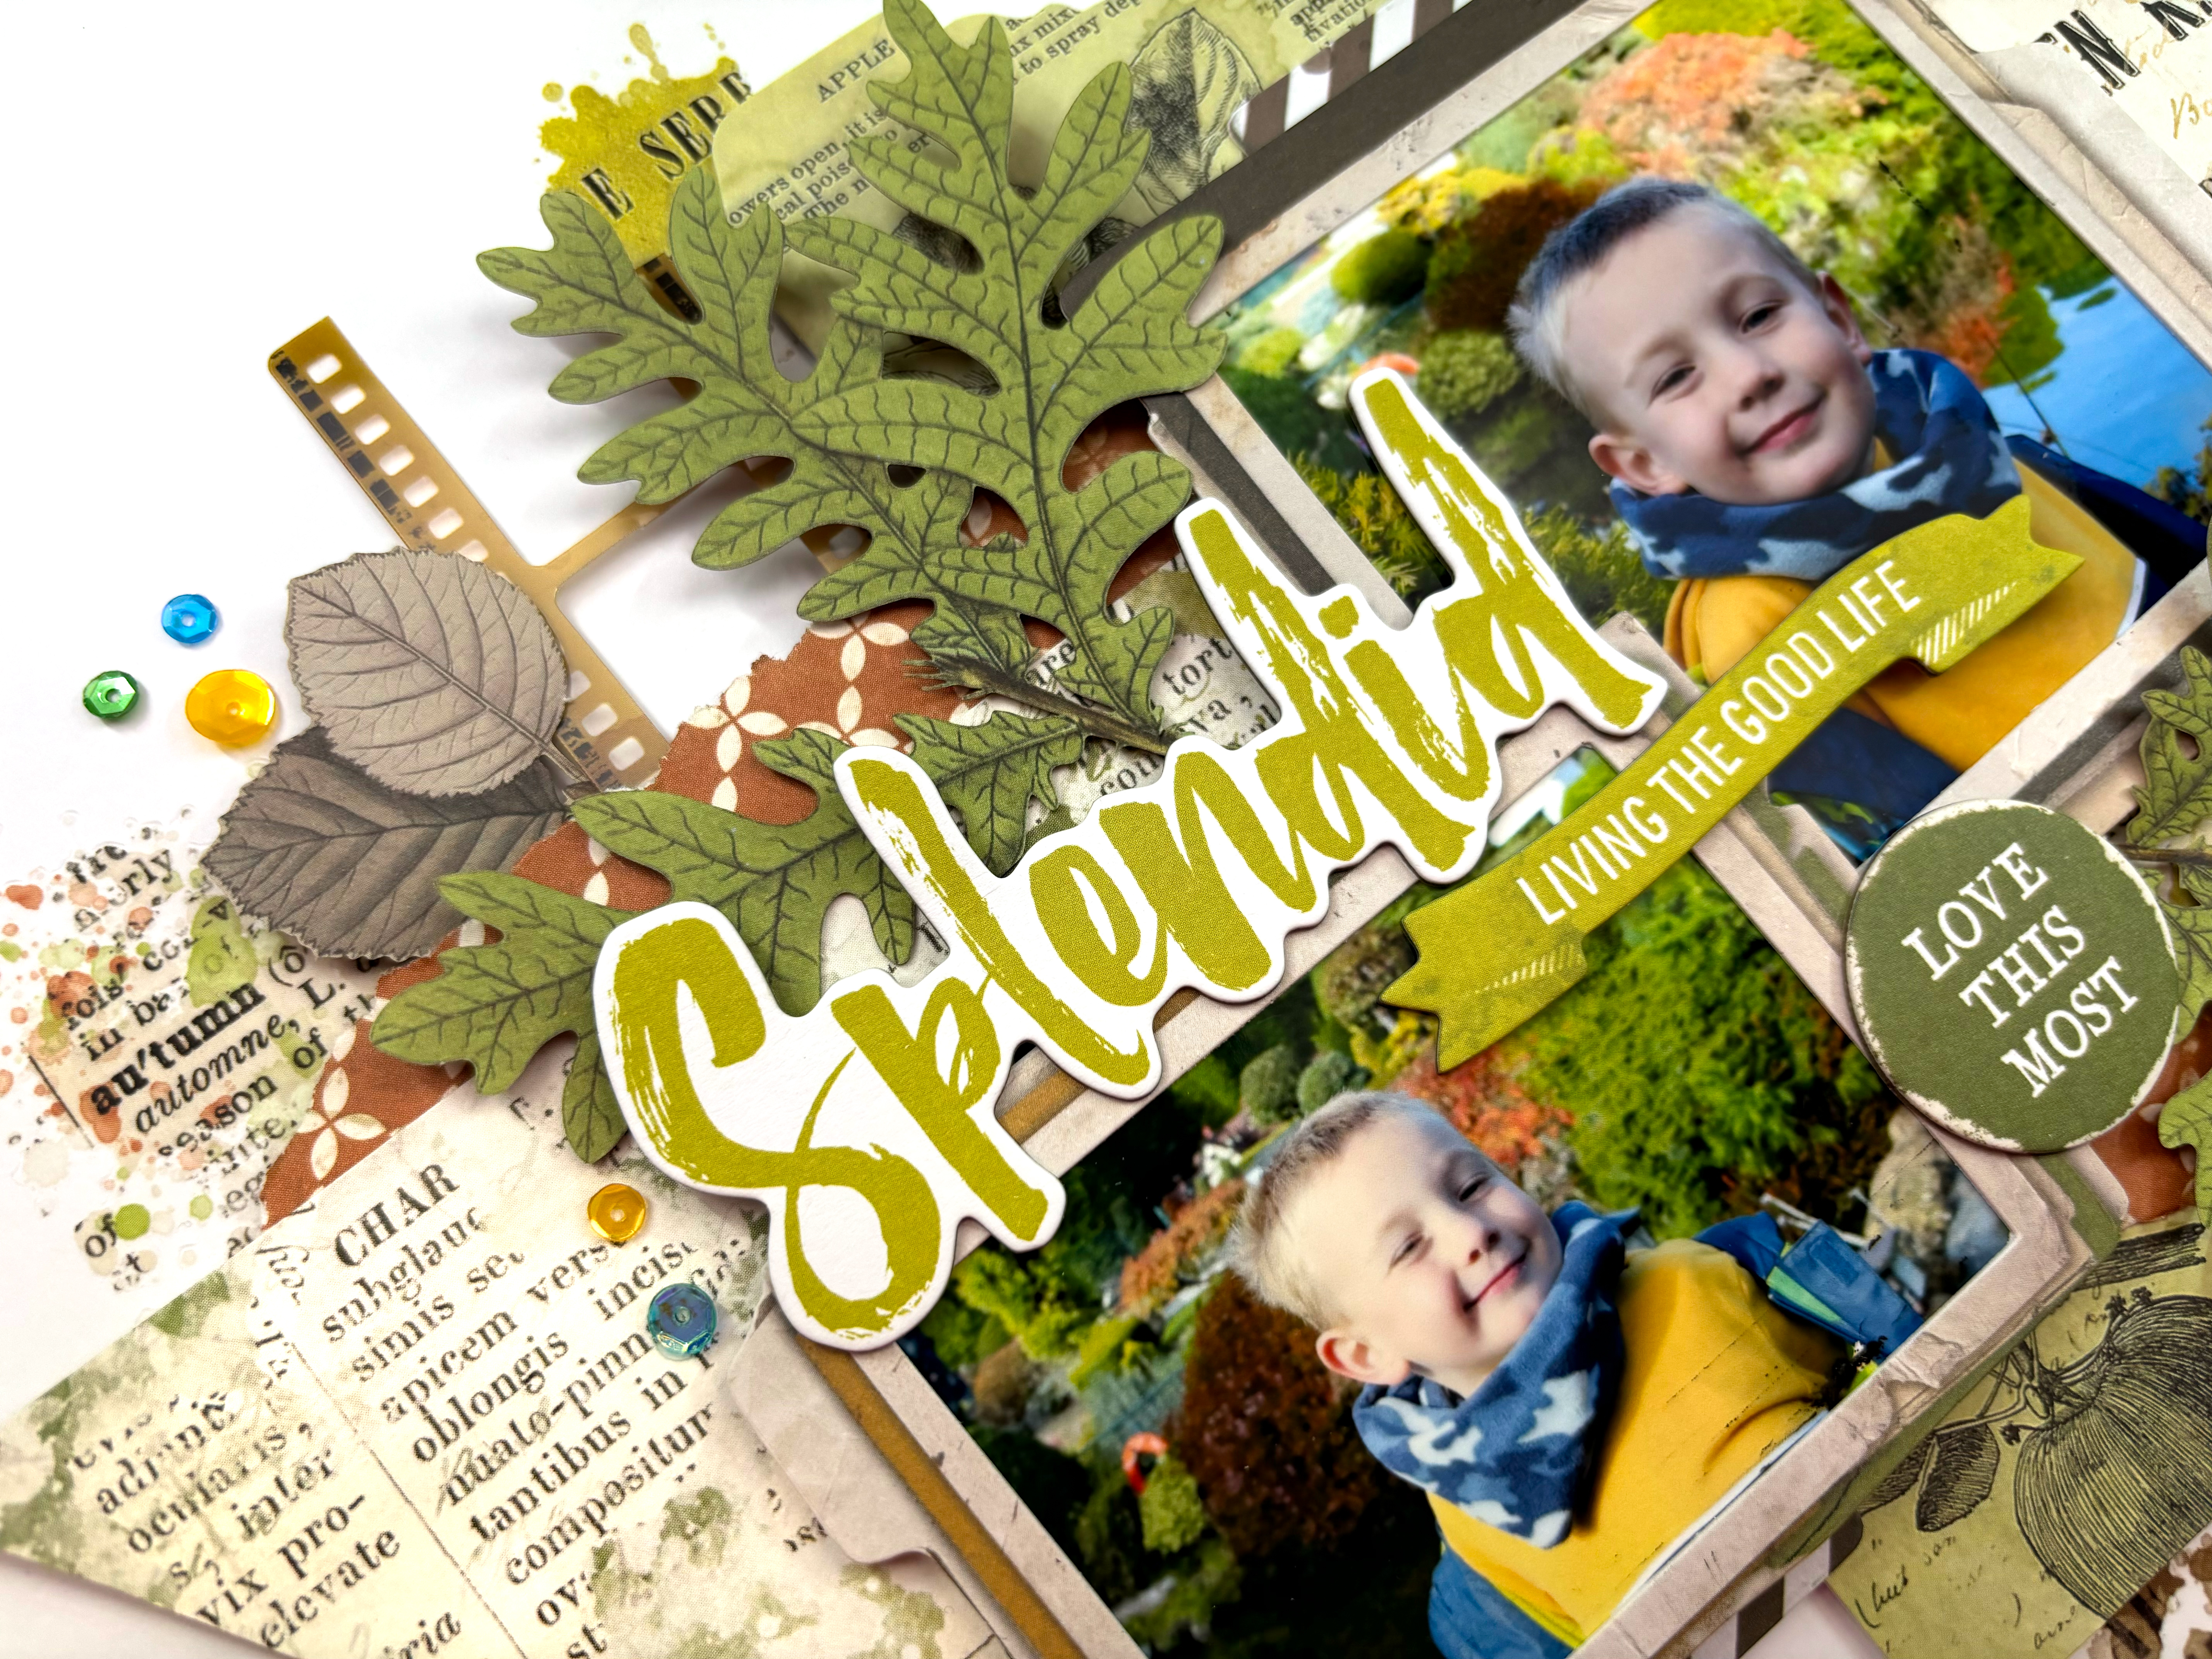
Splendid - 49 and Market - Vintage Orchard Collection

Hi everyone, it's Rebecca with you today sharing my first layout created with 49 and Market's 'Vintage Orchard' collection. The weather has certainly changed and Autumn is on the way. As sad as I am to say goodbye to Summer (although did it ever really arrive this year?!), Autumn is my favourite season to scrap so this collection was right up my street! You can find it in the store here.


I started with the 'Nestled' patterned paper - one of my favourites - and cut a 3 inch wide strip. I trimmed down either end and cut fish tails to make it more like a banner. I placed this in the centre of a sheet of Premium White Cardstock with some torn sections of the 'Painted Foliage' above and below it for contrast. At this point I hadn't stuck anything to the white cardstock - I was just sticking everything together and working on layers.


Behind the fishtail banner, I positioned one of the larger cards from the Ephemera Bits pack. This pack is amazing and includes 96 different elements so it will last a long time! 

On top of these layers, I added my photos, housed in two of the Stacked Frames. I've raised both photos up using foam to add in some dimension between the layers. I was then able to add in some smaller layers, including some striped frames from the Ephemera Bits and some filmstrips from the Acetate Assortment Set. I love how these little layers make all the difference.


I've used one of the Chipboard Words for my title, picking not only a phrase which works for the photos I'm documenting, but also a colour which matched my photos and the other elements on the page.


With these larger elements in place, I turned my attention to embellishing, which for me is the fun part and where the layout really comes together. I selected some gorgeous green leaves from the Laser Cut Wildflowers. This is another amazing pack which includes 92 pieces so is really good value for money. 


Once I'd gone through and adhered all these pieces together, I was able to see how much of the white cardstock my layout was covering. This makes it so easy to add details to the background because I can move everything on and off the page in one piece. The Vintage Orchard collection includes 3 sets of rub-on transfers. I selected some from the Blendable Rub-Ons and the Essentials Rub-Ons and applied them to my background. I love how easily they apply, and they don't really leave an 'outline' as such, so they really do look like stamping and mixed media (just without all the effort and mess!).


I finished off with a couple of laser cut butterflies and some sequins for a little bit of sparkle!

Thanks so much for reading! I hope you've enjoyed this layout and it offers you some inspiration. Vintage Orchard is a stunning collection and is available in the shop now.


Take care

Rebecca x 

@preciouspagespapercraft


Wednesday, 18 October 2023

Echo Park ~ I Love Fall #1 🎃

Hi everyone, it’s Anna back with you today. 
Well the weather has finally turned colder and now seems like the perfect time to start scrapping Autumn! So with that said, for my next two posts I’ll be working with Echo Park’s latest autumnal collection - I Love Fall. You can find it in the shop here


I used the b side of plump pumpkins as my base, which I gutted as I knew I’d just be using it for a boarder. I then trimmed down a sheet of white bazzill cardstock by roughly an inch each side. I adhered the cardstock to ‘plump pumpkins’ and then made some sewing holes ready for stitching later. 


I wanted to create a multi photo layout to use lots of pictures from a recent trip to a pumpkin patch. I had so many to use, I wanted to be able to include lots of my favourite ones. 
I mounted them with various patterned papers from the collection as well as some orange bazzill from the matchmaker pack. I also selected a frame from the ephemera icons to mount one of my photos. 


I tore an area out of my cardstock at the top left and the bottom right side. I then filled in the gap using ‘crisp fall air’ and added some fussy cut florals from ‘fall flowers


When I was happy with how my photos were laid out, I added a few stickers from the element stickers filling in gaps and tucking them in and around my photos. I also added a few elements from the ephemera icons pack


I cut out a journaling box from the 4x4 journaling cards and trimmed it down to make a box to do some journaling. 


Finally, I added my stitching around the edge of the cardstock. 


Thanks so much for looking! 
See you next time with another layout using this collection. 

Anna
x

@acraftylifewithanna
 

Friday, 19 November 2021

Echo Park - Fall - Grateful for this Day

Hi everyone,

Claire aka @scrappysoulmate back with you today sharing my second layout using Echo Parks Fall collection. You can find it in the shop here.


For this layout I opted for mixed media, creating this stencilled background by brushing Distress Oxides across my page and layering more colour on top through a stencil to create a patterned background.

I printed my photo at 3"x4" and double matted it using the b side of the 3x4 Journaling Cards paper to show that beautiful blue gingham pattern, and a piece of brown Bazzill Cardstock from the Matchmaker Pack


I distressed the edges and layered onto foam for extra dimension.

Next, I opted for a cutfile from Peartree Cutfiles of some large pumpkins that were the perfect compliment to this collection and my pumpkin picture.

I backed the file in alternating colours of red and orange, using the Family Farm Floral, Patch Plaid and Whisking Leaves papers.


For the brown and yellow paper, I used the Matchmaker Pack and added extra texture in Nuvo Drops in Yellow Brick Road.

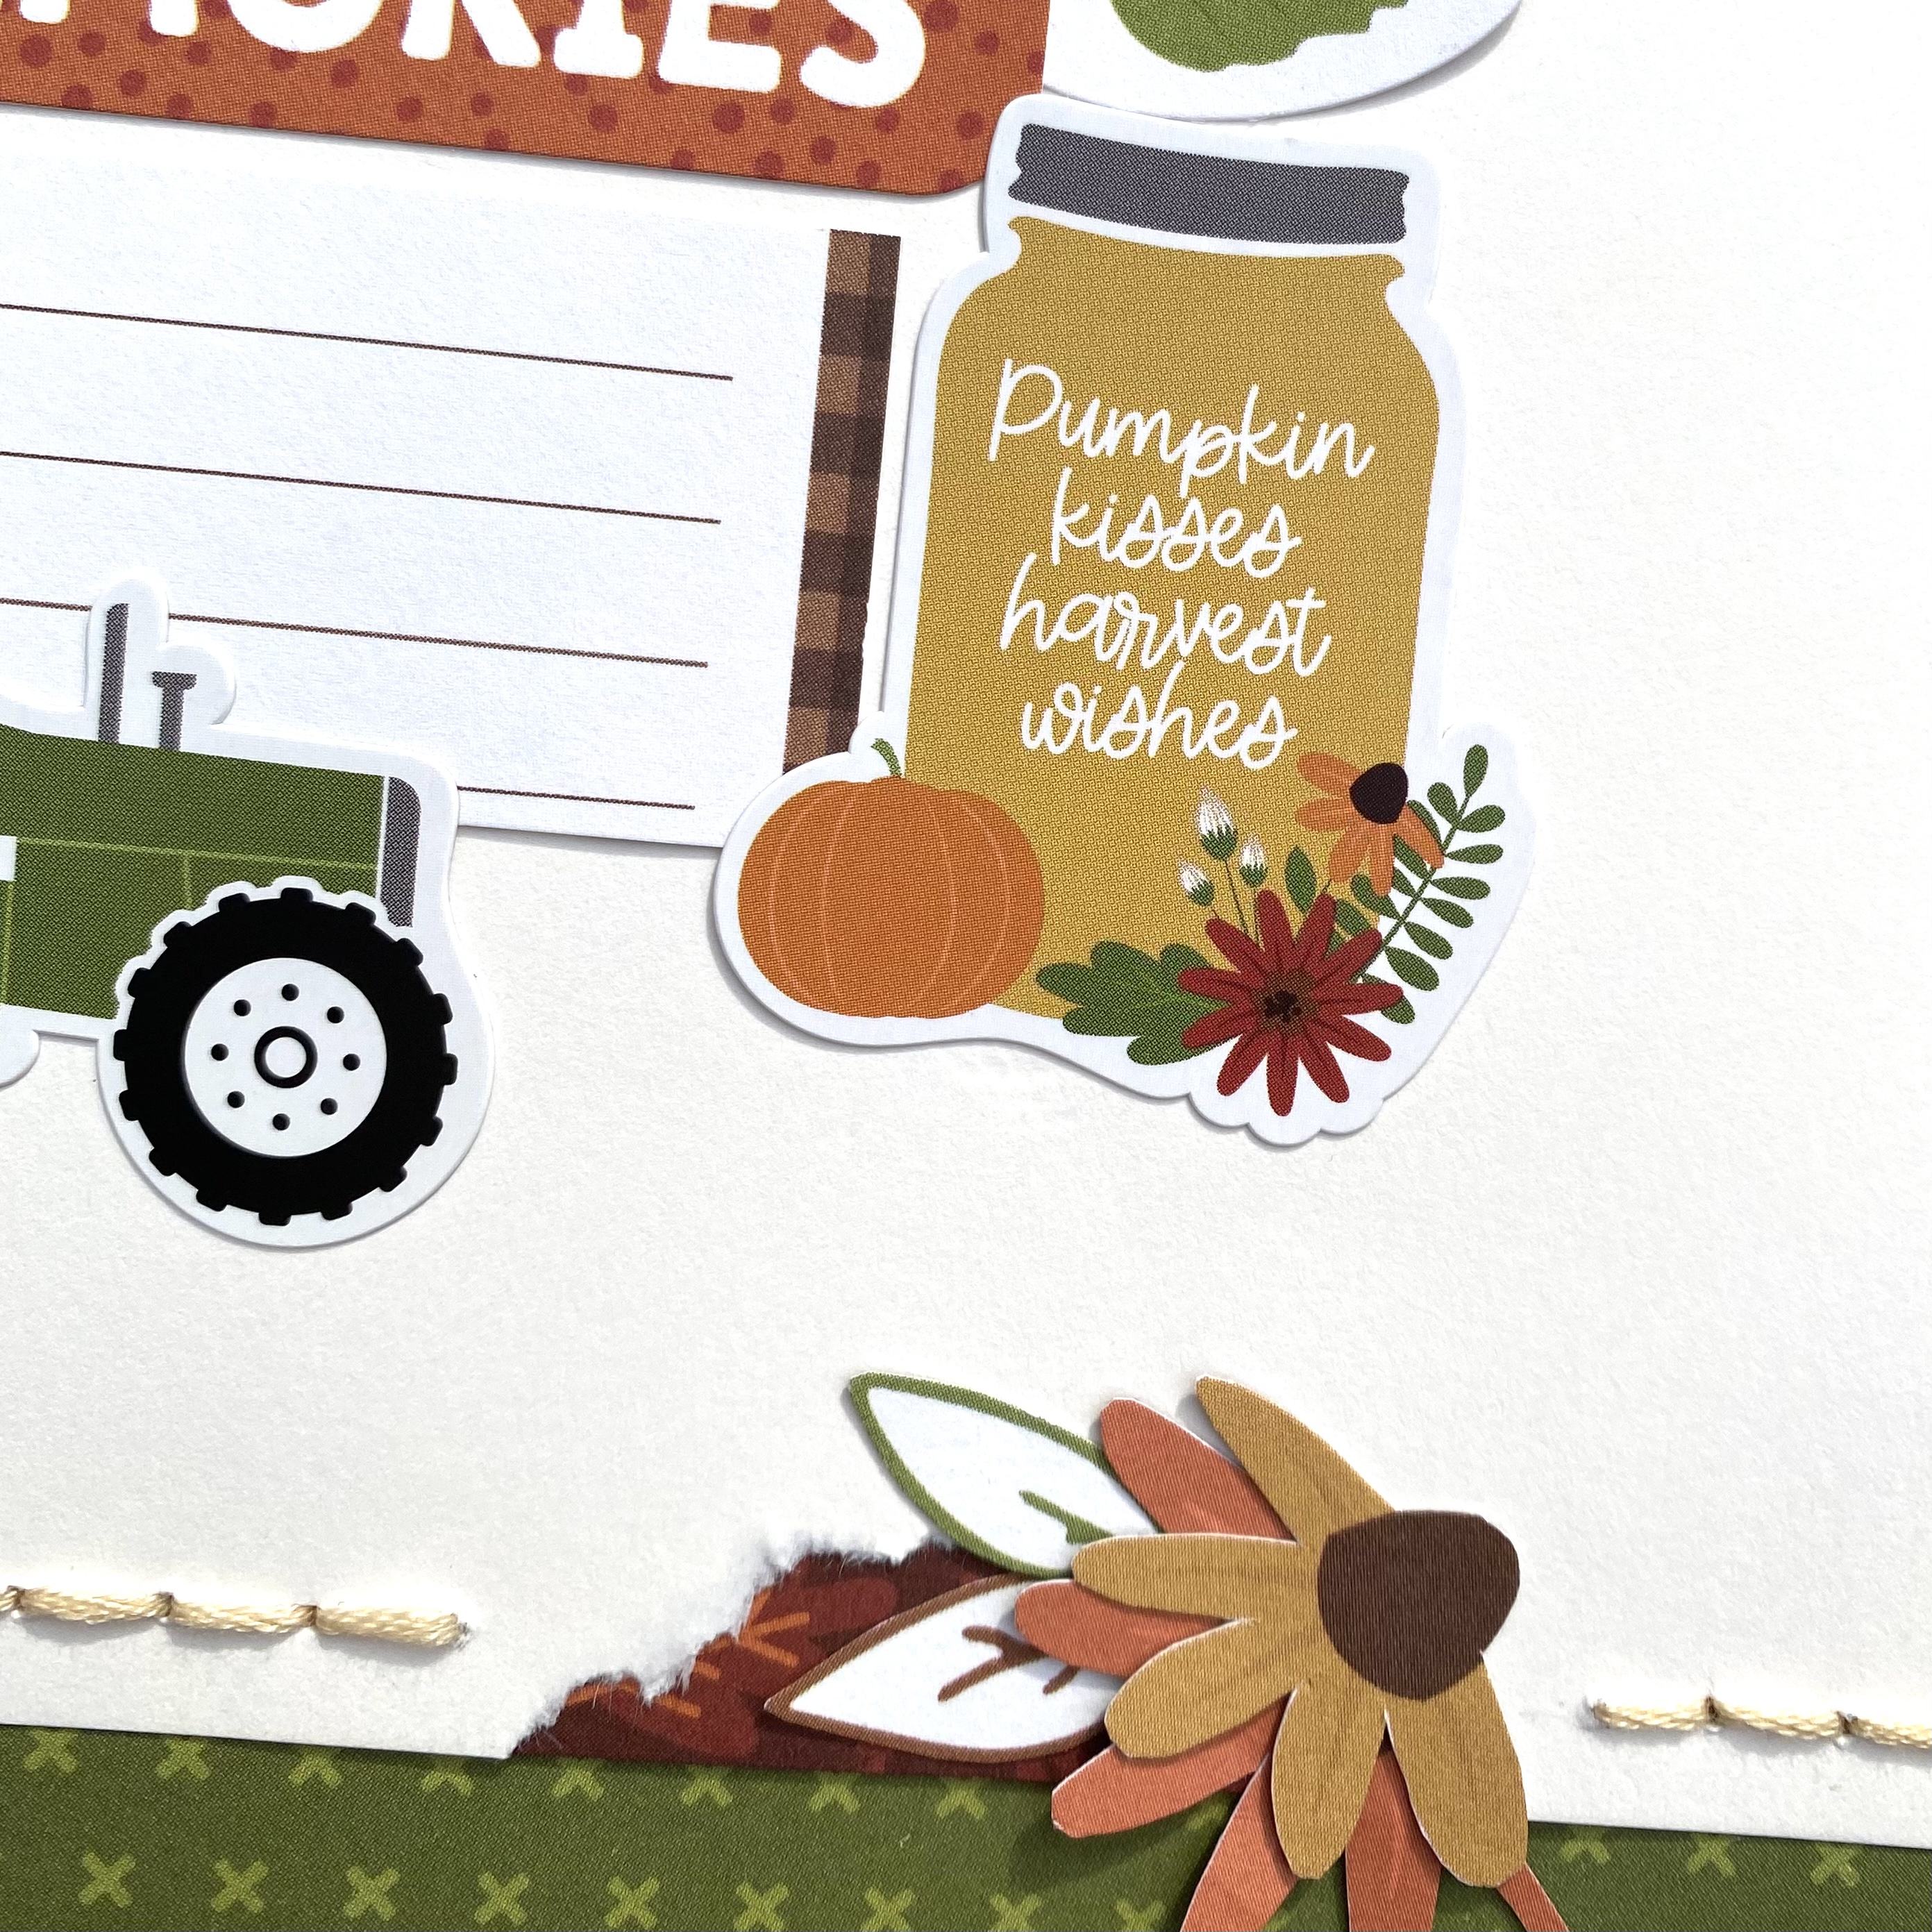
I embellished the page with pumpkins, leaves and a truck from the Element Stickers.


As a little extra detail, I fussy cut some tiny leaves from the Whisking Leaves paper, scattering them across the page to create a windblown look. Really love the feel this gives the page.


For my title, I fussy cut one of the phrases from the Journaling Cards saying "I will be grateful for this day" - a phrase which really spoke to me.


As a finishing touch, I added a sticker from the Element Sticker sheet and added a few splashes of gold ink.


This has been a fun collection to create with and is so perfect for all your pumpkin picking and fall layouts.

I hope I have inspired you to document your memories of the season and look forward to sharing more projects with you soon.

Claire x


Saturday, 6 November 2021

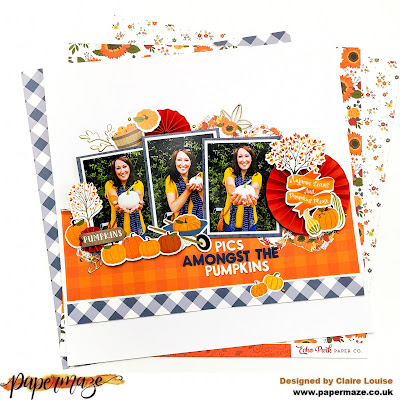
Echo Park - Fall - Pics Amongst The Pumpkins

Hi everyone, and a very happy November!

I love Autumn - the crisp air, clear blue skies and all the colours that the season brings.  One of my favourite activities is to go Pumpkin picking and when I saw the Echo Park Fall collection in the shop, I knew it would be perfect for documenting my last trip.


The collection contains some beautiful colours - full of warm red, yellow, orange and brown with some beautiful blue papers that offer a perfect contrasting colour.

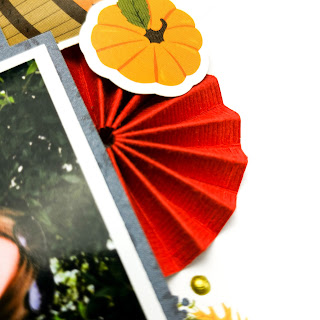
I started my layout with a sheet of White Premium Cardstock. I love this smooth card - it's my 'go to' for every layout and a real staple of my craft stash. Next, I grabbed a sheet of red Bazzill from the Matchmaker Pack and made 3 rosettes in various sizes, by using different width strips of card and folding in hills and valleys to make a concertina.


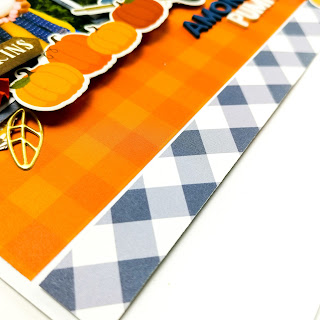
To create a base for my design, I used two strips of paper. I used the 'b' sides of the Whisking Leaves paper (about 4" wide) and a much thinner strip of the 3x4 Journaling Cards paper (about 1" wide). I positioned these in the bottom half of my page, layering one against the other for contrast.

I stuck the orange paper flat and the blue strip on foam for dimension and interest.


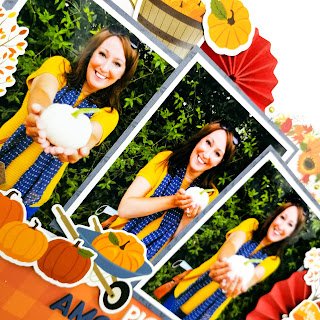
Once they were in place, I grabbed my photos and mounted these with the blue 'b' side of the 4x4 Journaling Cards paper. For extra texture, I raised each photo on foam pads, overlapping them slightly to create depth.


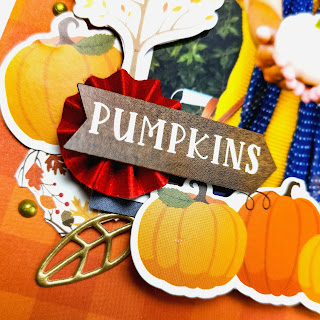
The, the embellishing began!  I mostly used the Element Stickers for this - they are awesome! So many great elements on this sheet and so much fun to play with - a real must if you buy any of this collection.  I backed most of them on cheap copy paper so I could move them around the page while I decided on their final position.


I layered them with my rosettes, some gold leaves I have left from Jen Hadfield's The Avenue collection and some fussy cut wreaths from the 'b' side of the Journaling Cards paper.


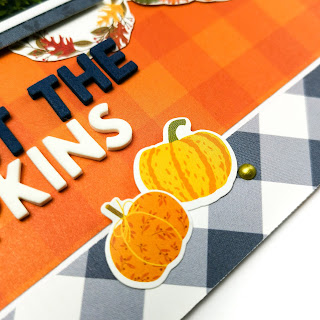
To finish the page, I added a title using some mini alphas from my stash and added a few Nuvo Drops in Bright Gold.

I am really loving this collection and the contrast of the blue against the warmer orange tones. It's not a colour combination I would usually opt for but it is creating some really striking pages - perfect for all your Fall scrapping as the name suggests :)

I'll be back again later this month sharing another page with this collection. Until then, you can find it in the shop here.


See you soon.

Claire x


Monday, 25 October 2021

Echo Park ~ Fall #1

 Hello all, 

It’s Anna back today and I’m working with a brand new collection - Echo Park Fall - you can see the whole collection in the shop here

This collection is perfect for documenting the season of autumn, the colours and images are just perfect. So after a trip to a pumpkin patch, I had so many photos to scrap that worked so well with it. Therefore, my first layout is a double page spread! I very rarely do double pages these days, so it’s a bit different for me, but I’m glad I could use several photos! 

I began with two sheets of bazzill white cardstock. To make the double page flow, I went with a mirror image design. I trimmed the b side of the 4x4 journaling cards paper in half and stuck it down in the middle, leaving room around the edges to add in extra strips. I then added strips of the b sides of fall phrases, patch plaid and pumpkin patch. I finished with a longer strip of the red side of  patch plaid with banner edges. 

Left Page:

Right Page:

I mounted my photographs onto coordinating cardstock and patterned papers from the collection. 

I used several of the element stickers and puffy stickers to embellish my layout. I also added in a few of the puffy leaf stickers from the Jen Hadfield Peaceful Heart Collection

I made a hidden journaling box, by combining a project life card with one of the 3x4 journaling cards. I tucked this in behind my largest photo, and it can easily be pulled out to read the journaling.

Lastly, I added in a few Nuvo Drops around some of the clusters of embellishments using the shade of pale gold.

Thanks so much for looking! 

I’ll be back soon with another layout using this collection. 

Anna

X