Tuesday, 2 December 2025
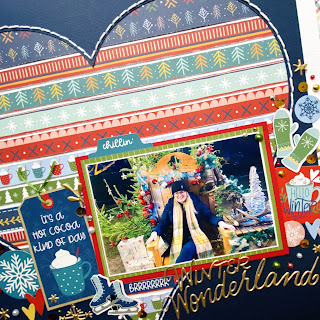
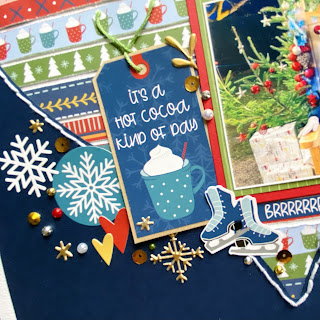
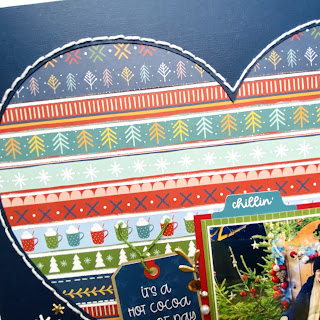
Winter | Rebecca Bee | Simple Stories | Simple Vintage Flannel Season
Monday, 17 November 2025
Flannel Season | Rebecca Bee | Simple Stories Simple Vintage Flannel Season
Brrr...it's set to get chilly this week! With the colder weather in mind, what could be more cosy than documenting some winter weather photographs with the gorgeous Simple Vintage Flannel Season collection from Simple Stories!
Monday, 27 January 2025
Winter - Simple Stories - Simple Vintage Fresh Snow Collection
Hi everyone,
Rebecca here, back on the blog today to share my second layout of the year! This month, I’ve been working with the gorgeous Simple Vintage Fresh Snow collection from Simple Stories, and it’s absolutely perfect for winter. I’ve been hoping for snow every week just to gather some beautiful photos to scrapbook with it! (I'm still hoping!!) You can find the full collection in the shop here.
To start, I cut strips from both the Snug & Warm and Winter Wishes patterned papers. After rolling one edge of each strip for added texture, I arranged them horizontally across a sheet of premium white cardstock, overlapping them slightly.
Next, I added my photo, which I matted with a lighter patterned paper to help it pop. To the left of the photo, I placed an element from the Ephemera Pack, and above it, I added a tag which I'd fussy-cut from the Tag Elements patterned paper.
At this point, I felt the white background was washing out the lighter grey woodgrain patterned paper, so I tested out a few patterned papers as my background before settling on the Cabin Fever paper. I really love the leafy pinecone detail in the corners, and wanted to incorporate more of that to help my design flow with the background. I chose some beautiful elements from the Floral Bits & Pieces and added them diagonally, following the natural design of the background. To add some dimension, I raised the edges of these pieces with foam.
To bring a touch of sparkle to the layout, I added a few clusters of metallic silver thread. I love using silver with snow layouts, as it reflects the silvery glisten that snow often has, creating a nice cohesive feel.
For the title, I chose the word "Winter" from the Bits & Pieces pack. The darker letters really stand out against the soft tones of the layout, making the title pop.
To finish the layout, I created two small clusters of stars and snowflakes using die cuts from the Floral Bits & Pieces and Foam Stickers, and added a couple of Rub Ons for that final touch.
Thank you so much for reading! I hope this layout has inspired you to create something beautiful. The Simple Vintage Fresh Snow collection is selling fast, so be sure to grab it before it’s gone!
Take care,
Rebecca x
@preciouspagespapercraft
Wednesday, 15 January 2025
Winter Wishes - Simple Stories - Simple Vintage Fresh Snow Collection
Hi everyone,
It’s Rebecca here, and I’m excited to share my first layout of 2025 with you today! This month, I’m working with the beautiful Simple Vintage Fresh Snow collection from Simple Stories. From the rich colours to the delicate patterns, I’m absolutely in love with everything about it. You can find the full collection in the shop here.
I’m a huge fan of woodgrain papers, and this collection includes a stunning grey woodgrain design with soft foliage accents in the corners. Naturally, it was the first paper I reached for. I cut a 6-inch wide strip, making sure to include some of the foliage at both the top and bottom. I wanted the paper to be centred on the layout but didn’t want it to extend from top to bottom. Trimming either end would have meant losing the beautiful foliage, so I decided to cut out a section from the middle and then reassemble the two pieces with tape on the back. I knew I could hide the seam with careful embellishment placement. With this done, I distressed all the edges to introduce some texture.
To complement the dark navy in my photo, I chose a darker patterned paper and tore a section to add some contrast to the lighter woodgrain. The mix of darker and lighter tones really made the page pop.
Next, I placed my 3x4-inch photo in the centre of the layout, but something about the sharp edges didn’t feel quite right. I wondered if a circular photo would balance the design better. Noticing a lot of brown tones in the embellishments, I decided to create a frame for the photo using a brown patterned paper.
Using a set of metal nesting dies, I die-cut three circles from a strip of patterned paper, making sure they were perfectly aligned. Rather than using the circles themselves, I opted to keep the negative space, which would typically be discarded. This leftover piece became the perfect frame for my photo. I adhered the photo behind the middle circle and trimmed the edge circles to leave them open. Then, I angled this strip across the layout for added interest.
With my papers and photo in place, it was time to embellish. I selected a few of my favourite pieces, including florals from the Floral Bits and Pieces and a sweet birdhouse from the Cardstock Stickers. I raised everything on foam pads to add dimension and arranged them in two clusters around the photo.
To finish, I added some Rub-Ons peeking out from behind the floral clusters. The Simple Stories rub-ons are so easy to apply and give a lovely texture to the page. I completed the layout with a couple of small hearts from the cardstock stickers.
Thanks so much for reading! I hope this layout inspires you. The Simple Vintage Fresh Snow collection is truly gorgeous, and I can’t wait to see the beautiful creations you make with it.
Take care,
Rebecca x
@preciouspagespapercraft
Wednesday, 8 January 2025
49 & Market - Moonlit Garden - Favourite Photo
Friday, 12 January 2024
Simple Stories Winter Wonder - 'Tis the Season to Sparkle
Hello, Karen here. Today I am sharing my first layout for 2024 and my first layout using the gorgeous Winter Wonder collection from Simple Stories. This collection is all about snow and is perfect for scrapbooking winter memories. The designs on the papers include snowmen, cups of hot drinks, snowflakes, snow boots, scarves, mittens, skis and much more. The collection includes wonderful ephemera die cuts including some beautiful Floral Bits and Pieces which I've been using.
I started my layout by cutting a huge snowflake on the Silhouette Cameo from the centre of a 11.5" square of smooth white cardstock. The snowflake shaped hole was backed with a sheet of the Snow Happy Paper, which was slightly bigger than the white cardstock and left a narrow border round the edge, and then the whole layout was layered onto a 12" square sheet of dark kraft cardstock.
Using some silver metalic thread I machine stitched a straight stitch all the way round the edge of the white cardstock. My sewing machine really does not like metalic thread so this was a real labour of love.
I also stitch with the same silver thread round the outside of the snowflake and I choose to hand stich this due to the difficulty using the sewing machine. It took quite some time but I really like the end effect and it does make the finished layout sparkle.
Laying on my desk I had some kraft coloured cardstock snowflakes which were left over from making a few Christmas Cards last month. One fitted perfectly in the centre of the backed snowflake and so I decided to add this to the layout too.
My photo was printed with a white border and matted with some of the Snuggle Up paper. A piece of white pom pom trim from my stash was stuck to the bottom of the photo before the photo was added to the layout with 3D foam underneath.
Some of the Floral Bits & Pieces were tucked under the edges of the photo, specifically the green and peach coloured pieces.
In the top right corner of the layout I added some word strips cut from one of the 4x4 elements.
The date was added to the bottom of the layout using tiny alpha stickers from my stash.
Finally I scattered some silver sequins and some very, very old Card Candi around the layout.
I hope you like this layout. I enjoyed making it and am really enjoying using this new collection. I'll be back again soon with another layout but until then there will be plenty more inspiration from my talented team mates.
Take Care
Karen x x
Monday, 8 January 2024
Echo Park - Winterland - Winter
Hi everyone,
Happy New Year and welcome to my first blog post for Papermaze for 2024!
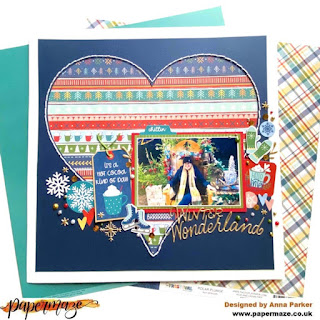
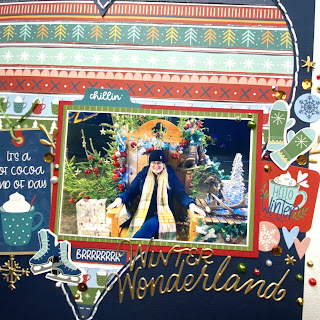
I'm starting the year with an absolutely stunning new collection from Echo Park called Winterland. You can find it in the shop here. This collection is beautiful. The colour combinations, icons and patterns are just exquisite - so much so that I've gone full on patterned paper for this layout. It's just too nice not to fill the page!
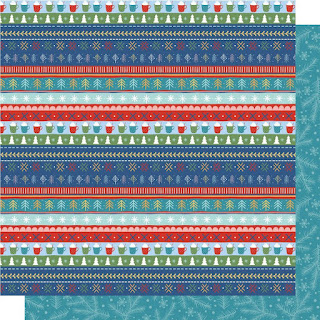
For this page, I used the Welcome Winter and Wintertime papers, creating a 1/3 - 2/3 design.
I trimmed about half an inch from each side and distressed the edges before adhering to a piece of white cardstock from the Matchmaker pack.
I mounted my 2 photos again using coordinating cardstock from the Matchmaker pack and raising on foam along the line where the 2 patterned papers meet.
To create the large vertical floral cluster, I fussy cut some flowers from the Winterland Floral. Some of the florals are quite intricate so take your time to fussy cut. I really enjoy it as I find it therapeutic. There are some large statement florals on the paper so I didn't need to cut that many to make a big impact.
Once they were cut, I positioned them along the 2 paper lines, sticking some flat and some on foam to create extra dimension.
In amongst the florals, I added some stickers from the Element Stickers - snowflakes, some small phrases in shapes and a few small word stickers.
I also curled the edges of the paper at the top and bottom of the vertical cluster to a bit of extra depth.
Offset from the title, I fussy cut some mittens from the Multi-Journaling Cards paper and added these on foam, almost as if they hang from the title.
To help balance the design, I added a few small banners from the Element stickers directly under the edge of the photograph.
Monday, 23 January 2023
Echo Park Snowed In - Let it Snow
Hello, Karen here sharing my first layout using the new Snowed In collection from Echo Park. I LOVE the colours in this collection - lots of different shades of blue with a little bit of brown and green mixed in. It includes images of snowflakes, snowmen, sweaters, skis and ski chalets. It is perfect for winter scrapbooking. Where I live we've not had much snow yet this winter to photograph but I have lots of snowy photos from the past and this collection was perfect for scrapbooking those photos.
I started my layout by trimming 1 cm off of each edge of a sheet of white 12x12 cardstock and after distressing the edges I mounted this onto a sheet of black 12x12 cardstock and machine stitched round the edges with white thread.
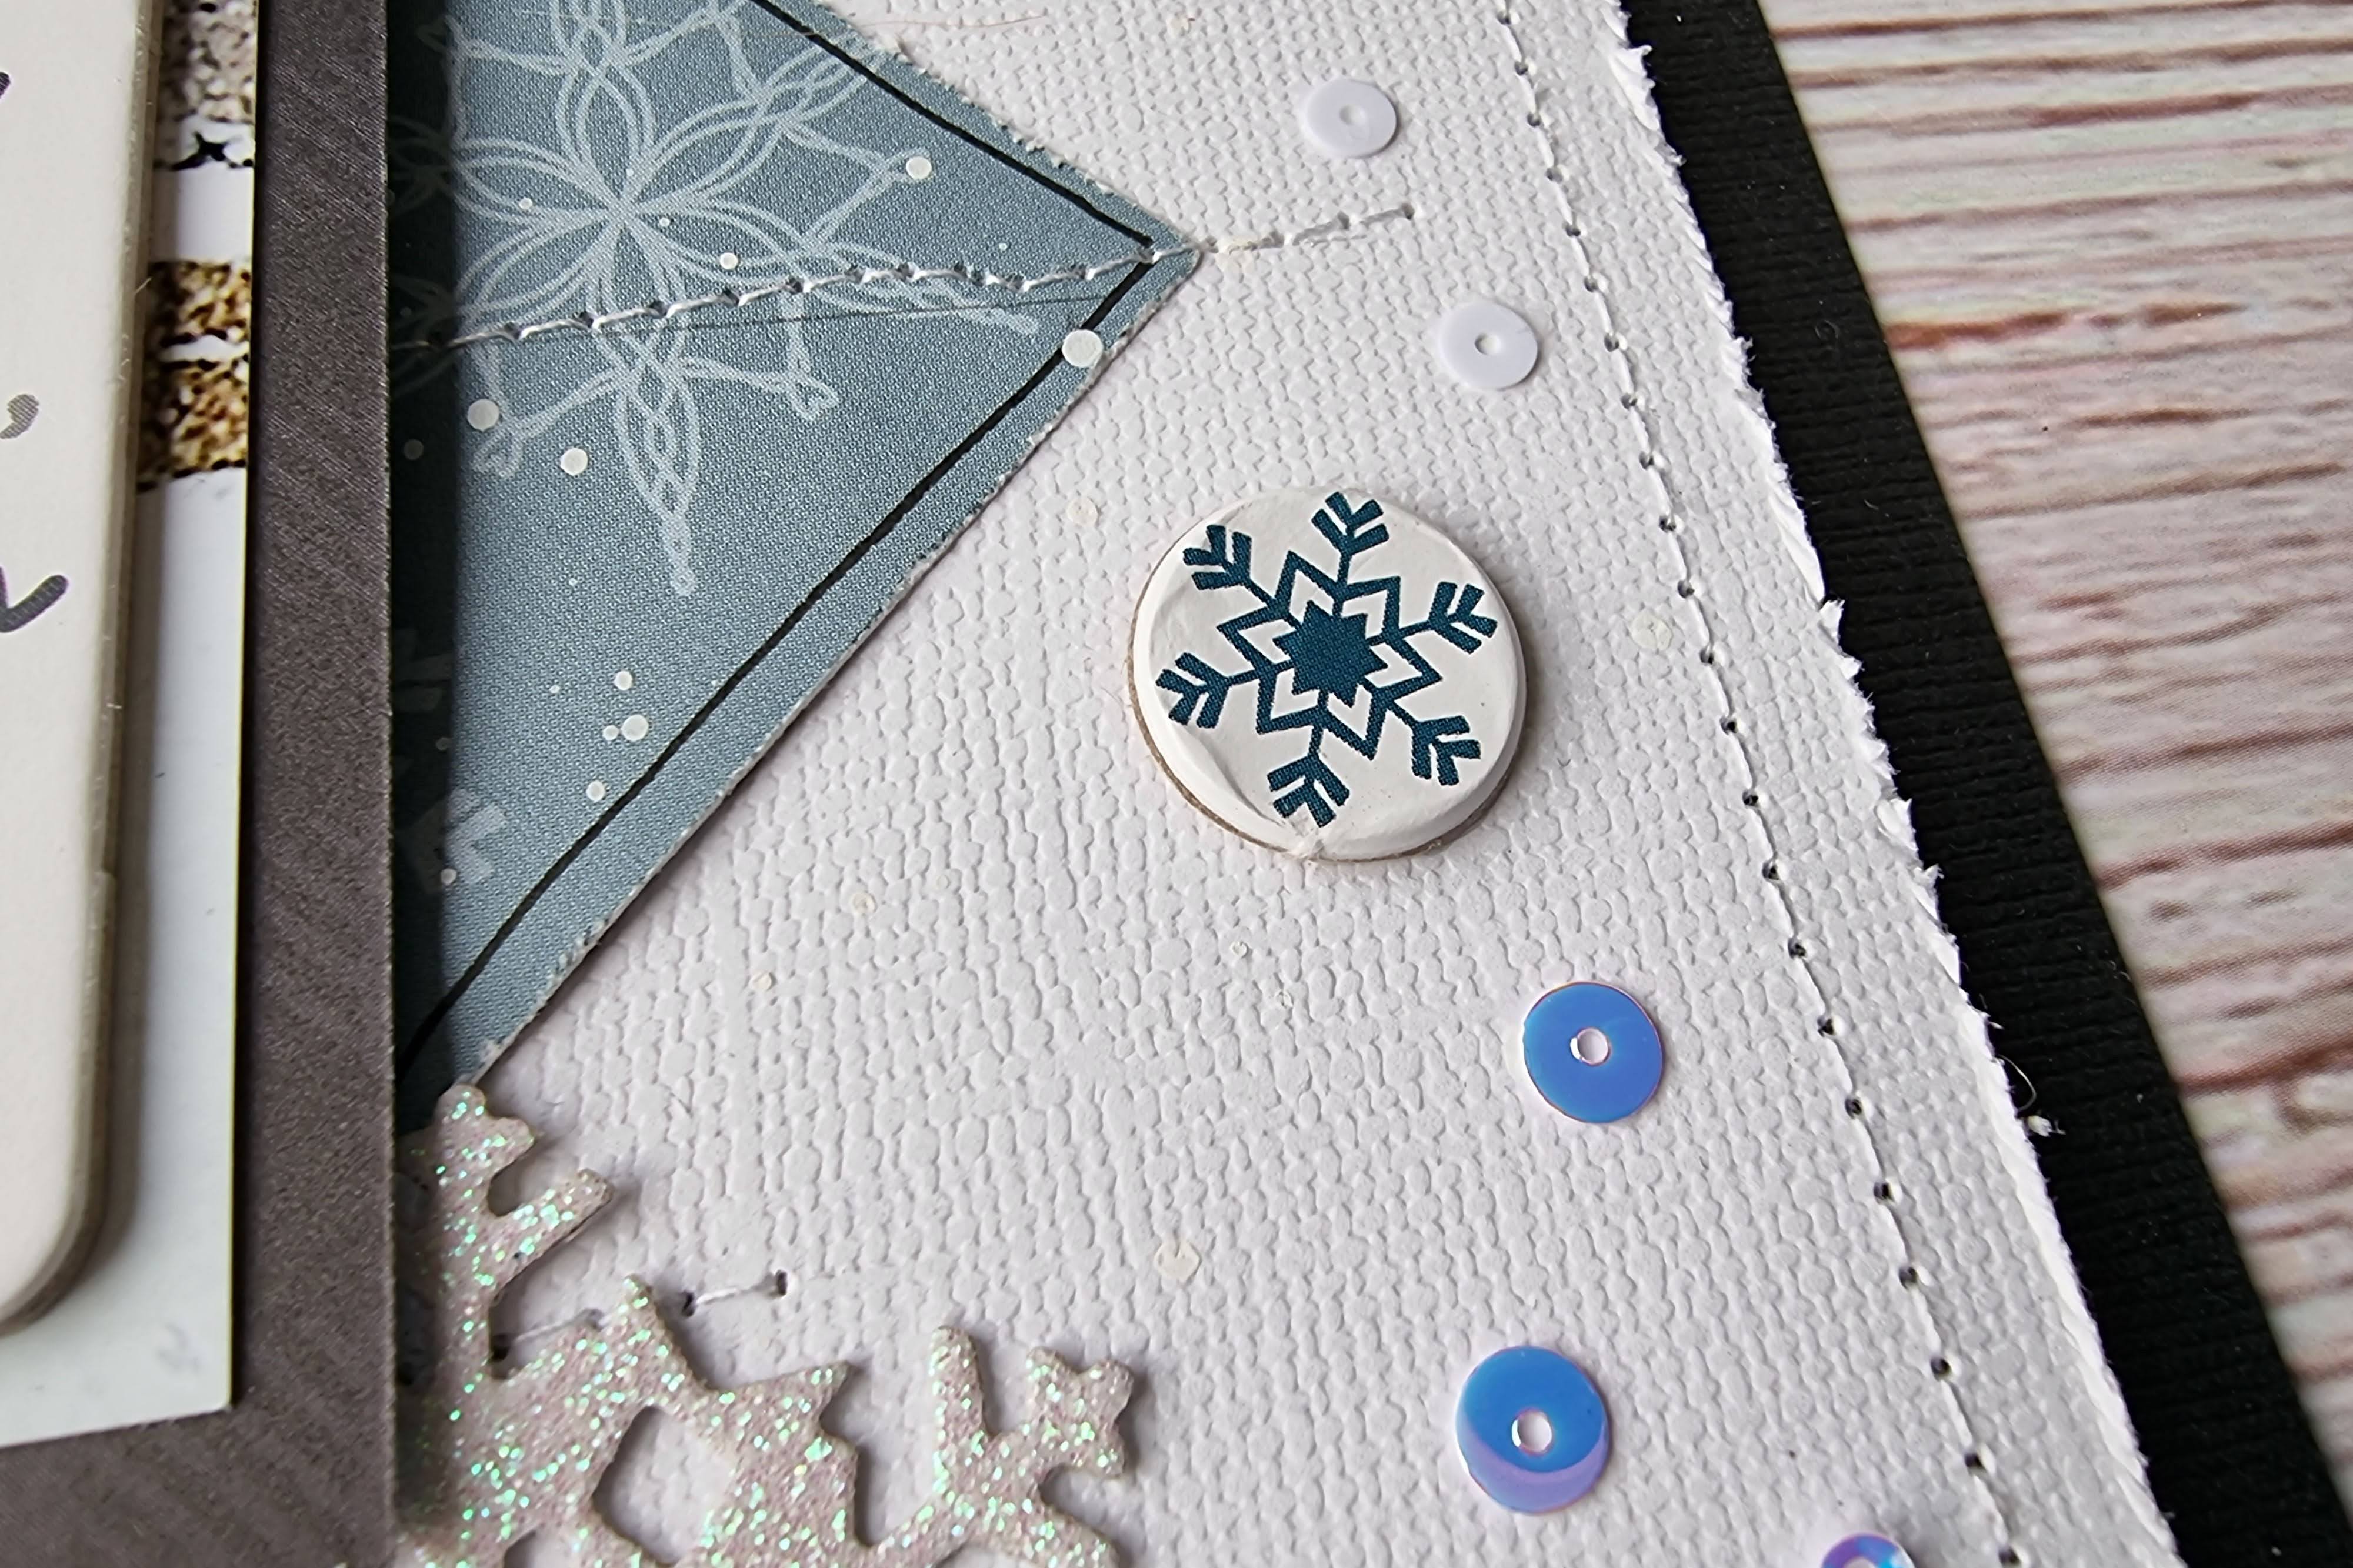
Using a 2" square paper punch I punched squares from several sheets of paper - Polar Plaid, Blizzarding Blue and Frosted Flurries. I then cut each square in half to form triangles, distressed all the edges and drew a line round the inside edges of each triangle using a black gel pen. The triangles were then arranged in the centre of the layout making sure that the different papers were evenly distributed. Once I was happy with the layout of the triangles I glued them to the layout and then machine stitched horizontal lines across them with white thread. This added some texture and also made sure the triangles didn't move. Finally, before going further with the layout, I splattered some watered down white acrylic paint across the layout to mimic the snow in my photo.
I matted my 5x7 photo with the Blizzarding Blue paper and placed this on top of the triangles with 3D foam underneath to add dimension. One of the Phrases from the Chipboard Accents was attached to the bottom right corner of the photo.
Snowflakes were die cut from some white glitter card and used to embellish the layout.
Snowflake Circles from the Chipboard Accent sheet were dotted around the layout and sequins from the Metropolis Sequin Mix from Picket Fence were sprinkled here and there. The Metropolis Sequin Mix isn't a winter themed mix put the white iridescent sequins int he mix were perfect for this layout.