That's what todays blog post is about.
A few of my favourite things.
The secret to a good LO for me is to collate a few of my favourite things before starting.
For me a good colour combo is necessary.
I like to have one in mind and then start gathering.
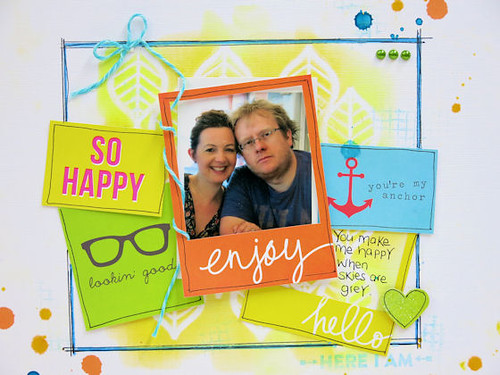
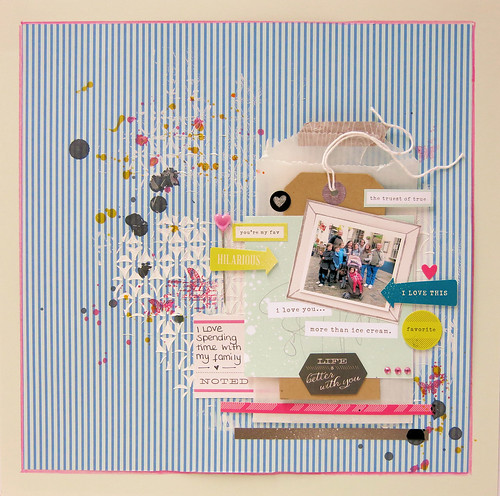
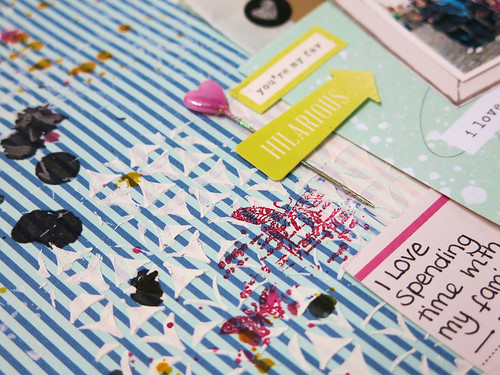
It's blue, aqua with pops of hot pink and sunshine yellow today.
I'm like a little squirrel, I start gathering pretty things from around my studio that all fit my colour combo and set them on my desk altogether.
Then I stand back to see what I have and start piecing it together.
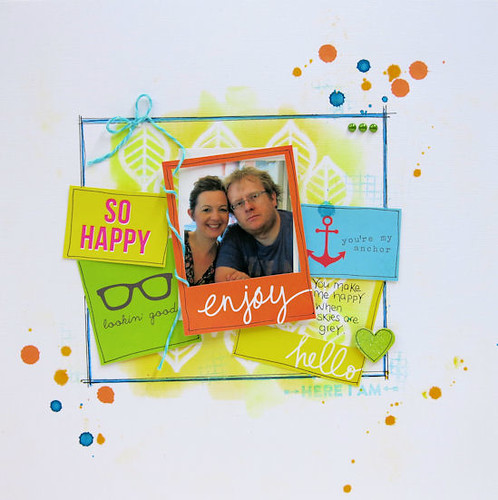
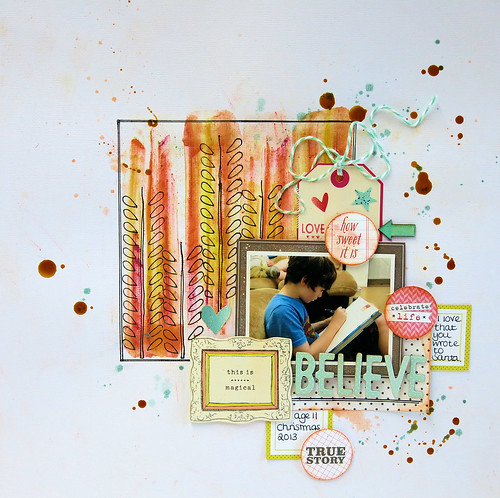
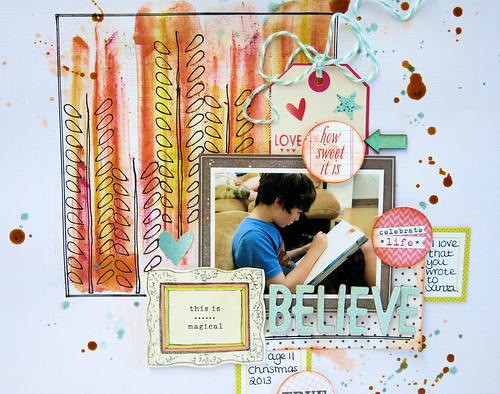
This is what I made.
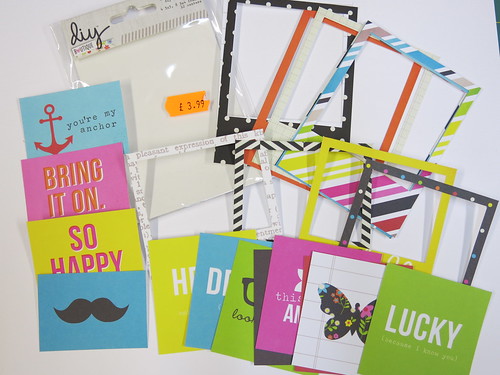
Today on my desk I had some pretty
American Crafts - Dear Lizzy - Polka Dot Party Papers, the matching
pretty stickers, A pack of
Thickers,
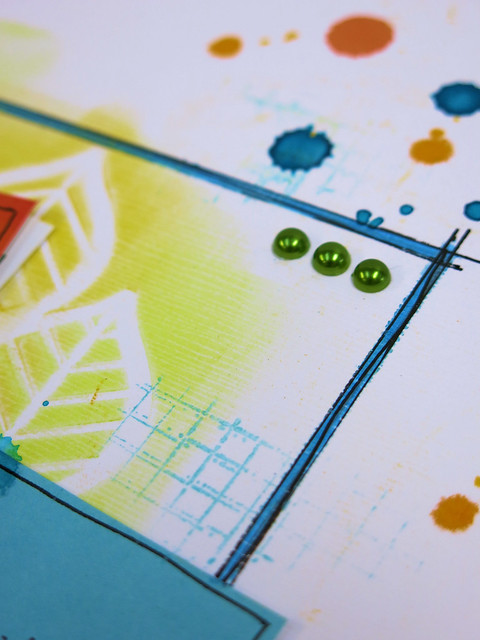
some pink gems,
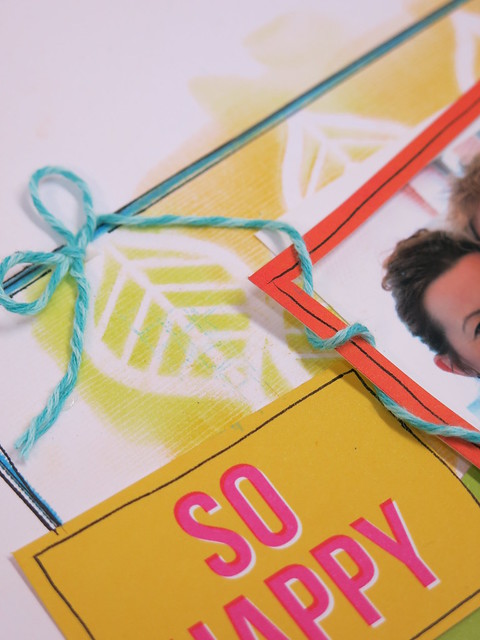
Twine, a couple of
heart topped pins, along with
mists and a tag and glassine envelope.
Everything laid out in front of me ready to use.
I love this way of scrapping. It makes it so fun.
And just because it's on my desk it doesn't mean I will always use it.
I started with using my favourite scrapbooking tool. A mask.
I use these on pretty much all of my LO's. I have so many now in loads of different sizes.
You will be pleased to hear that we have 25% off all masks & stencils for the whole of this weekend.
Take a
look at the large range that we stock.
(discount gets taken off at checkout)
I used to loose my masks, so now I keep them all in a 12x12 pizza box. The kind that companies like Papermaze deliver their wonderful products in. They make great storage for masks.
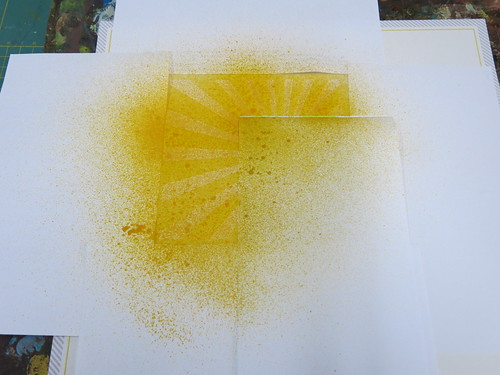
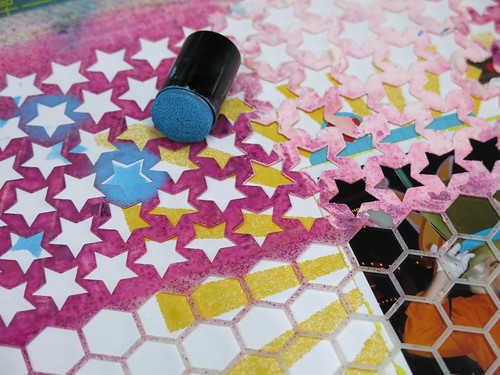
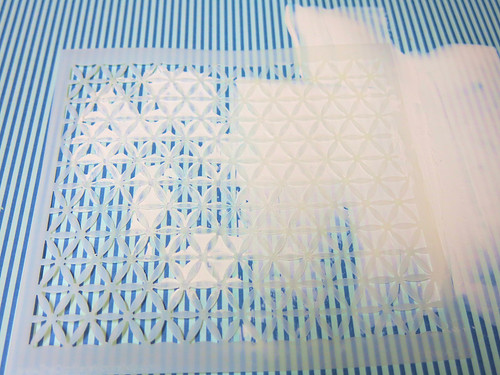
This is the mask I used today.
Crafters Wokshop - Kaleidoscope. Designed by the very lovely Ronda Palazzari.
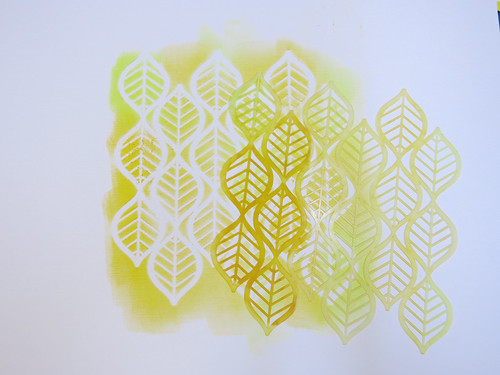
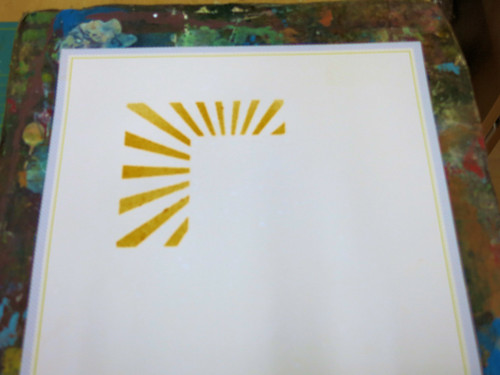
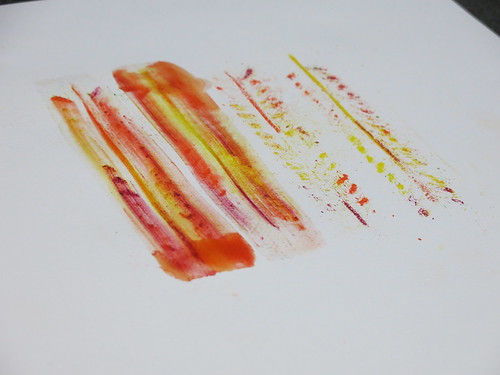
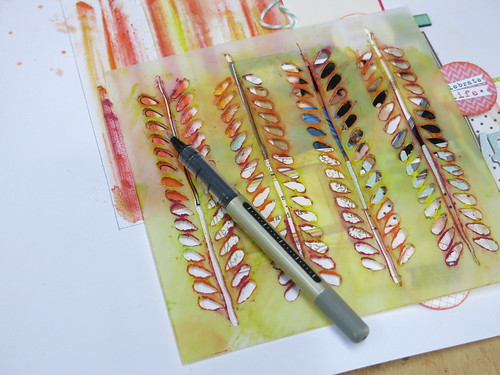
I thought I'd show you a fun technique using a mask and some moulding paste.
Place a blob of paste on your base. I then like to take an old credit card to spread it around the area where I want it.
I then lay the 6x6 mask half over the paste and half on the part that doesn't have any paste.
As my credit card still has some paste on it, I start scraping and pressing down on the mask over the area with no moulding paste underneath. I then continue scraping hard over the area that is sitting on the paste. It should look like this. If you need to add more paste you can.
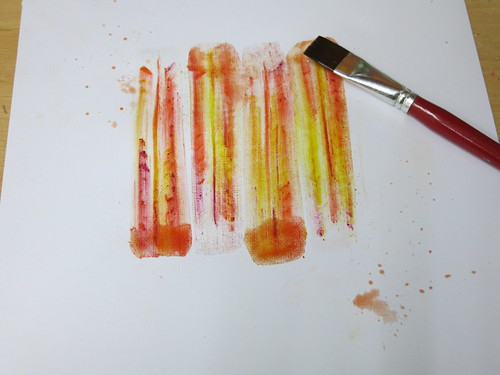
Then for the good bit. Carefully peel off the mask.
The area with no paste underneath now has the pattern of the mask showing and the pasted area has the indentations of the mask. Leave to dry.
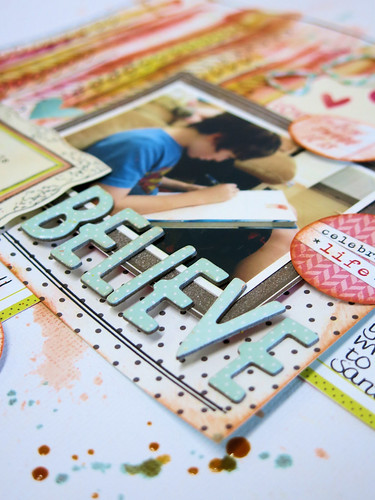
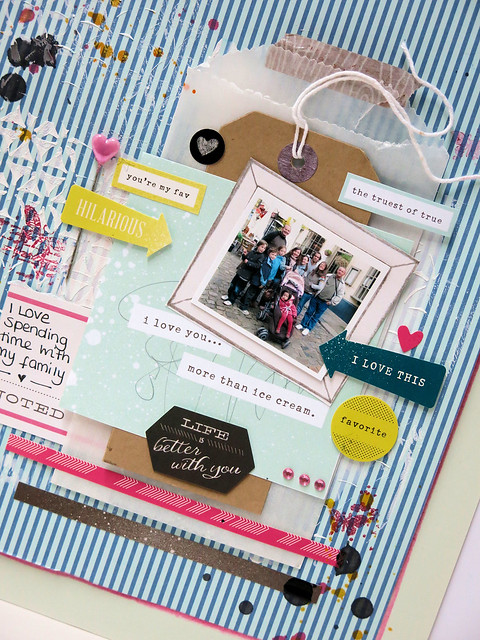
Once the base is dry it time for my other favourite technique. Layering. I love adding bits and pieces and building up layers.
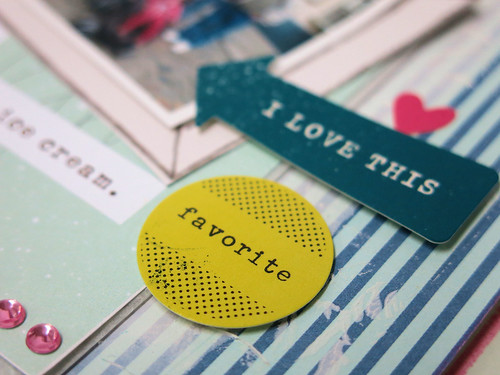
I've used the American Crafts, Dear Lizzy papers, cutting them up and stacking them. The stickers that match make a perfect addition and add the pops of colour that I need to bring this LO to life. It would look quite plain and bland without them.
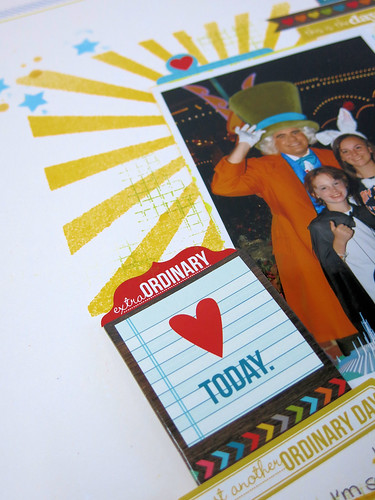
To help your stickers stand out more, stick a 3d foam pad to it. They really stand out from the page then.
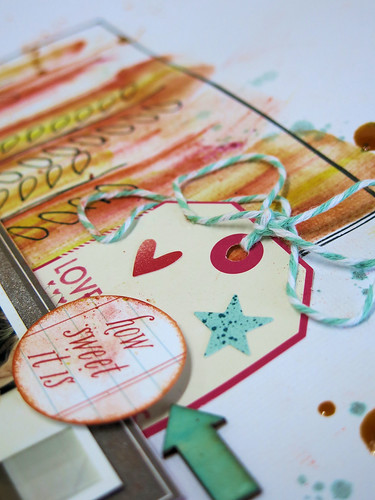
I start adding the final bits and pieces. I go with 1 pin and 3 diamantes. I decide that I want a little more of the pink so grab
a stamp and some
hot pink ink. I've just stamped in a couple of areas.
Time for a little mist. I've unscrewed the top and literally let it drip drop on to the LO.
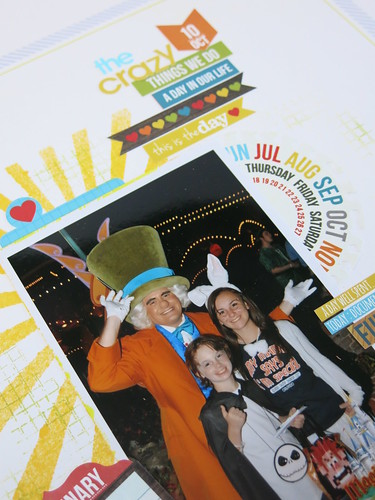
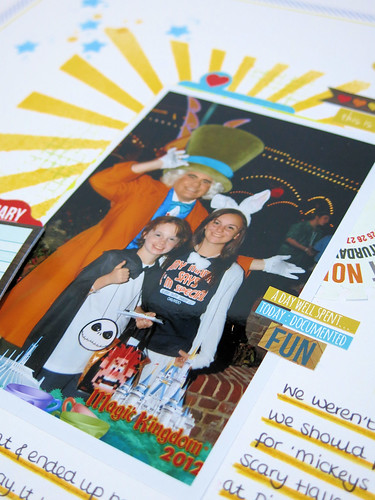
The LO is now finished and I used one last favourite of mine..
A photo of my family : )
Like I said, just because I laid out everything on my desk to use, it doesn't mean I have to use it. I left off the Thickers and the twine.
I really love this way of scrapping. I find it a really good way of finding things that I'd forgotten I had. It's like a little personal challenge each time I scrap.
Why don't you give it a go : )
Don't forget to grab yourself a bargain this weekend with the 25% off all
masks and stencils.
I will be back for more ideas and tips using masks over the weekend.
Lisa xx