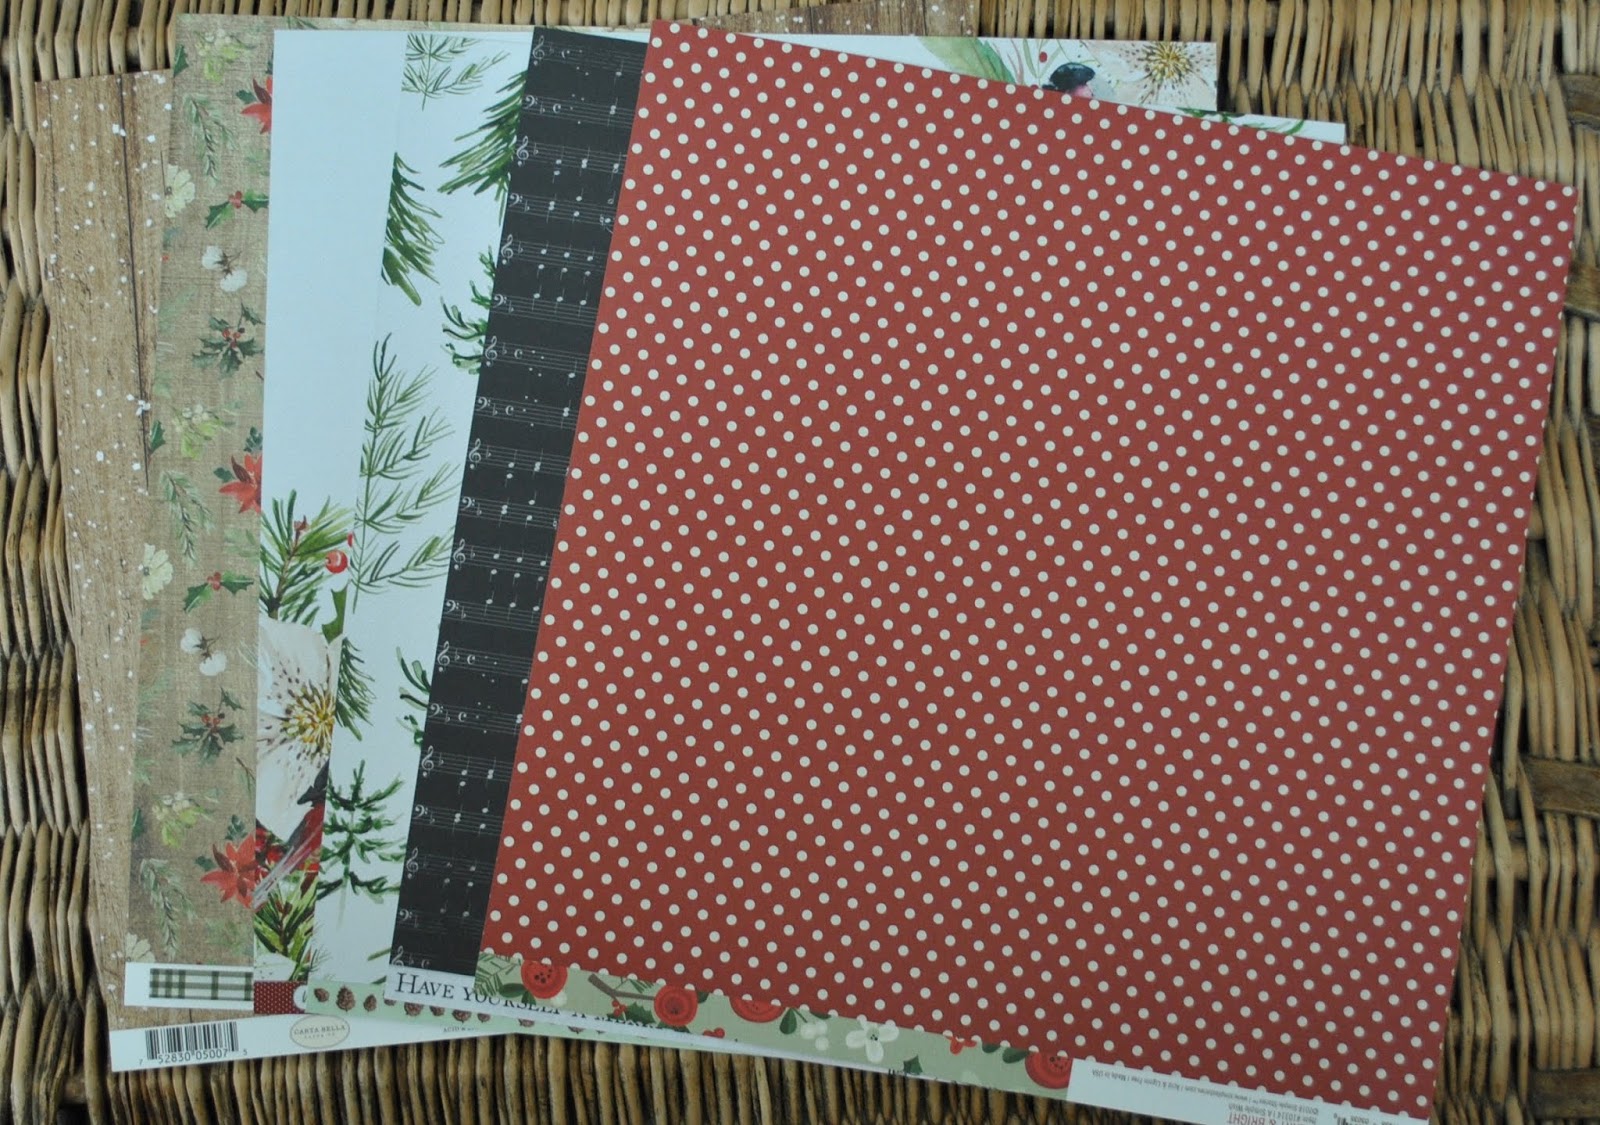
Lynn here today, with the first two layouts I have made with the new June Papermaze Kit. Please find it in the store or online. The very pretty colours in this month's selection, include two sheets of the beautiful Spectrum Sherbet
collection. I have used both for my first pair of layouts. The only
problem is which side of these wonderful double-sided papers to choose!

Before looking at how the layouts were made, here is a peek at what you will find inside you kit.

Patterned Papers:
49 & Market - Spectrum Sherbet - Painted Foundations - Rainbow
49 & Market - Spectrum Sherbet - Classics - Splendored
Echo Park - New Day - Full Bloom & Perfect Day Plaid
Heidi Swapp - Sun Chaser - Happy Days
Pinkfresh Studio - Happy Hearts - Beautiful Moments
Bazzill Basics Cardstock - White & Pear
 |
| Reverse side of papers |
Embellishments:
3 Tim Holtz Quote Chips, Sun Chaser Colourful Phrase Thickers, 2 49 & Market Tags, 2 Doodlebug camera shape sprinkles, Pinkfresh Studio set of chipboard frames, strip multicoloured puffy dots and a section of Heidi Swapp phrase thickers, 3 Rosie's Studio puffy stickers

Yukon Gold, Purple Palisades, Romance & Rain

Life is Good - This photo shows my daughter and some of her old university friends at a wedding, they all turned up in long dresses, in solid colours, without any planning!

I really love the Spectrum Sherbet collection from 49 & Market and was so pleased to see two sheets included in this month's kit.
I
started with the sheet called 'Splendored', and cut off the details
strip from the bottom (however the design on this is too precious to
throw away, so I kept it to use later).
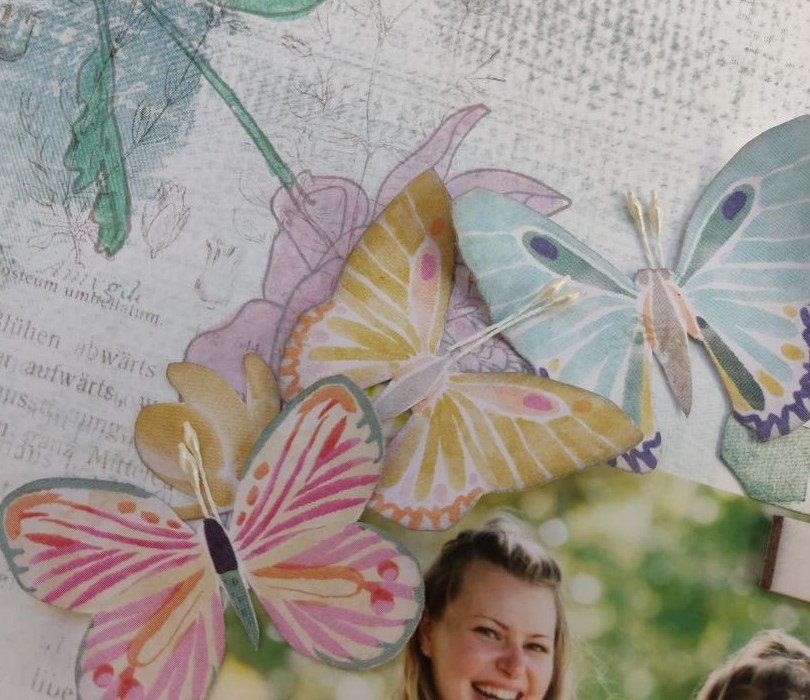
I used my Tim Holtz Stampers Anonymous Flower Garden stamp set and stamped the blooms and stems onto the paper with a grey archival quality ink pad. Then with Distress inks, placed onto the craft mat and diluted a little, I coloured my blossoms to match the girls' dresses and the paper.

I placed the large photo in the centre of the page. With the detail strip trimmed and cut into three, I placed the pieces at the top and bottom edge of the layout and along the top of the page - matching up the colours to the area of the paper.

From the kit I selected my title words from the Sun Chaser Colourful Phrase Thickers, and so the layout is called 'Life is Good'!

I chose and fussy cut a selection of butterflies and a few flowers from the Pinkfresh Studio - Happy Hearts - Beautiful Moments paper. I added flower stamen to these to create antenna for the butterflies. I curved the wings with the scissor blade. The butterflies were arranged onto the layout, and then the bodies were glued in place. I placed a small 3D foam pad under each wing to add a little dimension to the creatures.

Finally I placed one of the quote chips to the top area of the photo.
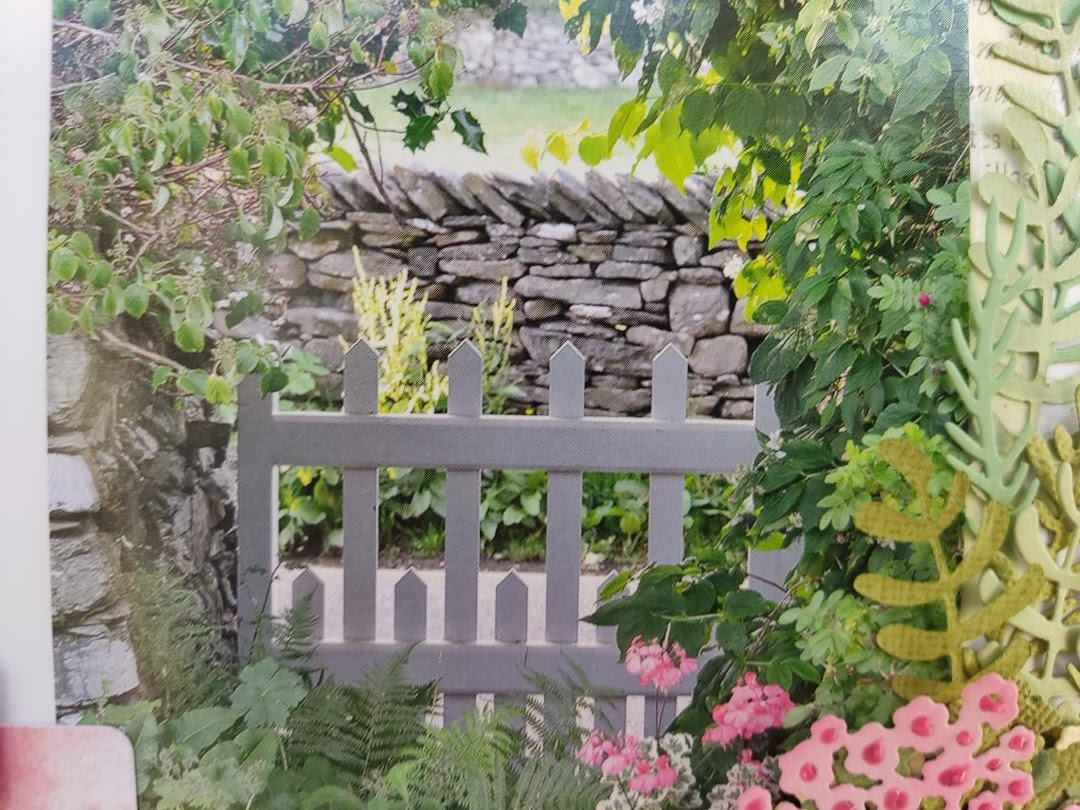
Tom Kitten's Gate - I was taken with this view through the pretty gate surrounded by foliage, dry stone walls and pots of geraniums, while visiting Beatrix Potter's Hill Top Farm last month. I later discovered this is the gate featured in The Tale of Tom Kitten.

This layout starts off with the sheet of paper called 'Rainbow' from the Spectrum Sherbet collection, I chose to use the side with the green brushstroke circles. There is a lot more subtle detail in the paper too.
I popped the photo in place - bottom right of the circle. With the detail strip from the bottom of the paper, I cut two pieces, trimmed the ends diagonally, and added them to the base of the photo.
I created my pot of geraniums to mimic that in the photo, using some of the cardstock from the kit and adding some from my own stash. I used Kraft Bazzill for the pot and die cut the shape using Tim Holtz, Bigz Sizzix die - Potted. The pieces were shaded using Gathered Twigs Distress ink and a blending tool. The rim was added to the pot with 3D foam pads. I attached the finished pot to the layout with more 3D foam.
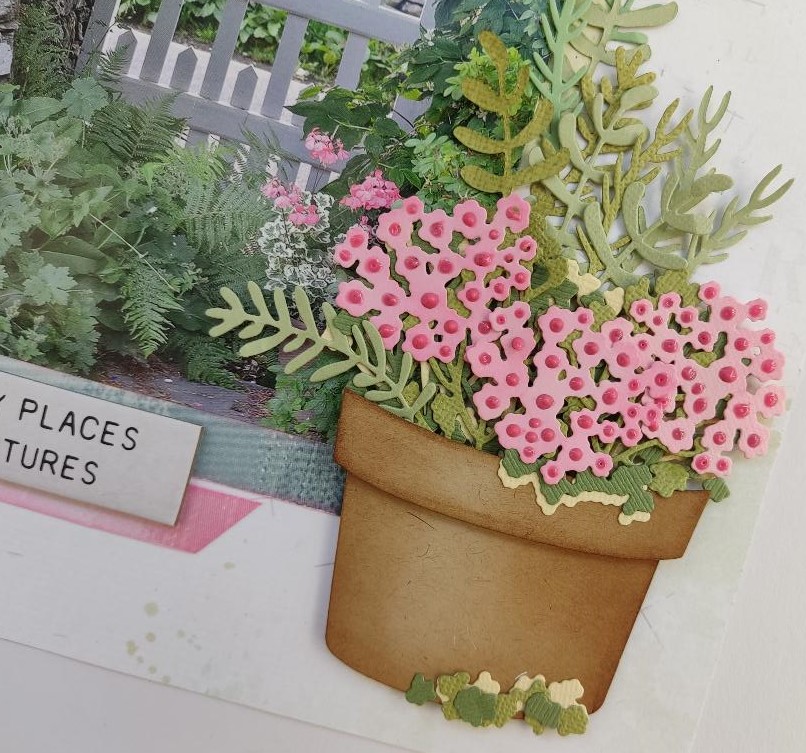
I created the flowers and foliage using the Tim Holtz Funky Floral
Thinlits die set. Using cream and green cardstock I created the
varigated leaves of the geraniums. I layered all these into the pot, and
continued to foliage around the circle a little leaving room for the
tags and title.

My journalling was added to the two Spectrum Sherbet tags. I exchanged the white cord for some pink jute twine and tied this into small bows. The first tag was glued to the page and the second one was raised with 3D foam.

The title was made with Pinkfresh Studio Happy Blooms mini puffy letter stickers, I arranged them to follow the line of the circle.
Using Nuvo Crystal Drops, I added centres to the flowers with Party Pink, and a few dots to my foliage with Party Pink and Apple Green.
Once again, I finished off with one of the quote chips from the kit.
That's all for part 1, I'll be back with two more layouts soon.
Thanks for looking
Lynn x