Showing posts with label chipboard flair. Show all posts

Friday, 11 November 2022

Pinkfresh Studio - Simply The Best - Love This!

Hi everyone,

Claire here and today I'm excited to be back with a new layout using the Simply The Best Collection from Pinkfresh Studio.

I've heard it said that this collection has quite a masculine colour palette - It is packed full beautiful tones of blue, green and hues of neutral browns and creams that really do inspire you to scrap anything and everything - I just love it. I think it is one of my favourite collections of the year!

For my first layout, I'm focusing on THAT paper - you know the one - full of blue diamonds in an ombre blue colour. I am slightly obsessed with this paper. It's called Just Chill.


As soon as I saw this paper, it reminded me of a 3d wall pattern that draws you right in. I decided to add to the dimension I felt but cutting two of each shade of squares from the paper and folding them into quarters to create a pyramid effect and cascading them vertically down the page.

Once I had rough placement in mind, I added gesso and three shades of ink, stencilling and splattering over them in the same shade once dry:


To secure the squares to the page, I overlapped them and added Glossy Accents just to the corners of each square and left them to dry before embellishing.

From the Cardstock Ephemera Pack  I used the green date strip as an anchor down the centre of the page, from which my tags would extend from. These were fussy cut from the Happy Times paper.


Next, I added a frame from the Chipboard Frames to back my photo before raising on foam and adhering to the patterned paper squares.


The Today's Stories and Adventures subtitle is from the Ephemera Pack, and I added more embellishments from the Puffy Stickers and Cardstock Stickers packs.


The puffy stickers were raised on 3mm foam for extra dimension, whereas the cardstock stickers I added with small foam pads as they were easier to manoeuvre on to of the raised squares.


For a little bot of contrast from the squares and harsh edges, I added some clusters of enamel dots and a round chipboard flair before finishing off with some black and white splatters.


I hope you like how it turned out. I enjoyed making this so much! Can't wait to pop back with another layout later this month.

See you then!

Claire xx
@Scrappysoulmate


Monday, 27 June 2022

Lovely Day - 49 and Market - ARToptions Viken Collection

Hello, it's Rebecca with you today sharing another layout using the beautiful Viken collection from 49 and Market. It took a little while for the last few bits of this collection to arrive in store, but they are finally here and uploaded. You can now find the full collection on the website, here.


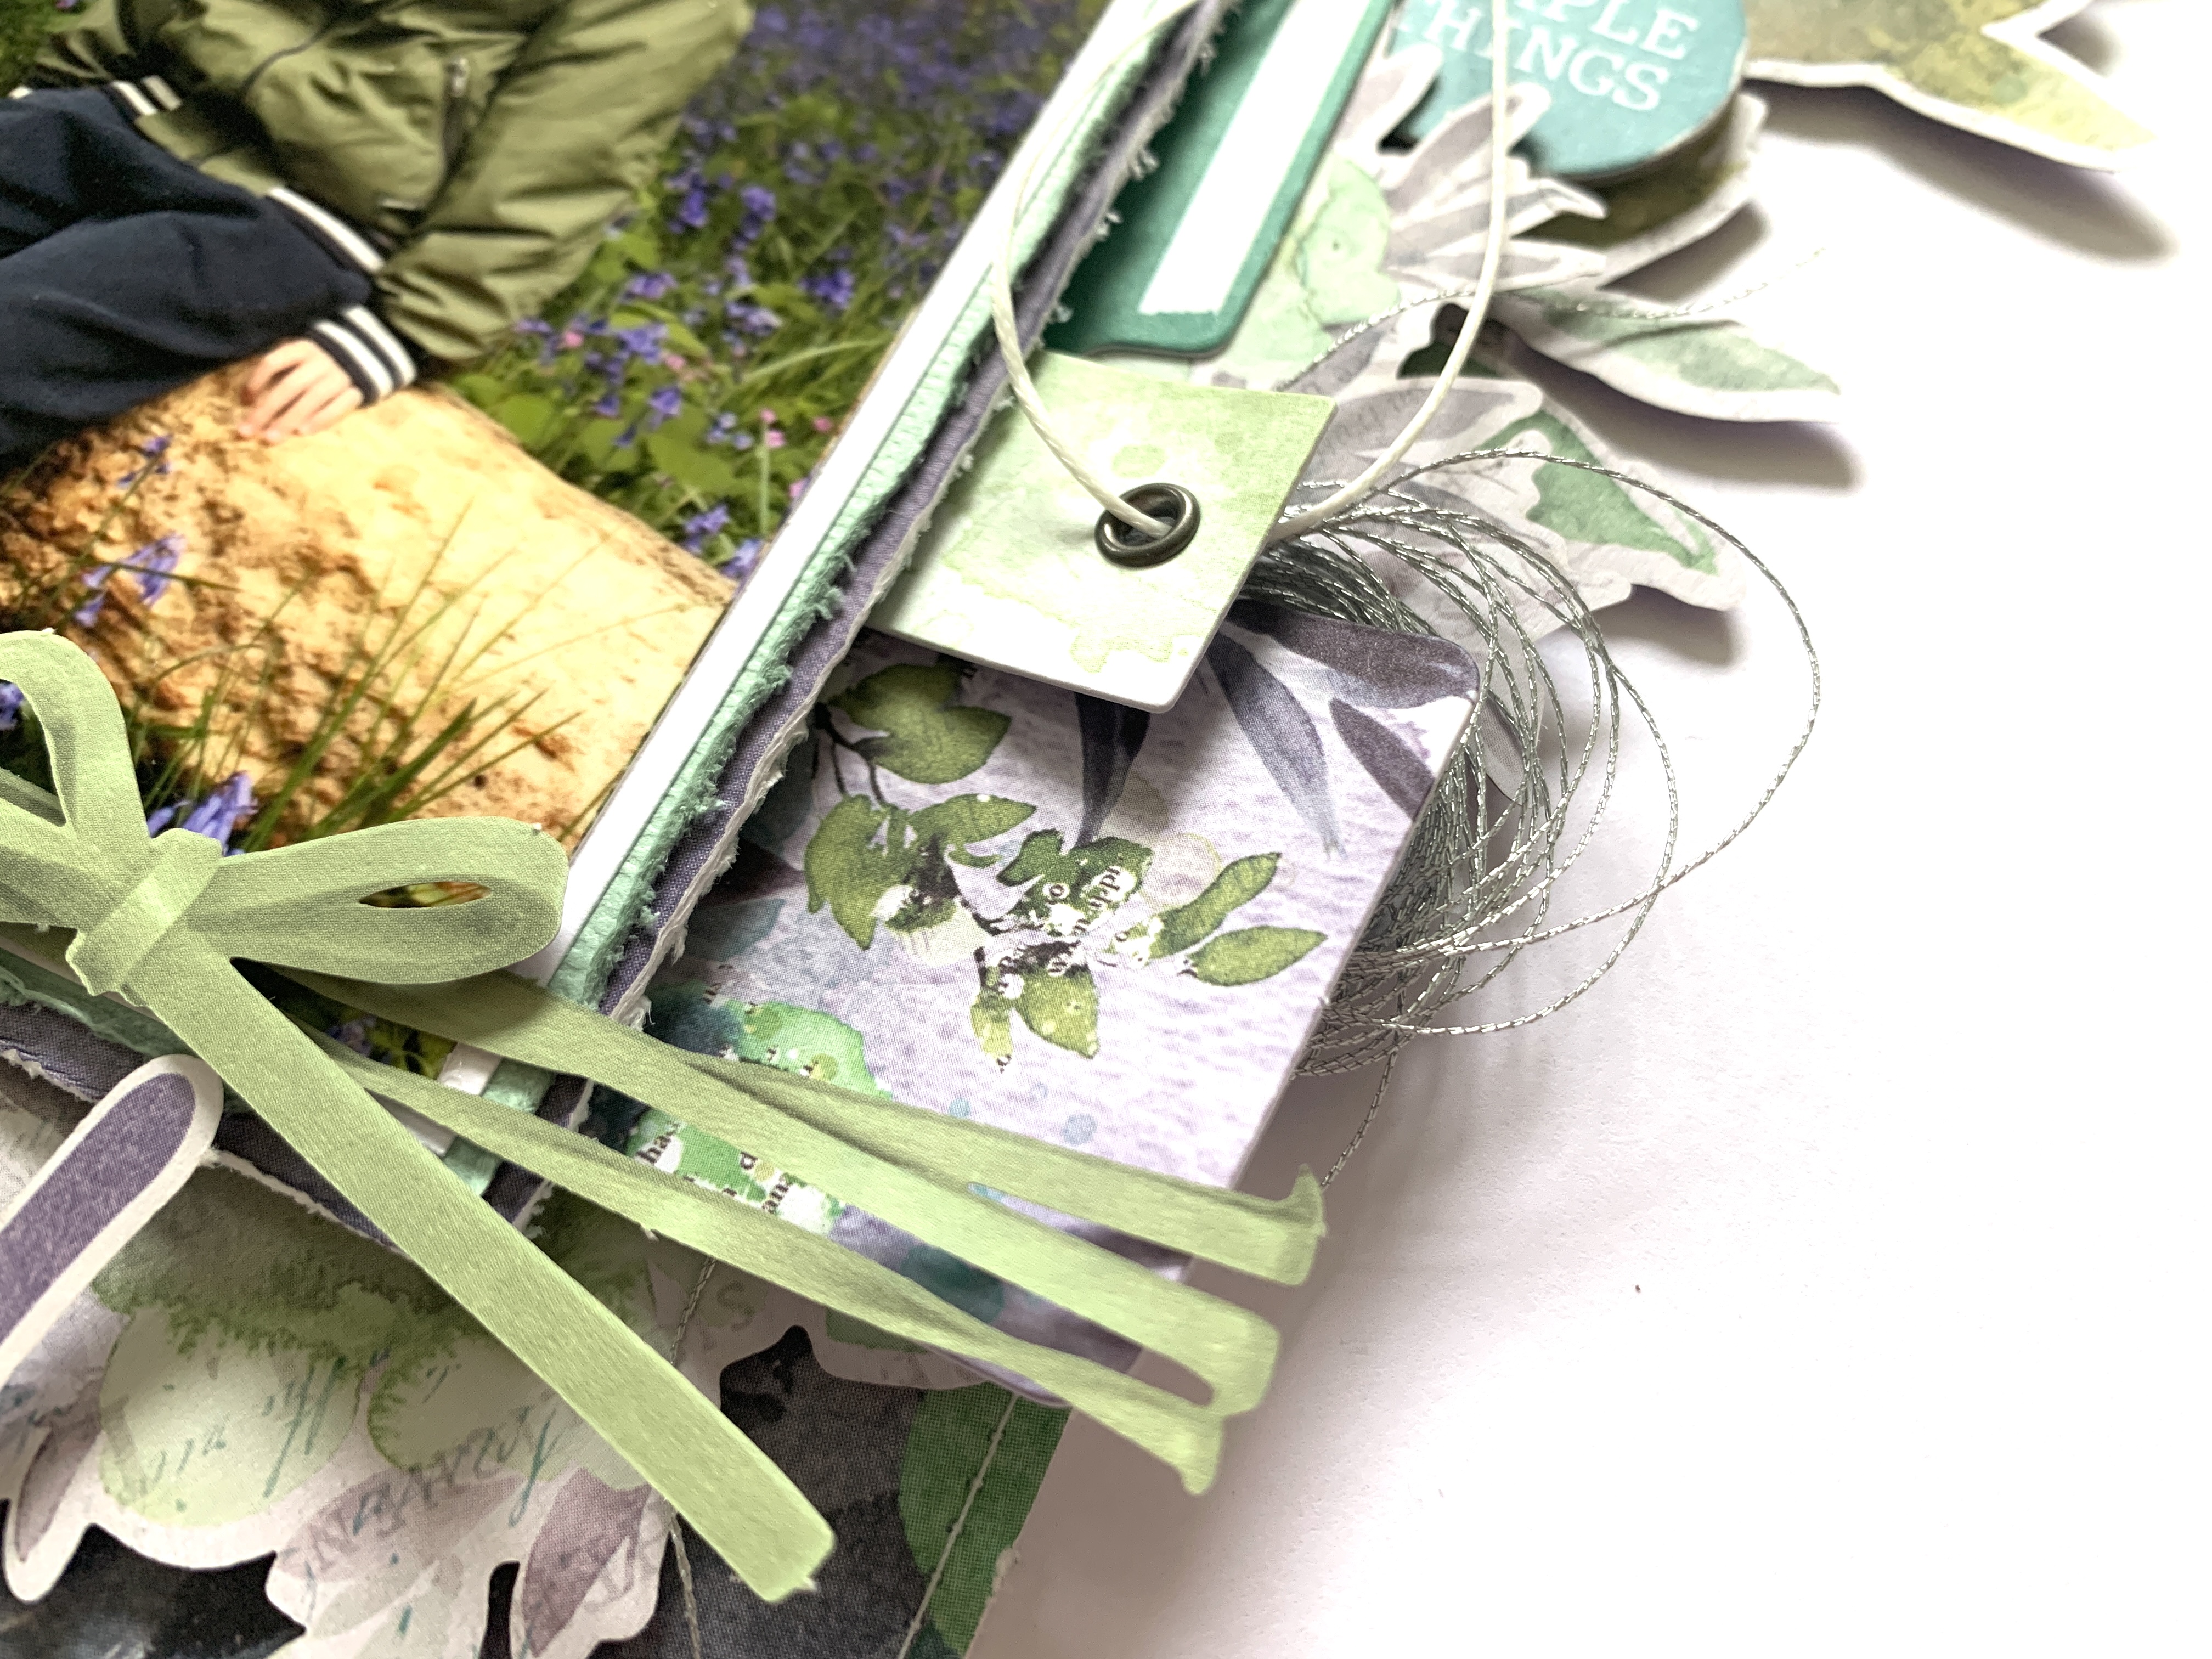
I love how pretty the colours in this collection look on a white background, so I have opted to work on a sheet of Premium White Cardstock today. I started with a sheet of the Majestic patterned paper. I love the darker tones in this paper compared with others in the collection and thought it worked well with my photo. Yet again, I am scrapping a photo of my little man in the woods among the bluebells as the colours in the photos work so beautifully with this collection.


I cut a section of the paper 8 inches across, and then I tore a diagonal line across the bottom and distressed all the edges to introduce a bit of texture to the page. I placed the sheet of distressed paper in the centre of my background, and stitched it in place using my sewing machine. I've used a combination of straight stitch and zig zag stitch for interest. 


I matted my photo using a scrap of white cardstock to give it a nice crisp border, and then added a layer of green Bazzill cardstock. Once I'd distressed the edges, I then mounted the photo onto the B side of the Endearing patterned paper for contrast. I stuck my photo in place, with some craft foam behind it, in the top right corner of my page.


I took a floral wreath die cut from the Laser Cut Elements pack, cut it in half and arranged it behind my photo so that it peeked around the edges. This provided a base for my embellishments.


On top op the floral die cut, I added some tags from the Tag Set. I love that these tags come with white cord already threaded through them - it brings texture to the page and saves me a job!! I added a few more die cuts from the Laser Cut Elements pack either side of my photo, building up the clusters. Wanting to bring a little sparkle to the page, I tucked in a couple of twiddles of silver metallic thread. I used the WRMK Stitch Happy thread - it's my 'go to' thread as I love the way it maintains it shape when I wrap it around my fingers. 


I've used the word 'lovely' from the Laser Cut Elements pack for my title, and extended it by placing some small puffy alpha stickers (from my stash) on top of one of the chipboard frames from the Chipboard Set.


I popped on a couple of chipboard flair, and finished off with a dragon fly and butterfly from the Laser Cut Elements. 

I hope you've enjoyed this layout and it's given you some inspiration. If you'd like to watch the page come together, there is a process video up on my YouTube channel, which you can find here.


Take care,

Rebecca x

@preciouspagespapercraft


Wednesday, 1 December 2021

November Papermaze Kit - Part 2

Lynn here today with my second pair of layouts using the November Papermaze kit. This pretty kit is available from the shop or online.

 Let's have a look at what is in the kit:


Patterned Papers:
American Crafts - Jen Hadfield - Peaceful Heart collection - Breathe Deeply & Grow
Cocoa Vanilla Studio - These Days collection - The Good Life & Day Break
American Crafts - Paige Evans - Bungalow Lane collection - #10
Reminisce - Be Kind collection - Be someone's Rainbow
Bazzill Basics Cardstock - White & Ash

Reverse side of papers:


Embellishments:


2 CVS Wood Epoxy Buttons, 2 CVS Pocket Cards, PFS chipboard frame, 3 heart Brads, 8 Dew Drops, 2 Prima Flowers,  3 PFS chipboard flair

Extra Bazzill Basics Cardstock Pack:


Yukon Gold, Blossom, Jet Stream & Nixon

Autumn at Abbeywood - My daughter's home backs on to the beautiful Abbeywood near London, and these photos were taken when her friend came to visit (Kit and Cat!). 


I used the Yukon Gold Bazzill as a frame for the page, I gutted the card to leave a 2.5cm frame. The
Day Break paper was trimmed to 29cm x 29cm and inked with Forest Moss Distress Oxide Ink.

I used the same ink and water to flick over the paper, before placing the paper over the frame. 

I trimmed the three photos to make tags, and backed them with Nixon Bazzill, leaving a fine mat showing all round the photo edges. A hole was punched in the top of each tag and a brown eyelet applied.

I placed a length of jute ribbon across the top of the layout, tucking the raw ends under the paper. then I wound some jute string around the ribbon and through the eyelets, hanging the tags from the ribbon while creating loops as well. I added some glue under the tags to hold them in place. 


The title was made with more of the Nixon Bazzill and Tim Holtz - Sizzix Thinlits - Alphanumeric Varsity. Smaller letters were added with Cocoa Vanilla - These Days mini puffy alpha stickers.
I also used one of the labels from the chipboard flair. 

Autumn leaves were made to tuck under and around the photos with Yukon Gold and Nixon Bazzill. I used another Tim Holtz Sizzix Thinlits set - this time - Skeleton Leaves.

My final embellishments were from the kit - the dewdrops and one of the chipboard flair. 

 
Wish You Were Here - My nephew's family on Hastings beach on holiday last summer.


I used the Blossom Bazzill as the backdrop for this layout. Then I cut 4.5cm x 4.5cm squares from the Be someone's Rainbow paper (dotty side), I distressed the edges and inked them with Hickory Smoke Distress Oxide Ink. Then I placed them in rows of five x five across the page.


My photo was mounted onto a mat cut from the blue side of the #10 paper.  This was placed at the top right of the layout. From the remains of the 'Be Someone's Rainbow paper, I cut a few rainbows, mounting three of these at the top right of the photo, two were stuck to the base and one was raised up on 3D foam pads. 

I made two rosettes, one from each of the patterned papers mentioned above. I used a Tim Holtz Thinlits Rosette die set. These were used as a basis for my cluster, to which I added the two Prima flowers, the two chipboard flair and the three heart brads. I also used one of the labels from the chipboard flair. 

My title was created on the Cricut using the Ash Bazzill. The date was made with Pinkfresh Studios Happy Bloom puffy alpha stickers. A little sparkle was placed on the title with Nuvo Glitters Drops in Gold Coast.
 

That's all for the November Kit. Thanks for looking.
Lynn x

Friday, 23 October 2020

Pinkfresh Studios ~ Days of Splendor #2

Hi, it's Anna back with you today, sharing my second layout using the Days of Splendor collection from Pinkfresh Studios. Take a look at the whole collection here.

I used the large chevrons from the moments that matter patterned paper, I cut a few of them out and adhered them to some cream cardstock. I also cut out the camera from the same paper.


I cut some leaves from the grateful heart patterned paper as well as some Paige Evans leaf cutfiles. I also added a piece of floral ephemera from the collection that I worked with last month - Pebbles The Avenue.


I used the journaling bits from the collection to embellish my layout, alongside my photograph, I also added a photograph into one of the journaling bits and I added some hidden journaling in the purple envelope.

I used some of the chipboard flair and enamel dots to further embellish my layout too along with some drops of ink spray.


Thank you so much for looking!
Have a great weekend, see you soon.
Anna
X