Wednesday, 17 November 2021

P13 Time To Relax collection - 'Loved' by Meg

Hey hey everyone, 

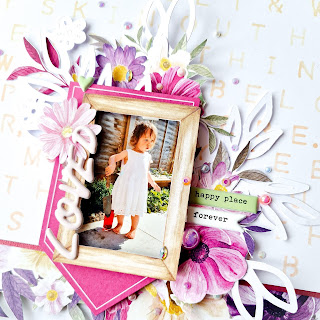
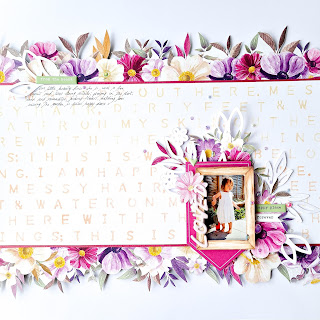
I'm swinging by today to share my second layout using P13s stunning floral Time To Relax collection. I've absolutely loved playing with these beautiful colours, they are so rich and vibrant! 
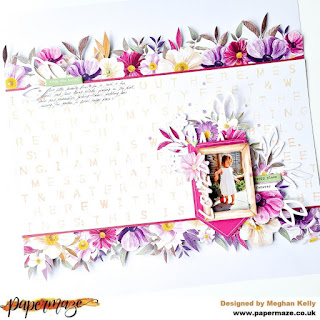
So with this page my main drive was just to create a cluster around my photo and layer up some of those beautiful fussy cut flowers. P13 flowers layered together just create such a soft pretty effect! I began by fussy cutting a few clusters from Paper #01, Paper #7 and thought about what sort of background I wanted on my page. 

I decided I wanted a long quote to go with my photo - I found it on Pinterest and it says 'I am happy out here. Messy hair, dirty feet and water on my skin. Out here with the wild things; this is where I belong'. It fits perfectly with how I think of my toddler and it goes so well with my photo of her in the garden doing some digging! 
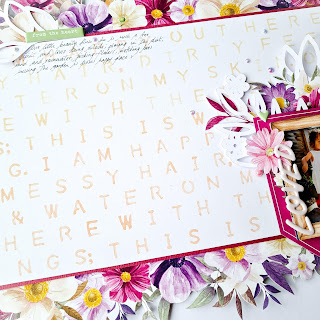
I used my We R Memory Keepers Punch Board to cut out the quote, which I used as a stencil. I used a Zig Brushables Pen in the Fawn colour to draw in the quote on a wide strip of Bazzill Coconut Swirl cardstock and used this as a background in the middle of my page. 

I matted the white cardstock with Bazzill Sweetheart (which matches the pinks in this collection SO incredibly well, including B side colour of Paper #03) and I fussy cut two borders from the Time to Relax Paper #4, which I tucked in on the top and bottom of the wide strip. 
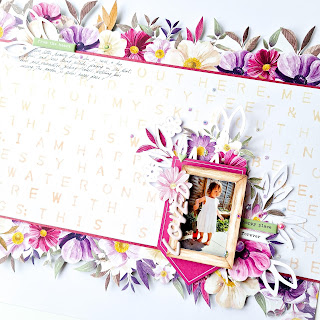
Next I began to create the cluster around my photo - using a wooden frame fussy cut from Paper #7, the fussy cut florals, a pink banner from the packet of Banner Die Cuts and some white leaf sprigs that came from a wreath cutfile by Paige Taylor Evans. 

I used foam to pop up parts of the cluster and add some dimension, before adhering to the right lower side of my page. I journalled in the opposite corner and finished my page with a few more pieces of foam to pop up parts of the floral borders, some puffy phrase stickers, the 'Loved' puffy title from my stash and lots of flat back gems from Little Things From Lucys Cards to add some sparkle! 
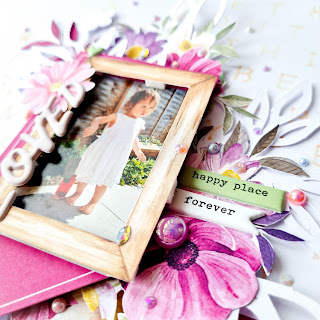
And there we have it, my second page complete! I hope you liked it and that it's possibly inspired you in some way! 

I'll be back again soon with another layout, but in the meantime I hope you stay well and scrappy, 

Meg x 

Friday, 12 November 2021

November Papermaze Kit - Part 1

The November Papermaze kit is available from the shop or online today, and I'm here to share my first pair of layouts. This month Vanessa has put together another lovely collection papers, card and embellishments in subtle colours, with an autumnal flavour.


 Let's have a look at what is in the kit:


Patterned Papers:
American Crafts - Jen Hadfield - Peaceful Heart collection - Breathe Deeply & Grow
Cocoa Vanilla Studio - These Days collection - The Good Life & Day Break
American Crafts - Paige Evans - Bungalow Lane collection - #10
Reminisce - Be Kind collection - Be someone's Rainbow
Bazzill Basics Cardstock - White & Ash

Reverse side of papers:

Embellishments:


2 CVS Wood Epoxy Buttons, 2 CVS Pocket Cards, PFS chipboard frame, 3 heart Brads, 8 Dew Drops, 2 Prima Flowers,  3 PFS chipboard flair

Extra Bazzill Basics Cardstock Pack:


Yukon Gold, Blossom, Jet Stream & Nixon

Bagpuss - This layout features a photo of my daughter's cat, who crawled into a large brown paper bag from a take away meal.

For the base I used the white Bazzill, a Tim Holtz Layering stencil (Nordic) and a selection of Distress Oxide Inks (Worn Lipstick, Fossilized Amber, Forest Moss and Dried Marigold). I used two methods of transferring the pattern onto the card. First I placed a little of each colour onto my craft mat, spritzed them with water, then dipped the stencil into the wet ink before transferring ink onto the card. Once this was dry, I used a blending tool and rubbed more of each ink through the stencil. This gave me some positive and negative images.


I inked the edges of my papers with Forest Moss Distress Oxide Ink.

Next, I built up the layers - I cut a piece of  Breathe Deeply paper (dark green side) 18.5cm x 16cm, and placed this in the centre of the layout, leaving the edges free of glue to allow me to tuck in embellishment later. Next I layered a piece of Grow paper (floral side) 16cm x 14cm. 

I used two photos of the same image, one a little larger then the other, these were mounted on top of each other over the papers.

Then I set about embellishing the layout, I cut flowers from the Breathe Deeply paper, shaped them and added them to the right side of the papers. I cut a wreath image from
The Good Life paper, cutting this in half and trimming the top of each piece to make a tag shape. Then I punched a hole, added a copper eyelet, I threaded a short length of Baker's twine through the hole. These were tucked under the papers to the top and left of the layout, and the date and cat's name were spelt out with PFS Mini Puffy Alpha. I also cut a small label from The Good Life paper and used this to add the subtitle.

My title was created with PFS Puffy Alpha stickers - Office Hours.

The layout was further embellished with two narrow strips of paper, a short piece of lace, buttons, washi tape and some Nuvo Glitter Drops - Honey Gold.


New Home - Last month my nephew and his young family moved into their brand new house. 


I started with the Jetstream Bazzill, added a strip of paper at an angle across the top left corner and then built up the layout in a 'patchwork' effect from there. I placed the photo first and worked around it.

I used Forest Moss Distress Ink on the edges of all my paper and card. 


Most of the patterned paper used was from
The Good Life as there are lots of strips, journalling blocks, flags, and phrases on this sheet. I also used the matching Pocket Cards and Wood Epoxy Buttons from the kit.


I found a selection of wooden houses and some numbers in my stash which matched the buttons well. 

The date and title were spelled out with CVS These Days Mini Puffy Alpha Stickers purchased from Papermaze.


That's all for today, I have more to share with you soon.
Thanks for looking
Lynn x

Thursday, 11 November 2021

November Crop Kit

 
We are cropping again this coming Saturday, 13th November - the months seem to fly by!  This month's kit uses Prima and P13 papers.


As usual we'll be at Otley Village Hall between 10am and 4pm with delicious homemade cakes, the tool table and the shop will be open too!

We have a couple of spaces left if you would like to join us - booking is essential as places are limited, so please send a message to enquiries@papermaze.co.uk.


Wednesday, 10 November 2021

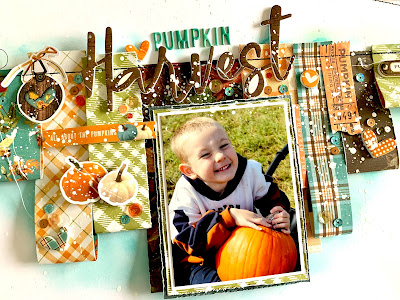
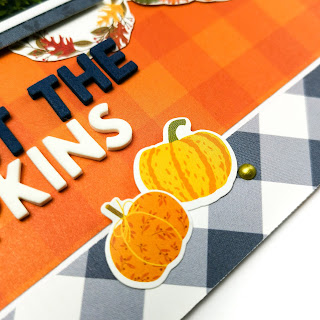
Pumpkin Harvest - Simple Stories - Simple Vintage Country Harvest Collection

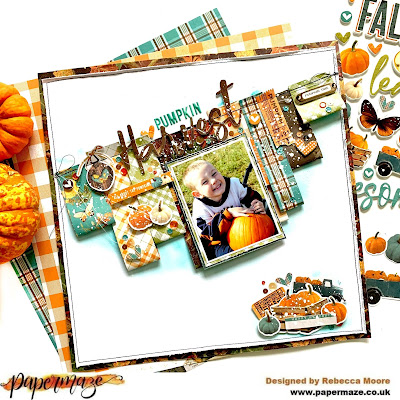
Hello, Rebecca with you today sharing my first layout for November. I'm really excited to be working with the Simple Vintage Country Harvest collection from Simple Stories this month. It's a stunning collection full of Autumnal elements. You can find the collection in the shop here.


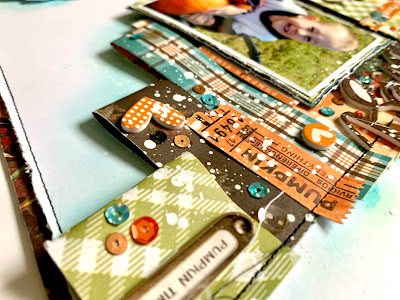
I'd seen a few layouts recently on social media where people had folded over patterned papers and I really wanted to give it a go. I love to have lots of dimension on my layouts and this was the perfect way to achieve that, whilst getting lots of the beautiful patterned papers onto one page.

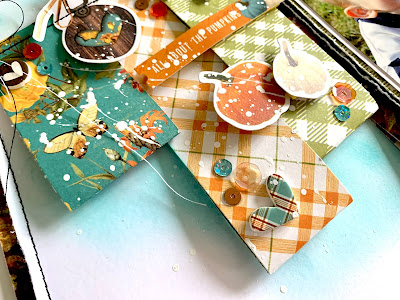
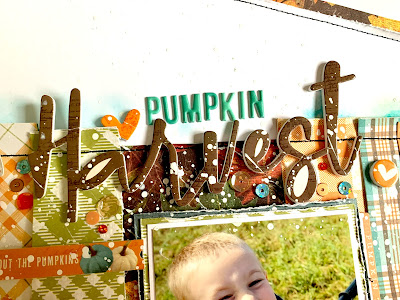
I selected several papers from the collection including (from Left to Right on the layout) Autumn Glory (A Side)Autumn Glory (B Side)Journal Elements (B Side)Changing Seasons (A Side)Just Thankful (B Side)Happy Harvest (B Side)Give Thanks (A Side) and Journal Elements (B Side). I cut the papers in strips of varying widths and lengths and then folded them back on themselves. 


I arranged the strips diagonally across the top half of the page, with the tops at varying heights so that they weren't so uniform. I then machine-stitched across the top of them all using black thread.


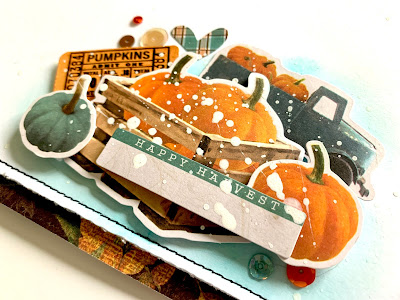
I wanted something to balance the page so I selected some elements from the Bits & Pieces and Harvest Bits & Pieces packs and built a small cluster on the bottom right of my page. 


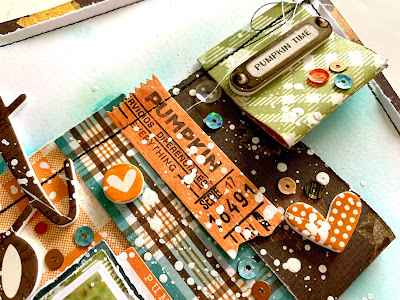
I added a layer of the Journal Elements (B Side) paper behind my photo and secured this on top of my folded paper banners. I added a couple of tags/tickets from the Bits & Pieces pack and added them along the top and stitched them in place. My title was selected from the Foam Stickers and added along the top of the banners, above my photo. I added to this using some alphabet stickers from my stash.


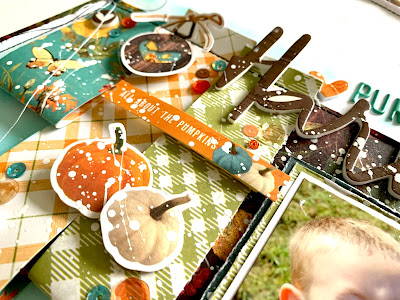
I decided I wanted to add a little mixed media to my background, so I selected a Distress Ink Pad in 'Peacock Feathers' and added it under the banners and cluster using a blending brush.


To embellish further, I added some stickers from the Combo Stickers - a ticket to the cluster in the bottom right corner, and a phrase sticker to the left of my photo.  I added a few more pumpkins along with the stickers and then also some hearts from the Foam Stickers. 


I trimmed the white cardstock down slightly and added a border around the edge of the layout using the Changing Seasons patterned paper. I really like the way this adds a dark frame to the layout.


I finished the layout with some sequins and white splatters. 


I hope you've enjoyed this layout. I really enjoyed making it and I am loving working with this stunning collection. If you'd like to watch the layout come together, there is a process video up on my YouTube channel here.


I'll be back later in the month with another Country Harvest layout.


Until then, take care.


Rebecca x


Monday, 8 November 2021

Echo Park ~ Fall #2

 Hello all and welcome back to the Papermaze blog! 

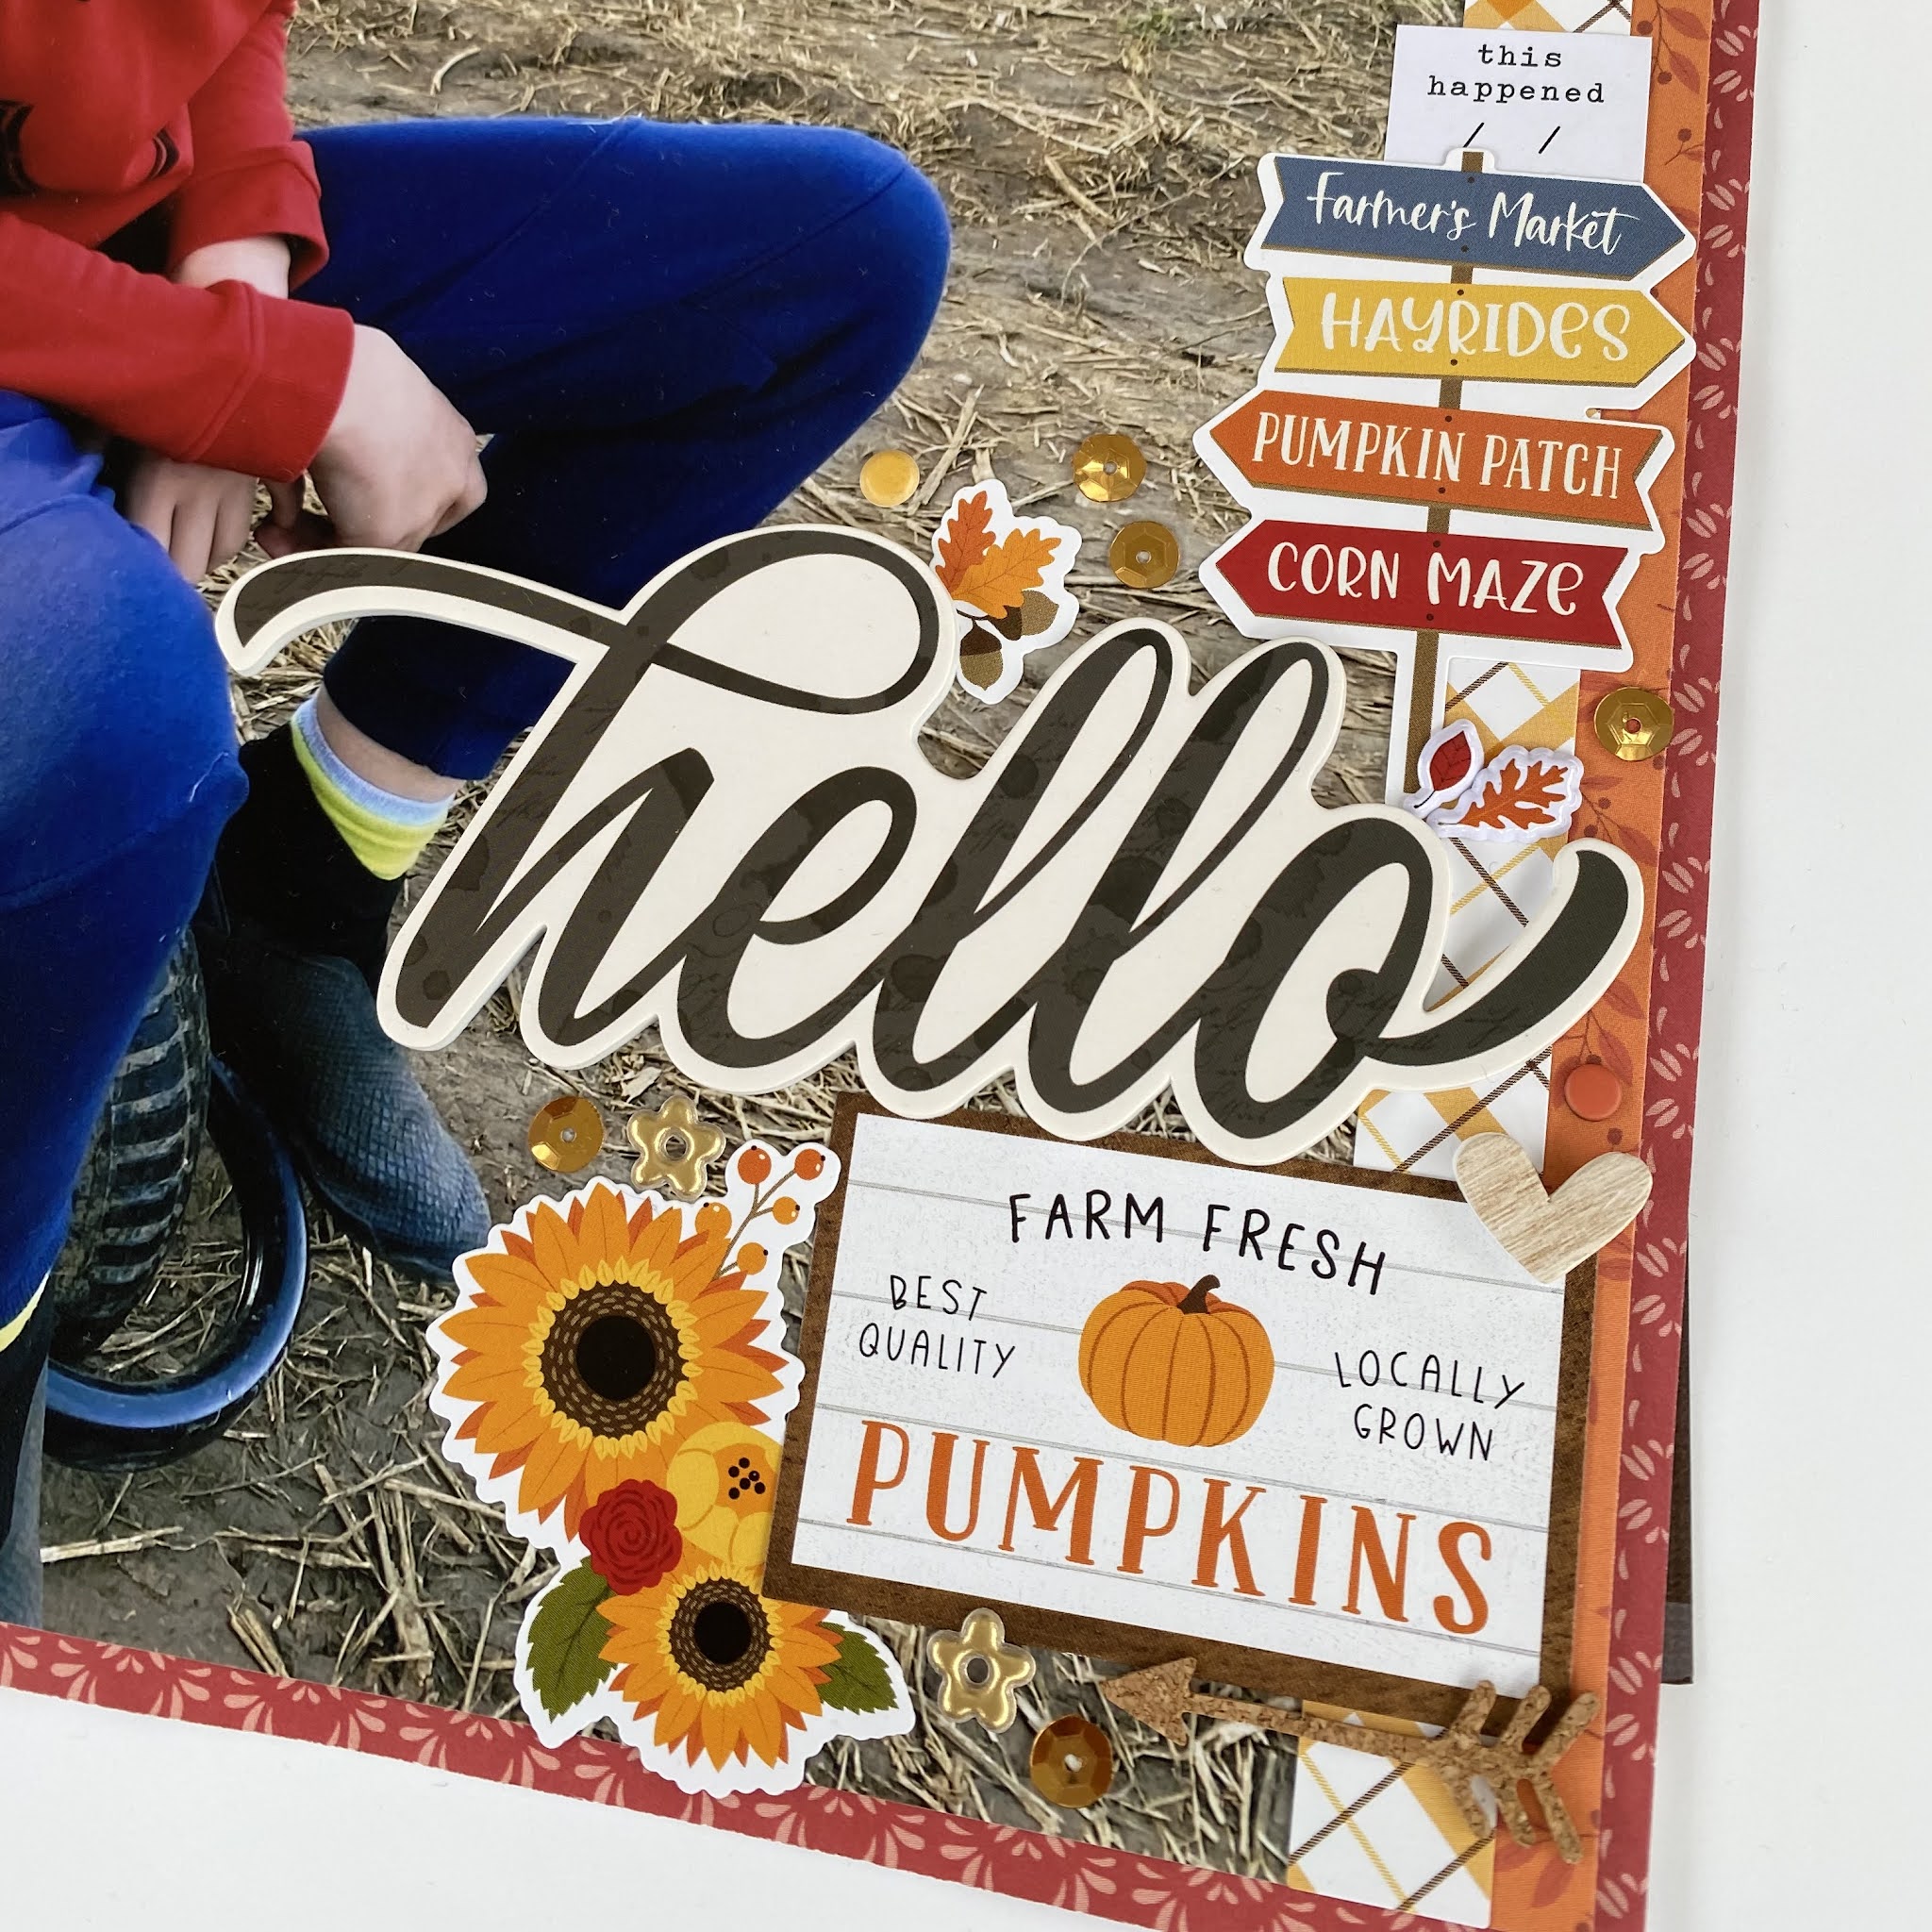
It’s Anna back today sharing my second layout using Echo Park’s Fall collection. This collection has been perfect for scrapping my autumn/pumpkin patch photos. Take a look it it in the shop here

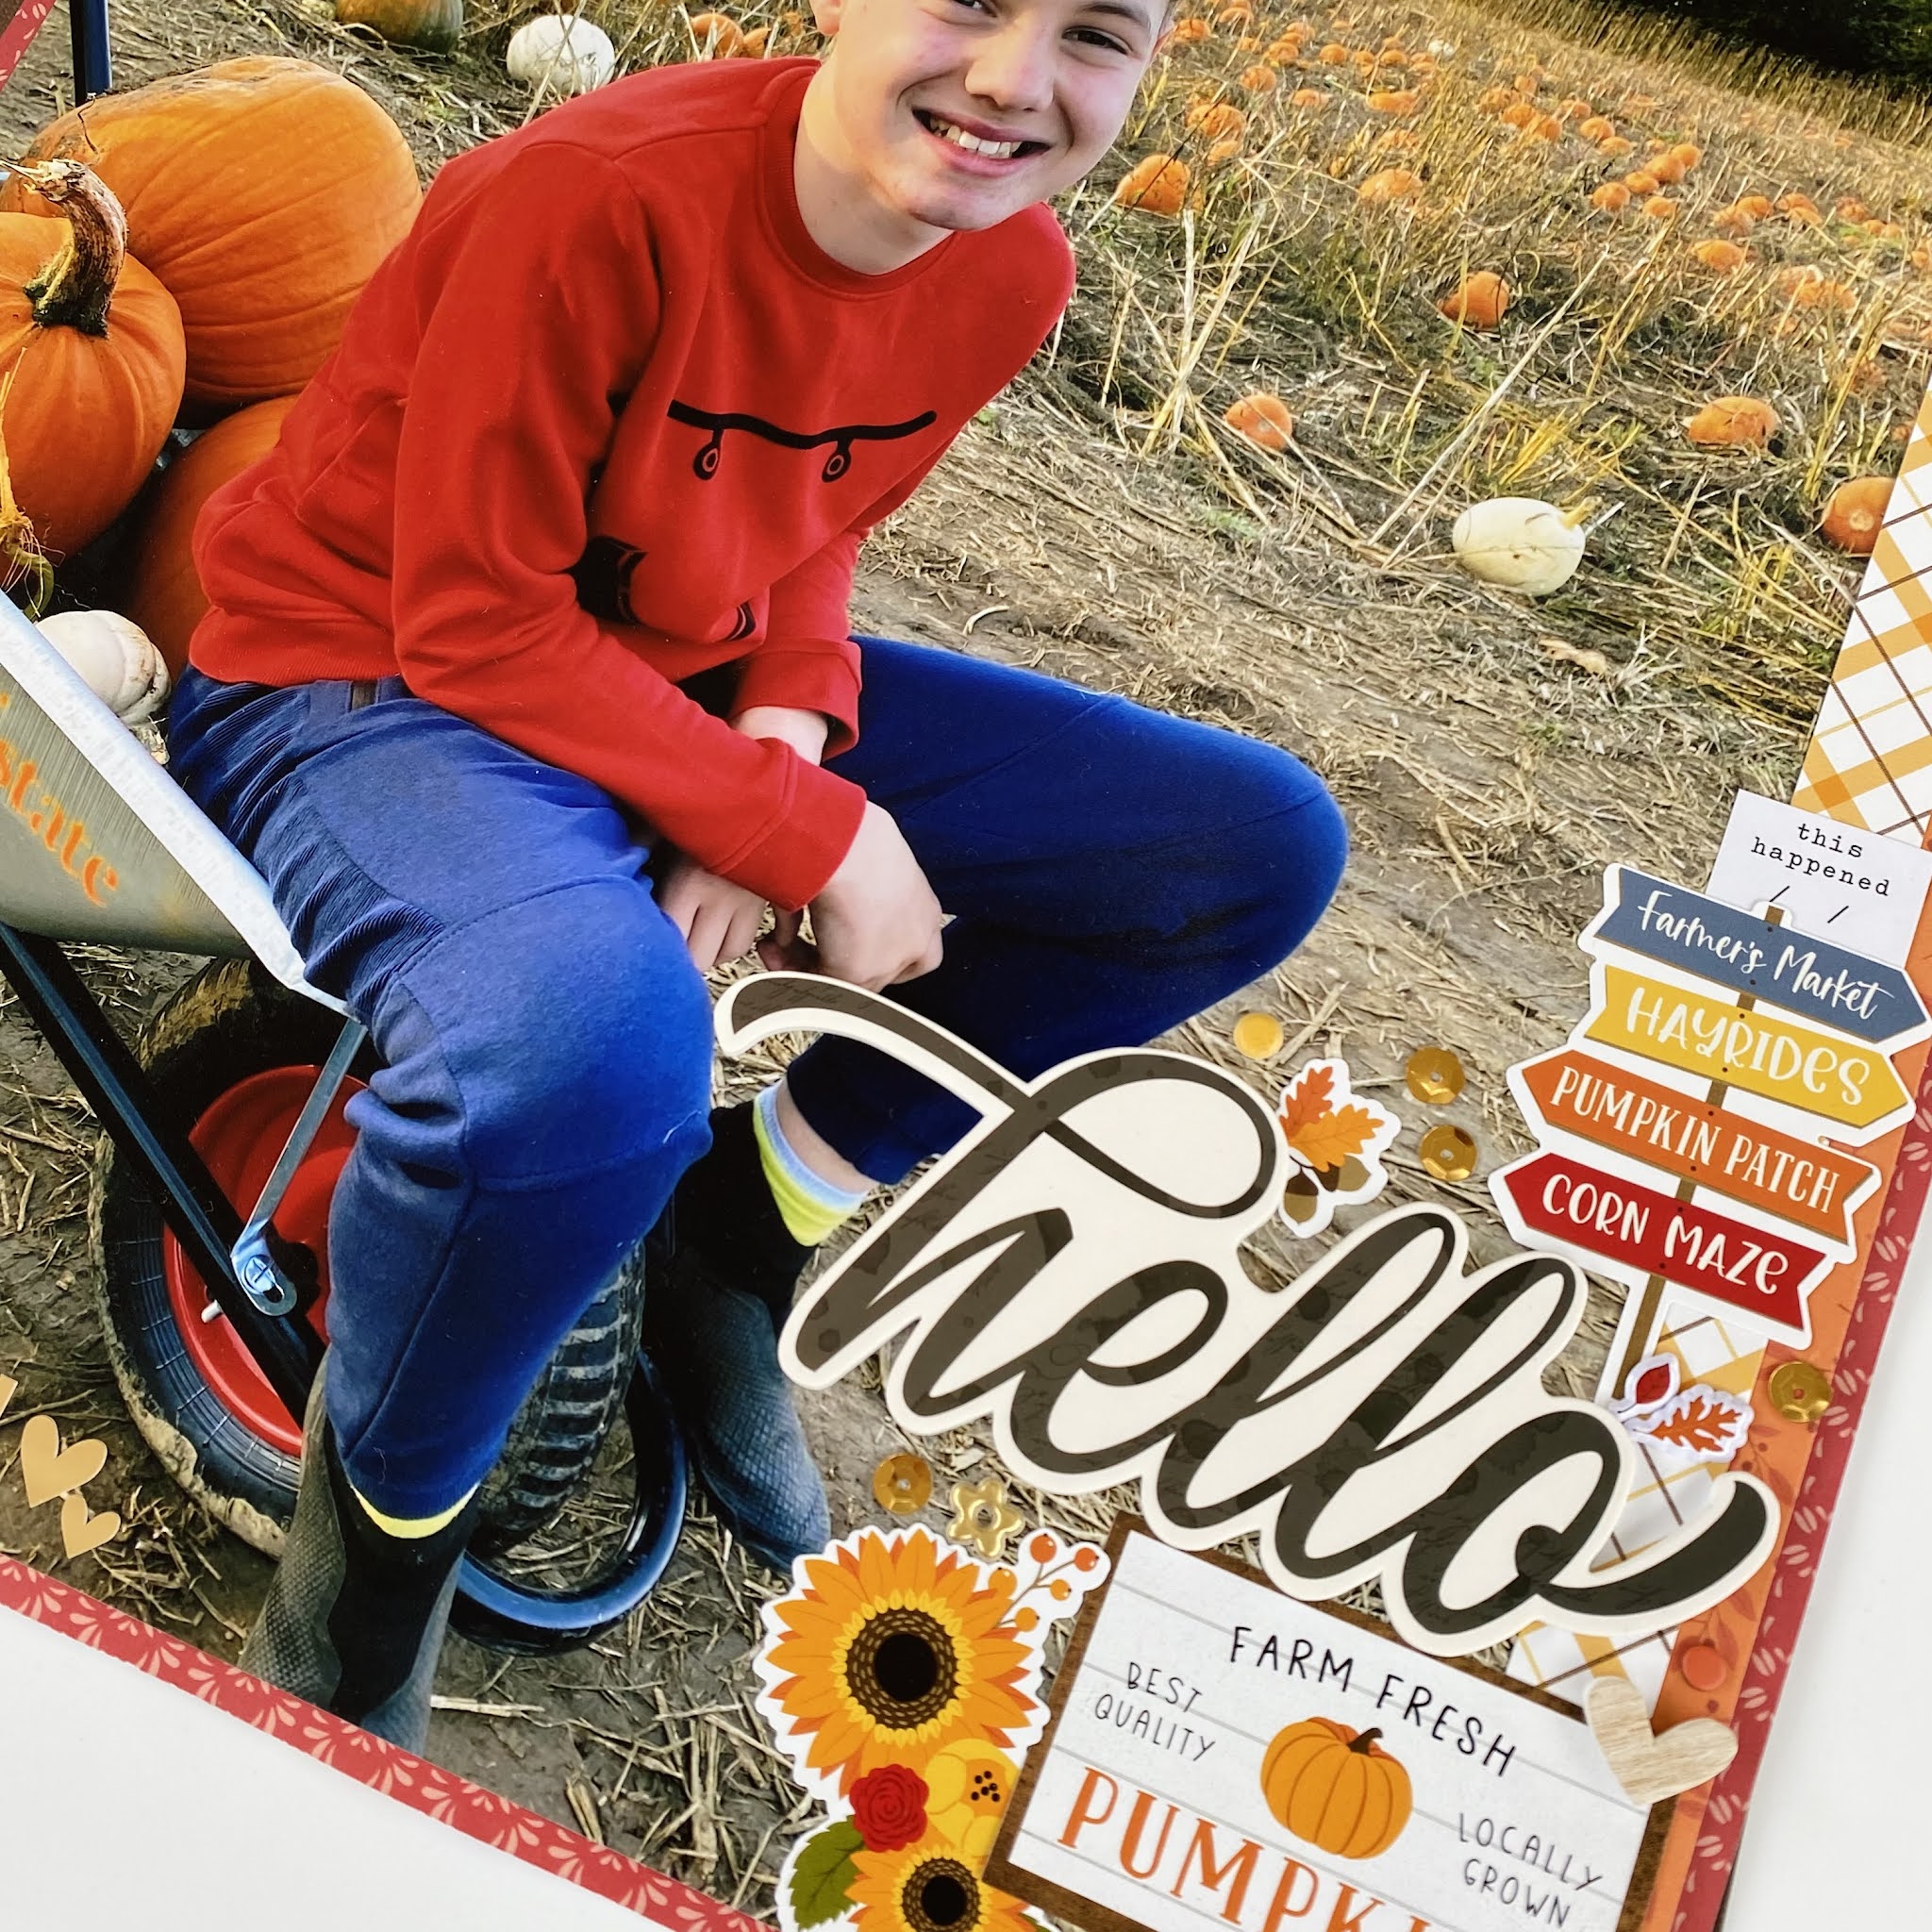
Last time I shared a double page layout with you, using several photos. Today I’m doing the complete opposite and I have scrapbooked one large 12x12 photo!

I began with the b side of leaf pile as my background. I trimmed down a large 12x12 photo by roughly 1cm each side to allow a boarder for the photograph. 


I then used various element stickers to embellish the layout. I added a boarder sticker to the right hand side and then layered on top of it, forming a cluster on that side of the layout. 

When using a 12x12 print, make sure to use a picture that allows for a bit of space to add your embellishments. 


As well as using various stickers from the elements stickers, I also added a foam ‘hello’ word sticker from this sheet by Simple Stories, some pink paislee sequins and florals from the embossed puffy stickers by Jen Hadfield. 


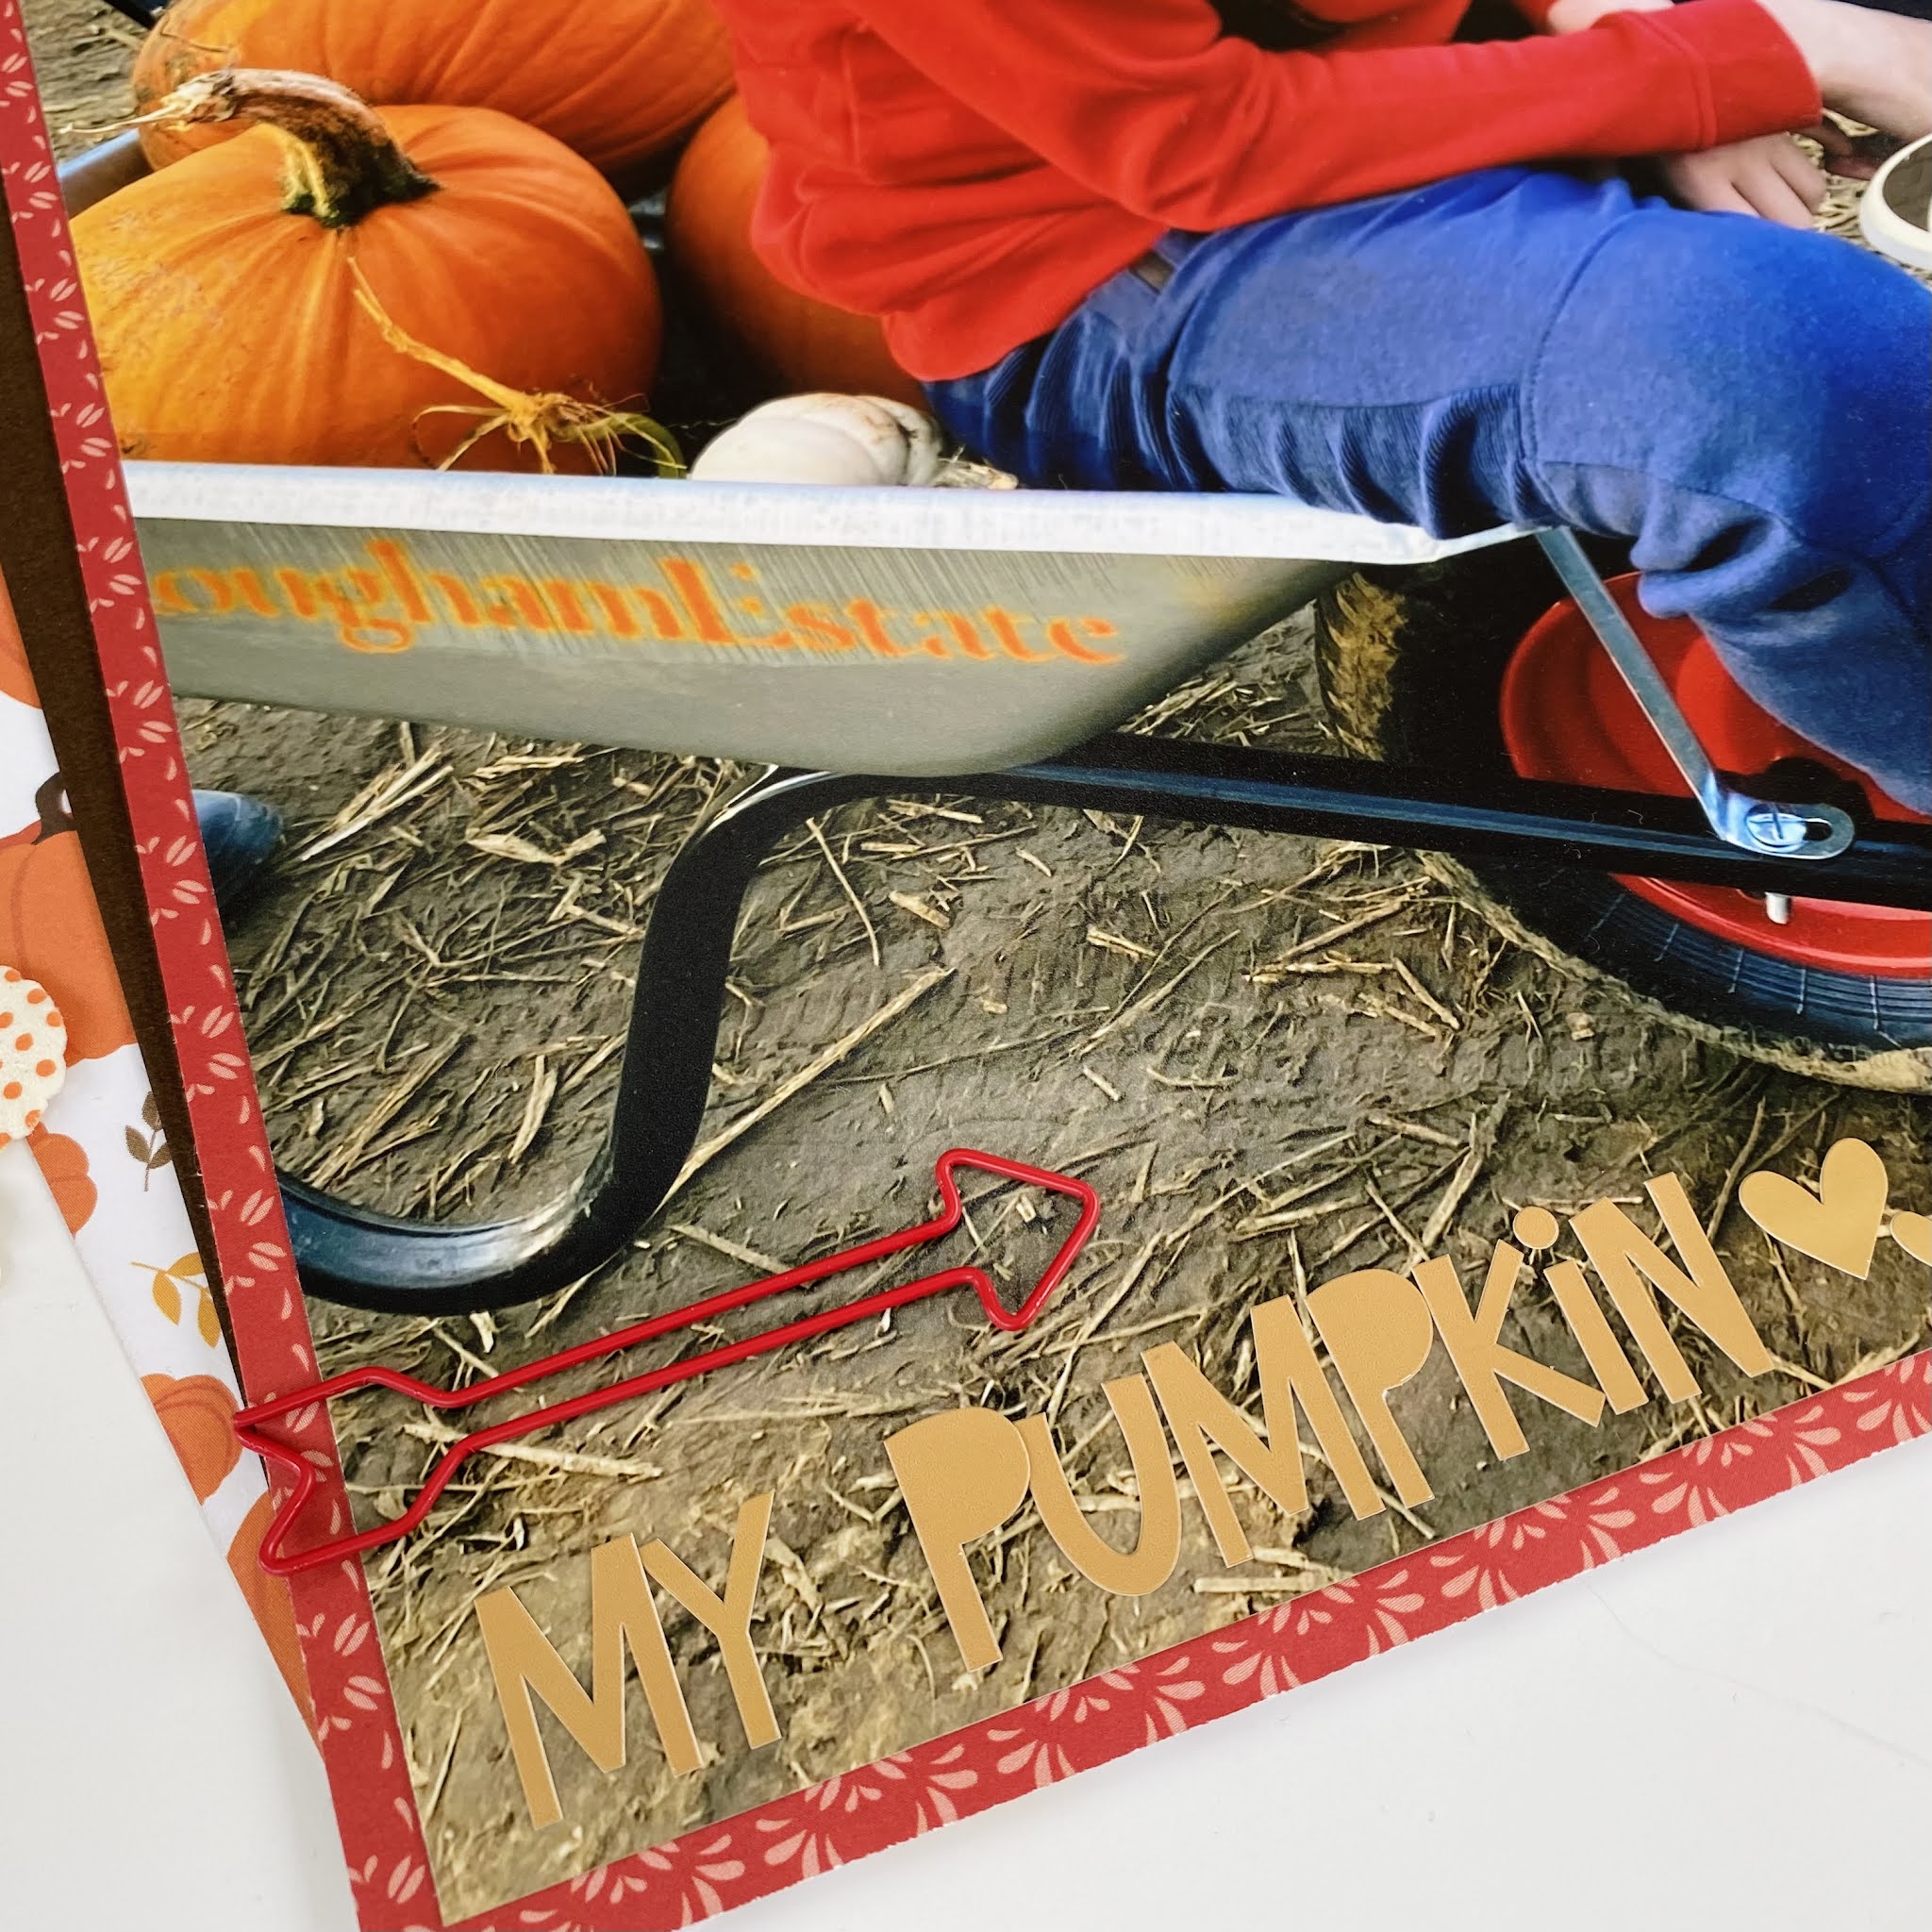
I added a freckled fawn arrow paper clip to the bottom left hand side along with some Bella Blvd alpha stickers

It’s quite a simple layout, allowing the larger photo to be showcased. With some finishing touches to add texture and interest. 
Why not give a 12x12 photo layout a try? 


Thanks so much for looking! 
See you again soon! 
Anna 
X


Saturday, 6 November 2021

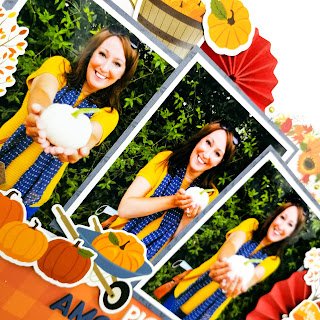
Echo Park - Fall - Pics Amongst The Pumpkins

Hi everyone, and a very happy November!

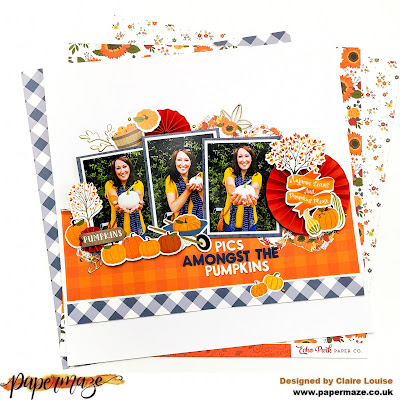
I love Autumn - the crisp air, clear blue skies and all the colours that the season brings.  One of my favourite activities is to go Pumpkin picking and when I saw the Echo Park Fall collection in the shop, I knew it would be perfect for documenting my last trip.


The collection contains some beautiful colours - full of warm red, yellow, orange and brown with some beautiful blue papers that offer a perfect contrasting colour.

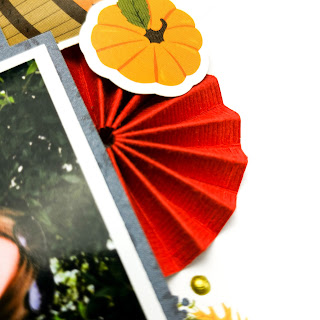
I started my layout with a sheet of White Premium Cardstock. I love this smooth card - it's my 'go to' for every layout and a real staple of my craft stash. Next, I grabbed a sheet of red Bazzill from the Matchmaker Pack and made 3 rosettes in various sizes, by using different width strips of card and folding in hills and valleys to make a concertina.


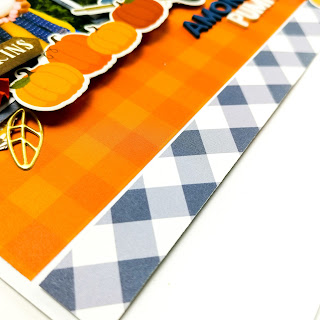
To create a base for my design, I used two strips of paper. I used the 'b' sides of the Whisking Leaves paper (about 4" wide) and a much thinner strip of the 3x4 Journaling Cards paper (about 1" wide). I positioned these in the bottom half of my page, layering one against the other for contrast.

I stuck the orange paper flat and the blue strip on foam for dimension and interest.


Once they were in place, I grabbed my photos and mounted these with the blue 'b' side of the 4x4 Journaling Cards paper. For extra texture, I raised each photo on foam pads, overlapping them slightly to create depth.


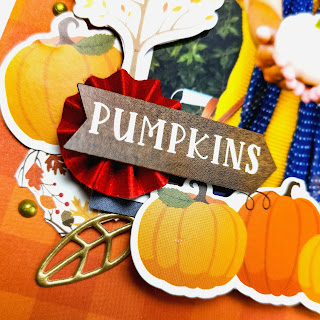
The, the embellishing began!  I mostly used the Element Stickers for this - they are awesome! So many great elements on this sheet and so much fun to play with - a real must if you buy any of this collection.  I backed most of them on cheap copy paper so I could move them around the page while I decided on their final position.


I layered them with my rosettes, some gold leaves I have left from Jen Hadfield's The Avenue collection and some fussy cut wreaths from the 'b' side of the Journaling Cards paper.


To finish the page, I added a title using some mini alphas from my stash and added a few Nuvo Drops in Bright Gold.

I am really loving this collection and the contrast of the blue against the warmer orange tones. It's not a colour combination I would usually opt for but it is creating some really striking pages - perfect for all your Fall scrapping as the name suggests :)

I'll be back again later this month sharing another page with this collection. Until then, you can find it in the shop here.


See you soon.

Claire x


Friday, 5 November 2021

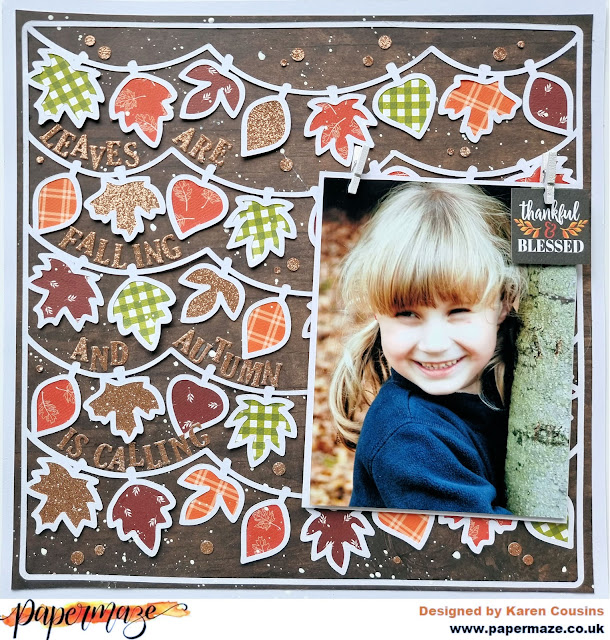
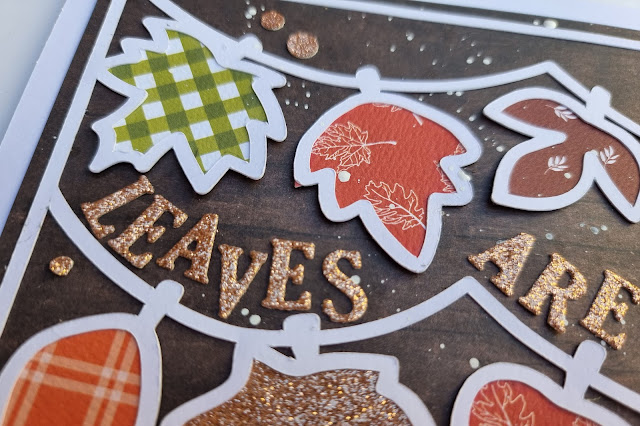
Carta Bella Welcome Autumn - Leaves are Falling.....

Hello, Karen here with another layout to share using the Carta Bella Welcome Autumn collection and a cut file from Paige Evans.

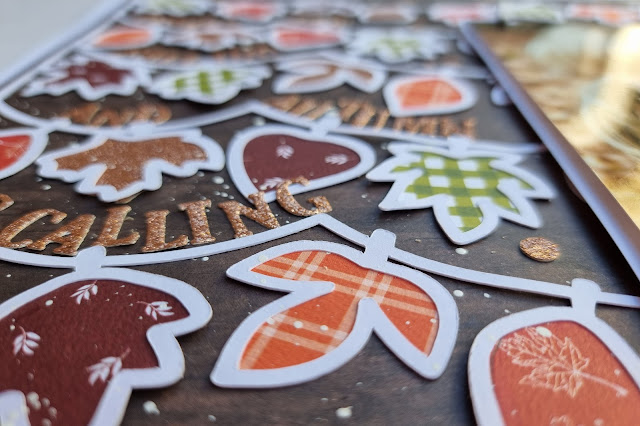
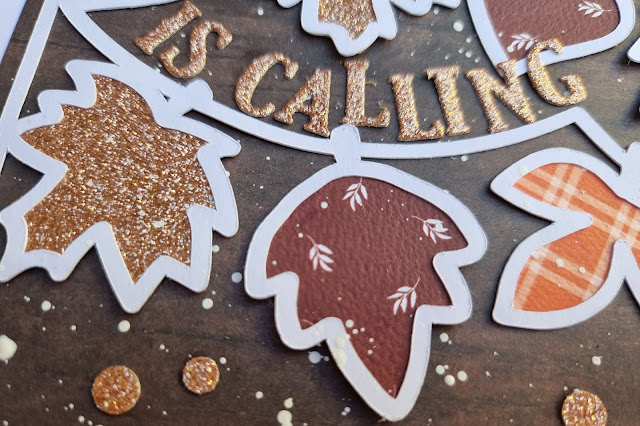
Using my Silhouette I cut the Leaf Banners Background cut file by Paige Evans from a 12x12 sheet of smooth white cardstock and backed the leaves with paper from the collection - Autumn Air, B side of Perfect Pie, B side of the 3x4 Journalling Cards and Crisp Leaves. 


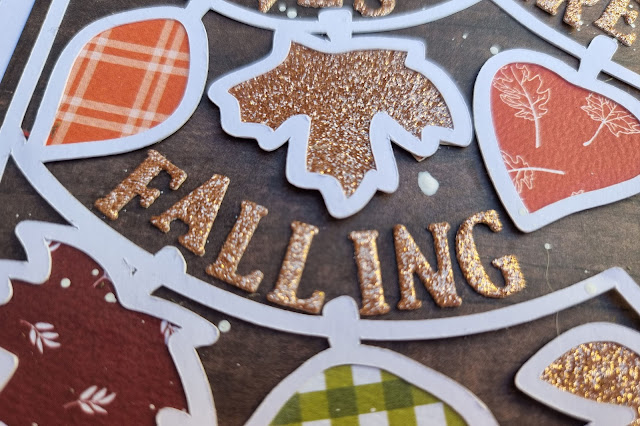
I also backed some of the leaves with some rose gold glitter card that I had left over in my stash from making some cards.


The cut file was then stuck flat on top of a sheet of Simple Stories Sn@p Basics - Walnut/Cream Dot paper. I really love the Welcome Autumn collection but I wished it contained some woodgrain papers. I looooooooooooove woodgrain papers and think they are particularly good for autumnal layouts and the Simple Stories paper was perfect. The dark brown background really made the other colours and my photo pop.


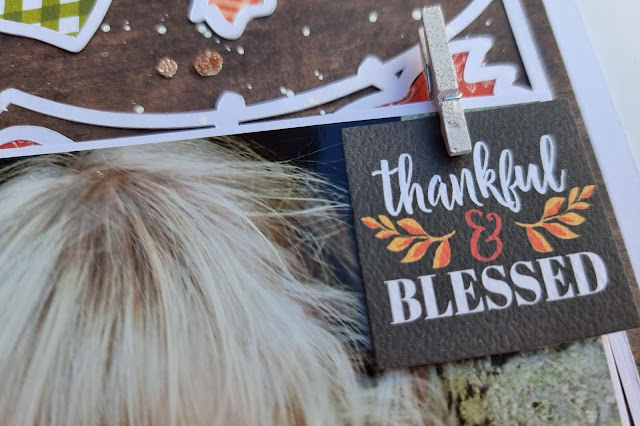
My 5x7 photo was matted on some white cardstock and attached to the right side of the layout with some 3D foam underneath to give it some dimension. To make it look like the photo was hanging from the leaf banner, I added some small wooden pegs to the top of the photo and also tucked an image from the Seasonal Squares paper under one of the pegs.


Letters die cut from more of the glitter card were added along the banners for my long title.


I wanted to add some sequins to the layout (for extra sparkle) but unfortunately I didn't have any in the right colour, so I used a couple of hole punches to punch some dots from the glitter card and added these to the layout instead. Finally, watered down white acrylic paint was splattered over the layout.

The Welcome Autumn collection can be found in the shop as well as a tonne of other crafting goodies. Hop on over for a peek.

I will be back again later in t he month with another project, but in the meantime Take Care.
Karen x x