Showing posts with label Spring. Show all posts

Wednesday, 13 May 2026

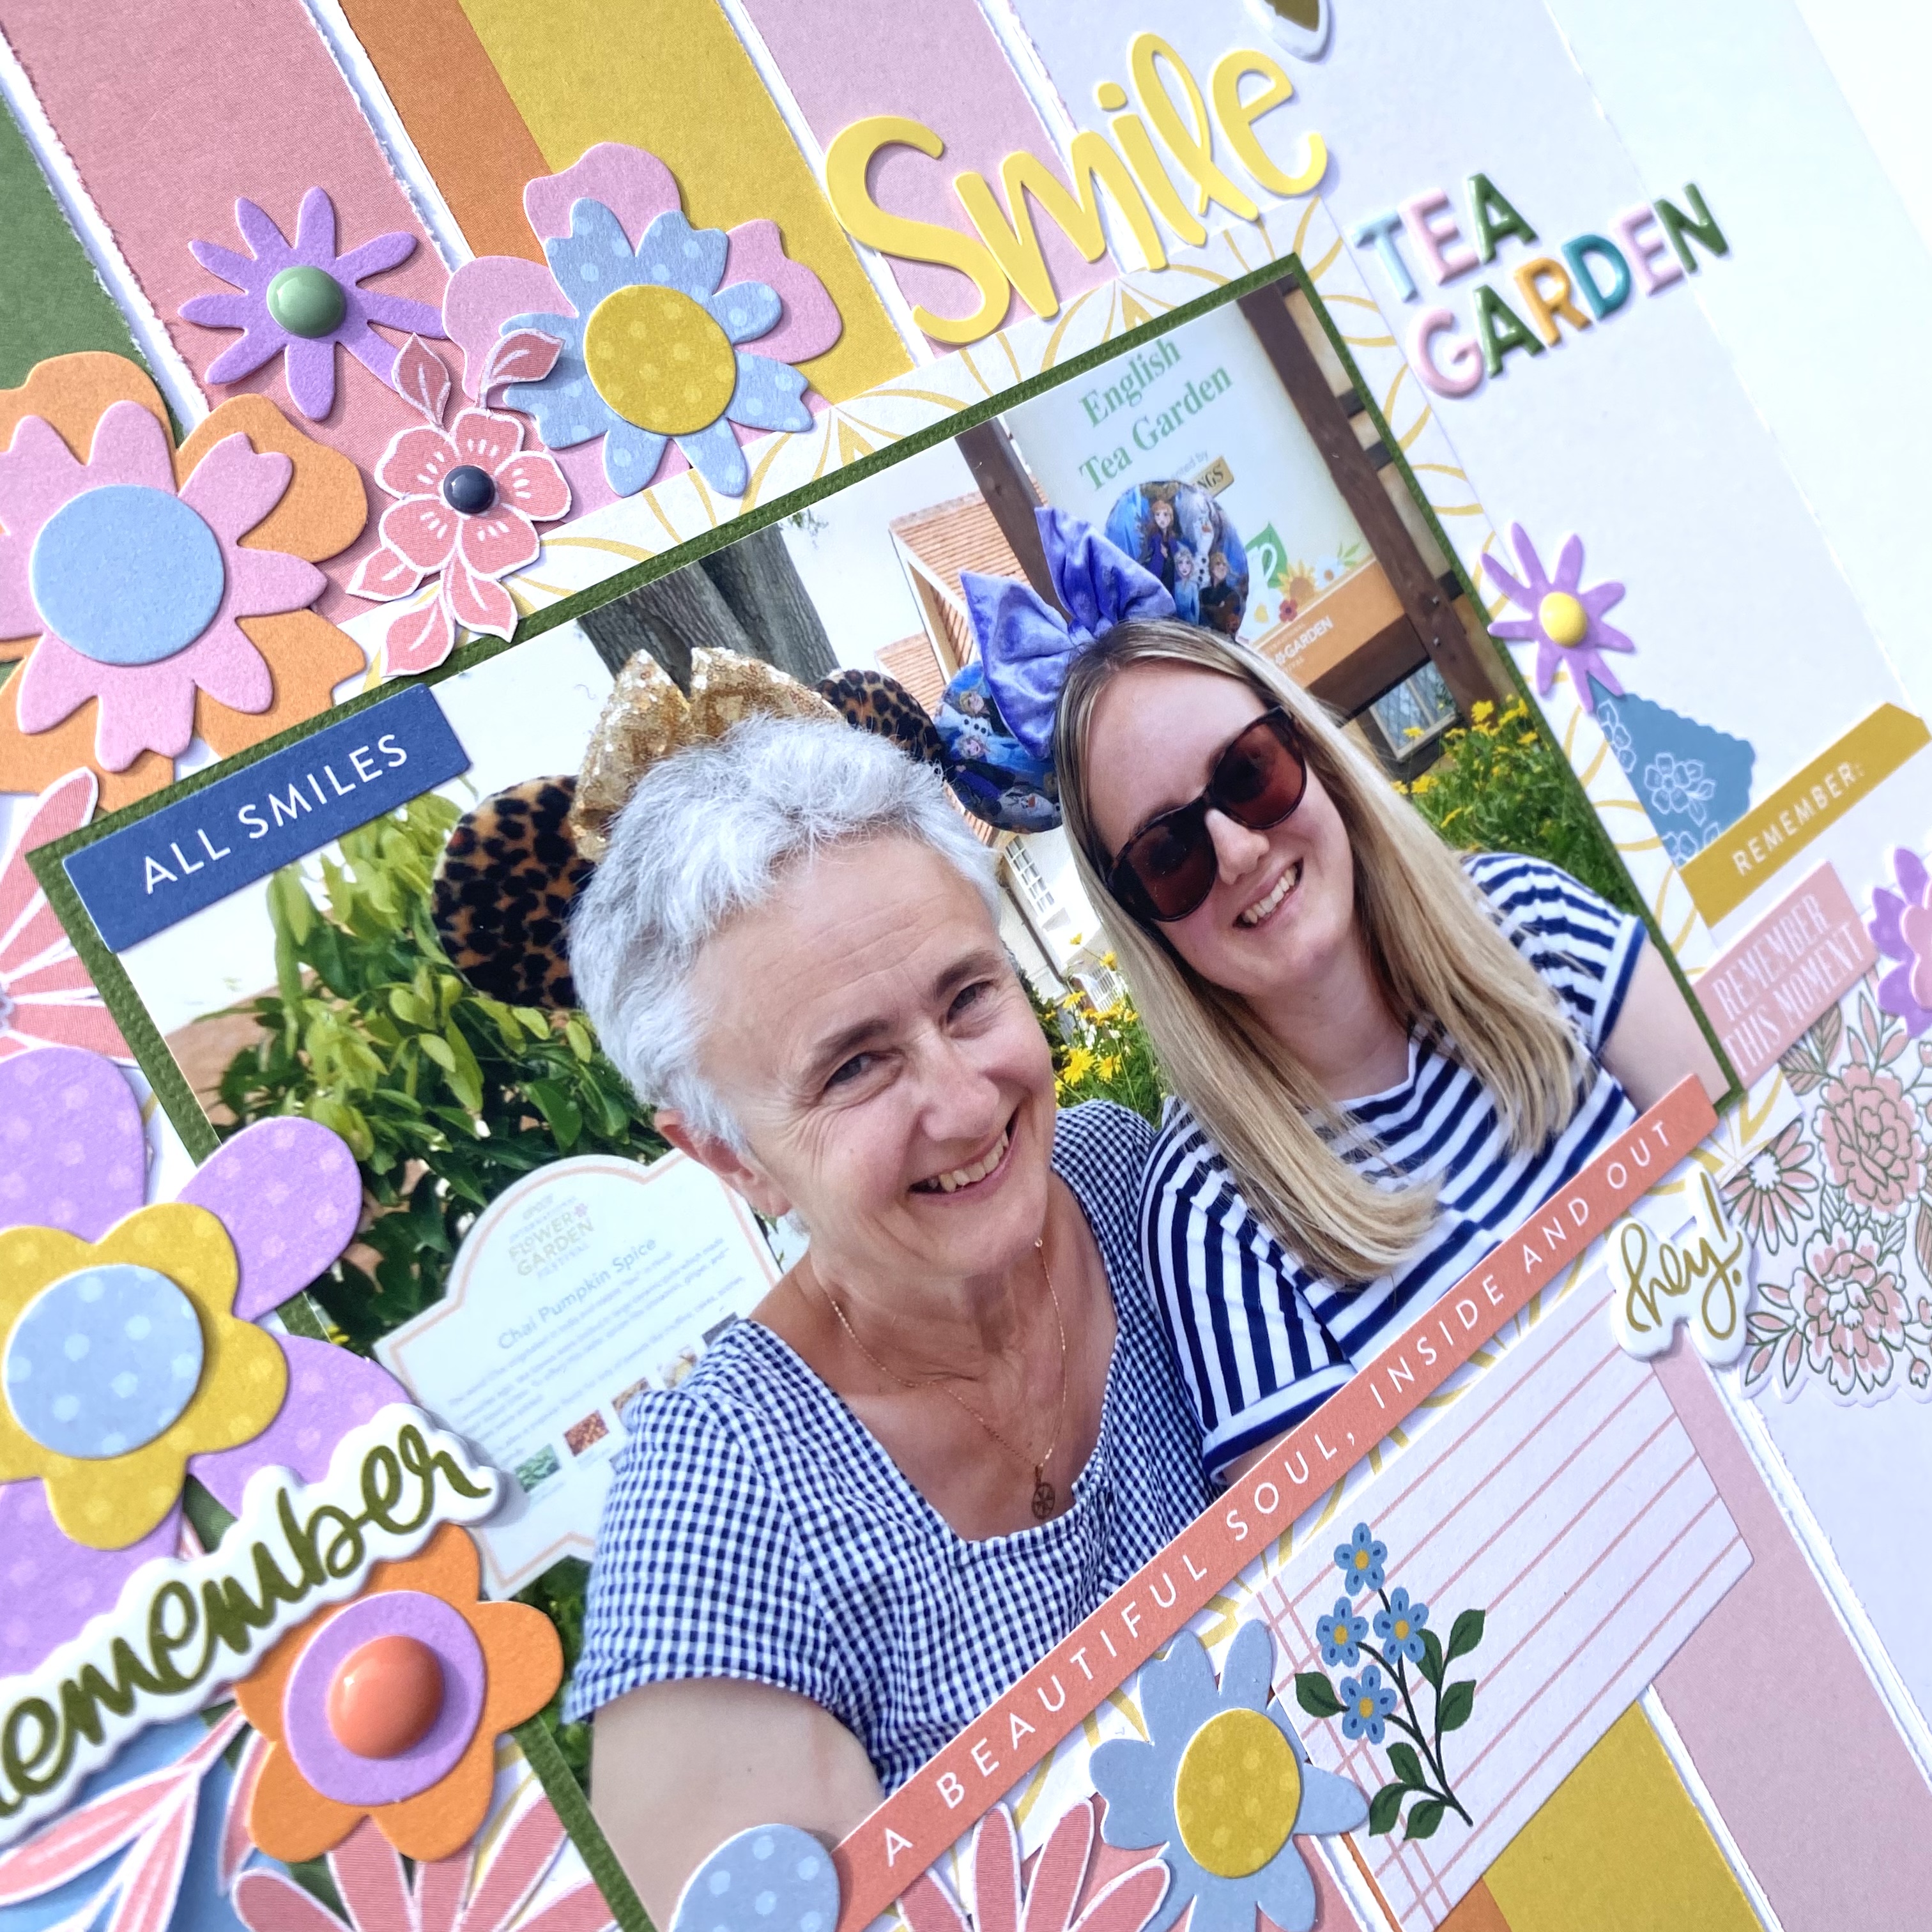
Simple Stories - Simple Vintage Lavendar Fields

Hello!

Claire here and this month I'm very lucky to be creating with the Simple Vintage Lavendar Fields collection. You can find it in the shop here.

I adore the colours in this collection. Pretty Lavendar a, fresh spring green and a touch of soft yellow. What's not to love! 


To create this layout I chose to layer the Lavender and  Sunshine and Honey papers to create an elongated anchor for my layout. I distressed and curled the edges and raised on foam for depth.

I positioned my photos centrally, backing them with the B side of the 3x4 Elements paper to draw out that coordinating pop of green. 

Next, I selected a range of accents using the Cardstock StickersJournal Bits & Pieces and Floral Bits & Pieces to draw the eye across the page. Under each cluster I added some Distress oxide in coordinating pale pink and lavender shades to add a bit of a glow to the page. 


I cut two tags from the Tag paper and placed these under my photo to help draw the eye across the large cluster above it. 

The for my title, I chose Enjoy the Moment from the Bits & Pieces pack which features the core colours in the collection and helps pull the page together. I embellished with some florals and flowers from the Chipboard Pieces. 

A few sequins from my stash were sprinkled across the clusters for a finishing touch to add that extra bit of sparkle! 

I can't wait to create more with this gorgeous collection. Until then, happy scrapping! 


Claire x

@scrappysoulmate 

Friday, 25 April 2025

Echo Park ~ Blossoms and Bees 🐝 #2

 Hi everyone, it’s Anna back with you today. I’m sharing my second layout using Echo Park Blossoms and Bees, which you can find in the shop here

For this layout I’ve used the 3x4 journaling cards to create a grid style layout, which is one of my go to scrapbook page designs. 


For my background, I used the b side of blossoms and bees. I then selected six of the journaling cards and arranged them in a 3x3 grid. 


I mounted photos on to four of the journaling cards and left the remaining two - one to add some journaling to and one to keep as it was. 


I then added a few element stickers, including ‘welcome spring’ as my title, some florals, and words. 


Thanks so much for looking! 

See you again next month with a brand new collection. 

Anna 

@acraftylifewithanna

Wednesday, 12 March 2025

Beautiful - Simple Stories - Simple Vintage Flower Shoppe Collection

Hi Friends!

Rebecca here, sharing my first layout of March with you today. With Spring just around the corner and the weather starting to warm up, it felt like the perfect time to create with one of the latest collections from Simple Stories—Simple Vintage Flower Shoppe. It’s a stunning collection that truly captures the essence of Spring! You can find the full collection in the shop here.


I was immediately drawn to several of the journal card images on the ‘Journal Elements’ patterned paper, so I decided to cut them out and layer them behind my photo. To add texture and depth, I distressed all the edges—one of my favorite techniques to elevate a page. I matted my photo with a soft pink patterned paper from the 6x8 Paper Pad and arranged these elements in the centre of a sheet of Bazzill White Cardstock.

At this stage, I still felt like something was missing, so I knew I needed to add a little more behind the photo. I chose two patterned papers—the B side of the '2x2 / 4x4 Elements' and the B side of ‘Memories’—and cut them down to 7x5 inches. I then used a paper punch to add a notebook edge along the tops. Once I arranged these elements at angles behind my photo, I was much happier with the layout.


With the larger pieces in place, it was time to move on to embellishing. I selected some beautiful floral pieces from the Floral Bits & Pieces and layered them around my photo, allowing some to peek out from behind the patterned papers. 


I also added a couple of tin buckets filled with flowers from the Cardstock Stickers sheet to bring in more texture and detail.


For the title, I chose the word “beautiful” from the Foam Stickers and placed it just beneath my photo for a balanced look.                                                                                                                                   


To add the finishing touch, I fussy cut a couple of butterflies from the 'Dreamer' paper and adhered only the centres, letting the wings flutter freely. This gives the impression that the butterflies have just landed on the layout, adding a bit of movement.


Thank you so much for stopping by to check out my layout. I hope it inspires you to create something beautiful of your own! This collection is absolutely perfect for Spring, so be sure to head over to the website and grab it before it’s gone!

Take care, 


Rebecca xx 
@preciouspagespapercraft

Monday, 20 March 2023

Pinkfresh Studio ~ Spring Vibes #3 🌺

Hi there, it’s Anna back with you today and I’m here to share my third and final layout using Pinkfresh Studio Spring Vibes. 

You can find the collection in the shop here


I began with a sheet of white 12x12 Bazzill cardstock
I really wanted to make use of the lovely bold stripes on the ‘Sunny Days’ paper. So I decided to trim each strip down and distress the edges. 


I mounted my photo onto some coordinating cardstock from the matchmaker pack and placed it centrally. 


I then pulled out my pack of Simple Stories Color Vibe Flower Bits - Spring. I put various combinations of flowers together and began to arrange them on my layout. I also fussy cut some of the florals and leaves from ‘Daisies’and arranged those in together with the simple stories flowers. I added some enamel dots to the centres of some of the flowers as well. 


I selected various elements from the cardstock stickers and tucked them in around my photo. I also added a few sentiments and puffy dots from some Vicki Boutin Thickers. 


I added a title and a subtitle to the layout using Doodlebug Abigail Alphabet Stickers and some Pinkfresh Alpha Stickers too. 


Thanks so much for looking! 
I’ll be back next month with a brand new collection to share with you! 
See you then, 
Anna 
X

Friday, 8 April 2022

Echo Park ~ My Favourite Easter #1

 Hi all, 

It’s Anna back with you today! I’m working with a new collection this month, Echo Park My Favourite Easter. This collection is perfect for documenting your Spring and Easter memories. 

To create this layout I started with a sheet of white bazzill cardstock. I then picked out the ‘picking plaid’ patterned paper from the collection and created a rough edge along the top and bottom by tearing the paper.


I then picked out three photos from Easter Sunday last year and mounted them on cardstock from the matchmaker pack.


I adhered the three pictures just below half way down in the centre of the patterned paper. I fussy cut flowers from ‘Easter Bouquet’ and arranged them in clusters either side of the photographs. I then started looking at embellishments from the Chipboard Accents and picked out a few pieces. 
I selected the bunting pieces and arranged them under the photographs. 
I decided to use a title from the Simple Stories Page Pieces -Easter pack. I love these packs by simple stories, they provide a large title and several coordinating pieces to compliment your layout. You can find all the varieties here


Thanks so much for looking! See you again later in the month.

Anna
X

Monday, 7 February 2022

Echo Park - Day in the Life - Smile!

Hi everyone,

Claire here sharing my first layout for February!

I'm still thoroughly enjoying the Day in the Life collection by Echo Park which you can find in the shop here. This collection offers endless possibilities - it's perfect for pocket life pages with cut apart sheets and the months of the year, whilst also providing beautiful colours and patterns for more generic themed scrapping.

I've opted to create with the b sides of the collection, focussing on pretty spring colours.


I opted for come colour blocking, creating a mixed media background behind each of my 4" squares. For the mixed media, I used art crayons, but you could just as easily use Distress Oxide inks to create the same effect.

I used a cut apart from the February Paper saying 'Hello Sunshine'. The beautiful striped colours inspired my colour scheme and design.


I cut the same sized squared from the April, June and October papers, and machine stitched around each square, distressing the edges for additional texture.


I matted my photos on some white tissue paper and positioned these to overlap the squares. They are slightly smaller at just under 3".

To embellish, I fussy cut some flowers from the January paper and rained these on foam pads around my photographs.


Next, I took the Element Stickers, mounting the camera on foam to pull all the colours together and create some extra dimension.


I also used some banners, word phrases, tabs and clips from the sticker sheet, adding extra interest across the page.


As a final touch, I added some large white Alpha Thickers from my stash to create my title ' Smile' - perfect for our selfie photos and happy vibe of this layout.


And that was the page done! Hope you like it and it gives you some inspiration on how to use this versatile collection.

See you soon.

Claire xx


Wednesday, 12 May 2021

Echo Park ~ Welcome Spring #2

 Hello! Welcome back to the Papermaze blog! It’s Anna here again with my second layout using the Echo Park Welcome Spring collection. But for this layout, I’ve also added in a couple of extra elements from the Pinkfresh Studio Keeping it Real Collection. 

For my second layout, I have taken inspiration from a Paige Evans layout and used her Cutfile - 165 flowers. The cutfile alongside the patterned papers were perfect for these photographs I had been wanting to scrap for a while now.  


I used the b side of the bumblebee breeze patterned paper as my base and began by adding a few coordinating shades of distress ink; shabby shutters, tumbled glass, milled lavender and dried marigold under the cutfile using the packaging technique. 

I then mounted my three photographs. The larger one, I double mounted - first onto African daisy cardstock and then to the b side of the 3x4 journaling cards. I used 3D foam pads to adhere this photograph and kept the other two flat. I mounted the two smaller photographs on to the b side of the sunny spring day paper. 


I used the pinkfresh studio keeping it real floral cardstock die cuts, tucking them in and around the cutfile and between my three photographs, rather than backing it with any papers.


From the same collection, I used the Pinkfresh Studio Keeping it real mini puffy alpha stickers for my title. 


To finish, I added a few stickers from the element stickers sheet, tucking them around my central cluster of flowers, as well as some Doodlebug sprinkles


Thanks so much for looking! See you next time!

Anna 

X

IG ~ adisneycraftylifewithanna


Monday, 26 April 2021

Echo Park ~ Welcome Spring #1

Hello all, it’s Anna back with you today to share my first layout using Echo Park’s Welcome Spring collection. You can find the collection in the shop here!

For my first layout, I began with a white bazzill cardstock base. I added a strip of the ‘b’ side of the 6x4 journaling cards to the left hand side of the page, tearing the edge, I also added a strip of bazzill ‘African Daisy’ alongside it and also tore the edge of this piece. I added a few spatters of shimmerz paint in bubble gum blast and Christmas cheer and waited for it to dry. 

Meanwhile, I backed two Paige Evans pinwheel Cutfiles using the b side of the journaling cards patterned paper as well as some bazzill cardstock in the shades of ‘romance’ ‘African daisy’ and ‘lagoon’. I also made two of my own pinwheels from the ‘sunny spring days’ patterned paper. To make these two pinwheels, I cut one square measuring 4x4cm and the other 5x5cm. I centred my pinwheels with enamel dots by Pinkfresh Studio. 


To create my title, I fussy cut the sun, clouds and word ‘hello’ from the 6x4 journaling cards and selected ‘sunshine’ from the element sticker sheet. I mounted the clouds/hello title using 3D foam pads to slightly raise it from the page. 
 I mounted my photograph with a thin boarder of the ‘romance’ bazzill cardstock and added a second layer with the ‘sunny spring days’ patterned paper. 


I embellished my layout with stickers from the element stickers sheet. There are so many stickers on this sheet, images and wording in various sizes. I like having the option of smaller stickers too as you sometimes only need a little something. 


To finish I added a few shape sprinkles by doodlebug. 

Thanks so much for looking, I’ll be back with another layout from this collection soon! Have a great week!

Anna

IG ~ adisneycraftylifewithanna

X