
Lynn here today, sharing the second pair of layouts using the pretty Papermaze kit for
July. This kit is packed with soft, natural colours and includes
double-sided patterned papers, Bazzill Basics cardstock and a whole
bunch of co-ordinating
embellishments. There is also a pack of matching Bazzill Basics sheets, available to compliment the kit.

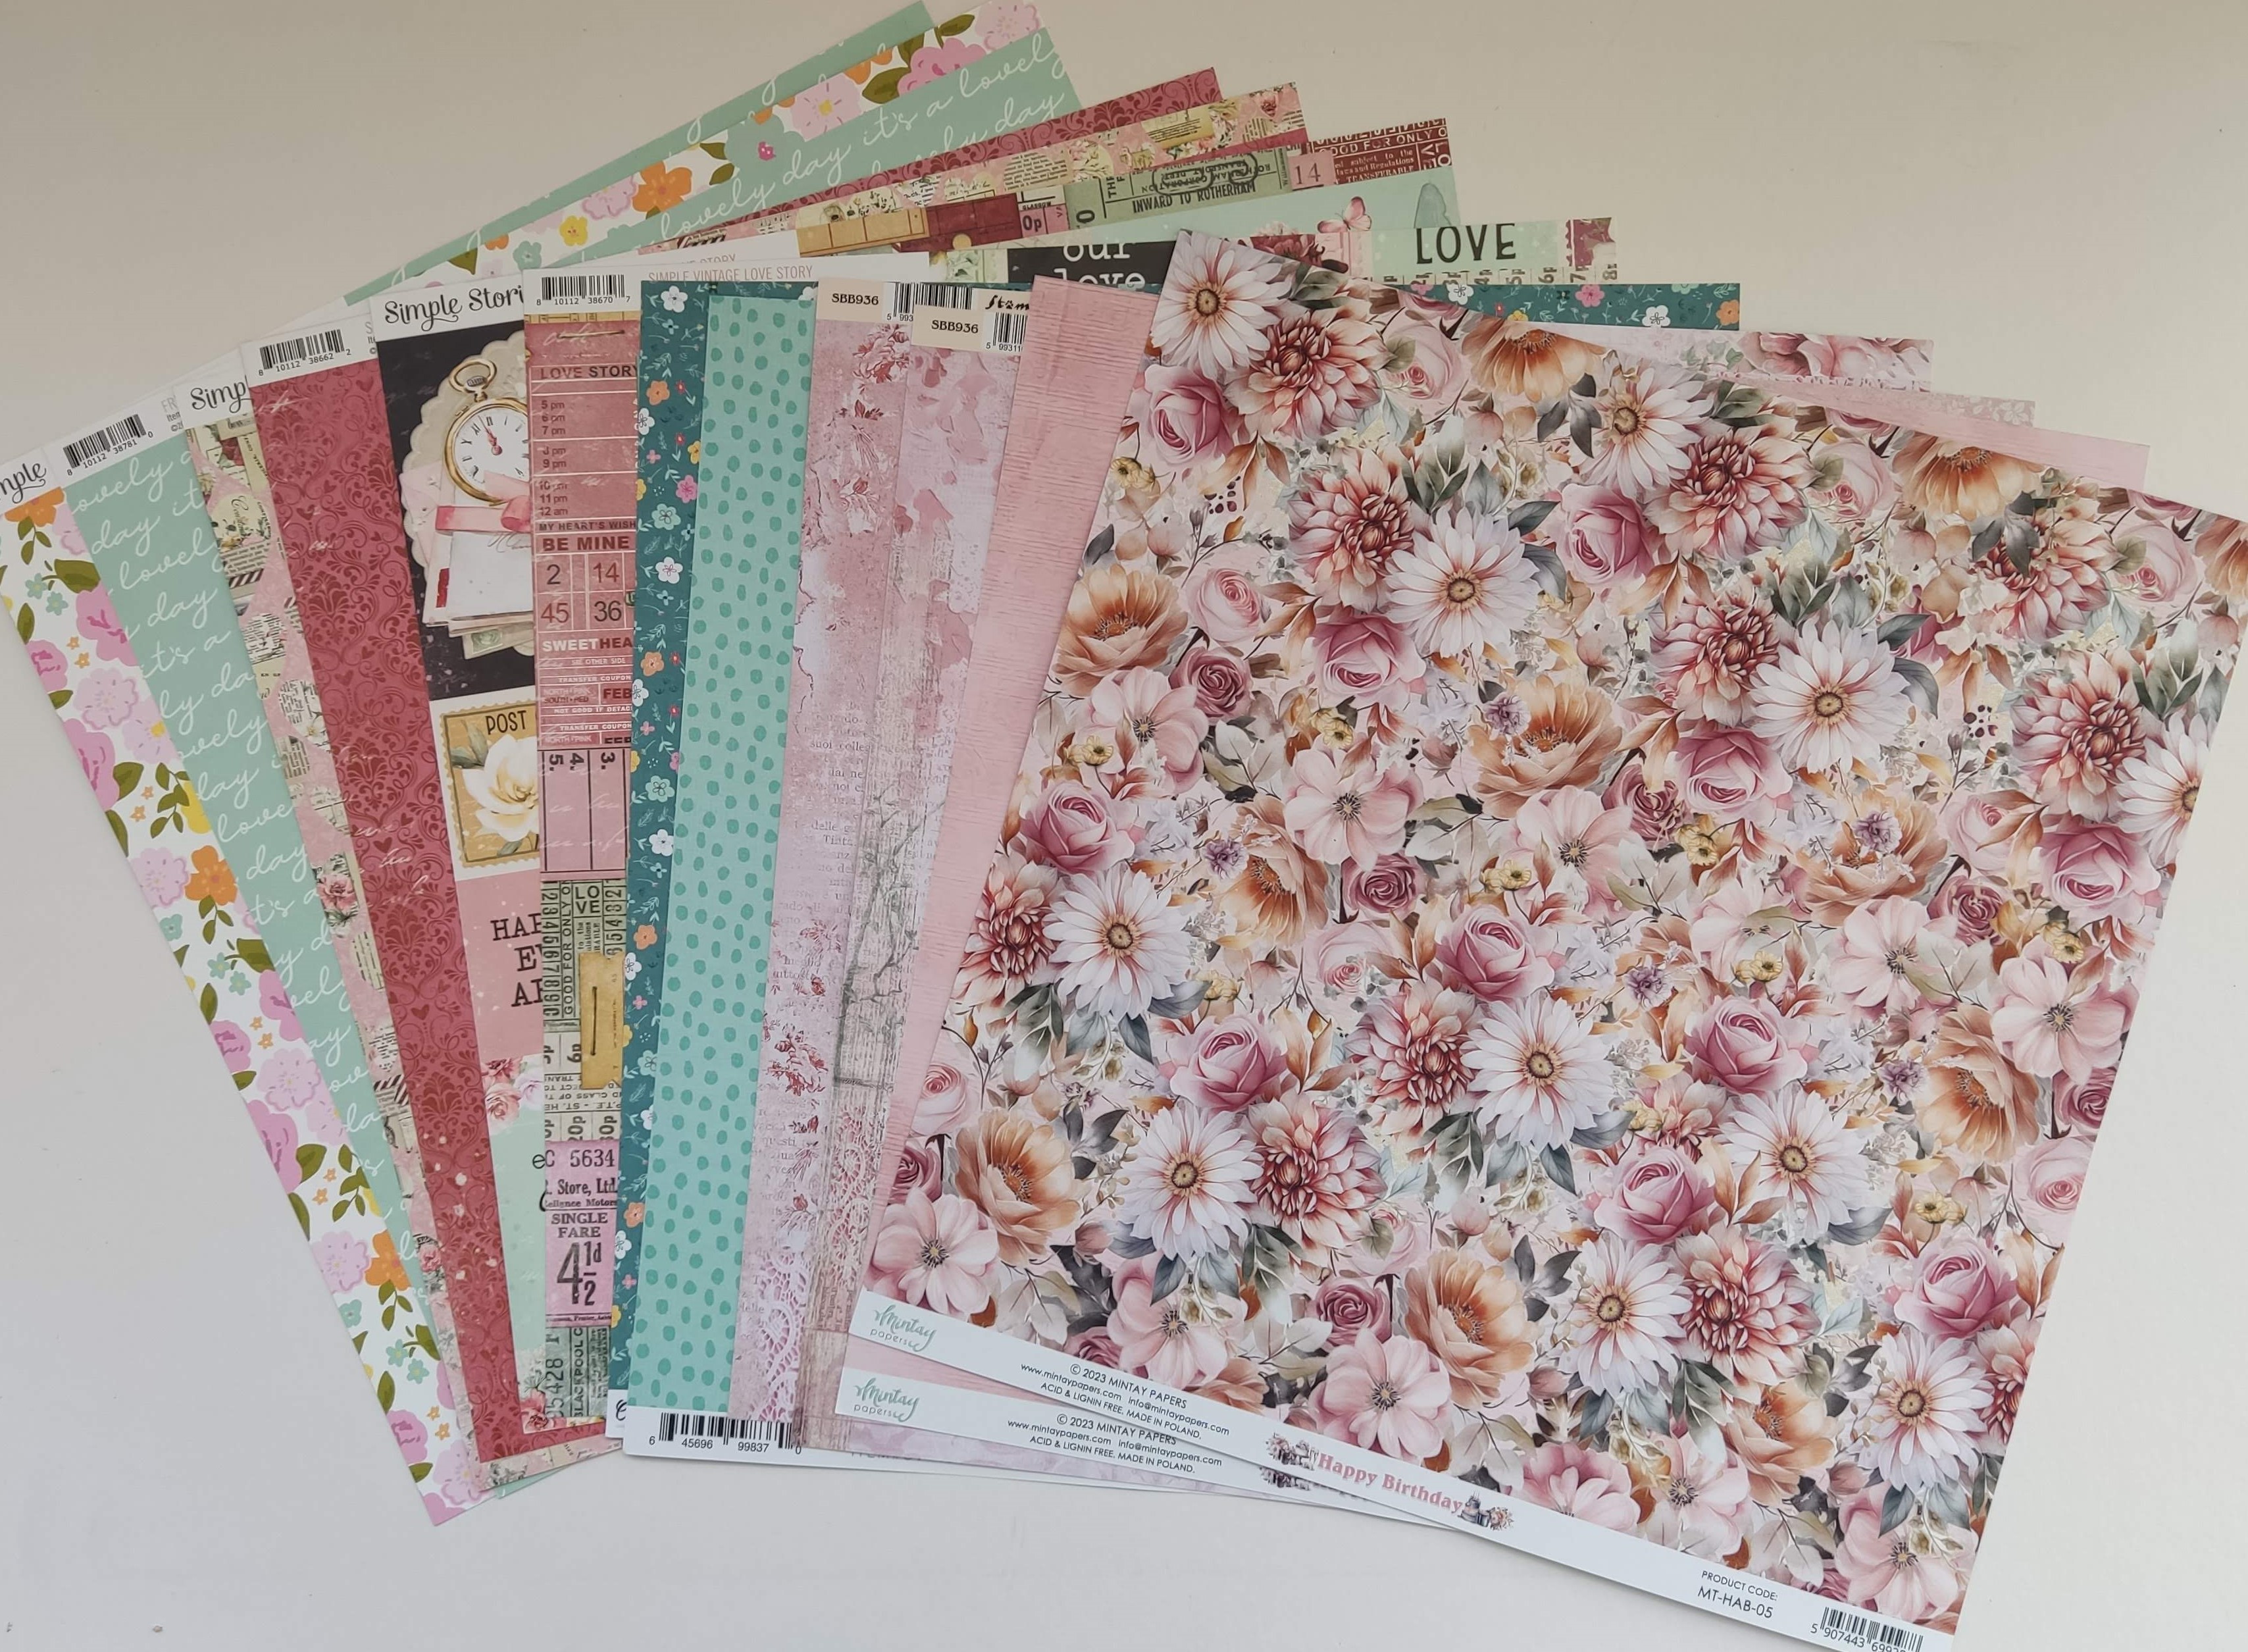
Before looking at how the layouts were made, here is what you will find in the kit.


Patterned Papers:
49 and Market - Joanne Bain - Little Celebrations - Whimsy & Luminous
P13 - Beautiful Moments - #02 & #06
Simple Stories - Simple Vintage Woodlands - Let's Explore
Stamperia - Timeless Collection - Roses Tapestry

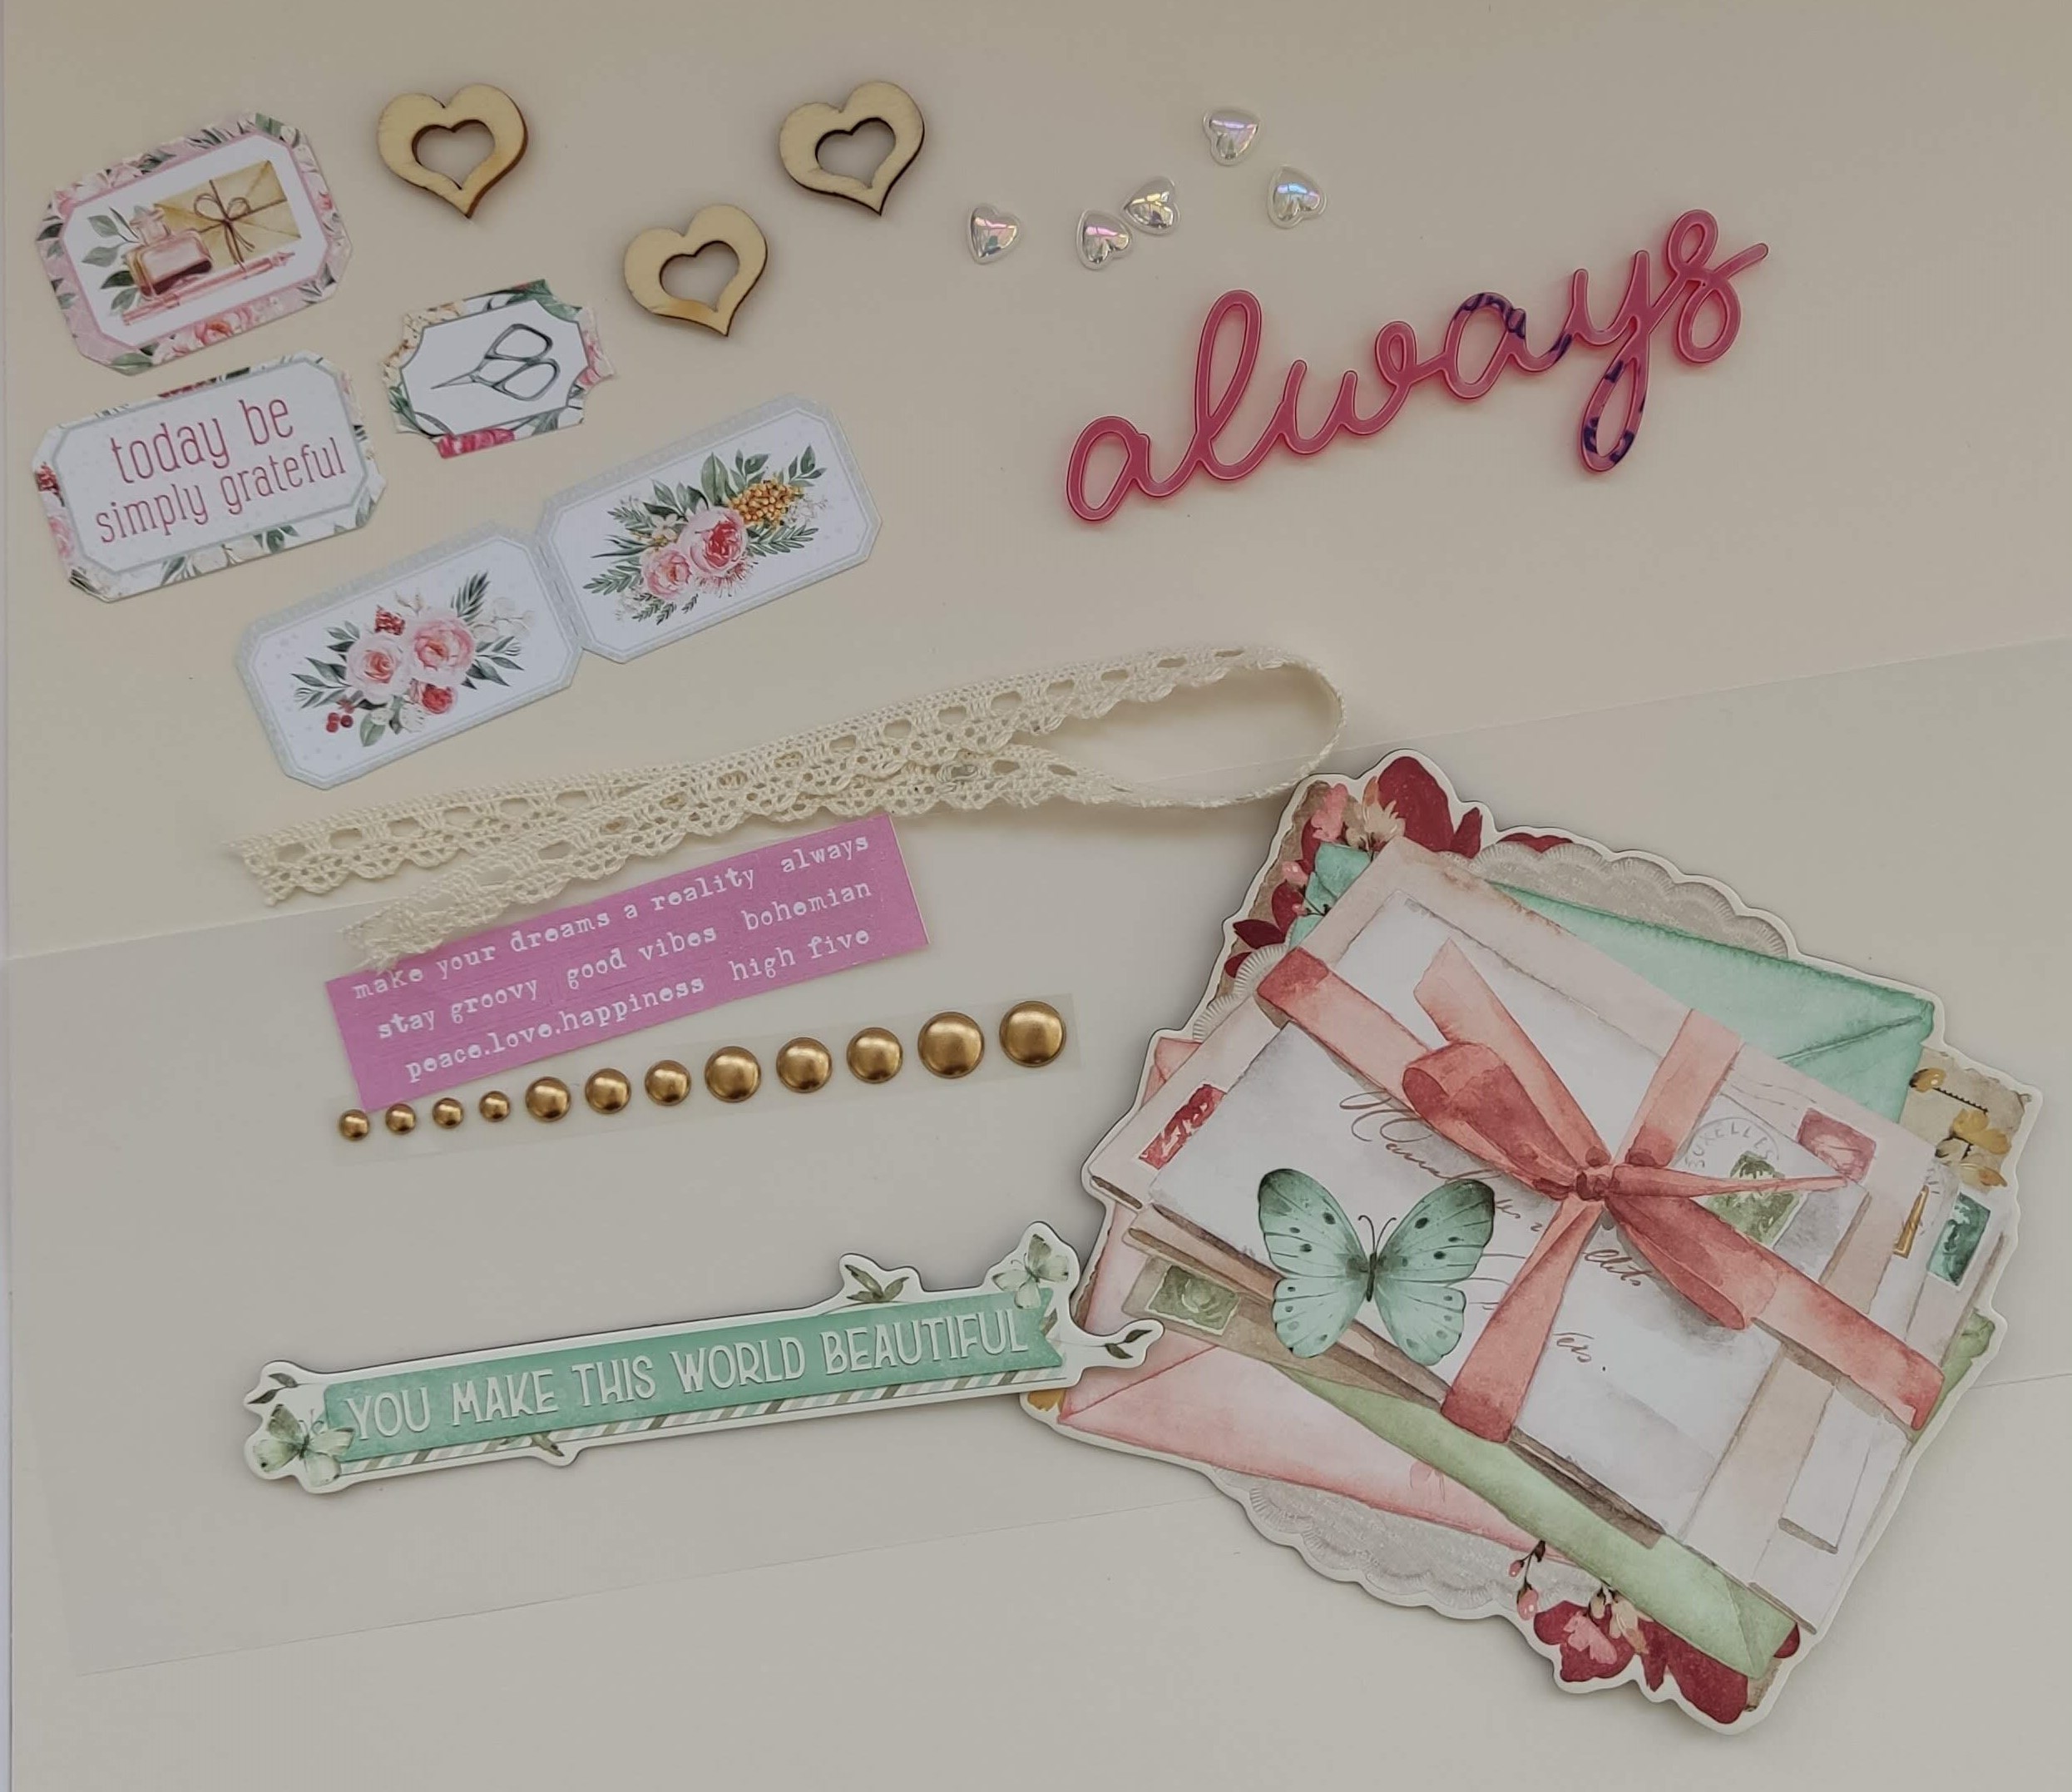
Embellishments:
Tim Holtz - Idea-ology clippings - Stickers
P13 - Chipboard Circles
G45 - Pearls
Prima - Return to Wonderland - 2 Vintage Wonderland Frames
Prima - A Mermaid's Tail - Flower
49 and Market - Moonlit Garden - washi tape - stamps
12" Lace

Bazzill Basics Cardstock - Lagoon, Pigment (included in Kit), Tutu Pink, Powder Blue, Star Dust & Cinnamon Stick (in Extra pack).
A Mother's Love - This photo goes back to my wedding day (41 years ago), and shows Mum and me on the patio in her garden just before leaving home for the church.

.JPG)
From the Stamperia - Timeless Collection - Roses Tapestry I cut two pieces, 6" x 4", and mounted them on the top half of the page to show both side of the paper. These were overlapping one another, and created a backdrop for the photo.
.JPG)
I mounted the photo on a scrap of Star Dust Bazzill, gutted from a previous layout. and placed this in the centre of the page.
.JPG)
I used a Dusty Attic chipboard piece - 'A mother's Love', and prepared it with a coat of Gesso. Over this I applied Distress inks, then a coat of Glossy Accents. This was placed at the bottom right of the layout.
.JPG)
.JPG)
With a pack of 49 and Market - One Perfect Day, Laser Cut Out Wildflower, I selected three clusters of flowers, and a few leaf fronds, I used 3D foam pads to apply these around the page.
From the Let's Explore paper I cut some tiny butterflies and scattered these over the page, together with the gold and silver G45 Pearls from the kit.
.JPG)

For this layout I used a Sketch from Paper Issues.

I cut two hearts from the remains of Roses Tapestry paper, I mounted the smaller floral one over the larger green heart. I inked all the edges and placed this to the top left of the sheet of P13 - Beautiful Moments - #02.
.JPG)
I mounted my photos onto some text from an old gardening book I purchased from a charity shop years ago and use for scrapbooking. I inked the edges of these mounts and fanned the photos out across the heart.
.JPG)
I used a doily under the photos, and made a tag from the Pigment Bazzill, for my journalling. I tied some fine, red, jute twine through the hole in the tag, and made a bow. I stuck this to the doily. I cut another doily in half and tucked it under the mount, to the right of the photos.
.JPG)
I made three clusters of red and white paper roses selected from my stash. I punched leaf fronds to add to these clusters using an old Martha Stewart punch.
.JPG)
From the Let's Explore paper; I cut two butterflies and added one to the tag and another to the half doily. For the title I used some Paige Evans Sugarplum Wishes mini puffy alpha stickers.
I also used some Doodlebug Designs Teensy Type alphabet stickers. Finally, I used the black G45 Pearls from the kit.
.JPG)
That's all for today, I'll be back with the August kit in a few weeks.
Thanks for looking.


.JPG)
.JPG)
.JPG)
.JPG)
.JPG)
.JPG)

.JPG)
.JPG)
.JPG)
.JPG)
.JPG)


.jpg)
.jpg)
.jpg)
.jpg)
.jpg)
.jpg)
.jpg)

.jpg)
.jpg)
.jpg)
.jpg)
.jpg)
.jpg)