Wednesday, 22 July 2026
Simple Stories ~ Sweet Summertime #2
Friday, 3 July 2026
Mintay Paper - Summer Highlands - Chamonix Mont-Blanc
Next, I added some machine stitching around the edge of the cardstock using white thread for a bit of texture and also added a few splatters of watered-down Peeled Paint Distress Oxide.
Monday, 23 March 2026
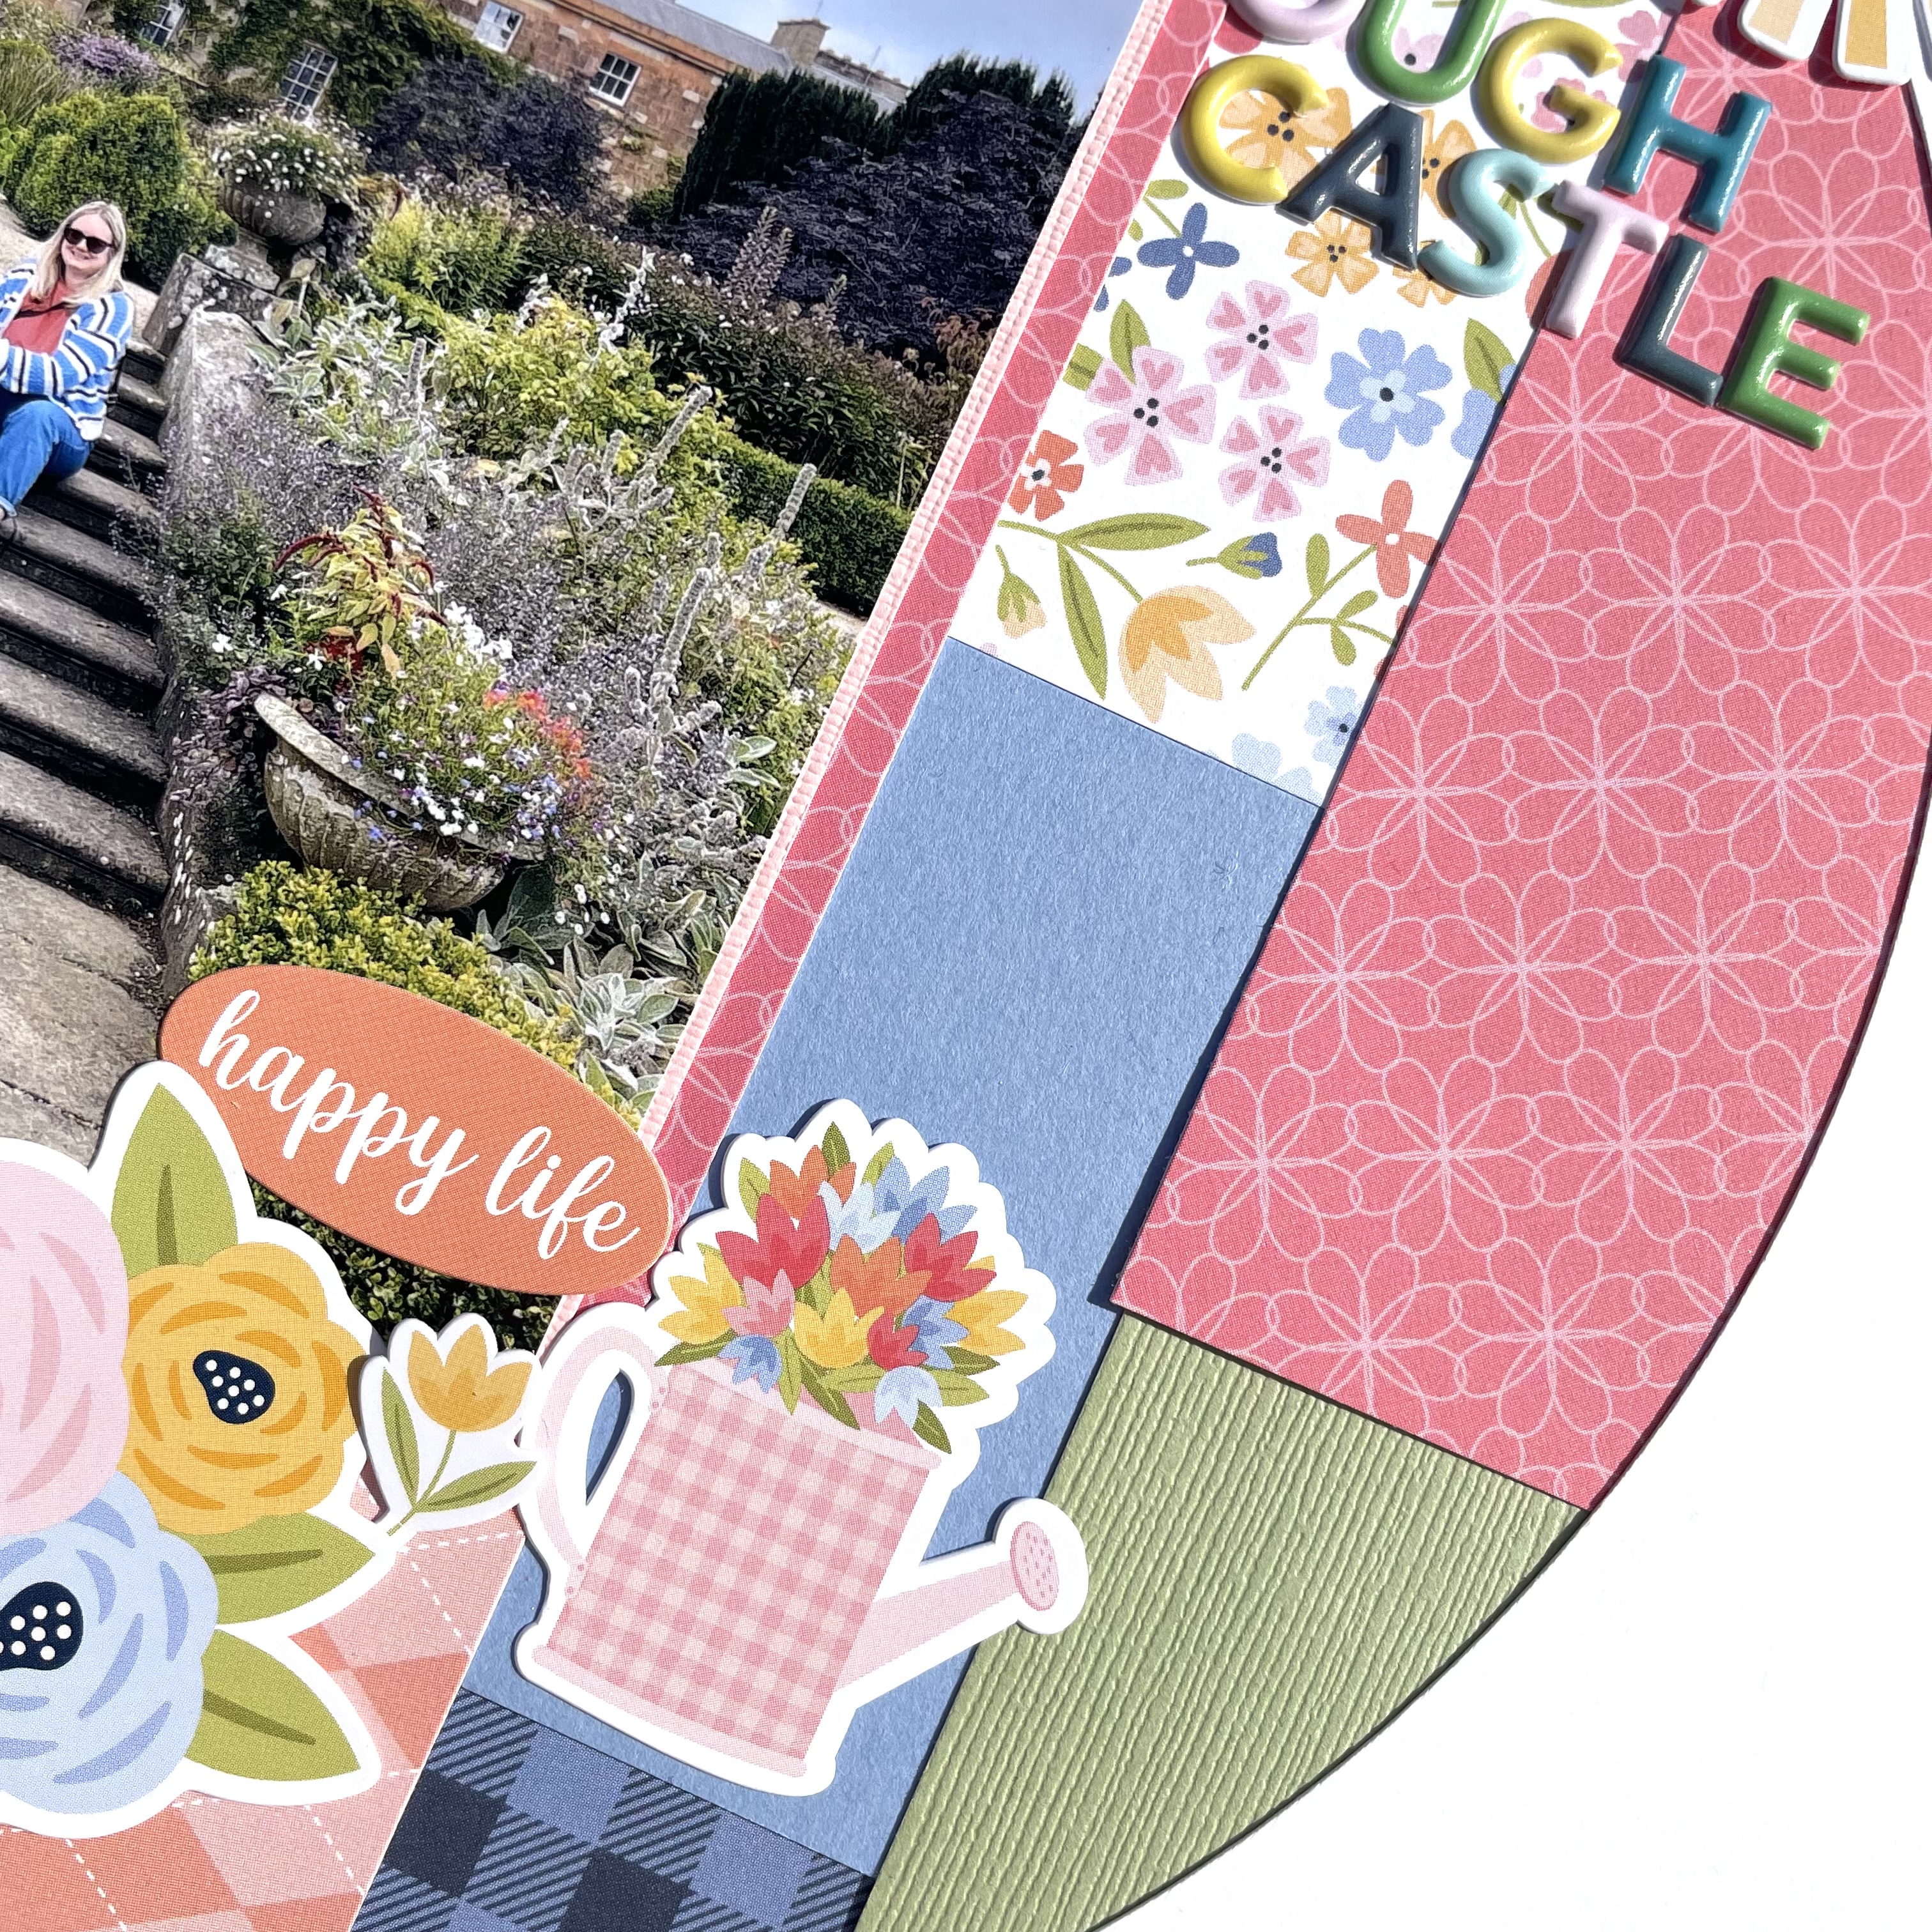
Echo Park ~ You Are My Sunshine #2 🌼
Friday, 18 July 2025
Mintay Papers Wildwood Secrets - Forest Finds
Hello, Karen here with another layout to share using Mintay Papers' beautiful Wildwood Secrets collection.
Sometimes I struggle to use the papers with large all over designs on scrapbook layouts so for this layout I chose to use just a circle of paper #2.
I cut a large circle from the middle of a sheet of white cardstock and used this to frame a section of the patterned paper.
I then daubed some cream coloured acrylic paint round the outer edge of the circle and with my sewing machine, stitched a straight stitch all the way round. The layout was then trimmed down slightly and mounted onto a sheet of Bazzill 'Almond Cream' cardstock leaving a narrow border.
I layered pieces of paper from the 6x8 add on paper pad under my photo and placed it in the bottom right corner of the layout. Some natural jute twine was tied round the bottom of the photo to add some texture.
I die-cut some lettering from more of the patterned paper to create a title right on the edge of the circle.
Die cuts from the Paper Die Cuts pack and also fussy cut images from the paper pad were used to embellish the layout. I layered the images with 3D foam underneath to add dimension.
Word strips from the sticker sheet were added.
In my stash I found some very old paper flowers with jewelled centres to embellish the layout further and I scattered a few clear crystals about the layout too.
Thank you for stopping by today. I'll be back again soon.
Take Care, Karen x x
Friday, 11 April 2025
Echo Park ~ Blossoms and Bees 🌼 #1
Wednesday, 9 April 2025
Blue Skies - Simple Stories - Simple Vintage Flower Shoppe Collection
Hi Friends!
It’s Rebecca here on the blog today. I absolutely loved working with the Simple
Vintage Flower Shoppe collection last month, so much so that I decided to
continue creating with it this month! It’s the perfect collection for this time
of year, and I’m having so much fun with it. It’s a stunning spring collection
from Simple Stories, and you can find it in the shop here.
For today’s layout, I started by cutting several circles from patterned papers using a set of metal nesting dies. I arranged four circles horizontally across the centre of a sheet of Premium White Cardstock, leaving a gap in the middle for my photo. Since I had cut the circles from the patterned papers, I wanted my photo to be circular as well. To help it stand out, I backed it with a larger circle of patterned paper and raised it up using foam.
Next, I added a few florals from the Floral Bits & Pieces,
creating three small, subtle clusters on the page.
To extend the layout vertically, I fussy cut several
butterflies in different colours and sizes from the 'Dreamer' patterned paper and
arranged them cascading down the page through the photo.

Feeling that the layout was a little top-heavy, I decided to tear the bottom section of the white cardstock, and back the area with patterned paper to bring some colour to the bottom of the layout.
I finished the layout with a couple of Cardstock Stickers,
raised up on foam pads. I love the simplicity of this design and how
beautifully the butterflies flow down the centre of the page.
Thank you so much for reading! I hope you like my layout and
that it inspires you to start creating.
Take care,
Rebecca xx
@preciouspagespapercraft
Wednesday, 23 October 2024
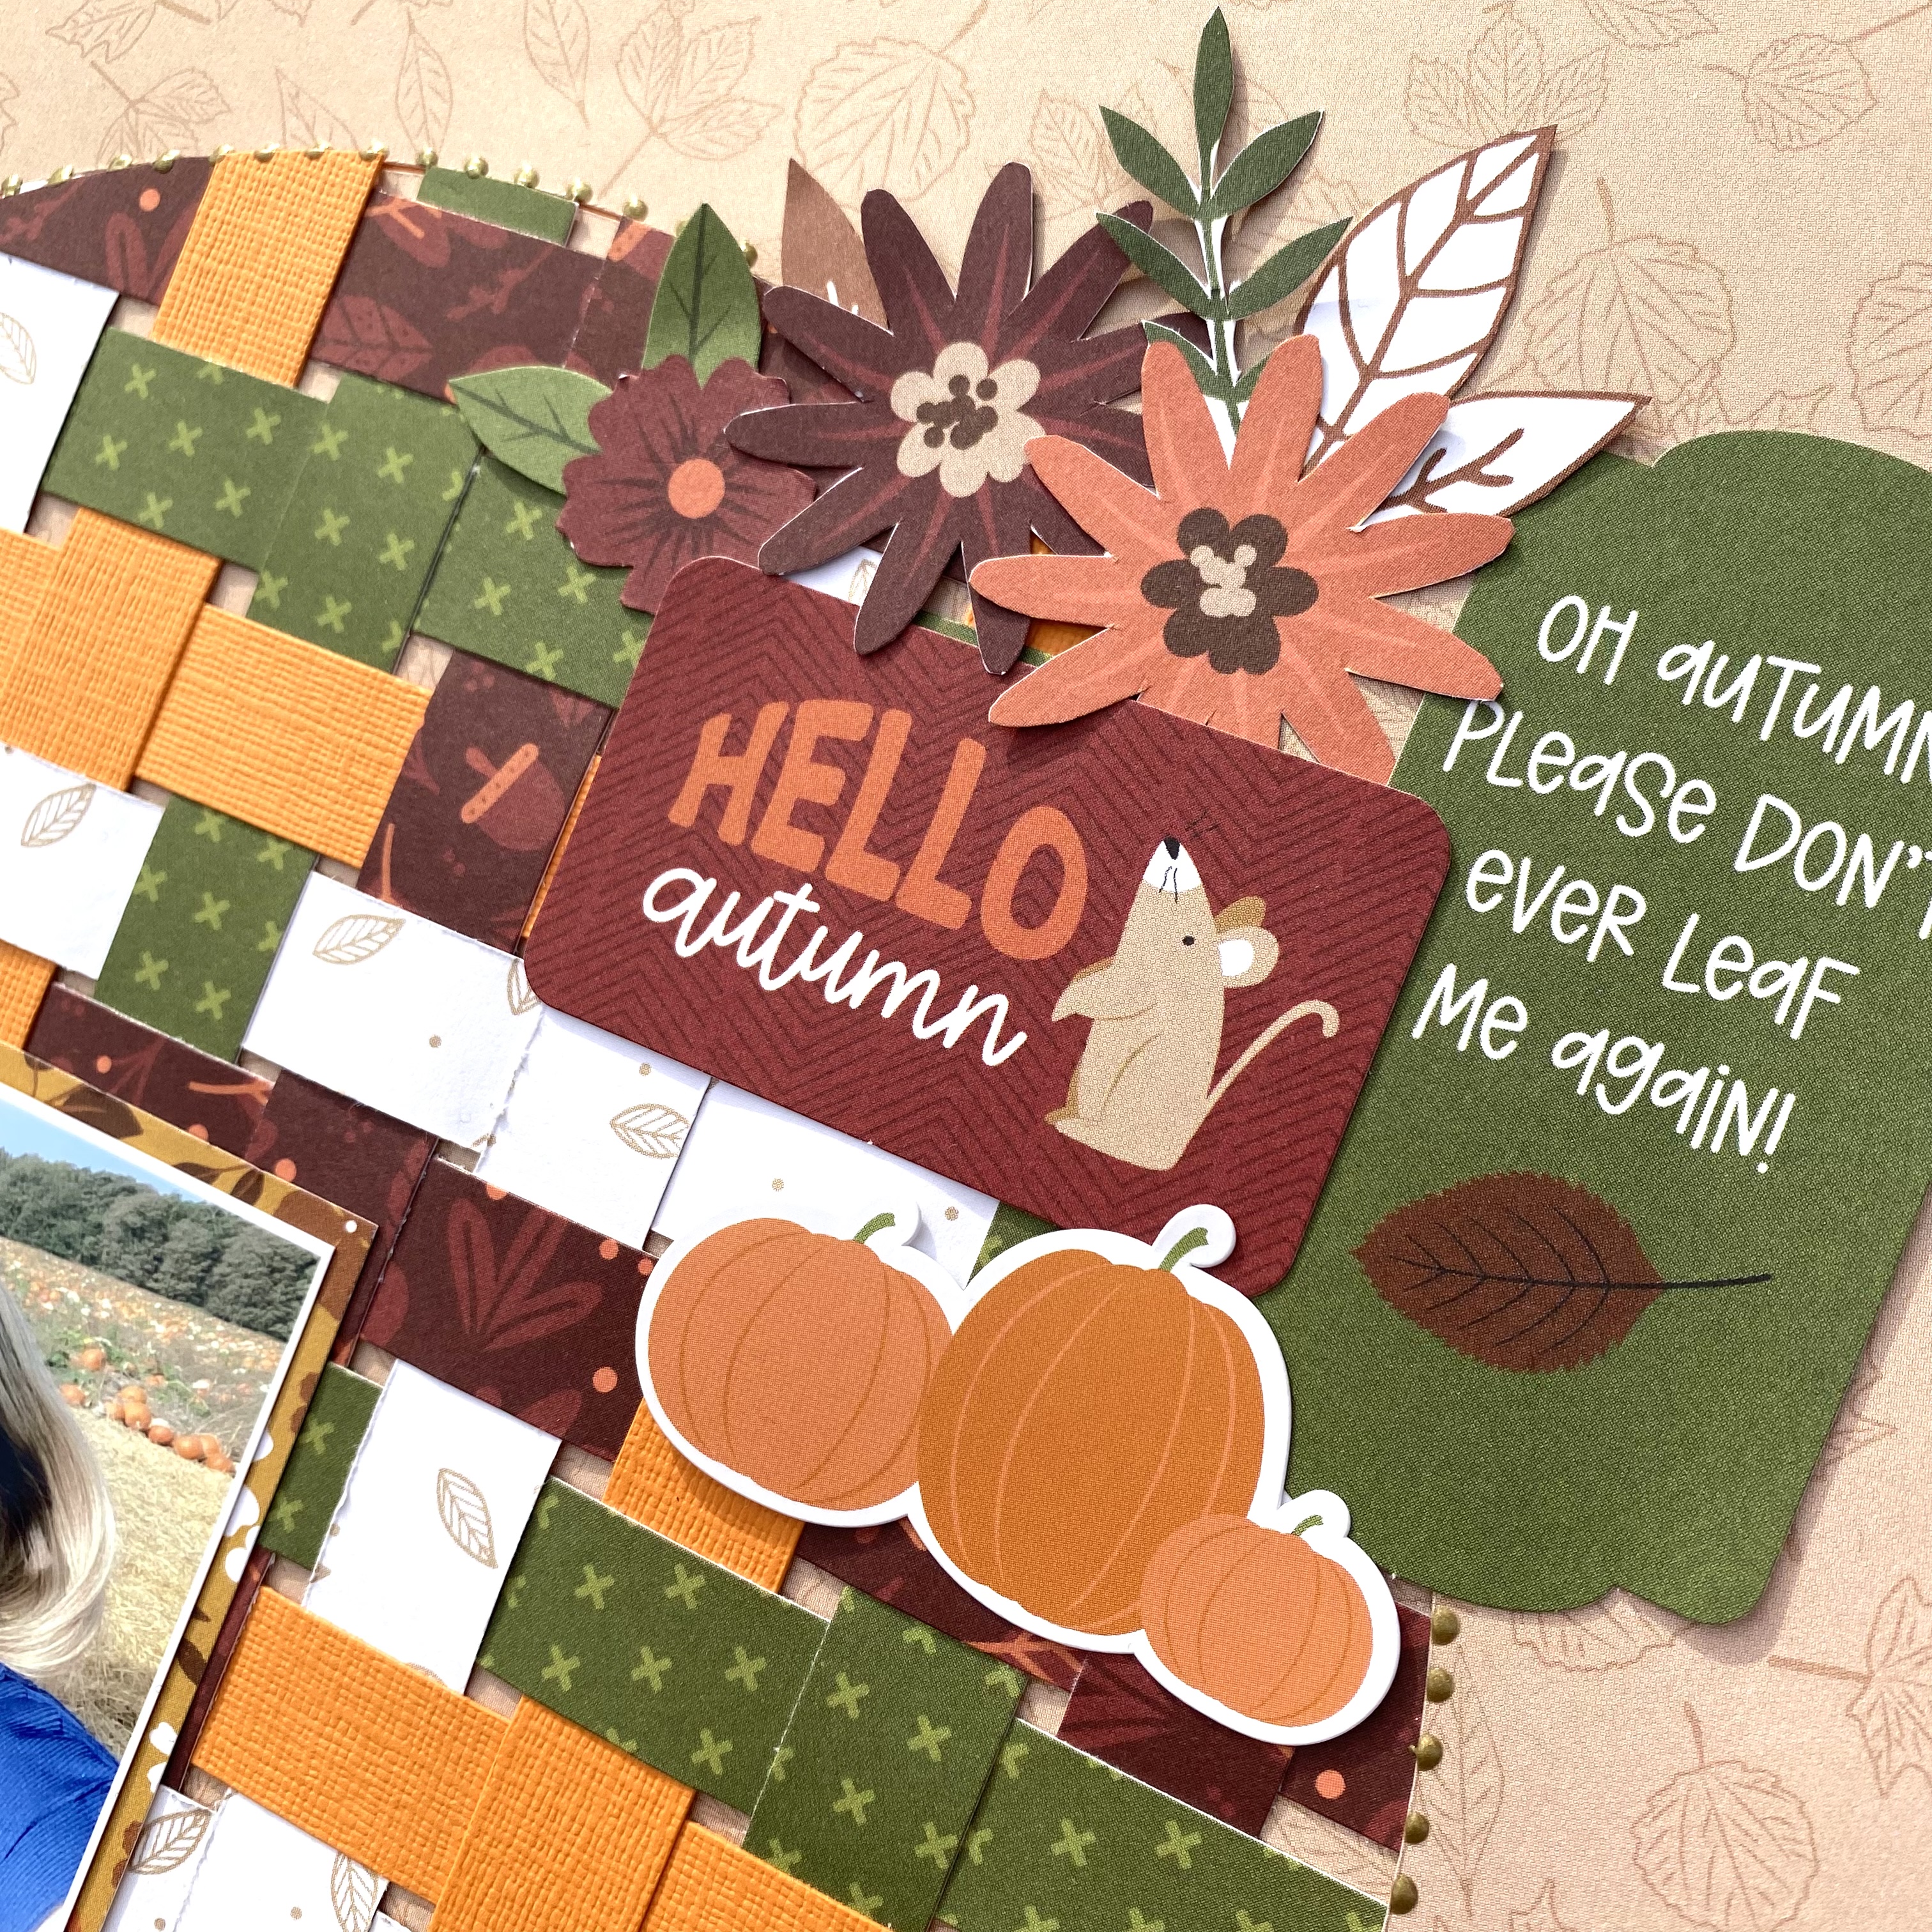
Bella Blvd - One Fall Day - Fun Fall
Hi everyone,
Claire back here today sharing my second layout with the One Fall Day collection from Bella Blvd.
You can find it in the shop here.
For this page, I'm focusing on concentric circles and pulling together all the beautiful colours this collection has to offer.
I cut 3 circles of different sizes from the Leaf Pile, Hello Fall and Falling for You papers. I distressed the edges and layered each piece one on top of the other, but stacked them all towards the left of the circle, rather than layering them centrally one on top of the other. I hope that makes sense! Please shout if it doesn't.
I mounted my photo with the Grateful and Borders papers, again distressing the edges before adding this on top of the circles. I also layered a piece of the borders paper along the top of the photo, using a notebook punch to add extra texture.
To anchor the design, I created three ephemera clusters - the largest of which was to the right had side of the photos using those statement trees and some other pieces from the Ephemera Icons pack.
Then, on the left side of the design, I wanted to create two smaller clusters, following the circular edge and tucking and layering leaves from the Ephemera Icons Pack and Ciao Chip Chipboard Stickers in between the edges of each circle.
Then, my favourite - a mixed font title! It's been a while since I've done this and I always love the effect. Both of these titles were from the Ciao Chip Chipboard Stickers and I love how it pulls all the colours together. For placement, I followed the circular edge again to keep the design cohesive.
As a final touch I added some phrase stickers from the Doohickey Cardstock Stickers and sprinkled some Pinkfresh Studio Jewel Essentials into each cluster.
I hope you've enjoyed this layout. It was so much fun to make and I'd highly recommend this fun collection for your autumn scrapbook pages.
Until next month, happy scrapping!
Claire x
@scrappysoulmate


.jpg)
.jpg)

.jpg)