Showing posts with label rolled paper. Show all posts

Wednesday, 7 February 2024

Simple Stories - True Colors - Smile!

Hi everyone,

Happy February! This month, I'm lucky enough to be creating with the stunning True Colors collection from Simple Stories, and its a goodie!! 

With a beautiful range of bright and cheerful colours, it really lifts your spirits after a cold, wet winter.

As scrapbookers, we take a lot of photos, right? Well this collection is for you! It has lots of camera and film elements which I was immediately drawn to, and it totally inspired me to create this layout.


I started, as usual, with a piece of Premium White Cardstock. Using a selection of the patterned papers:

I cut 1" strips, and rolled the ends around a pencil so that it resembled an old style film strip that you used to use in a camera.

I staggered these down the page at different lengths, distressed the edges and adhered to the page with foam.


Next, I took that absolutely fabulous Chipboard Frame - isn't it awesome! Because the collection is so colourful, I printed my photo in black and white. I mounted it into the frame and worked out where it was going to sit on my page.


Before adhering it, I took a polka dot stencil from my stash and added some black stencilling diagonally on either side of the paper strips. The black helps to ground the colours and echos my black and white photograph.

Once the stencilling was done and the frame had been adhered to the page with foam, it was time to embellish.

I created three floral clusters using flowers from the Floral Bits & Pieces. I layered some under the frame and some on top to create dimension.


Alongside the florals, I added some more camera elements to fit the theme of my photo using the Cardstock Stickers. 


For my title, I used the Smile! Foam Stickers. The extra black element helps the page to pop. 


I nestled this amongst the floral ephemera and added an extra film roll sticker from the Cardstock Stickers. I really love these little extra details. They're so fun to create with.

As a final touch, I added a few phrase stickers - I couldn't resist these as they matched my photo perfectly and, as a scrapbooker, they're definitely phrases you'll hear in my house often!! lol!


I hope you've enjoyed seeing this layout come together. It really was an absolute joy to create. You can check out the entire collection in the shop here. Happy Shopping! 


See you soon with another layout.

Claire xx

@scrappysoulmate


Wednesday, 26 October 2022

Vicki Boutin - Print Shop - Hey Friend!

Hi everyone,

Claire here with you today, sharing my second layout with the wonderful Vicki Boutin Print Shop collection. 

I mentioned in my first post that this collection is incredibly versatile, and true to form, my second layout is completely different to my first.

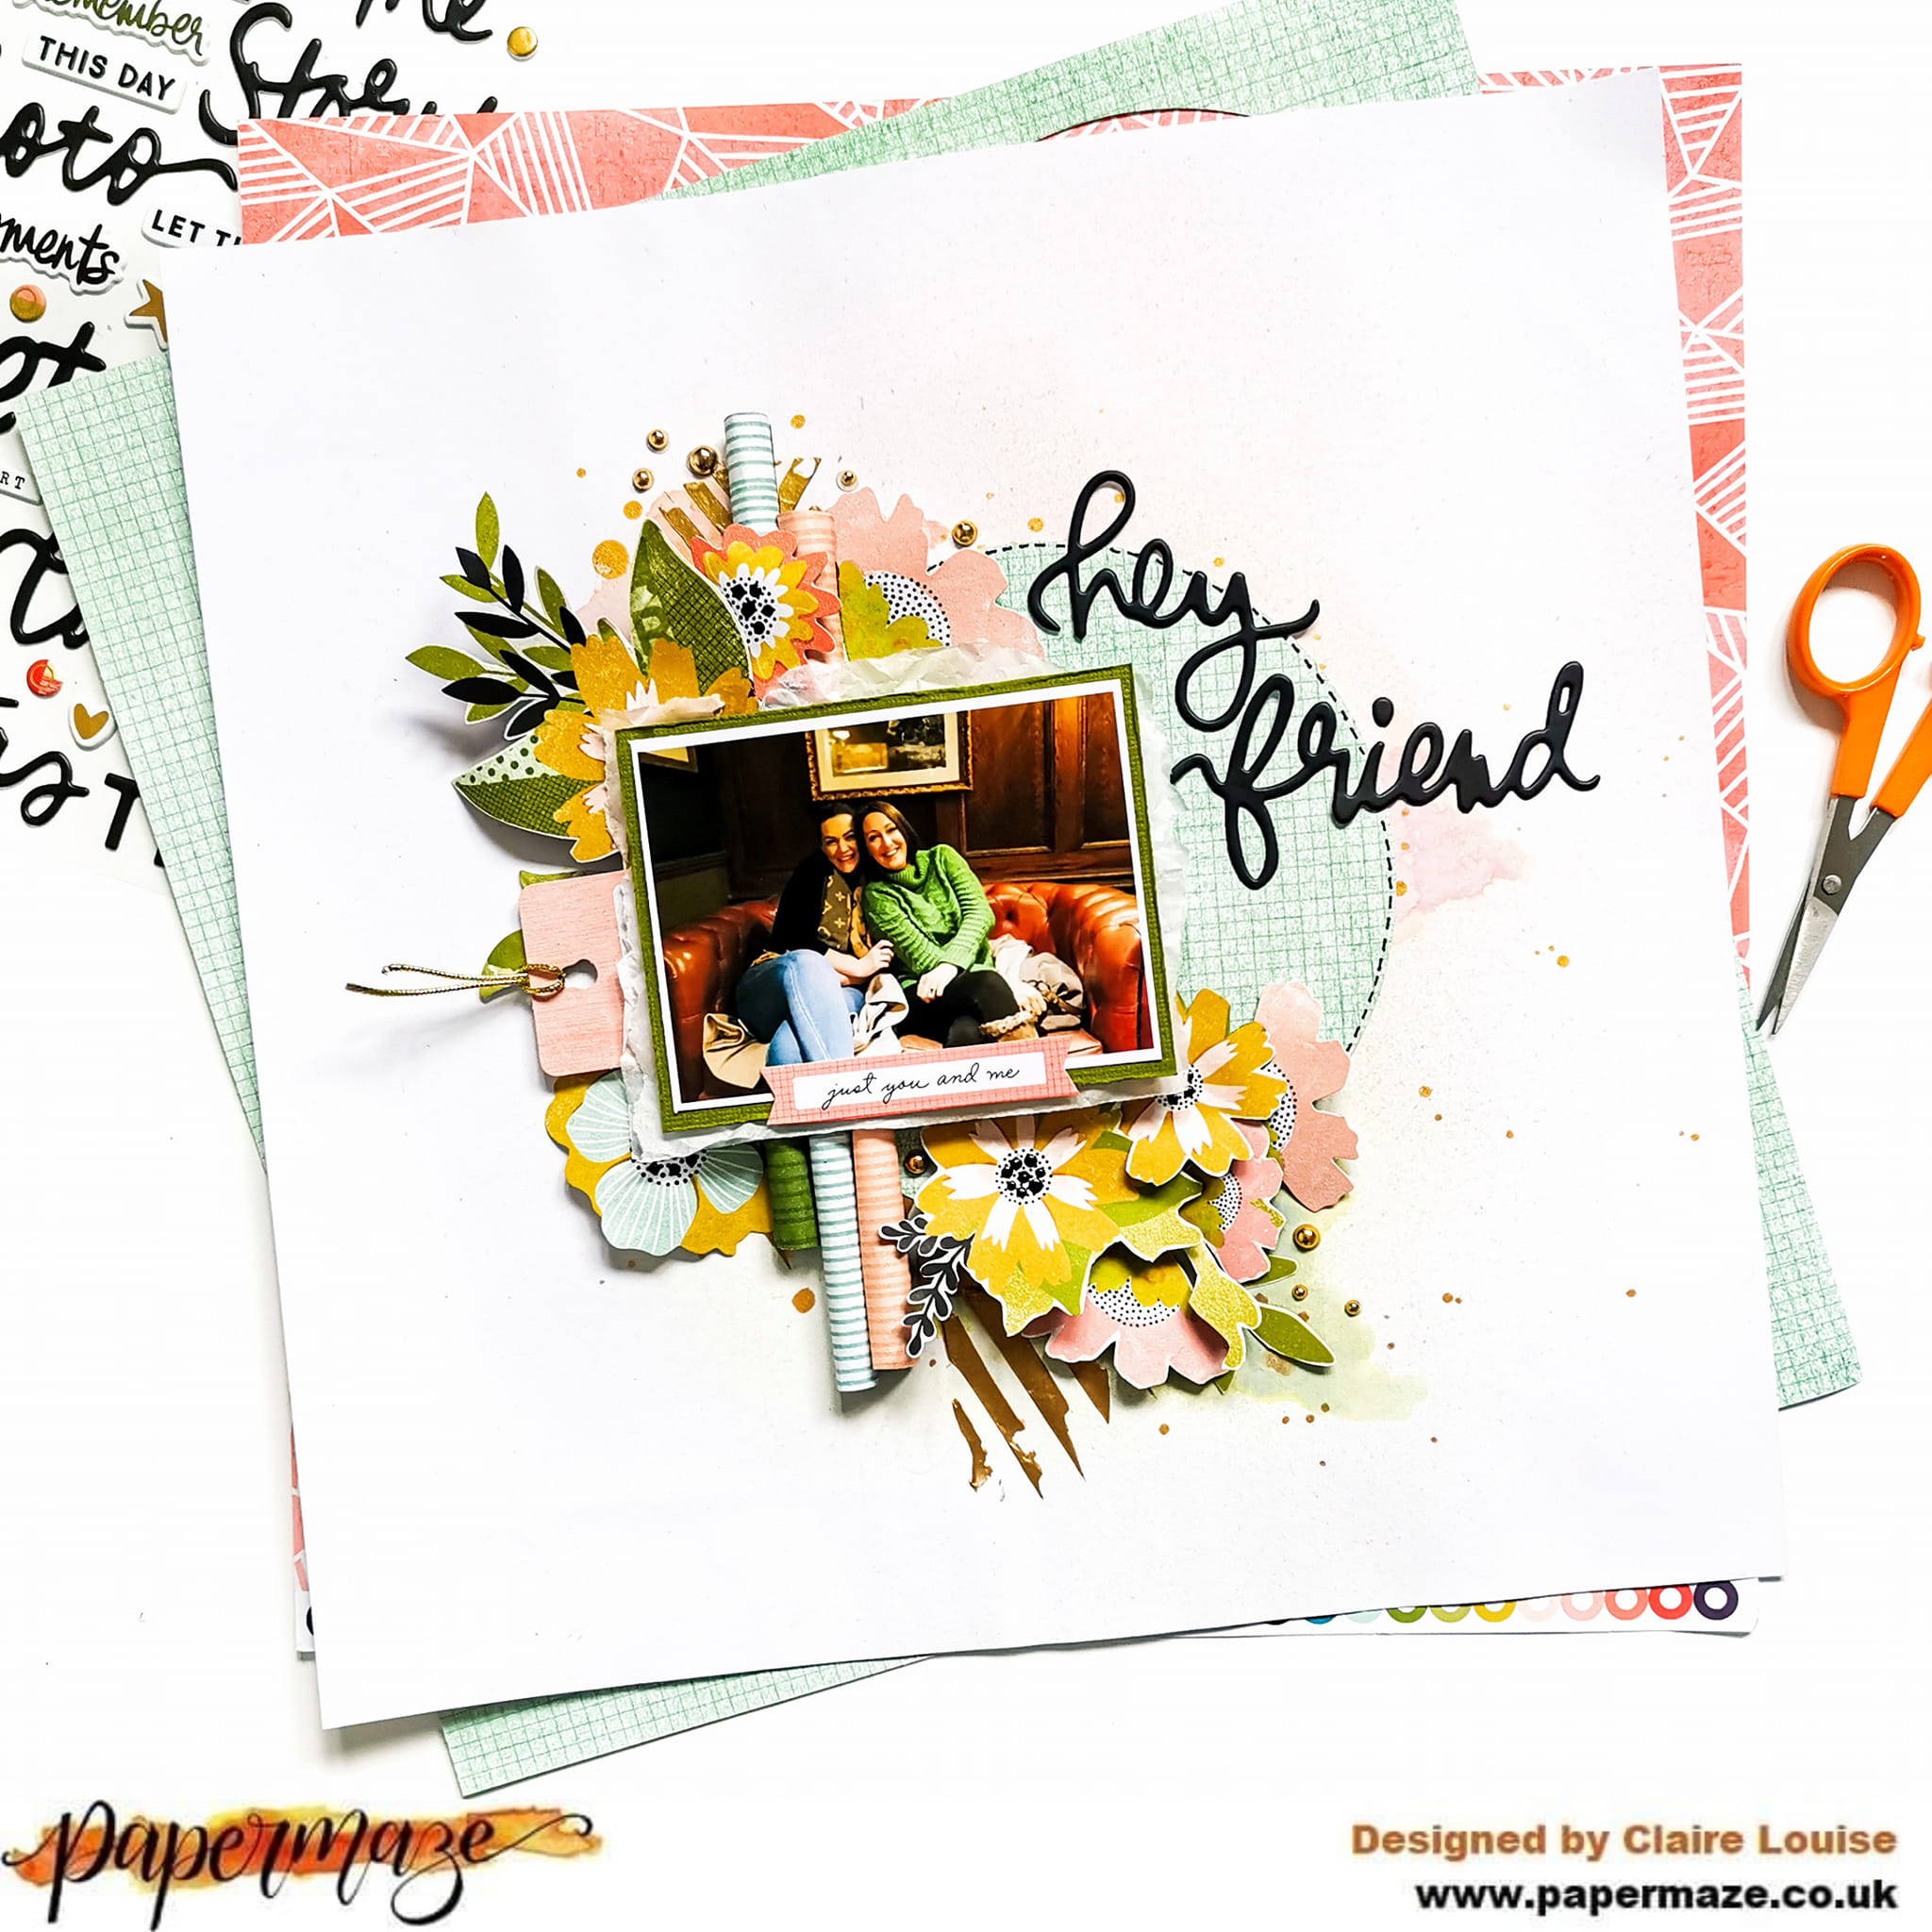
This time I am focusing on the soft pinks, teals and yellows to create this beautiful floral layout.


As usual, I started with Premium White Cardstock and applied a generous coating of gesso as I planned to add ink to my background.

I left it to dry overnight before applying Distress Oxide Spray in Tattered Rose and Bundled Sage. I also added some gold splatters to the background before building the layout.

I love the stencils in this collection, and used one that almost has chevron lines to create extra texture by applying gold texture paste on to of the distress oxides.


Next, I cut a circle of patterned paper from the b side of the Star Gazer paper. It's a beautiful soft teal colour with a grid pattern on top. 


I stuck this flat to my page on top of the mixed media to act as an anchor. To help give it more definition, I added a dotted black line in black pen to the outer edge.

Next, I made three paper rolls using strips cut from the Etched paper, adhering them to the patterned paper circle with Glossy Accents.


I mounted my photo using Bazzill cardstock from the Matchmaker Pack and some tissue paper from my stash. I lay the photo on top of the paper rolls, adhering with glossy accents to ensure a strong hold.


Around the photo, I created a diagonal line of florals. I picked out any yellow and pink flowers from the Floral Ephemera Pack, a cut some extras from the Flourish paper. To create extra dimension, I curled the petals of the flowers before sticking them down just in the centre.


For an added touch, I added some black Nuvo Drops to the centre of some of the flowers, giving them a high gloss look. I also used a beautiful pink tag under my photo for extra interest. This is from the Journaling Pack.

To my photo, I wanted to add a small tab from the Journaling Ephemera Pack, drawing on the pink tones from the flowers.


For my title, I used one of the Perfect Day Phrase & Accent Stickers. These are a real 'Must Have' as they do all the hard work for you. Such a great part of Vicki's collections.


As a final touch, I added some Pinkfresh Studio Essential Jewels in gold and that was the page done!


Hope you've enjoyed this layout, and it has shown how versatile this collection can really be! I have tons of papers and embellies left over so there's plenty of ideas still to try :)

Take care,

Claire

@scrappysoulmate