
Here is my finished box - I will show you the main stages to create something like it.
 |
| Front |

 |
| Right end |
 |
| Left End |
 |
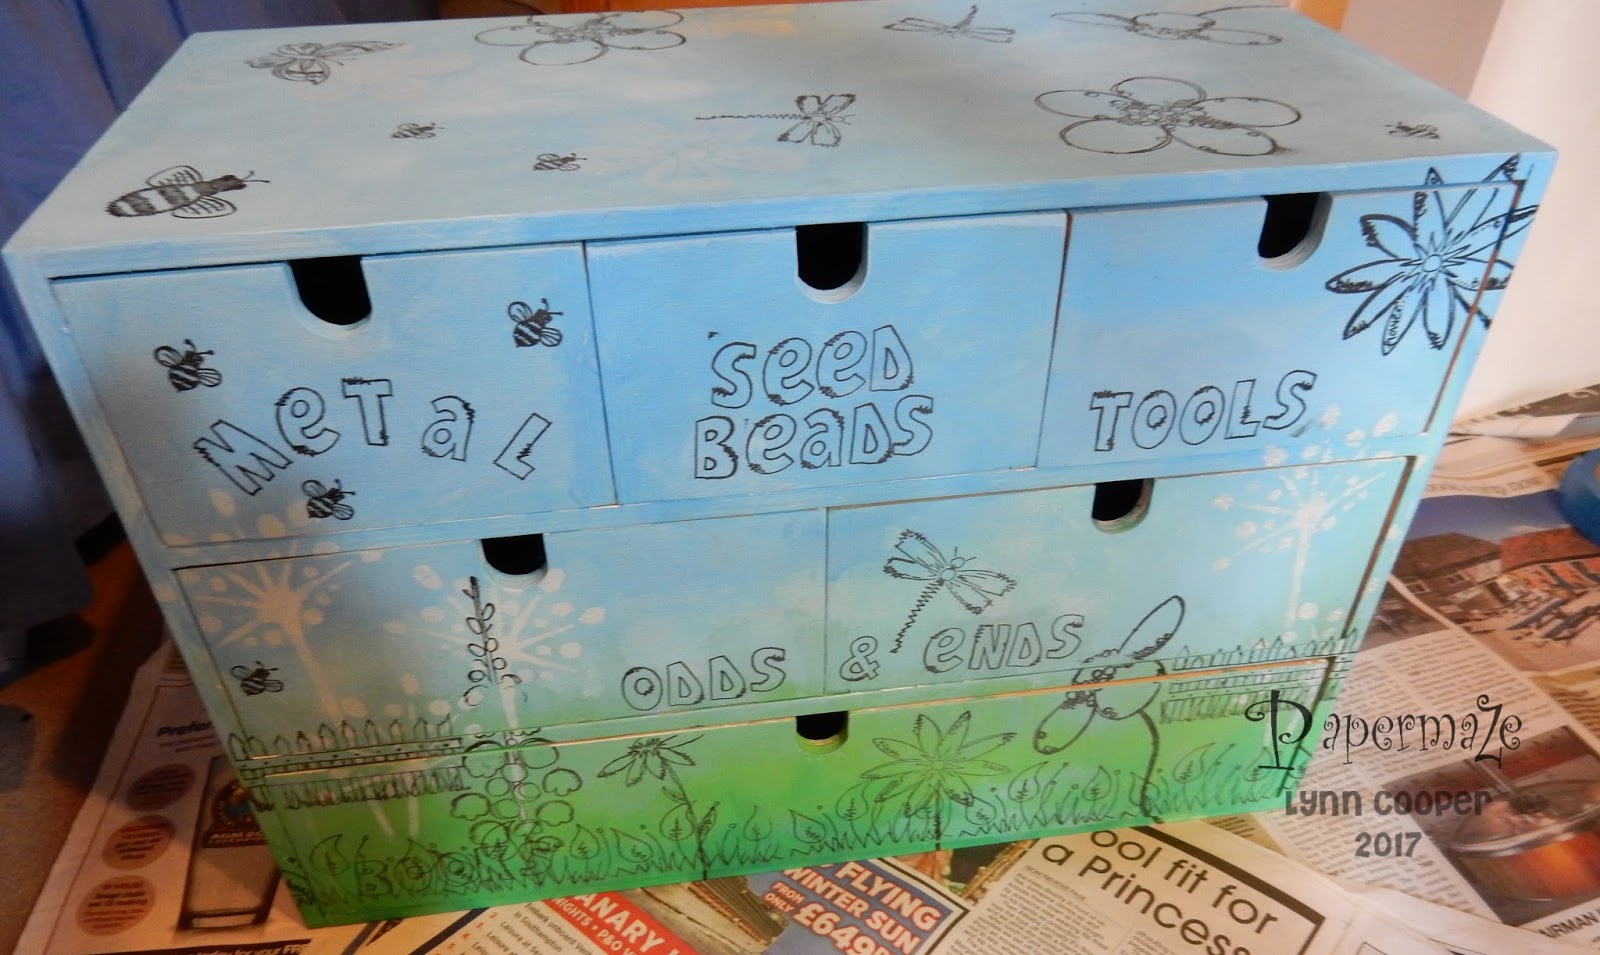
| Top |
Then I primed the whole box with a white chalk furniture paint left over from another project. When this was dry, I mixed acrylic paint (Ranger's Tim Holtz Distress Paints) so that I could work in an Ombré effect working from green for the grass through to blue for the sky - I didn't want a defining line between the two. This has to be done quickly as the paints dry fast. I sponged in a little white to suggest clouds. Using PaperArtsy JOFY stencils I added some wild grasses with the white paint.

Once this was dry I stamped the images I wanted onto the box - this was tricky over the draws but I didn't worry too much as I was planning to cover the images with paper ones. I wanted to stamp the images on so I had the tiny details that are almost impossible to cut from paper, such as thin stems, insect legs and antenna.
As I used each stamp I re-inked it and stamped it onto a good quality cartridge paper, nothing too thick as I needed it to be easy to cut, and flexible when sticking to the box.

Next I coloured my images using Ranger's Tim Holtz Distress Inks and Markers. I applied the ink to the messy mat and used a water mister to mix and a paint brush to colour the images. Once dry the images were cut out and pasted over the same image on the box. Where necessary I cut them where they overlapped the edges of the box or over two drawers. (Note to self: - not a great idea to stamp the very detailed fence over two drawers and a support - this was very tricky to cut out let alone paste into position!).
I used Regular Gel (Matte) Medium, this is an clear medium which glues the paper in place and can be painted over the images to give a translucent water resistant finish. I extended this to the whole box when finished to make it more durable.
For finishing touches I added some dots with Liquid Pearls for flower centres and to create the tiny flowers in the grass. I glazed the wings and other bits with Stickles for a little shimmer.

Thanks for looking
Lynn
Lynn
1 comment:
I absolutely love this Lynn it is such a great idea and is so beautiful xx
Post a Comment