Monday, 5 December 2022
Simple Stories ~ Hearth and Holiday 🌟
Friday, 2 December 2022
November Papermaze Kit - Part 2
Hi, Lynn here with more layouts using the pretty, colourful Papermaze kit for November. As always there is a lovely selection of papers, cardstock and embellishments - all put together by Vanessa.
My themes today are Halloween and a winter beach visit.
Before looking at how the layouts are made, here are the details of what you will find in the kit.
For full details of the kit content, please see HERE.
Happy Halloween Mummy - My niece at a Halloween party last year, dressed in a loo roll!!
Using Distress Mica Stain Spray I sprayed and dribbled some of the ink over the page.
With some scrap card I cut a 16cm circle, and covered it to look like the mummy's bandages. I used pages torn from an old child's book from a charity shop. I tore strips of the pages and inked them with Black Soot Distress Ink. I tucked small strips of cheesecloth between the layers. I placed pairs of googly eyes peeking out from the bandages. This circle was placed to the right side of the layout with the photo on the left.
I chose some black alpha stickers from my stash to add the title around the circle.
With the Paige Evans #23 paper I cut some of the phrases (peach and orange), inked them with more Black Soot Distress Ink. I placed some on my circle and others down the left side of the photo.
With Tim Holtz Sizzix Thinlits die set Toil and Trouble, I cut some images to decorate the page using black cardstock.
Bundle Up - My daughter on the beach at Pett Level, on a sunny but cold January day.
I mounted my photo onto three layers of Bazzill cardstock from the kit and my stash. I added the arrow paperclip from the kit and with 3D foam tape, applied the photo to the layout. I placed the seal (also from the kit to the bottom right of the photo.
I decorated the page surrounding my photo diagonally across the page:
Fussy cut butterflies from the scraps of Free to Fly paper
Bramble Fox Perspex title
phrases cut from Paige Evans #23 paper
PFS Jewel Essentials - Ocean Breeze
Nuvo Crystal Drops
Chipboard Flair, puffy button stickers and rainbow resin drops from the kit.
Details were added with Doodlebug Teensy Type Alphabet Stickers - Swimming Pool.
That's all from the November Kit, I'll be back with the December kit soon.
Lynn x
Wednesday, 30 November 2022
Always Look Out For Freebies
Hello, Lisa here.
I'm sharing some trip journaling with you today. I love Christmas, but I love breaking up my December journaling with some normal stuff too.
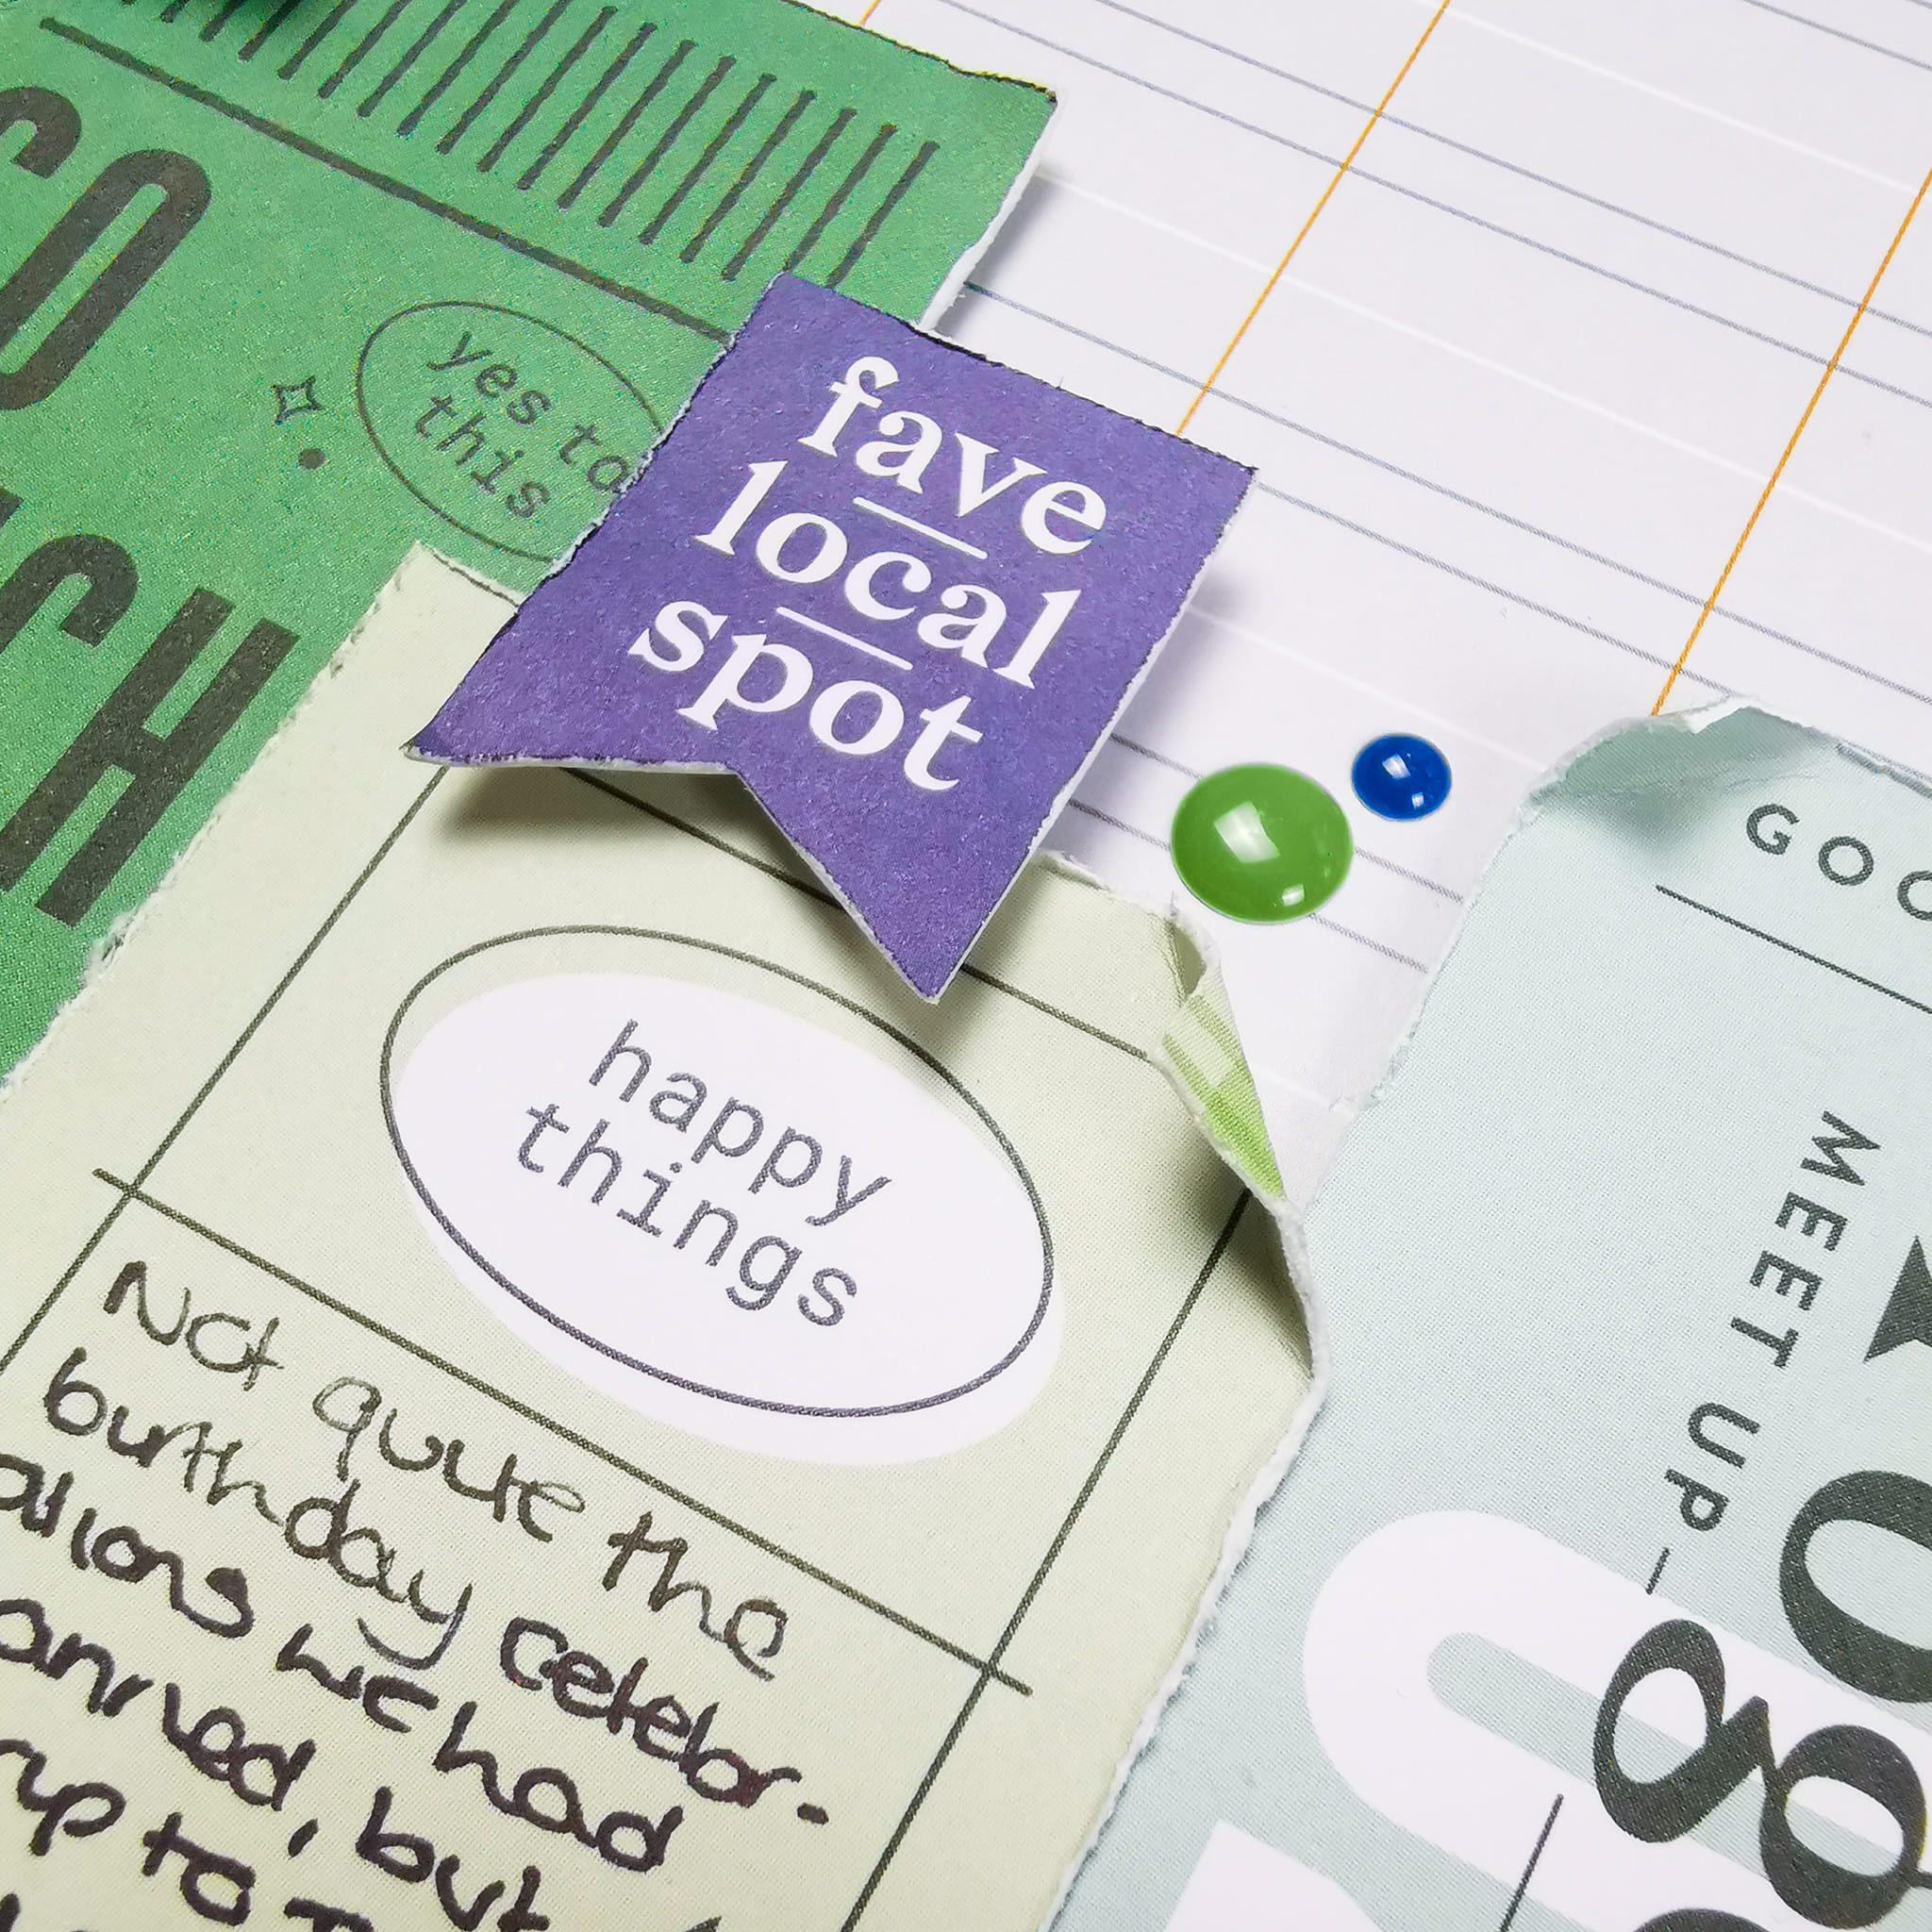
I haven't started on my recent trip stories, so I'm kicking them off today inspired by this business card that I picked up at a restaurant in Celebration, Orlando.
Do you like to pick up freebies too?
Remember to keep an eye out, things like this are so handy and fun to include.
I'm using the paper collection from American Crafts designed by Paige Evans - Garden Shoppe which you can see here. It's so pretty.
I'm working in my Disneyworld 50th Journal.
I've split this into 3 to document our trips this year.
If you'd like to see this page being made and other pages in my journal please check my YouTube channel here.
I laid out everything I had first and picked out my papers to match and also the die cuts that I was going to use. The collection compliments my photos so much.
I ended up creating a page with a pocket and a little flip.
The flip opens out to reveal the business card.
I used the large round die cut and cut in in half. One of the halves I've only stuck at the base so I could slide the card in to it.
And then I've journaled on the back of the card.
I used the paper with the hearts on here to use as embellishments.
I cut out the little squares, folded over and cut out the hearts from the centre and then not only did I have a little heart, but I was left with the negative too.
The reverse of the the paper is pink, so I've used that here under the business card.

You can see one of the little hearts that I cut out here on the right.
I created this little pocket by tearing one of the papers down and sticking in. I wanted to include this photo but most of it was hidden away, but I really like it and didn't want to hide it. So I've matted it on one of the paper and then stuck to another but only by the top piece so the it could slide over the top.
Another way to embellish, I've cut some word strips from this paper here.
And then I've journaled on the back of my photo so it's hidden once in the pocket.
Then I've also included a couple more photos under the photo cards.
I'm so pleased with how this page has turned out.
It was so relaxing to make and this collection is just so pretty.
I hope you've enjoyed this.
Please don't forget to check out my processes video here on the 1st Dec.
And don't forget to keep your eyes peeled for freebies.
Thank you so much. Have a fun December.
Lisa xx
Monday, 28 November 2022
Fall - Simple Stories - Harvest Market Collection
Hello, Rebecca here sharing another colourful layout created with Simple Stories’ Harvest Market collection. I am really enjoying this collection and I’m so glad that I have an abundance of photos still to scrap with it! The full collection can be found in the store here.
I have fallen in love with so many of the patterned papers in this collection and I’ve been having a really hard time deciding which to use - so for this layout I went for a design that allowed me to use several papers!
I chose 3 papers and cut circles from them in different sizes. After distressing all the edges, I machine stitched around them too to bring extra texture to the page. I layered them on top of each other, and by placing some craft foam between the layers, I was able to introduce some dimension and height to the page.
Using a Distress Ink Pad in ‘Spiced Marmade’, I added a circle of colour to a sheet of premium white cardstock, enough that a little would show around the edges of my largest circle. I finished this off with some splatters in the same colour, and adhered my circles in the centre of the page.
I cut my photo in a circle, making sure it was smaller than my smallest patterned paper circle, and stuck it down with some foam behind it. The Foam Stickers make for perfect titles for autumn layouts so I used one that says ‘Fall’ and placed it underneath my photo. The foam stickers are always one of my favourite products in a Simple Stories collection!
Using some floral stickers from the Sticker Book, I embellished around my title, creating a cluster either side of it. I also created a cluster above my photo using stickers from both the sticker book and the Combo Stickers sheet.
I’d been looking online for funny quotes relating to pumpkins, and came across ‘Having a gourd time’ and I wanted to add this to my page. I decided to use the colourful stickers from the sticker book, and have the quote following the curve of my largest circle.
I finished the layout off with a few small leaves from the Chipboard Stickers, some nuvo drops and some distress oxide splatters in ‘Mermaid Lagoon’.
Thank you for reading, I hope you’ve enjoyed this layout. I’ll be back next month when it will be time for those festive layouts!
Take care
Rebecca x
@preciouspagespapercraft
Friday, 25 November 2022
Simple Stories Baking Spirits Bright
Hello, Karen here. As we are just one month away from Christmas Day it seems fitting that today I should be sharing with you my first layout using the Christmassy 'Baking Spirits Bright' collection from Simple Stories. This is a baking inspired Christmas collection with a bright colour palette and images of kitchen utensils, gingerbread men and other Christmas treats as well as classic Christmas icons such as reindeer, holly and Christmas trees. It is perfect for recording memories of Christmas baking but would be perfect too for general Christmas scrapbooking.
I started my layout by trimming a quarter of an inch from each edge of a sheet of 12x12 white cardstock and layering this on top of a gutted sheet of 12x12 red cardstock leaving a narrow border. Gutting the red cardstock meant I had cardstock left to use elsewhere on the layout.
Using some olive green sewing thread I then machine stitched along the edges of the white cardstock.
With Tim Holtz Tattered Rose Distress Ink and a stencil from Paige Evans I stenciled pink stars onto the white cardstock background. My 6x4 photograph was matted onto the red cardstock (saved from earlier) and placed in the top right corner of the layout with 3D foam underneath.
The stars on the Christmas trees were backed with white glitter card and topped with stars from the Foam Sticker sheet.
The cut file was then stuck to the layout with 3D foam underneath.
One of the title stickers from the sheet of Foam Stickers was added to the bottom of the photo and a holly sticker was added to a corner of the photo. A word of warning about these stickers! Once they stick to your layout, they CAN NOT be removed again so make sure you are certain of where you want to stick them before doing so.
Finally I added journalling strips printed in red ink on my computer at the bottom of the layout and dotted some enamel dots here and there.
I hope you like this layout and it's inspired you to get stuck into some Christmas scrapbooking.
I'll be back soon with another project.
Take Care, Karen x x
Monday, 21 November 2022
Pinkfresh Studio - Simply The Best - Joy
Hello,
Claire back with you today, sharing my second layout with Simply The Best from Pinkfresh Studio.
Have you noticed there are lots of papers in collections that include lots of cut apart elements? I never really know how to use them, so for this page, I'm making them the star of the layout!
I'm adding in an extra challenge by not using any white cardstock!
I may have mentioned last time, I just adore this collection, so scrapping without a white cardstock base is easier than I thought as there are so many pretty papers to choose from.
Next - for the cut aparts! I used 4 from the Roll With It paper, along with a cut apart tag from the Happy Times paper, a large tag from Journaling Bits pack, positioned under the photo and the smaller yellow tag from the Cardstock Ephemera Pack.
To prevent the elements looking like they were 'floating', I cut a thin strip of the Worth The Hype paper and used this as a sort of shelf for my design.
I layered each of the cut apart pieces horizontally across the page, laying some flat, and raising others on foam to create extra interest. (I added gold eyelets to the tags and string from my stash). I distressed the edges of each piece and folded back a few corners for extra dimension.
The 'Today' piece contains a blank space for journaling, but it provided the perfect space to hold my photo, which I backed in the Iconic and Happy Times papers.
I embellished the photo with pieces from the Cardstock Ephemera pack and tucked under a small tag from the Happy Times paper.
Next, I added some extra embellishments across the design, focusing on circular elements to soften the hard lines of the cut apart sheets. First, I used a chipboard flair.
I complemented this with some ephemera pieces and labels from the ephemera pack.
My 'Joy' title uses the green Puffy Alpha Stickers, and I sprinkled a few Enamel Dots as a finishing touch.


.jpg)
.jpg)