I was never a big stamper. To be honest they scared me. My reason??
well two things..
1. With the wooden blocks, you can not see where you where stamping your image. So when you where putting them onto a page or a card you had no idea what you where doing. This was alleviated some what with the growing of the acrylic stamps.
2.Secondly you are never sure that the image you stamp would come out right and you would ruin the project that you are working on.
Then someone told me about stamping on acetate / transparency's and the world of stamping opened up to me. Why had i not thought of this before!!!!
Here are some things that i have found out about stamping this way...
1.Stayzon ink works the best. I have tried other inks for this, but nothing works as well. If anyone reads this has a different ink that works well please let me know and i will edit this part of the post.
2. All makes of stamps work differently on acetate/transparency's. For example, Heidi Swapp stamps are very slippery so press very carefully. But basic Grey stamps work really well but they do stick when pulling them off, so be careful.
3. If you mess up the image you can wipe it off with a stamp cleaner, or just cut it out and throw it away.
4. It is movable. I am a scrapper that changes my mind all the time, right up until i glue everything down, so i only use things on my page that are moveable. This is one of the best things about using stamps this way. You dont like where the stamped images is, you can move it.
5. Change your mind? and you dont like it , put it in a draw and save it for later. When i pull out a favourite stamp i will often stamp it over and over again to use another time.
6. Dont like the entire image? I have a gorgeous heart stamp that i love but it has flourishes either side that i dont like. So instead of cutting up a stamp that i might like in the future, i just cut it out after it has been stamp. THis works really well with images that you may not be able tojust ink part of the image.
7.The Glaze Jelly Roll pens work really well on acetate / transparency's. You get the full colour doing it this way instead of colour onto card stock or pattern paper. Though it does take a while to dry.
8.Gluing down. The best glue to use is a wet glue that dries clear.
9. It adds another dimension to your pages, and i love dimension on pages.
10. Never rock your stamp. Rocking will give you a bad image, but i know from experience that it is hard not to rock your stamps. So what i do is, when you put your stamp onto the block, place smaller ones on the four corners ( if you have enough room) this will stop your stamp from rocking.
I have played around with stamps and transparency's for a while now and have come up with some fun ways to use it.
First idea is to make your own overlays. These are easy to make and as Papermaze sells 12 by 12 transparency's you can make them any size you want, and embellish them as much as you want. I have done a fairly small one just to show you how.
Step one - decide on how big you want it to be. For this example i have used one of the 7 gypsies small ones as an example.

Next grab a piece of scrap paper and draw in pen or pencil a square of that size. This is going to be your guideline for the rest of it.
Place your transparency over the square. Then using some scrap paper or card and place it round the square. This stops excess stamp bits getting on the rest of the transparency so you dont have unwanted images or wasting it..

Then use a flower stamp ( the one i used you can find here) stamp onto the transparency in one of the corners. It doesnt matter which corner as when it is dry you can use either the front or the back.

You then need a stamp like i have shown in the picture below. You can find them here. I use a ruler for my instead of an acrylic block ( purely because i dont have a long one lol).

Then stamp all the way round the edge of the square.

Take off all the bits of paper and cut out.

This does take a bit of practice but i love it, and you are only restricted by the stamps in your collection.
I really like to make my own embellishments so this idea is great.
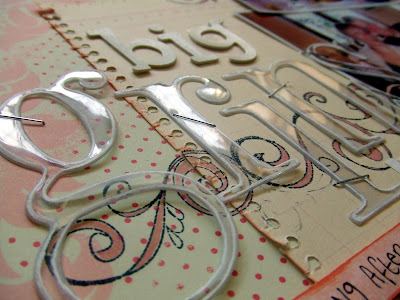
I used a stamp with written words on from this collection.

Mount it onto a block and stamp a few times onto the transparency. With this idea i dont bother about whether or not it has stamp properly as i love the effect when it is not.

Then free hand i cut out a heart shape... one of the other ideas i use this for is photo corners, which look really different like this.

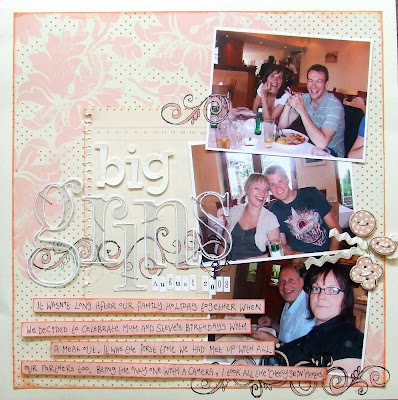
I used an Autumn Leaves stamp on a page i showed on here at the weekend.

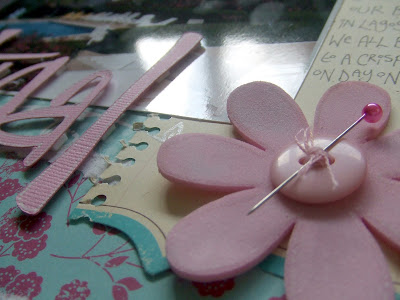
I used this stamp to put together this part of the page...

I used it on transparency, so i could build up the section. If i had just stamped it onto the page, i couldn't had had it over the flower and layered up the rest.
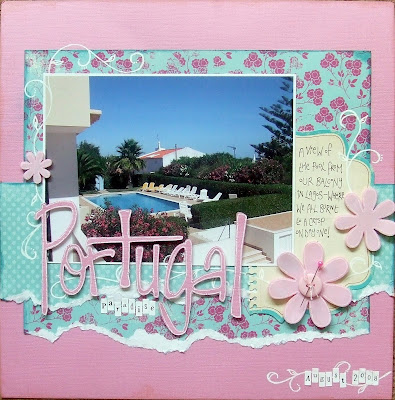
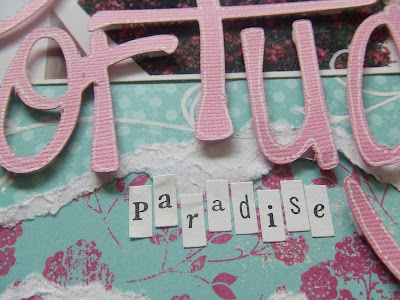
On
this post i used some more stamps on transparencies. Then i wanted to add some colour so i used my Jelly pens to add some colour onto them...Just a little bit of colour on it made the world of difference..


 When the cardstock is covered – add a squirt of blending solution to the felt and dab

 Within seconds you will have a great piece of background to work with.
 The main thing with alcohol inks is to play. Add more ink, less ink, put the mixative straight to the inked piece, add the mixative when adding the initial inks. The results are all fantastic, but, will be different each time. Try mixing the inks on the felt to make other colours, remember your paint mixing from school? Try it and make colours you haven’t got. My fave colour is orange, so I mix “cranberry” and “butterscotch” together with some gold for a great orange. Play and see what you can come up with.
 Alcohol inks are great on all non porous surfaces, so try them on a piece of stampbord. Hold the stampbord at an angle (protect the bottom!) and add the ink direct to the board running it down, when dry (only a few moments depending on how much ink you’ve added) stamp and hi light.

 Use the inks on acetate, this can be done either by the technique mentioned and then used over a photograph to give it a “dreamy” effect or again punched for unique embellishments. On the acetate card, I’ve placed inked acetate over a stamped image and cut to size, with the left over inked acetate I’ve stamped some butterfly’s, allowed to dry and then cut out, added some stickes and used as embellishements on the card...


