Hello
Claire here with you today, sharing my second layout with the fabulous
Pack Your Bags collection from Simple Stories.
I adore scrapping travel photos and this collection is such a fun one to use. Loads of bright colours, fun patterns and fabulous phrases.
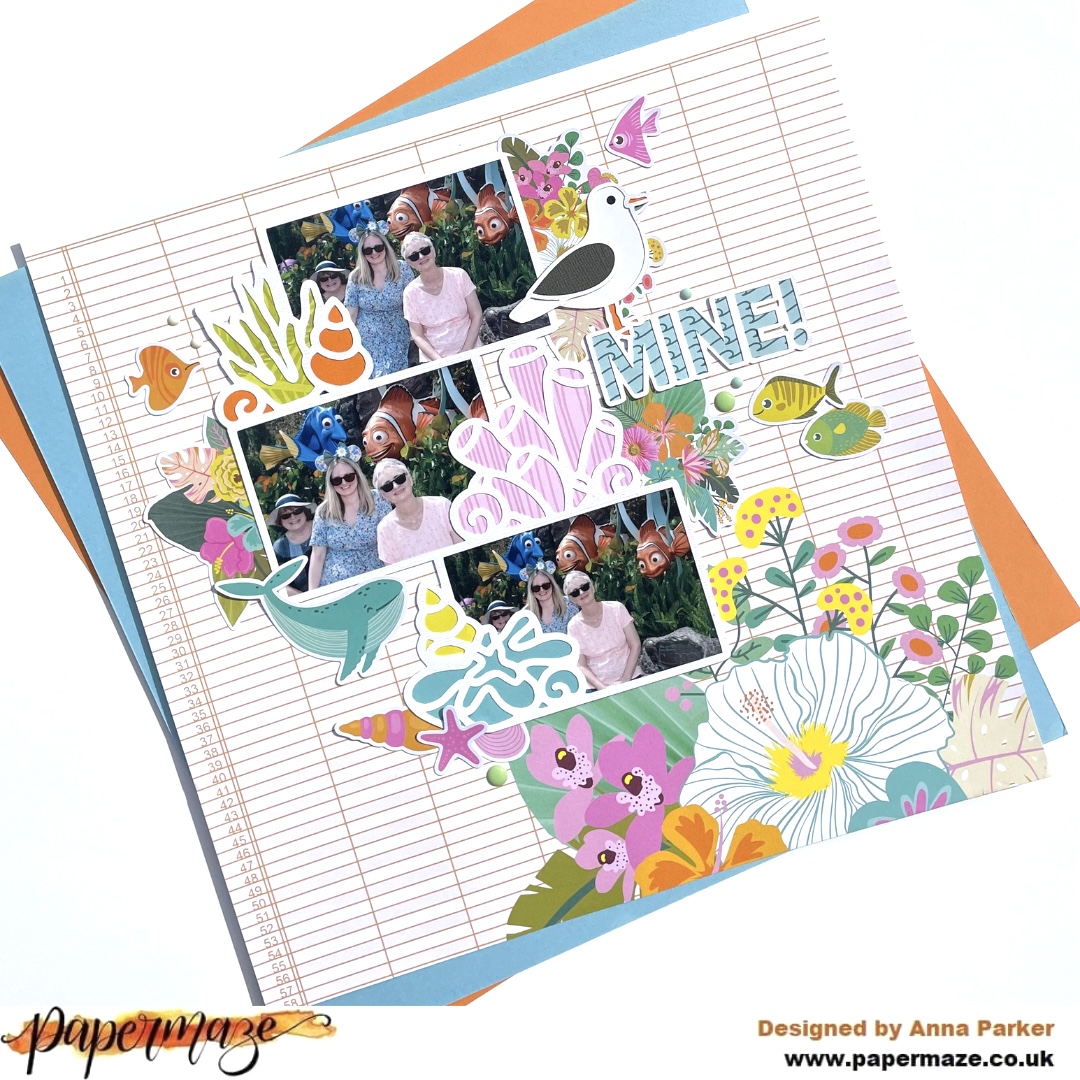
For this layout, I've opted for a circular design which is one of my favourite 'go to' designs.
To create impact, I first drew a circle on a piece of plain white cardstock and cut out the centre using a craft knife. Adding depth, I backed the remaining frame in foam before adhering it to a piece of the
Packed and Ready patterned paper which is full of colourful suitcases - the perfect match for my photographs!!
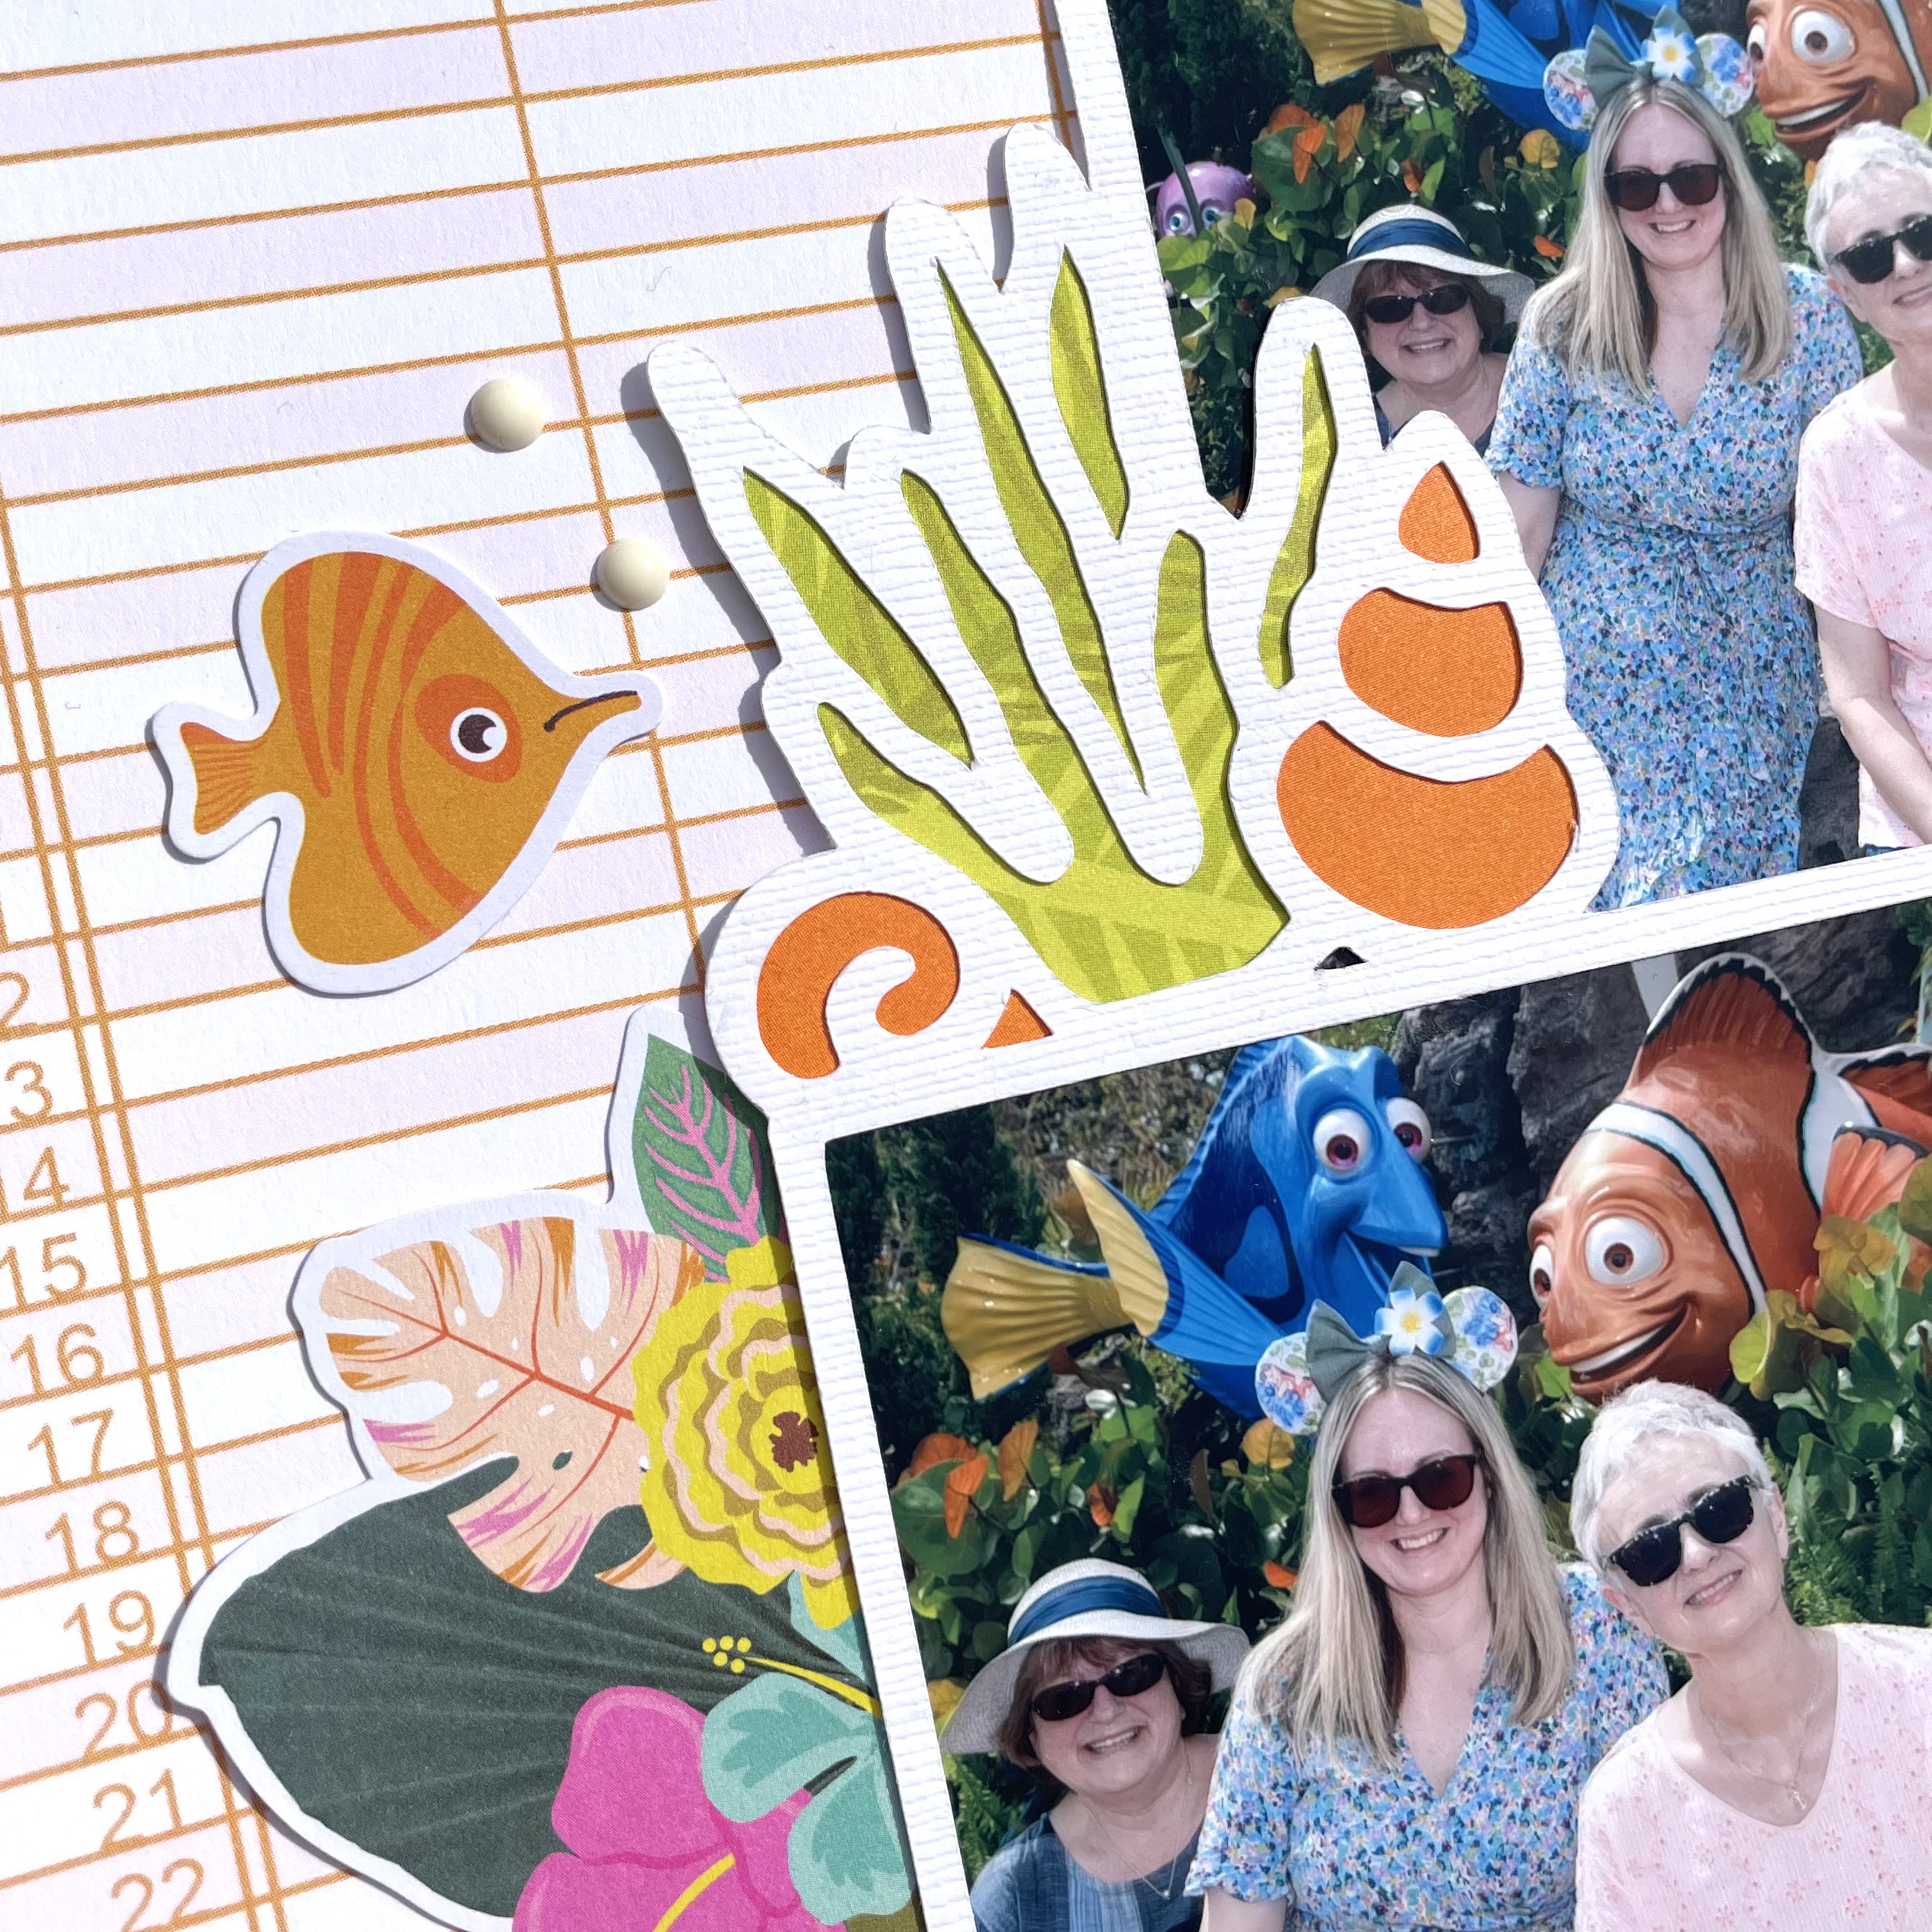
Once these were in place, I created small clusters on either side, using elements from the
cardstock stickers,
foam stickers and
Bits & Pieces. I raised some on foam and adhered some flat to the page, building depth, dimension and interest that draws your eye across the page.
Under the photographs I popped two tags - one from the
Bits & Pieces ephemera pack and the other fussy cut from the
Tag Elements paper. I added eyelets in contrasting colours and twine, both from my stash.
For my title, I opted for one of the
foam stickers - I know I say it every time but these really are my favourite item in Simple Stories collections and these are no exception!
The phrase 'Time To Go' is a match made in heaven for my photographs and sites nicely along the top curve of the aperture. As a fun extra touch, I added a plane from the
sticker sheet above it which brings the design together and creates a very small third cluster on the page.
To finish the page and bring all the colours together, I added Novo Drops around the aperture and the page then felt complete!
I hope you've enjoyed the pages I've made with this collection. They've certainly been fun to make!
You can check out the collection in full
here.
Until next month, happy scrapping!
Claire xx
@scrappysoulmate


.jpg)
.jpg)
.jpg)
.jpg)
.jpg)
.jpg)

.jpg)
.jpg)
.jpg)