Monday 31 January 2011

Basic Grey - Hopscotch...

The Hopscotch line from Basic Grey went up for sale here a little while ago...and i have to say i really like it...such a pretty colour!

I grabbed some paper and this sticker set...

which i just LOVE!!! and set about making some cards...

Funnily enough at the end of making them, i realised that i have not used alot of the paper...just the stickers!! this set of stickers i think...has to be my favourite of all the Sticker sets from basic Grey so far...a big claim i know, but true!!!

 all the bits along the top are from the sticker set!
 the second one...
 the LOVE letters on the sticker set as well!

and the last card...

I will add the sentiment on this one when i decide what to do with it!!!
See....the stickers are gorgeous!!!!!

Friday 28 January 2011

Final Card...

All week i have been showing you cards that i have made with the new Echo Park called Little girl...here is my final card with the few papers that i bought home!!!

and some close ups...


lots of punches used on this card...

on the white flower circles...i used the little heart stickers from this Hopscotch Basic Grey stickers...these are gorgeous and just for the record go perfectly with this paper line. I also bought the Hopscotch line home with me.....cannot wait to get into that!!!!

Wednesday 26 January 2011

More Echo Park

I still have a ton of the Echo Park left from the Little girl line that i showed you the other day...and i have plans for more cards with it...so here is the next card i made...

The Jenni Bowling butterflies match this line perfectly!!! and so do the Maya Road Doilies...
This line works perfectly with the white to create a big contrast, especially to the green/aqua sheet.

 I used the Martha Stewart punches butterfly punches...make sure you browse through them there are lots of gorgeous punches in there.

I will be back with some more cards using this line at the weekend.

Sunday 23 January 2011

New Echo Park...

I have to admit when i saw Little Girl by Echo park...i was hooked...i dont have many girls in my family to scrapbook for...but i do love making cards so this was perfect...and then i started to create with it and it was even better!!!

The colours are perfect, so is the design....lots of simple patterns with a few big ones thrown in to cut up and use to make my own embellishments.

I used this line to create this card...

As you can see the colours are gorgeous and soft...

Supplies used...

Echo Park Little girl
Trim Prima
Star Pin pins
Stickers vintage findings
Pearls Prima

I am not done using this line yet...i will be back with more!!!

Saturday 22 January 2011

An Autumn Walk

As I said in my previous post, the Bella Blvd Sunny Happy Skies papers are great for cutting into to create fun embellishments for your pages. I decided to make use of some of the images for these photos of a sunny walk in October last year.
I created a backdrop for the bold cut-outs using some vibrant yellow paper and positioned my photos at an angle on top of this. I didn't stick down the top corner of one of the photos though.

I cut out a range of images from the papers suitable for my subject, including clouds, leaves and trees. I raised some of these up on foam pads for dimension.

I added some hidden journalling on an October Afternoon journalling card, and slid it behind one of the photos, stapling on a small loop of ribbon to allow for easier access.
Finally, I added a title using American Crafts thickers, some quotation stickers by 7Gypsies, a date sticker by October Afternoon and a small gem to finish the page.
Posted by Picasa

Wednesday 19 January 2011

Write a Letter - Journal Prompt

Do you shy away from Journaling?
Do you tend to stick to the basic facts and figures when it comes to your LO's?

Todays blog post is to try and get you away from that. To make a page that has a reason, something with a meaning and something special to keep and look back on.


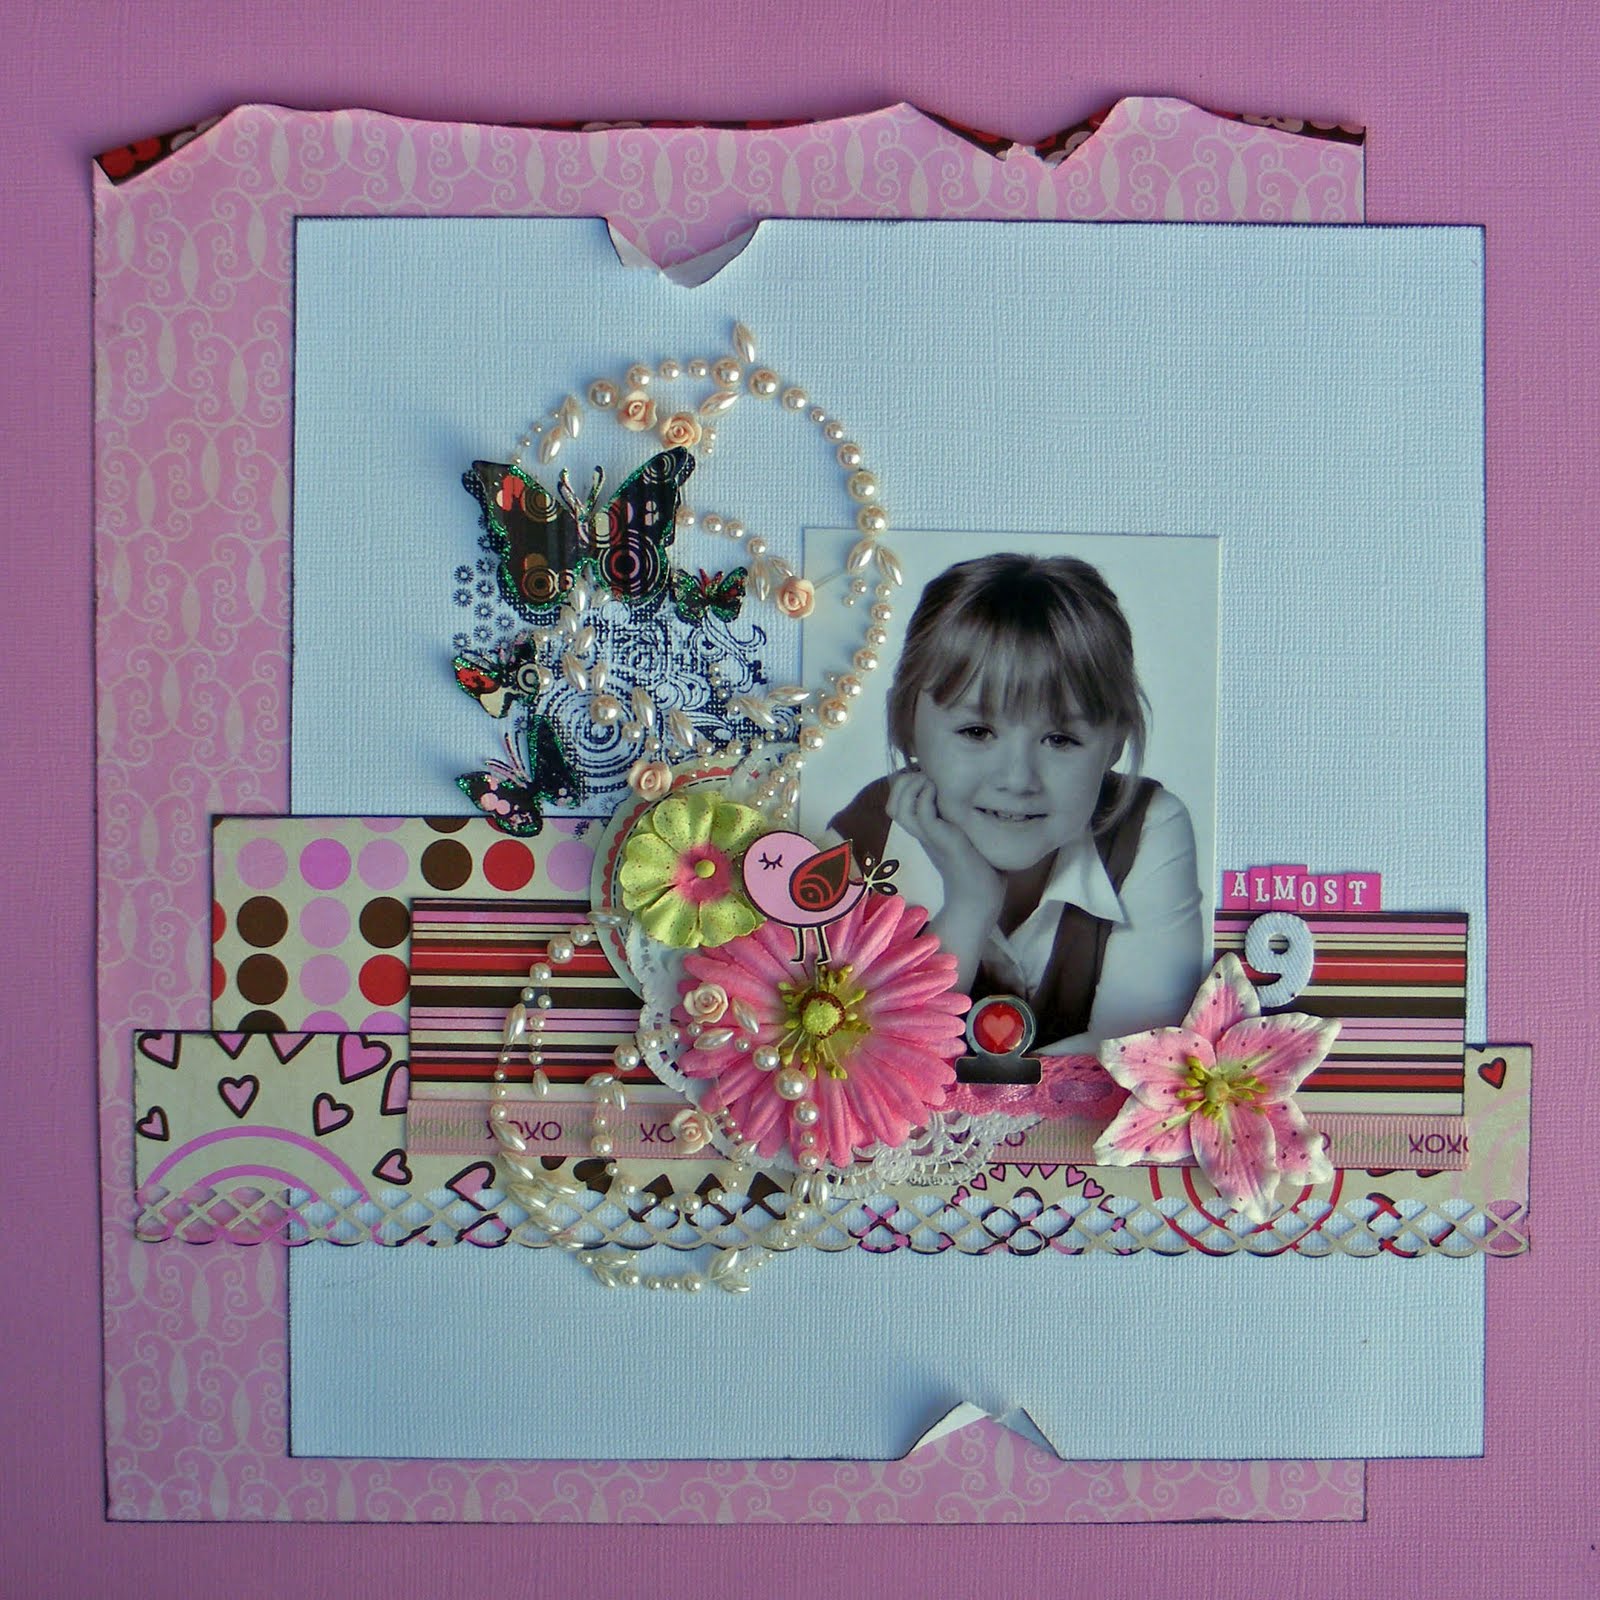
This page here is about my daughter and my Mum. I asked my daughter to write a letter to her Nana. Something that can stay private, but telling Nana how you feel and the things that you enjoy doing with her. The letter is then folded and kept and stored inside this envelope.

Why don't you give it a go. Maybe write a letter to someone, or even just a list of thoughts. It's a good way of getting something of your chest, but it's kept hidden.
It could be a story that you have to go with a particular photo, but you wouldn't actually want to share with others. This is the perfect way to tell your story, for it to be remembered, but only shared with those you choose.


I've used a Maya Road decorative envelope for this page. They make several types which you can see here. All shapes and sizes with different finishes.
My other supplies include :
My Minds Eye - Fine and Dandy Paper, Bazzill Cardstock, Ranger Acrylic Paints,

Monday 17 January 2011

Christmas Leftovers

Lets face it, we all have them don't we?
We buy the new Christmas collections each year and I don't know about you, I end up with lots leftover but don't always feel like scrapping Christmassy once the holiday season has been and gone. Then when Christmas comes around again the following year, I buy the lastest collections again.

So I challenged myself to use up some of my leftovers and make some cards.It's always handy to have a stash of cards set aside.
I used Crate Snow Day for these cards. I love that they are doublesided and adore the reverse side of these papers. They are so much fun.


Using punches is the perfect way to use up scraps of paper and that's exactly what I have done here. Border punches, layers of flower punches, butterflies. All makes for easy card making and some lovely results.


Why don't you give it ago and see what you come up with.
There's something very satisfying about using up leftovers.


Happy New Year from me.

Lisa xx

Supplies used - Crate Snow Day, Martha Stewart Border Punch, EK Sucess Punches, Pins, Buttons,Flat backed Gems.Chipboard Alphas

Friday 14 January 2011

Olivia's Birthday Card

My niece's fourth birthday was coming up straight after Christmas, so I decided to use the Bella Boulevard Sunny Happy Skies range to craft with this month for the blog. This range, as the name suggests, is full of cheerful colours and cartoon-like prints, perfect for a children's birthday card or layout. I decided to construct my page using the Cute Cuts and Sugar Patch papers. The Cute Cuts paper has lots of large images to cut out and layer up on your pages as embellishments, although the reverse side with a woodland design is also gorgeous, so it might be worth getting two sheets!

My page is contstructed from white Bazzill - I made a 7in by 6in card blank, then used WordArt on Windows Word to make a large '4' that I then printed out. I used this as a template to cut the number from the front of the card.


I then lined the inside of the card with the Sugar Patch paper - I wanted it to look a bit like a jungle or forest. On the front of the card I positioned various designs from the Cute Cuts paper, including a panda, cloud and various leaves and flowers. I also spelled out my niece's name using foam American Crafts thickers (these are a small size of thicker, which you may need unless it is a particularly short name!).


By raising some of the embellishments up on foam pads, it gives the card a bit more dimension. I also drew around the number four with a fineliner pen to make it stand out against the busy background.


The finished card was very easy to make, but quite effective and I think my niece will love it!
Posted by Picasa

Wednesday 12 January 2011

Circa 1934

As soon as these gorgeous new Cosmo Cricket papers came into the shop I just knew I had to have some! They are bold, without being too bright, but pretty too, and suitable for any gender or age.

Firstly, I made a layout using some of the papers and elements. I chose an old photo to go with the style of the papers. I distressed the edges of the two base layers by tearing and inking them, and a spritz with Tattered Angels Glimmer Mist helped bring the whole page together.


Next I used some of the bolder papers to create this card. I just loved the versatility of the sheet of circled letters. Perfect for titles or greetings! I punched out the letters I needed and still have loads left on the sheet to use again.
The horizontal panel has been punched to reveal the number underneath, and the gorgeous red pleated ribbon can be found here.

Friday 7 January 2011

ALMOST 9


This photo of my daughter was just screaming out to me to make it as feminine as possible and what better papers to use than this range of bo bunny collection.

steps

1 cut a large piece of patterned paper folding and tearing the top edges of the paper glue this onto pink card stock

2 cut a white piece of card stock again tearing some of the edges glue into place

3 cut three different pattern papers into three different size strips using a Martha Stewart punch for one of the strips glue into place as shown

4 stamp an image to the left hand side of the card stock once dry add your photo add a few strips of ribbon to the bottom of the photo

5 add your chosen embellishments as desired

Wednesday 5 January 2011

bo bunny


Ooh i love this paper line perfect for a photo i had in mind i love the large flourish on one of the patterned papers it just has to be cut out and layered fantastic embellishment.

steps

1 cut and mount the cram card stock onto brown card stock rolling a few of the top edges

2 cut a piece of lined pattern paper and place to the left hand side of your card stock as shown rolling the top left of the patterned paper

3 cut two different strips of patterned paper place across the card stock add a paper doily for some texture once glued into place add your photo

4 cut the large flourish to the right hand side of the photo adding rubons and more embellishments for more detail finish the layout by adding ribbons and pearls.

Monday 3 January 2011

Febuary Workshops...

February work shops are done...here are the pages...we have a few spaces left if you want to join in...They are held at the shop...a small group of people...we come scrapbook, eat chocolate and laugh...if you want to come on your own that is fine...and if you are a beginner that is fine as well..we keep our classes small so help is readily available!

First Workshop...9th February Wednesday at 7.30pm ...here are a few sneaks of the page...


The next workshop is on 16th February Wednesday at 7.30pm...here is a sneak of the page...


If you want to come and need more details on the Workshops..ie photos etc...email me on wendy@bbbweb.com and i can give you the details...these are not yet up on the website but i will pop in here to let you know when they are or you can email on the same address and i can reserve your spot.

Saturday 1 January 2011

January Sale

Happy New Year to all our blog readers -we're hoping it will be a good one for you! We will continue to bring you lots of inspiration throughout 2011 and of course the best scrapping products! To start the New Year with a bang, we're having a January Sale with 20% off EVERYTHING!! So come and grab a bargain! Postage, crops and gift vouchers are not included.