
Happy New Year! It’s Anna here with you today, I’m still in the festive spirit so I’m sharing a layout using the hearth and holiday collection by Simple Stories. You can find it in the shop here.
For my first project with the collection, I created a ‘12 days of Christmas’ advent calendar. If you would like to have a read, you can find my previous blog post here. But this time I’m back to a scrapbook layout…

To create this layout I used the Merry Christmas to all patterned paper as my base. I then cut a circle in the middle of the paper and adhered a square of Mistletoe Magic to the reverse, filling in the gap.
I used my silhouette cameo to cut a Christmas trees cutfile by Paige Evans. I cut it using Bazzill white and backed each tree and star with vellum. I then cut out each tree individually as they were originally joined in a row together. I couldn’t quite make that work on my page, so I decided to separate them instead.

I backed my photo with spreading cheer and cut out a selection of florals from the Mistletoe Magic paper. I adhered the florals around the other elements of my page, joining it all together.

I distressed the edges of the circle, before adhering everything down.
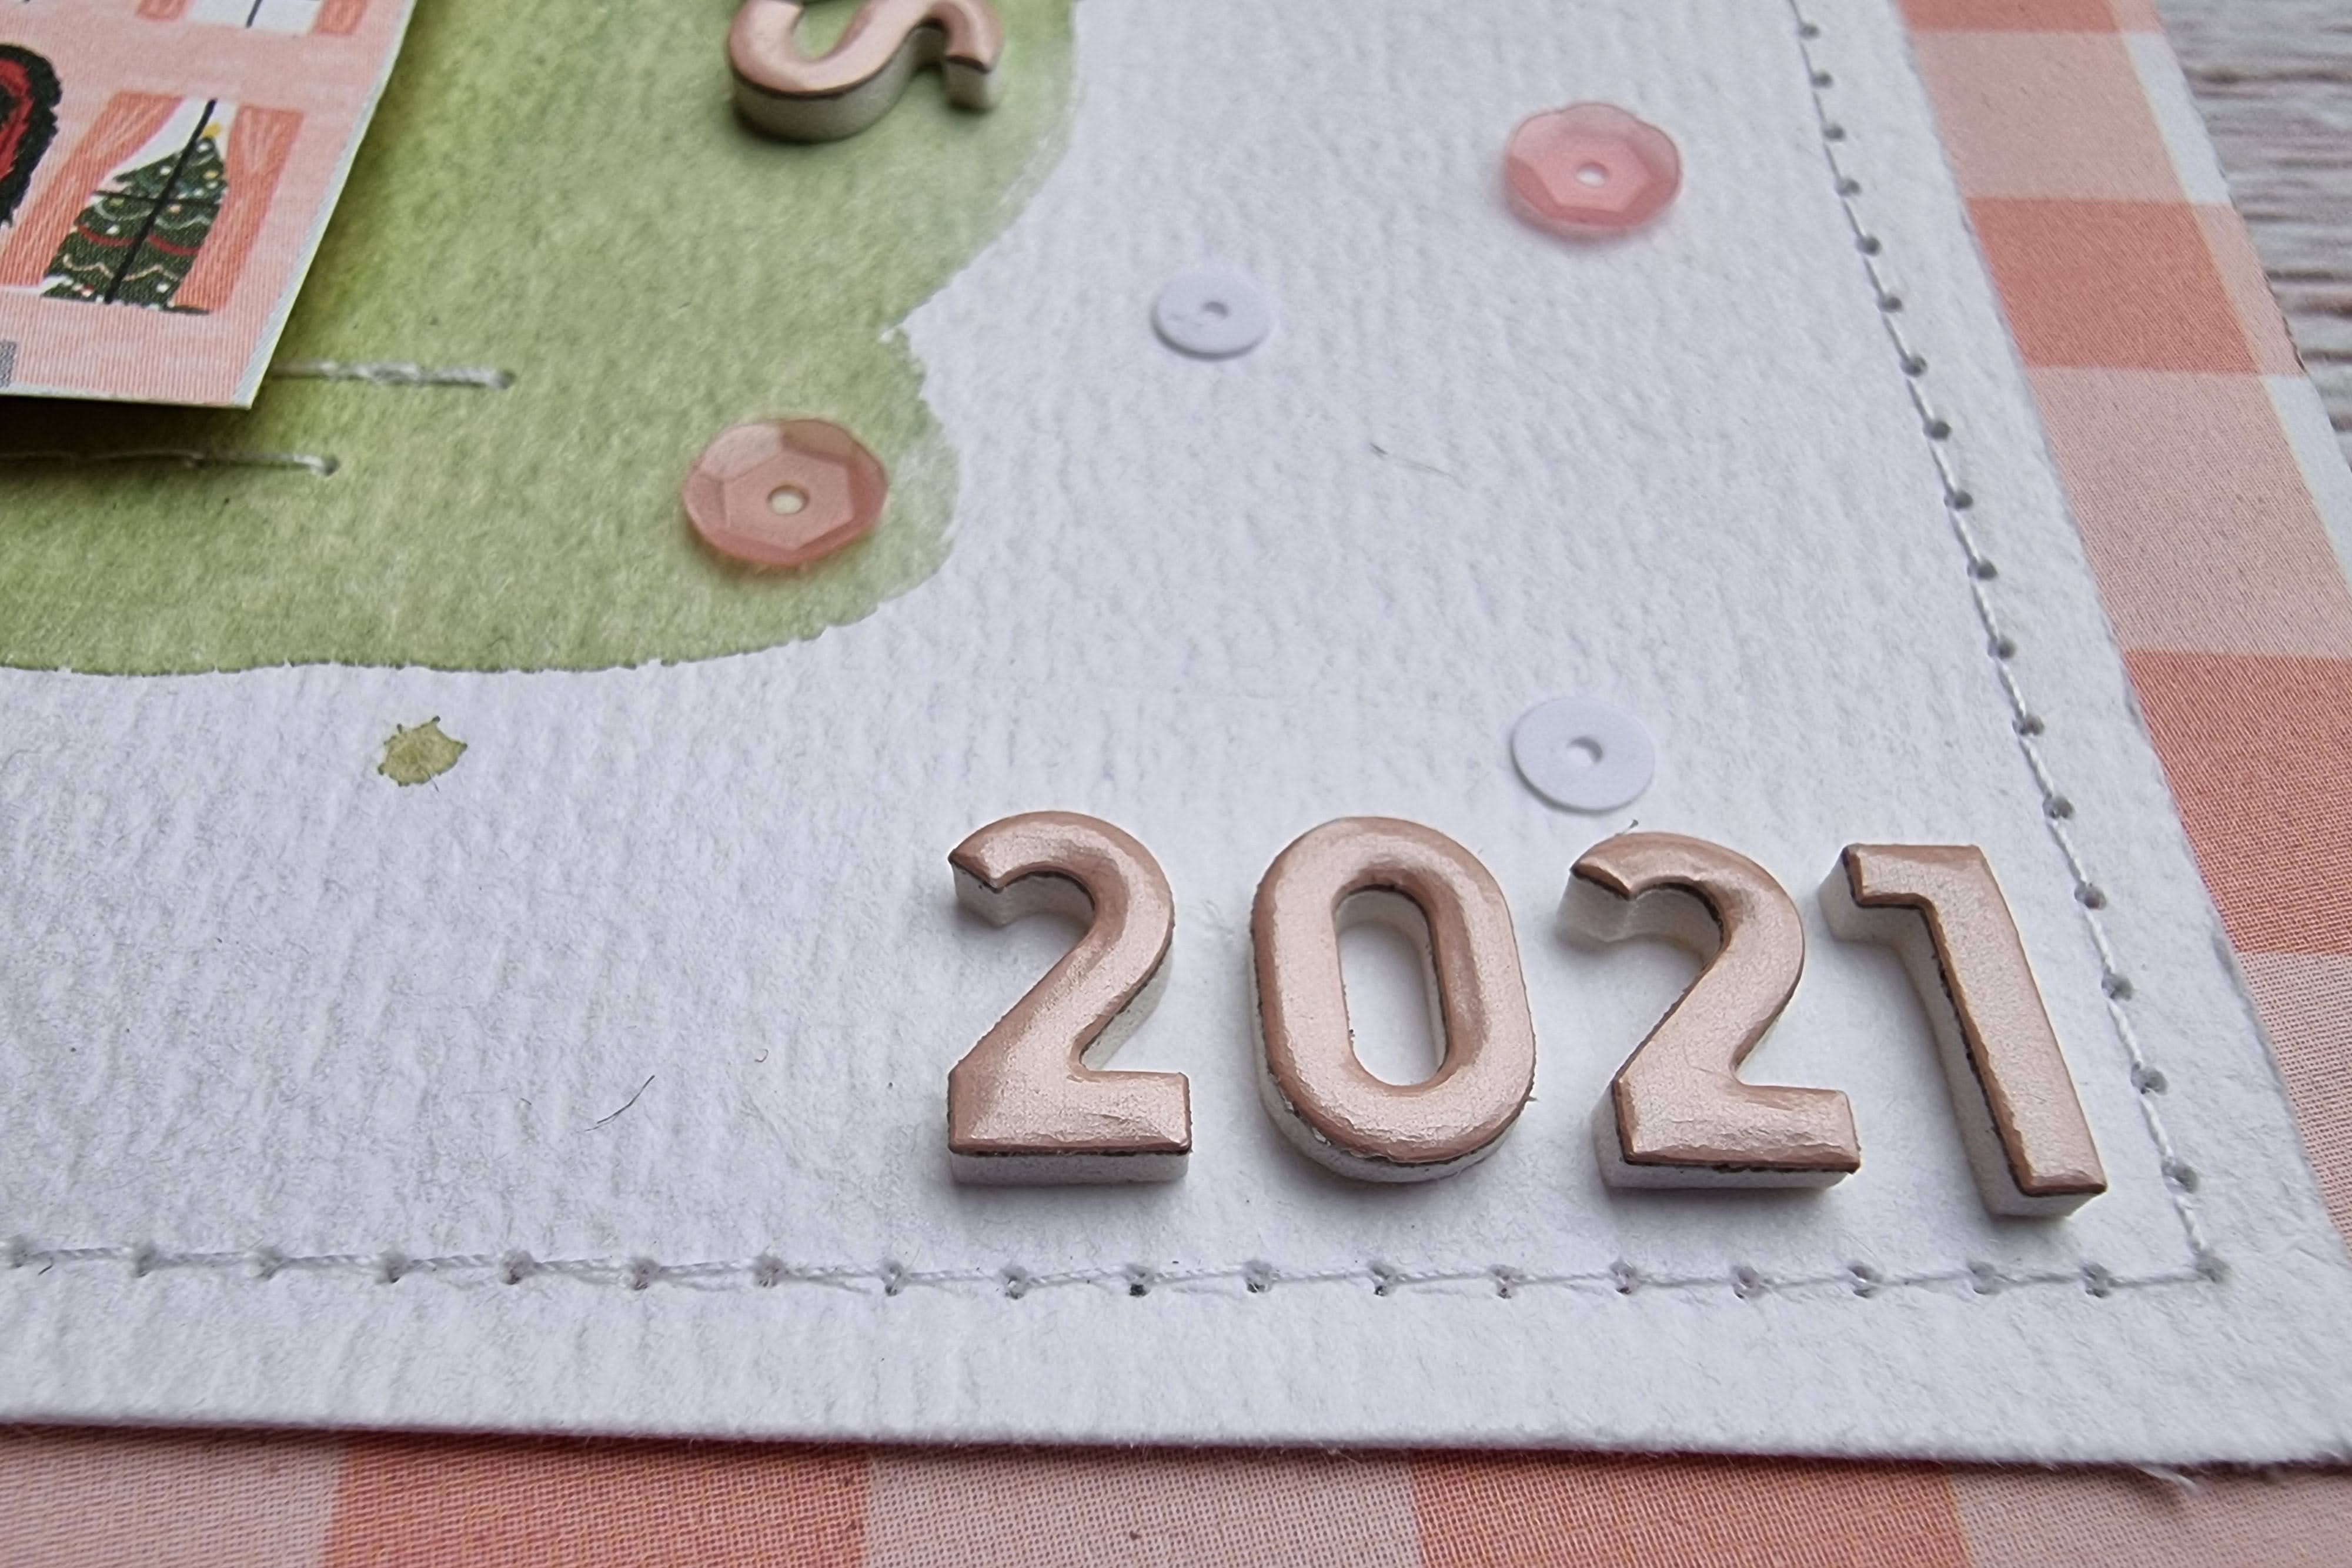
I have also added a tag from the Tags paper and will use it for my journaling.
I love these tags sheets by simple stories, they provided journaling options on one side and coordinating patterns and images on the other. You can find various examples from different collections here.

I selected various stickers from the combo sticker sheet to embellish my page, adding lots of extra little details.


Thanks so much for looking!
See you in 2023!
Anna
X


.jpg)
.jpg)
.jpg)
.jpg)
.jpg)
.jpg)

.jpg)
.jpg)
.jpg)
.jpg)