Monday 27 February 2023

A Fun Journal Idea

 Hi,

I had an idea the other day and was excited to share it with you.

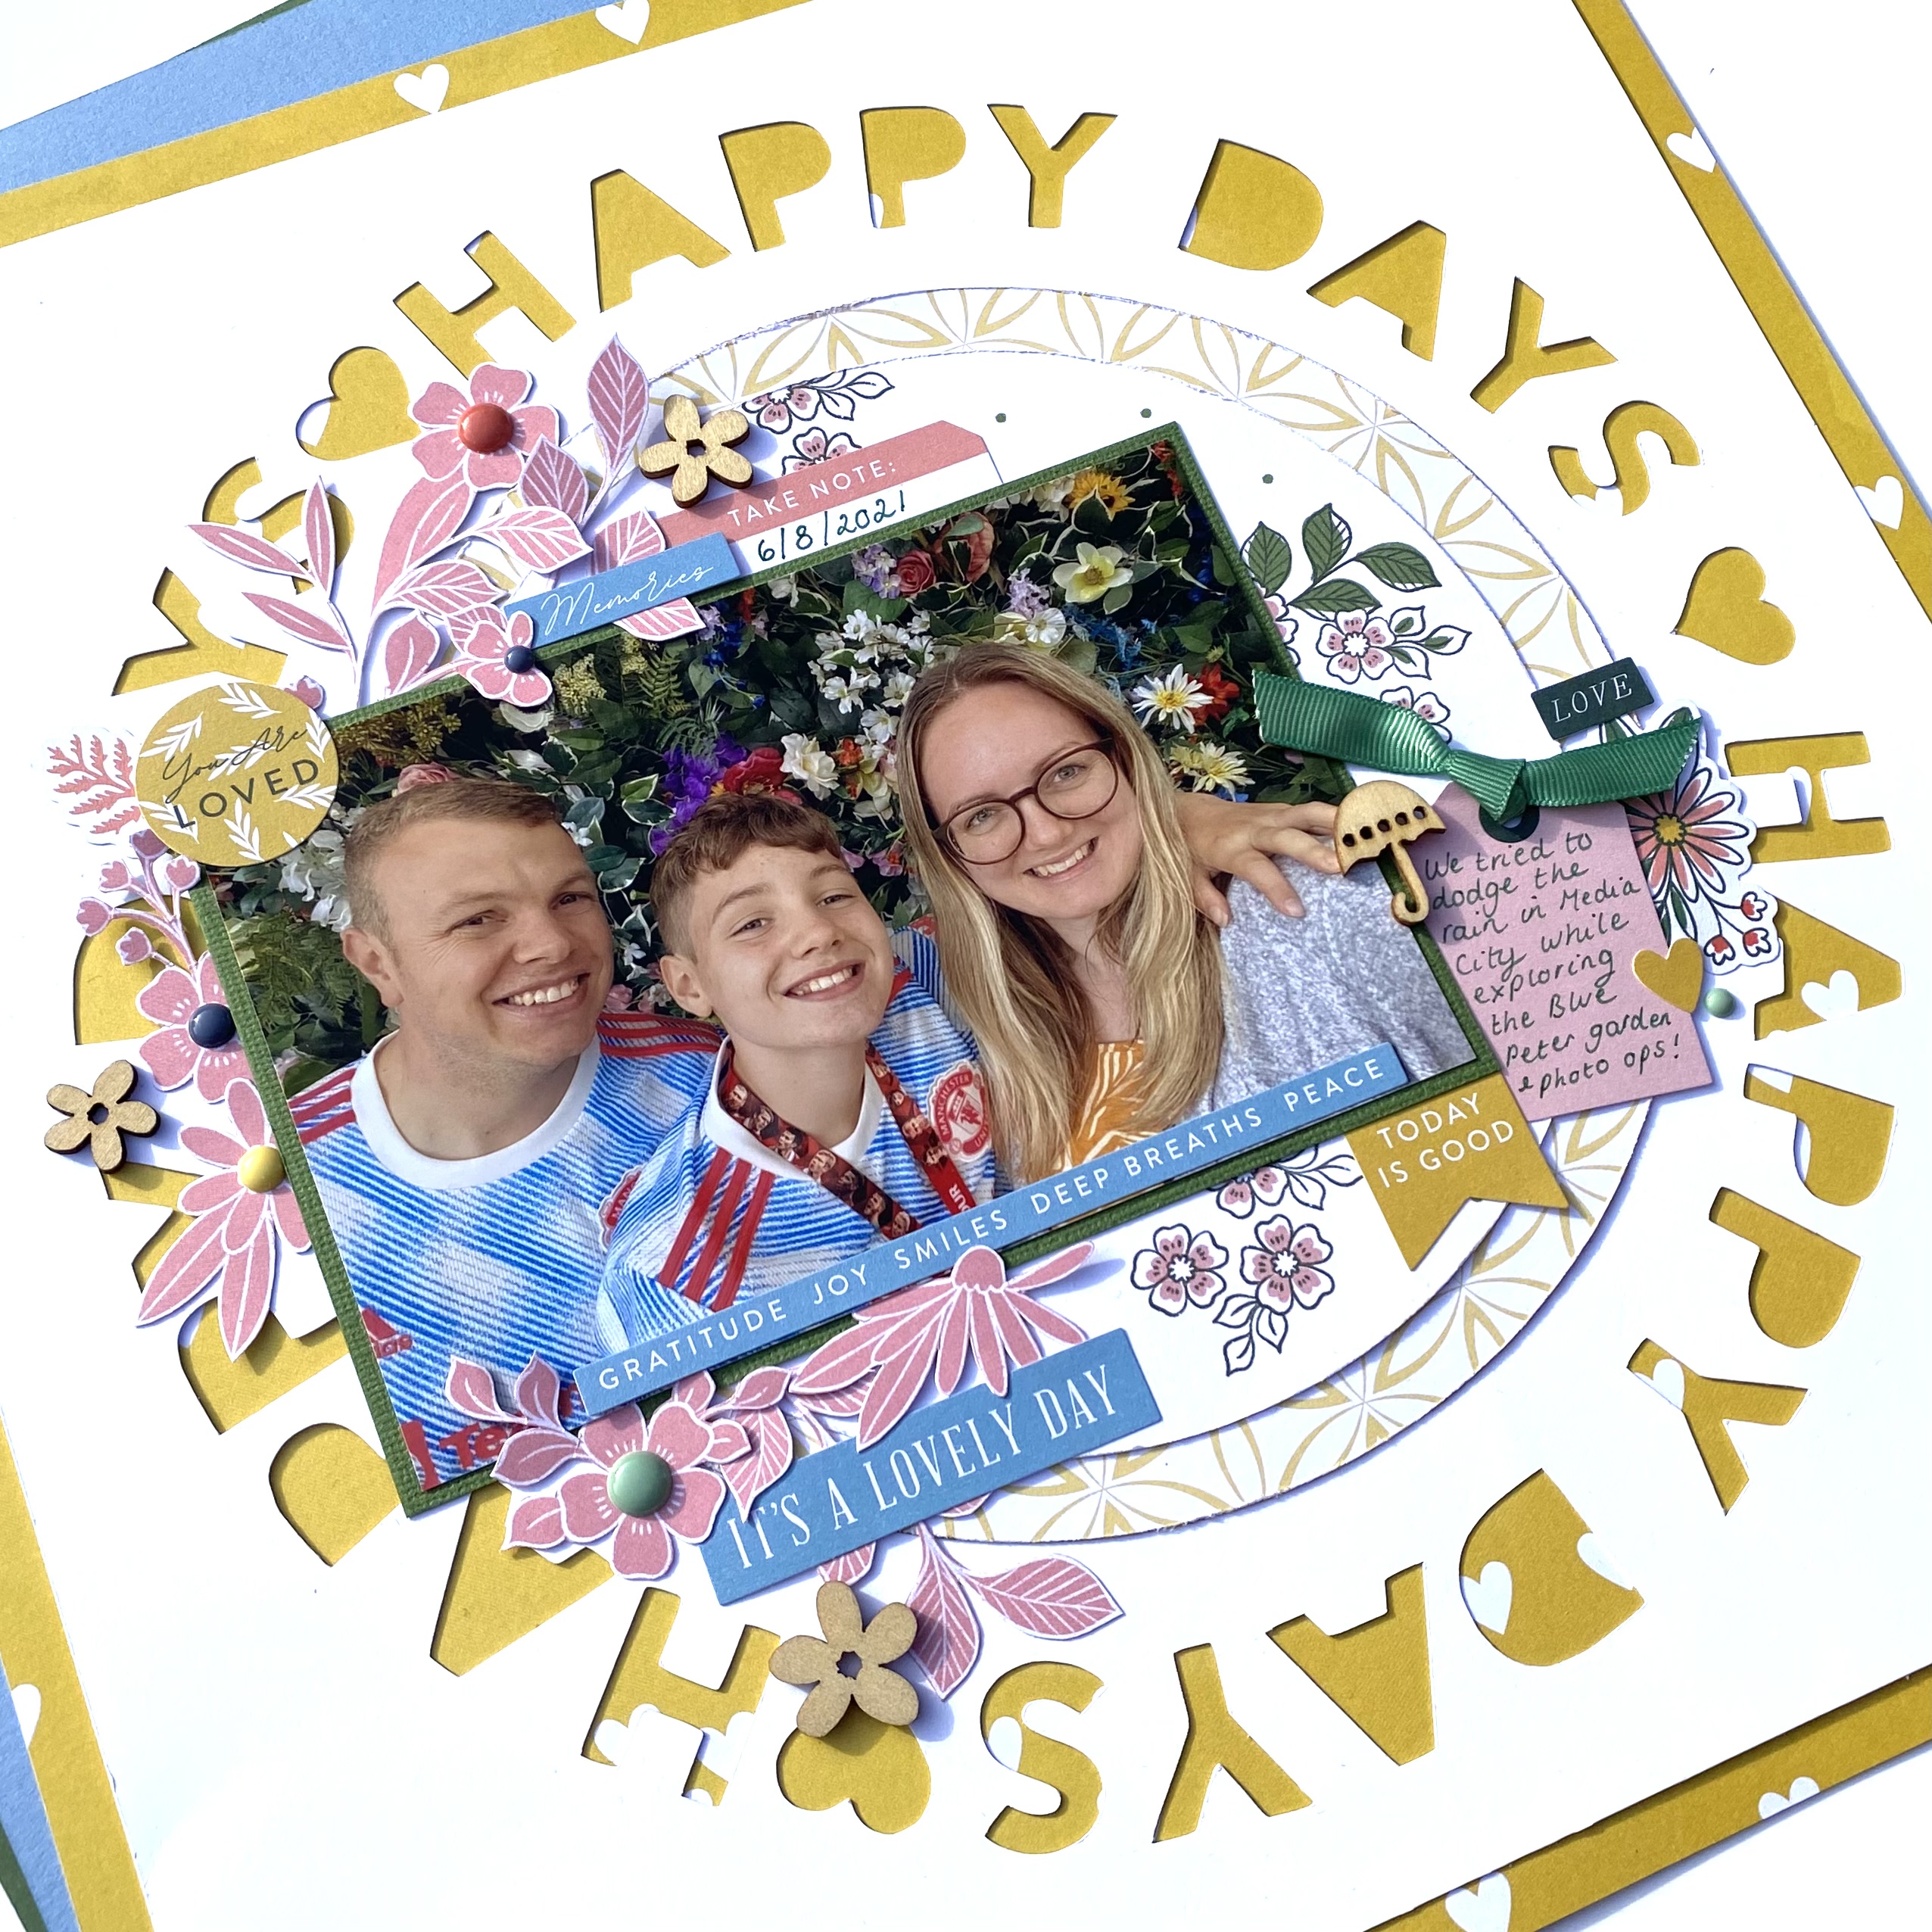
I was posting a photo on Instagram Stories the other day.

We'd done so much in one day. I listed everything on my Instagram post.

Then I thought it would work so well for my journal.

So I went back and screen shot the photo.


It really is a great way to add journaling to a page.

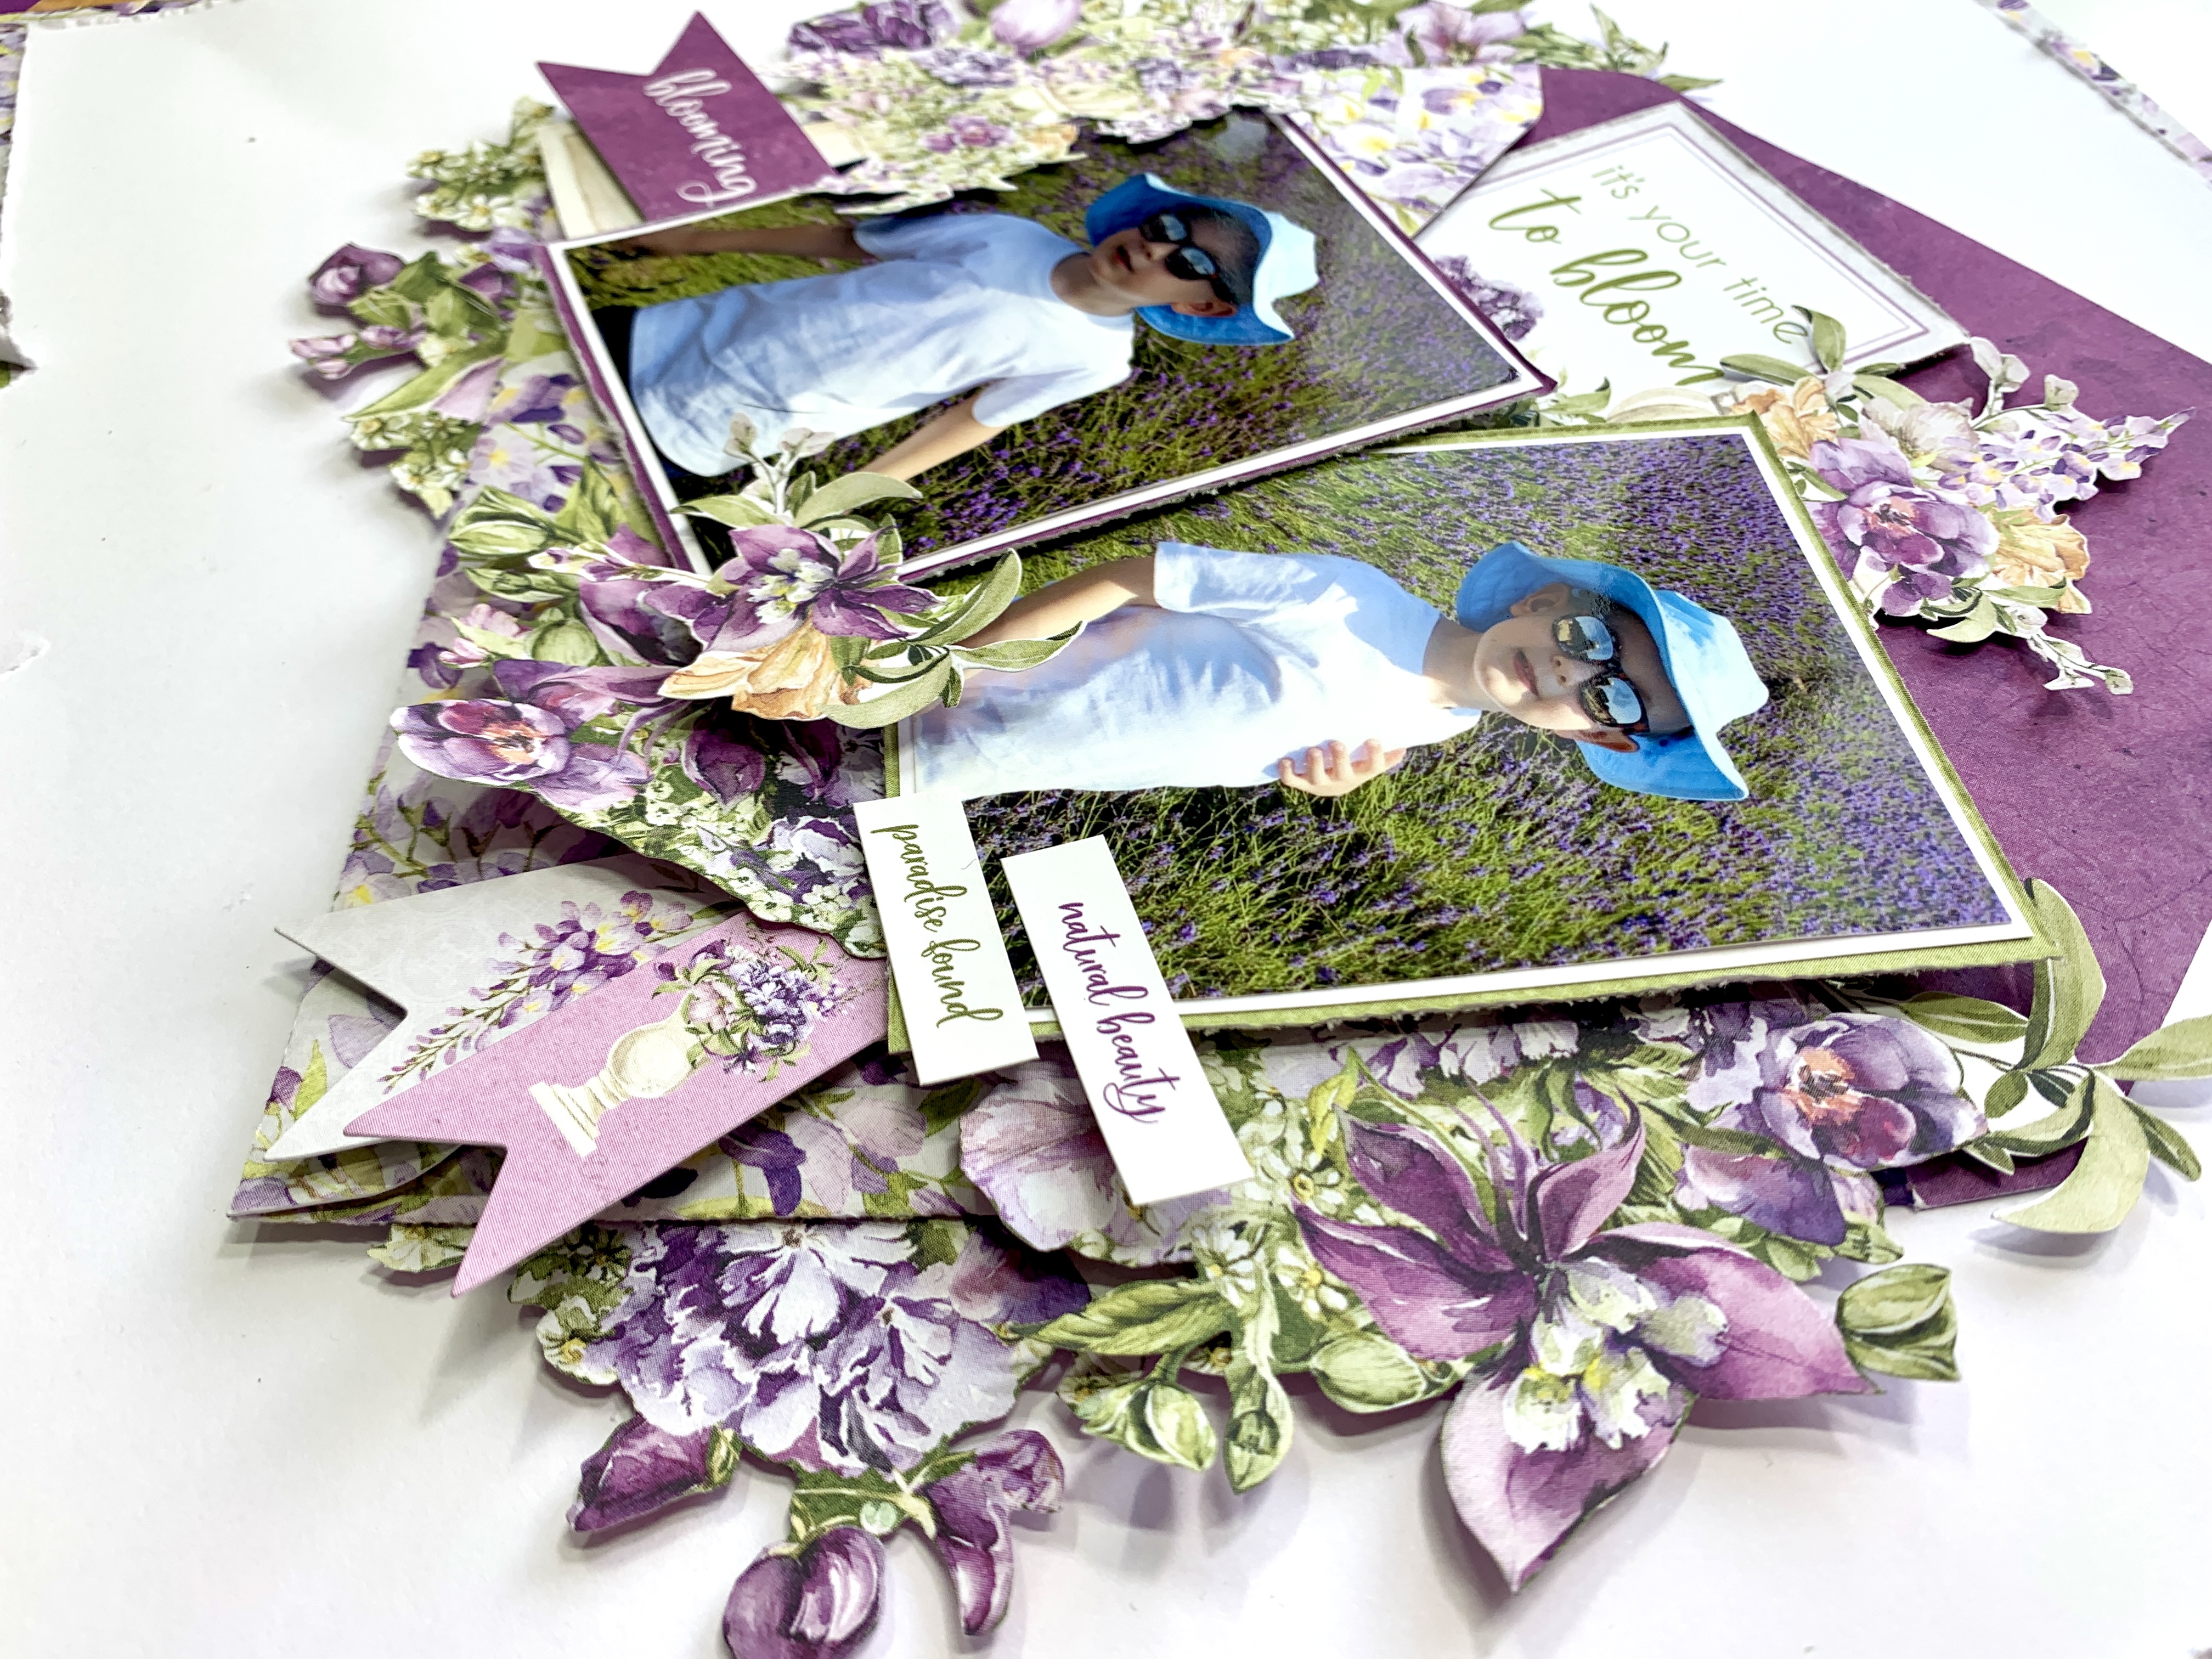
I used this stunning PinkFresh Studio collection - Flower Market.

You can see the video of this page coming together here.


I created a bit of a soppy page, so there's lots of hidden journaling.

I cut up lots of pieces and attached with washi tape to create little flips and journal underneath.

(You can do this with all their collections)


I also used some little tags to make flips in exactly the same way.

And embellished with Ephemera and the vellum die cuts too. 

If you flip the gold ephemera over it's matt silver on the back and looks so subtle and pretty.


And I used the little pink puffy alphabet stickers from Rosie's Studio here.

I love how all the pieces layer up so well.


If you struggle with journaling try adding it to your photo like this, it really makes it easier. Plus it saves space on your pages too.


 This turned in to a long pully out pages with lots of flips in the end. I love how this turned out.


I hope you like this idea too.

Happy scrapping

love

Lisa x

Saturday 25 February 2023

February Papermaze Kit - Part 2

Lynn back here today, with the second two of my layouts using the new Papermaze kit for February. A very bright, cheery and colourful collection. Ideal papers and embellishments for St. Valentine's Day as well as other occasions.

Here are the details of what you will find in the kit:

For full details of the kit please see the first post HERE or the shop website HERE.


Merry & Bright - My nephew and his family out for a Christmas meal.

I cut a large heart shape from some scrap paper and placed it onto the centre of the Grenadine Bazzill. With Distress Mica Stain (Tart Cranberry and Merry Mint) I sprayed over the cardstock. Once dry I removed the heart shape and trimmed the cardstock down to 26.5cm x 26.5cm.  I placed this over a gutted frame cut from Sweetheart Plaid
paper.  


I mounted my black and white photos onto first black, then white cardstock. These were then arranged over the heart. 


To embellish, I used several items from the kit - I tied the ribbon into a bow and attached to the bottom right of the heart, just above this I placed the Prima flower and the two chipboard hearts. I die cut some leaf fronds from scraps of pink Bazzill and placed these above and to the side of my cluster of embellishments.

The title and the snowflakes are from a pack of
American Crafts Vicki Boutin Evergreen & Holly - Joyful Phrase Thickers.


I found some phrase stickers from an earlier kit to place in the bottom right corner of the layout accompanied by a small black flair from my stash.


Hello Lovely Little One - My new great niece born at the end of last year.


I created this layout using the gutted section of the Sweetheart Plaid paper and the sheet of Mauve Ice Bazzill. I decorated the cardstock using Vicki Boutin's Print Shop - Off Beat heart stencil, and a mix of pink Distress Oxide Inks. I randomly stamped tiny hearts using the stamps included in the kit.

I cut a piece of Sweetheart Plaid paper to 16cm x 21cm, and placed it to the right of the Bazzill (plaid side up). The from the remains of this paper I cut a selection of hearts. I inked all the edges with Distress Oxide Ink. I ran a length of pink twine along the top of the paper, curling the ends. The hearts were arranged over the twine, overlapping one another, some were raised with 3D foam pads.


I mounted my photo onto some gold glitter card, which I chose to match the Rosie's Studio glitter foam word stickers provided in the kit. I arranged the word stickers on a scrap of pale pink Bazzill, then I mounted this onto more of the glitter card. I flipped one of the tangerine doilies from the kit to the reverse side and cut a 5.5cm circle from white card to place in the centre.
I added the baby's name to the centre using Doodlebug Alphabet Soup Puffy Cupcake stickers. I die cut Prim Poppy using a Memory Box die, inked them and added them to the left of the doily.


For the bottom right on the layout I place two more hearts, and a little more twine, tied in a bow. to this I added the date using Doodlebug Alphabet Soup Lily White stickers. Then I scattered a few tiny heart shaped buttons from my stash.

Finally, I added the glitter hearts included with the Rosie's Studio word stickers, a few pink hearts from the Doodlebug Alphabet Soup stickers, and a smattering of heart sequins.


That's all for today, I have more to share as there is plenty of paper and card remaining in the kit.
Thanks for looking.
Lynn x

Friday 24 February 2023

Pinkfresh Studio - Flower Market - Always & Forever

Hi everyone,

Claire here with you today sharing my second layout using the Flower Market collection from Pinkfresh Studio.

For this layout, I'm focusing on a central, circular design using the Aviary paper.


I cut a circular aperture on a piece of spare cardstock and used this as a stencil to create a mixed media base using Tattered Rose Distress Oxide, applied with a dry stencil brush, adding a few wet splatters for extra interest.

Using the same stencil, I cut a circle of the Aviary patterned paper, cutting this into smaller slices which I layered as shown, adding machine stitching down the centre of each segment and folding up the edges.


I took a tag and pocket from the Journaling bits, offsetting my photo on top, and placed these in the centre of my page.


I created clusters around the photo using the Ephemera Pack, scattering some floral ephemera around the patterned paper segments. 


Following the circular shape of my design, I used the Puffy Alpha Stickers to create my 'Always & Forever' title. These alphas are really beautiful. Such a pretty shade of blue that echos the patterned paper I have used.


As a final touch, I added some Honey Gold Nuvo Glitter Drops to echo the warm tones in the photo.

I hope you've enjoyed this layout and will check out this beautiful collection. You can find it in the shop here.

See you next month.

Claire xx
@Scrappysoulmate
 

Wednesday 22 February 2023

It’s Your Time to Bloom - P13 Paper Products - Secret Garden Collection

Hi everyone, it’s Rebecca with you today sharing my second layout created with P13 Paper Products ‘Secret Garden’ collection. It’s a gorgeous collection made up of mainly purples and greens, so perfect for my Lavender field photos! You can shop the full collection here


I loved both sides of Paper #6 and really wanted to use both sides - so I cut a large envelope shape using my Silhouette Cameo 4. It’s a really simple cutfile, and I just had to fold 3 edges over, which gave me that gorgeous floral pattern, with the rich purple colour on the inside of the flap. A perfect way to showcase both sides of a patterned paper! I love how the bold, solid purple breaks up the busy floral pattern too. 


I printed 2 photos of my son out in the lavender fields, slightly smaller than 3x4 inches. I added a small white frame and then used 2 of the journalling cut-apart cards from Paper #5 to add some colour behind them. 


Placing the photos on top of my envelope, I added a banner behind them from the Die Cut Garland pack, to act as my title. 


One of the things I love most about P13 collections, is the fussy-cutting potential! Paper #7 is always a sheet of images for cutting, and there is usually a sheet of florals too - in this case, Paper #2. My weapon of choice for fussy cutting is my Cutterbee scissors, so I put them straight to work cutting out florals! 


I embellished all around my photos with florals from both papers, layering them with foam underneath to create some dimension. 


I also slotted in a few banners from the Decorative Tags #2, again layering them and tucking them in amongst the florals. 


I finished the layout off with a couple of stickers from Sticker Sheet #1, and a frame around the edge of my layout - using the outer edge of Paper #6. This is really simple to do, yet I find it so effective in tying the whole page together - especially as I’ve used the same pattern for my frame as I did for my envelope. 


I hope you’ve enjoyed this layout and my previous one using this beautiful collection. P13 collections are such great value for money, and I love that you can build up the collection with lots of smaller items. Be sure to check it out on the website! 


I’ll be back next month - and I’m super excited to be working with Simple Vintage Life in Bloom by Simple Stories (if I can ever bring myself to cut into it!!). 


Take care


Rebecca x

@preciouspagespapercraft

Monday 20 February 2023

Echo Park Snowed In - Snow Much Fun

Hello, Karen here again with another layout to share using the Snowed In collection from Echo Park. Have you had any snow this winter? Did you take any photos? Do you have snowy photos from previous years? This collection is perfect for scrapbooking those snowy memories.

For today's layout, I started with a sheet of white 12x12 cardstock and in the centre I painted some Arctic Blue Cosmic Shimmer Mist. I don't think this is still available in the shop but there are plenty of other similar coloured inks in stock which you could use instead.

Once the ink had dried, I trimmed the cardstock down by about 5mm on each edge and machine stitched this to a sheet of the Sweater Weather (B Side) paper leaving a narrow border. Using a blue ink pad I then stamped some snowflakes randomly on the background. The mixed media did make the cardstock warp quite a bit, but I'm hoping that once the layout is in an album it will flatten out.

Using my Silhouette Cameo I cut, from black cardstock, a 'Snow Much Fun' cutfile by CUTtoYOU and backed this with papers from the collection.


The backed cutfile was attached to the background with 3D foam underneath to create some dimension. The added dimension and the black cardstock really makes the cutfile pop against the background.

My 5x3.5 photo was matted with more of the Sweater Weather paper and was tucked underneath the bottom right edge of the cutfile.


Using some of the Chipboard Accents I embelished the cut file. 


I chose chipboard words and images that suited the theme of my photo and strategically placed these so the words beneath could still be read.


I die cut some snowflakes from white glitter cardstock and used these to embelish the layout further.

More Chipboard Accents were added to the centres of the glittery snowflakes.

Finally, I added a scattering of sequins to the layout and the names of the boys were printed onto white cardstock and added to the photo.

I hope this layout has inspired you to scrapbook those snow filled memories and I'll be back soon with another project to share.

Take Care,

Karen x x


Sunday 19 February 2023

Pinkfresh Studio ~ Spring Vibes #1 🌸

 Hi, it’s Anna back on the blog today, hope you’re all having a lovely weekend? 

For my next few blog posts I am going to be working with Pinkfresh Studio Spring Vibes. You can find the collection in the shop here


For my first layout with this collection I have created this circle based design. 
I began by cutting this ‘Happy Days’ cutfile by Peartree Cutfiles on white bazzill cardstock
I then trimmed down the cardstock, taking about 1cm off each side.
Before using the ‘Moments of Joy’ paper to back my white Bazzil, I cut out a circle from the centre of the paper, and kept it aside to use on my layout. This ensured I was making the most of the paper and not wasting the middle. 


I cut a slightly bigger second circle out of the Cherish This paper, and layered it in the centre of my layout along with the circle I’d cut from Moments of Joy


I mounted my photo onto coordinating cardstock from the matchmaker pack and adhered it to the left side of the circles. 
I then fussy cut several florals and leaves from the Daisies paper and tucked them in clusters around my photo. I added a few enamel dots to the centres of some of the flowers too. 


I used some of the cardstock stickers  to embellish my layout building up clusters around my photo. 


I journaled on one of the cardstock stickers and added some ribbon through the tag. Finally, I chose a few wooden embellishments from my stash to add a few finishing touches. 


Thanks so much for looking! 

See you next month with another layout using this collection. 

Anna

Wednesday 15 February 2023

February Papermaze Kit - Part 1

Lynn here today, with the first two of my layouts using the new Papermaze kit for February. A very bright, cheery and colourful collection. Ideal papers and embellishments for St. Valentine's Day as well as other occasions. Here are my first two layouts.


 Here are the details of what you will find in the kit:

Patterned paper:
American Crafts - Jen Hadfield - Stardust collection - Lucky Charm
Bella BLVD - Our Love Song collection - Skip A Beat & You're A Dream
Pinkfresh Studio - Delightful collection - Dream Chaser
Simple Stories - Heart Eyes collection - Kissing Booth
Carta Bella - My Valentine collection - Sweetheart Plaid
Bazzill Basics Cardstock - Bazzill White & Princess Pink


Embellishments:
2 Doodlebug tangerine doilies, 3 heart stamps, ribbon, 30cm ribbon, 1 Prima flower, 2 P13 light chipboard love hearts, 10 Bo Bunny candy dots, 6 Doodlebug puffy heart stickers, & 1/4 sheet Rosie's Studio glitter foam word stickers


Extra Bazzill Basics Pack
Lagoon, Mauve Ice, Grenadine & Apricot

A Day Out to London - This paper said 'retro' to me, so I chose a photo of me in the 1970's with my flared jeans and large collared shirt. I was taking my little brother to London for the day.

The Princess Pink Bazzill was gutted to make a frame of 2.5cm deep. Then I trimmed the Lucky Charm paper to measure 28.5cm x 28.5cm and hand stitched (back stitch), in black embroidery floss between each colour band.


I mounted the embroidered paper onto black Bazzill which had been trimmed to 29cm x 29cm, to make a very narrow back border. This was then mounted over the pink frame.


I mounted my photo onto white and then black Bazzill, and glued this in place on the paper.


I found a retro style font and cut it the title in pink and black Bazzill, offsetting the coloured card over the black to create a shadow. Then I also cut the year in black and a scrap of orange Bazzill, and treated this in the same way as the title. The title and date were then glued into place on the layout, following the lines of the stitching.


Finally, I added journalling with a black marker pen, also following the lines of stitching.

Love at Christmas - This photo of my daughter and her husband was taken just before Christmas last year. I couldn't resist using my new 'True Love' Sizzix die set with these papers.


I used the White Bazzill as a base for this layout, and picked the two Bella BBlvd - Our Love Song papers from the kit to use with it.


I tore across the top of the sheet of Skip a Beat paper to make the piece about 23cm high. I tore  band of You're A Dream paper 5cm deep. Lay these papers in place and note where the white card shows. Remove the papers and with a Tim Holtz, Layering Stencil 'Sparkle' THS132 and some Kitsch Flamingo Distress Oxide Ink, I stencilled some stars so they will be seen just above the paper line. Then I glued the papers back in place.


My photo was mounted onto some of the Princess Pink Bazzill left over from the first layout and glued onto the layout.


Then I had fun with the new Tim Holtz 'True Love' Sizzix Thinlits Colorize die set. I used some Bazzill from the kit and others from my stash. I also used the 'Bow Tied' set. I placed the lid directly to the layout and then with foam tape I raised the box of chocolates. I also scattered a few individual chocolates at the bottom of the page.


To the top left of the layout, I added my title using puffy alpha stickers from my stash (American Crafts, Vicki Boutin's Joyful Phrases and Rosie's Studio's Hearth & Home). I surrounded the title with the puffy heart stickers from the kit.


Finally, I added the date with
Doodlebug Teensy Type Alphabet Stickers - Lily White.

As a little extra, I created a Valentine card using the same die sets, and cardstock.


That's all for today, I will be back with more from this kit very soon.
Thanks for looking.
Lynn x