Wednesday 27 November 2019

Pink Paislee Truly Grateful - Into the Woods

Hello, Karen C here again with my final project using Pink Paislee's Truly Grateful collection by Paige Evans.


I started my layout by trimming a quarter of an inch off of each side of a 12 x 12 sheet of white cardstock and matted this onto a sheet of olive green cardstock.

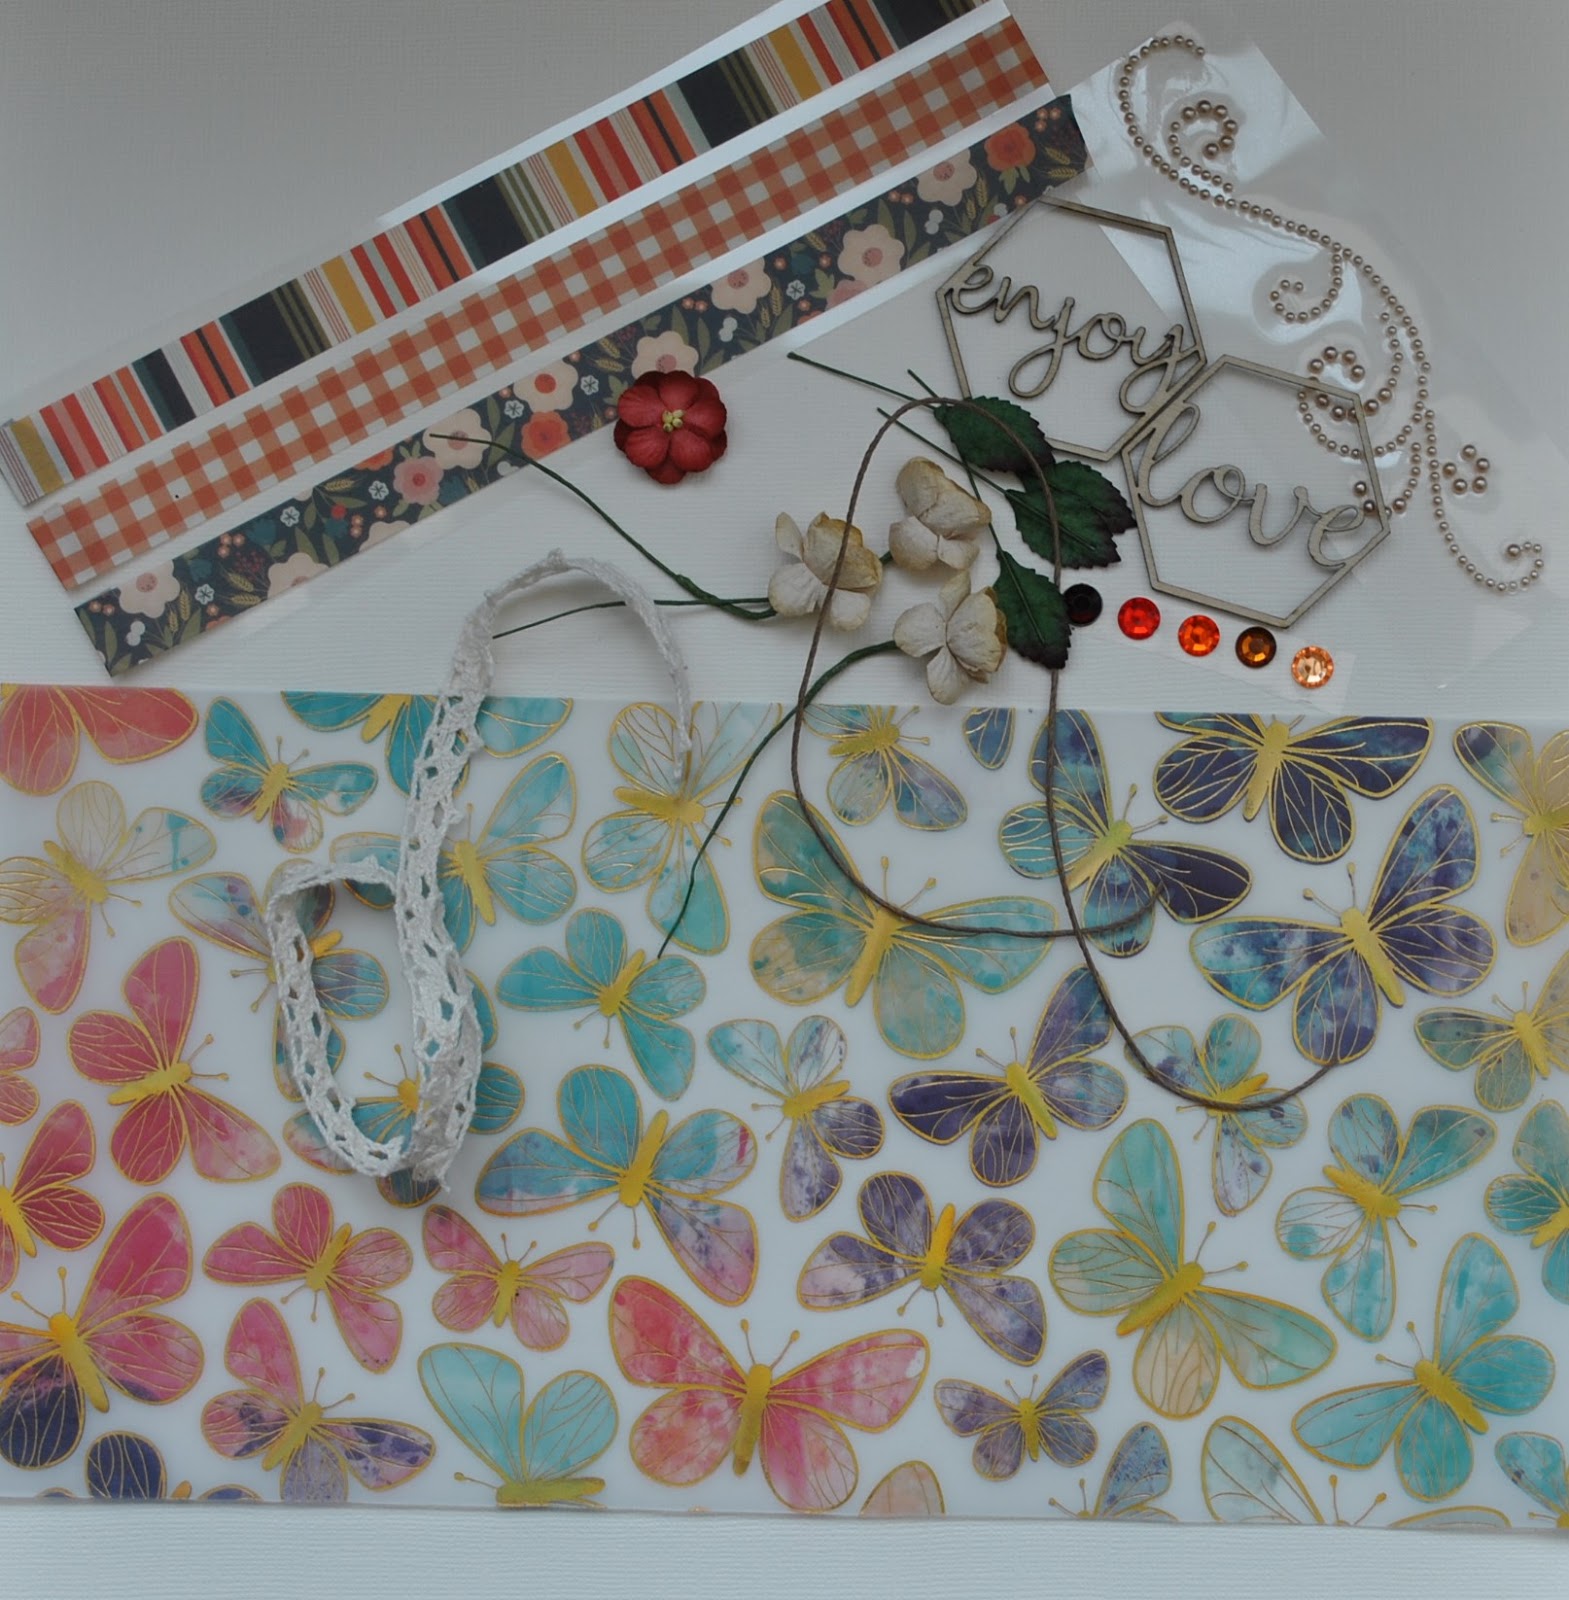
Using a hexagon die (similar to this one)  I then cut lots of hexagons from the scraps of patterned paper I had left after creating my other projects. I chose the greens and blues from my photo that were found in paper #9 and #3 and also cut a few hexagon from some scraps of green cardstock found in my stash.


The hexagons were arranged on the layout roughly flowing from the top right corner to the bottom left corner and to make then more cohesive I splattered some watered down white acrylic paint on the hexagons and also used a white gel pen to draw faux stitching round the edges.


My photo was matted on white and green cardstock and attached to the layout with some foam underneath to add some dimension. I tucked a white paper doilie and a tag, cut from some of the green cardstock and threaded with green bakers twine, behind the photo.


I used die cuts from the pack of journalling spots and floral cardstock embellishment pack to create two embellishment clusters and to provide a place for some journalling. The centre of one of the die cut flowers was bright pink but as this didn't go with the other colours on my layout I covered it up with a green button.


The title was created using some small navy blue Foam Thickers and the word 'Woods' was die cut from some textured gold cardstock from my stash.


The layout was completed with a few gold sequins and some tiny stars punched from the gold cardstock.

I hope I've inspired you with the projects I've made using the Pink Paislee Truly Grateful collection. It's a very versatile collection and perfect for so many themes. The collection and other collections from Pink Paislee is still available in the shop so hop on over and take a peek.

See you soon and Take Care,
Karen x x

Monday 25 November 2019

My Heart....... Simple Stories *Heart* Collection

Hello Again

It's Anita here with you to start the week off.
I have a quick and easy layout today using the left over bits and pieces from the sheet of Simple Stories Heart that I have been playing with.
Although initially aimed at creating layouts of remembrance to honour loved ones that have passed, I also wanted use it for another, more broad stream theme.


I based the layout on a sheet of White cardstock and just chopped up various squares, rectangles and sections from the few sheets I had. I started with a 6 x 12" strip of the reverse side of  2 x 2 Elements which a stuck on the left hand side of the layout.


I then just cut lots and lots of bits and bobs from the sheets :
4 x 4 Elements
Missing You
2 x 2 Elements


I layered some of the elements and raised some on foam pads too to create some dimension on the page.


I cut several diamonds from the sheet of  Missing You, some of which I scattered about the page. The others I folded in half and glued onto some Bakers Twine to create a mini bunting that I hung across the page


There is a huge selection of Simple Stories Collections in the shop....why not pop over and have a good look...and check out all the other lovely products that there too!

Happy Crafting
Warmest wishes Anita xx

Friday 22 November 2019

Doodlebug Designs ~School Days #2

Hi, it's Anna with you today. I'm back to share my second layout with you using the doodlebug designs school days collection. Take a look at the whole collection in the shop here. While you're there, you can see what's new here.


For this layout, I've used some colour blocking, using various strips of patterned paper from the collection along with some cardstock to scrap a school picture.

Many of the patterned paper sheets in this collection could also be used for non school related scrapbooking. Several of the patterned paper sheets have dots, checks or stars on the reverse sides.


I used some rhinestones and nuvo drops, along with stickers from the this and that sticker sheet to form a cluster at the bottom right side of the layout.


Thanks so much for looking!
See you soon with some Christmas projects!
Anna
X

Wednesday 20 November 2019

Trick or Treat - Doodlebug Design Candy Carnival Layout

Hello, Rebecca back with you sharing my second layout created using Doodlebug Design's Candy Carnival collection. I decided to use black cardstock for my background this time as I think it makes the bright colours in the collection really stand out.


I selected 4 photos of my little boy from Halloween night. It was his first time trick or treating so we took a walk around the block and knocked on a few doors. The photos are of him on our doorstep posing with our pumpkins. I mounted the photos on white card and created a frame out of an orange and black bat paper from the Simple Stories Say Cheese Collection (Frankly Frightful). I stuck all of the photos on a strip of the Costume Contest patterned paper and added a strip of black and white striped paper top and bottom from Doodlebug's previous Pumpkin Party collection.


I cut a '31' from the 3x4 Elements Sheet from the Simple Stories Say Cheese collection and added it on foam pads to add dimension.


I embellished the layout using some ephemera pieces from the Odds & Ends Chit Chat pack. I thought the top of the layout looked a bit bare so created a small cluster in the top left hand corner.


I added my title 'Trick or Treat' using some Thickers from my stash. Finally, I finished my layout by adding some Nuvo Drops.


Thanks for reading - I hope you've enjoyed my layout.

The Candy Carnival collection is available in the shop - be sure to check it out on the NEW Papermaze website!

Take care,

Rebecca x

Friday 15 November 2019

November Papermaze Kit

Hello, Lynn here with my November Papermaze Kit creations - well my first pair of layouts anyway! This kit contains a wonderful selection of colours and designs including papers from Vicki Boutin, Pink Paislee and Simple Stories.

For the first two layouts I have selected the blues and greens from the collection.


As always, let's look at what's in the kit:


Patterned Paper:
American Crafts, Vicki Boutin - Wildflower and Honey collection - Blossom, Field of Dreams & Queen Bee
Pink Paislee - Indigo & Ivy - #12
Simple Stories - Happy Trails - I Love You S'more
Simple Stories - Winter Farmhouse - Warm & Cozy
Bazzill - Cream Puff & Ruby Slipper

The flip side of the papers:


Extra matching Bazzill pack:


Jade, Carob, Festive and Rain.


Embellishments - 12" x 6" Butterflies Printed Vellum, 3 strips of washi tape, 30cm twine, 30cm cotton lace, strip of 5 gems, 3 paper cherry blossom flowers, 1 paper blossom, pearl swirl, 2 exclusive lazer cut wooden hexagon words.

Butterfly Confetti is the first page, and shows Catherine and George's witnesses letting off  butterfly confetti cannons after having traditional confetti thrown over them both as they emerged from the ceremony.


I drew several overlapping circles in pencil onto the sheet of Pink Paislee - Indigo & Ivy #12 paper. With gold embroidery thread, I hand stitched over all the lines.

Then with a good film to watch, I sat and cut out all the vellum butterflies. I paired these up, layering a large over a small in most cases and used the blues, greens and lilacs, saving the pinks, oranges and reds for another day. I set all the butterflies aside while positioning the other elements.p

I mounted the photo onto some of the Jade Bazzill and stuck it in place. Then I created my title with Pink Fresh Studio Puffy Alpha Stickers (see the full range in the shop).

To finish off I attached the butterflies, by sticking only their bodies to the layout, leaving the wings free!


Tiny Bundle of Fluff is a layout with a photo of our cat when she first arrived at home as a tiny kitten, her ears were as big as her face in those days! I was inspired by the work of Caroline Aston.


I trimmed the Rain Bazzill to 29cm x 29cm and using Distress Oxide Inks in Peacock Feathers and Evergreen Bough, I placed some ink on the craft mat with some water. Then I dipped the cardstock into the ink in different areas and let it run. Once dry I used a Gabrielle Pollacco stencil (Mini Complicated Hearts), and I inked some hearts using the ink from the pad with a blending tool. I also inked all the edges.

I gutted the 'Field of Dreams' paper to give me a frame for the layout with the green script side uppermost, setting aside the colourful hearts side for later. Then I glued the Bazzill in place.

I wanted to use just the green and blue hearts section, so cut a piece approx. 18cm x 12.5cm. This was inked and mounted onto Jade Bazzill, before being attached to the bottom left of the page. Then I mounted my photo onto another piece of the paper, script side up. This in turn was inked and mounted onto Jade Bazzill, then stuck to the layout overlapping the top of the hearts paper.

From the embellishments pack in the kit I used the lace along the bottom of  the hearts paper, the pearl swirl at the base of the photo and the leaves and flowers either side of the photo. I added a few tiny roses from my stash.


From the leftover blue and green hearts, I added a short strip of hearts to the top right, with a narrow banner of script underneath. I cut a few more hearts from the paper and scattered them across the page. Then I took two vellum butterflies and placed them onto the layout too.

My title was made with alphas from my stash, American Crafts Thickers and Pinkfresh Puffy Alpha Stickers
(see the full range in the shop).


That's all for today, I'll be back with more soon.
Thanks for looking
Lynn x

Wednesday 13 November 2019

Pink Paislee Truly Grateful - Golden Days of Autumn

Hello, Karen C here again with another scrapbook layout using Pink Paislee's Truly Grateful collection. This collection, whilst being very versatile, fundamentally has an autumn vibe so I decided to create an autumnal layout using photos taken last year.


To give the layout a fresh feel, I started by trimming a quarter of an inch off of the edges of a sheet of the #03 green paper and I matted this onto a piece of white cardstock. I machine stitched round the edges with white thread, which is something I often do.


I then backed an autumnal cut file from 'Confession of a Paper Addict' with scraps of paper from the collection. I choose the papers which had orange, brown, maroon and yellow tones in them which again picked up on the colours on my photos. Papers #09 and #07 were particularly good for this as they have lots of colours in them.


The acorns in the cut file were filled with gold and copper sequins.


My two 6"x4" photos were matted with more white cardstock and attached to the layout and yellow pieces of patterned paper were also placed under some of the the photo corners. I used some gold and white foam alpha stickers from my stash for my title.


Printed mini acetate doilies were tucked under the photos too.


To completed the layout I embellished with die cut flowers from the Floral Cardstock Embellishment pack, sequins and a few splatters of gold ink.

The Truly Grateful collection as well as lots more lovely goodies are available in the shop and can be found on the brand new website which is a treat to visit.

Take Care,
Karen

Monday 11 November 2019

Forever in my Heart.....Simple Stories *Heart* Collection

Hi There

It's Anita back with you again today. This month I have a couple of layouts to share using the lovely Heart Collection by Simple Stories. It is the perfect range for creating layouts to honour the memory of loved ones you have lost, with a mix of aquas, golds, greys and heartfelt sayings.
Here is today's layout.

I have chosen to scrap this photo of my Daddy and I, taken when I was about 2 - 2 and a half years old. I thought these papers would work well for this photo, the words were perfect....I really miss my Dad.


- He will ALWAYS be in my heart xx


 I used 4 sheets of the papers from the collection. Each one is double sided and has a lovely design on each.
Sheets used:
4 x 4 Elements
2 x 2 Elements
Missing You
So Loved

I also used a sheet of Raven cardstock

I based the layout on a sheet of  So Loved and placed an 10.5 x 10.5" square of Raven cardstock on top, then a 9 x 9" square of the reverse side of So Loved.

All of the various elements used to decorate the rest of the layout were cut from either the 4 x 4 or the 2 x 2 Element sheets.
I also added a strip of diamonds cut from the Missing You sheet, along the lower part of the page. The reverse side was used to mat the photograph.


I made a shaker box to go on the page using 2 of the 4 x 4 Element panels. Cutting the centre from the top layer and adding a square of thin acetate to create the window before building a layer of foam pads all around the edges and adding a spoonful of sequins. I chose the panel I wanted and just pressed them together.


A shaker box is often a nice way to add some dimension and interest to a layout without actually adding too much bulk.


I also like to chop up panels from papers and instead of using maybe a whole square or rectangular saying, just cut them into slices and seperate the words to make them more usable.


I will be back again later this month with another layout using this collection, but not to honour a lost loved one. This collection can be quite versatile and I wanted to use the left overs to show that.

Have you been over to have a look at the lovely new Papermaze Shop Site....all sparkly and new and ready to be shopped in!


Warmest wishes
Anita x

Friday 8 November 2019

November's crop

We're back at Otley Village Hall tomorrow for another of our monthly crops, so here's the chance to  take a look at the crop kit...


As usual there will be delicious cakes, tea & coffee, punches and dies to use and of course the shop will be open too!  Drop us an email if you'd like to come along!

Wednesday 6 November 2019

Doodlebug Designs ~ School Days #1

Hello!
It's Anna with you today and I've been busy working with the Doodlebug designs school days collection for this months blog posts.
Take a look at the whole collection in the shop - here.

For my first post, I've created a layout where I've used the traditional back to school in front of the door pictures, with a picture for each year. 

I used the school days lined paper as my background and mounted my photographs on to some blue cardstock. I added some boarder strips from the this and that stickers and then used some Pinkfresh Studio mini puffy alpha stickers to write each year under the photo.
I then used various stickers from the this and that sticker sheet.
Something was missing at the bottom of the layout, so I added a strip of just write which finished the layout off.


Thanks so much for looking!
See you soon.
Anna
X

Monday 4 November 2019

October Papermaze Kit - Part 2

Welcome to the second part of the Papermaze October KitLynn here today with more layouts using the very pretty, romantic kit.


Before explaining how I made the layouts, here are the details of the kit itself:


The patterned papers are:
Pink Paislee - Indigo & Ivy - 03 & 08

Cocoa Vanilla Studio - More Than Words -  Precious
Cocoa Vanilla Studio - Midnight - Moonlight
Kaisercraft - Two Souls Collection - Leafy
American Crafts Dear Lizzy - It's All Good - Seek Magic


Reverse side of the papers
 Bazzill included - Coral Cream & Bazzill White

Embellishments included -

Pinkfresh Studio phrase stickers, 3 large pearls, 1 kraft die-cut butterfly, 6" x12" American Crafts acetate, 1m twine, 2 Tando chipboard butterflies, 1 prima flower, 2 paper flowers, 12" frayed ribbon, 5 cream buttons, 1 mini butterfly stamp, 1 strip mini pearls.

Extra Bazzill Pack


Four sheets of Bazzill - Powder Blue, Pinkini, Beewax & Stonehenge.


Together Forever - Catherine and George outside the ruins of Cooling Castle.


For this page I used the pink side of the 'Moonlight' patterned paper, but because I also wanted to use a little of the script side, I did a little gutting before building up the page. 
This piece was 10cm x 15cm and was distressed, inked and then cut into two pieces - I cut a piece from the top left 1.6cm x 11.5cm. The Distress Ink I used is Hickory Smoke.


I used the Amy Tangerine Flowers Acetate and trimmed around edges following the outline of the leaves and flowers. This was placed to the left side of the page. I used a few spots of Glossy Accents to attach the acetate invisibly.


I used Powder Blue Bazzill to make a deep border mat for my photo. My mat measures 12cm x 17cm, this was distressed and inked with more Hickory Smoke Distress Ink. 

I took four small doilies, two pink (one used upside down to give a different shade) and two white, from my stash. Then together with the matted photo and the script pieces I arranged and stuck them all in place.

I created a spray of gold flat-backed, self-adhesive pearls from the kit, working from the top of the photo to the top right of the layout. 


I attached the Prima flower to the bottom left of the photo and added four of the cherry blossoms paper flowers to berate a cluster. Leaves were created with more Powder Blue Bazzill using a leaf dies from Tim Holtz Thinlits - Small Tattered Florals set. The leaves and title were inked with Work Lipstick Distress Ink.

The title was die cut with Tim Holtz Thinlits - Handwritten Love set.


Love Sweet Love

The photographer took Catherine and George out into the field for a series of photos after the service. 


I started with the Pinkini Bazzill and stamped a border with Jet Black Archival Ink and one of the Stitches stamps from 49 & Market.

With the 'Leafy' paper (white and green leafy side up), I took about a third of the sheet and some Distress Oxide Inks. I swiped Spun Sugar, Fossilized Amber and Peeled Paint onto a craft mat, and spritzed a little water onto each colour. Then used a brush to apply stripes of colour onto the paper. Once dry I tore the paper into strips of different widths. I flicked some of the remaining paint onto the Bazzill.


I applied the strips of paper vertically, overlapping one another, and a slightly different heights, I also added some from the grey script side of the paper. I also used the manufacturer's strip, picking out the wording.

I applied my photo over the strips of paper, and drew a light pencil circle round the main focus of the photo, overlapping onto the Bazzill. Then I ran a fine line of glue over the line and applied the twine, twice around the circle, tying with a bow to the left side. 


From bottom left to top right of the photo I scattered the buttons and the large flat-backed self-adhesive pearls. Then some dots of Nuvo Crystal Drops (Simply White Gloss), and Nuvo Glitter Drops (Gold Coast). 

Finally for the title - 'Love' was created with scraps of card and paper and die cut using the Tim Holtz Thinlits Shadow Script #1 set. The words 'sweet love' are made with Pink Fresh Studios Tiny Puffy Alpha Stickers. 


I have made four layouts with this kit so far and still have all of this left over, two sheets patterned paper and two sheets Bazzill and other bits. Plenty to make another layout or some cards. 


Thanks for looking.
Lynn x